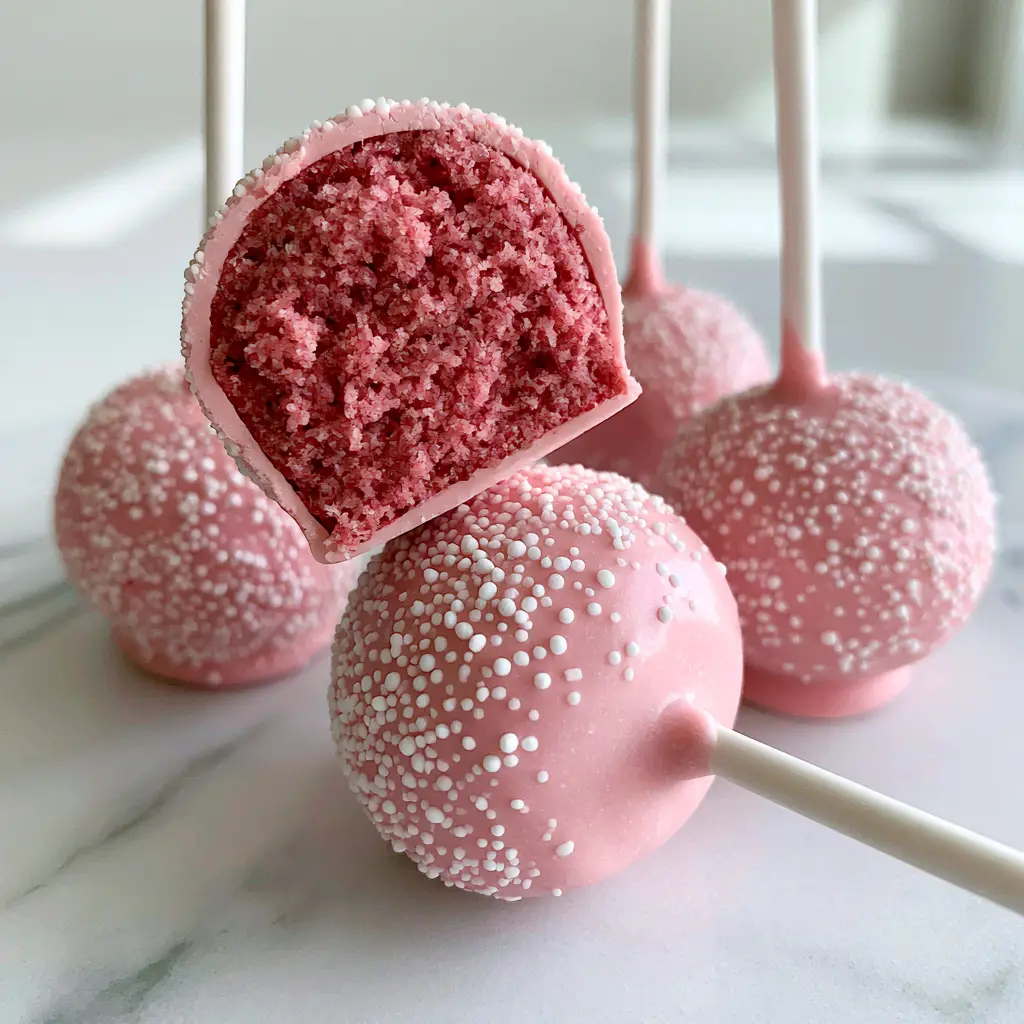
Mastering the homemade cake pops recipe is a rite of passage for every home baker looking to recreate that iconic, boutique-bakery aesthetic. There is something undeniably satisfying about snapping through a crisp, glossy pastel-pink candy coating to reveal a shockingly moist pink cake crumb center.
Whether you are planning a birthday party or just craving a bite-sized indulgence, these treats offer the perfect balance of creamy frosting and tender sponge. By following professional techniques for temperature control and emulsion, you can achieve a professional finish that rivals any high-end coffee shop.
In this guide, we will dive deep into the science of the cake pop dough, ensuring your centers are never mushy, but always dense and flavorful. Get ready to transform simple ingredients into a handheld masterpiece that looks as stunning on a white marble countertop as it does in a professional display case.
Why This Is the Only Pink Cake Pop Method You Need
- Forensic Crumb Texture: We use a specific crumb-to-frosting ratio to ensure a moist pink cake crumb that holds its shape without being overly sweet.
- High-Gloss Finish: Our secret thinning technique guarantees a glossy pastel-pink candy coating that is free of streaks or lumps.
- Structural Integrity: Learn the “double-dip” anchor method to keep your white lollipop sticks securely attached every time.
- Visual Consistency: Designed to mimic the Starbucks copycat cake pops look, complete with delicate white sugar nonpareil sprinkles.
Essential Components for the Perfect Pink Crumb
Pink Velvet Sponge Base: You will need 2 cups (250g) of all-purpose flour and 1 cup (200g) of granulated sugar. A touch of pink gel food coloring is essential here to achieve that vibrant, internal hue without thinning the batter.
Binding Cream Cheese Frosting: Use 4 oz (115g) of room-temperature cream cheese and 2 tbsp (30g) of softened butter. This creates a tangy, structural binder that prevents the vanilla cake pops from becoming too crumbly.
Pastel Pink Candy Melts: You will need 12 oz (340g) of premium pink candy wafers. High-quality melts ensure a smooth melt-point and the specific pastel shade seen in our visual blueprint.
Paramount Crystals or Coconut Oil: 1 tsp (5g) of solid coconut oil is the “invisible” ingredient. It thins the coating to a dipping consistency, creating that signature glossy sheen.
White Sugar Nonpareils: These tiny spheres provide a sophisticated crunch. They should be applied while the coating is still “wet” to ensure they adhere perfectly to the top arc of the pop.
Professional Tools for Bakery-Style Results
To achieve the professional look of perfect cake pops, you need more than just a bowl. A 1.5-tablespoon cookie scoop is vital for ensuring every single pop is uniform in size, weighing approximately 30 grams each.
White lollipop sticks (6-inch length) are the standard for structural support. You will also need a styrofoam block or a dedicated cake pop stand to allow the glossy coating to set vertically without flat spots.
Step-by-Step Evolution of the Homemade Cake Pops Recipe
Phase 1: Crafting the Moist Pink Sponge
Preheat your oven to 350°F (175°C). Cream your butter and sugar until pale and aerated, then incorporate your eggs and a high-quality vanilla extract. This foundation is similar to a strawberry sponge cake, but we focus on a tighter crumb structure.
Add your pink gel coloring gradually. The batter should be two shades darker than your desired final result, as the color will lighten slightly during the baking process. Bake until a toothpick comes out clean, approximately 25-30 minutes.
Phase 2: Achieving the Ideal Dough Consistency
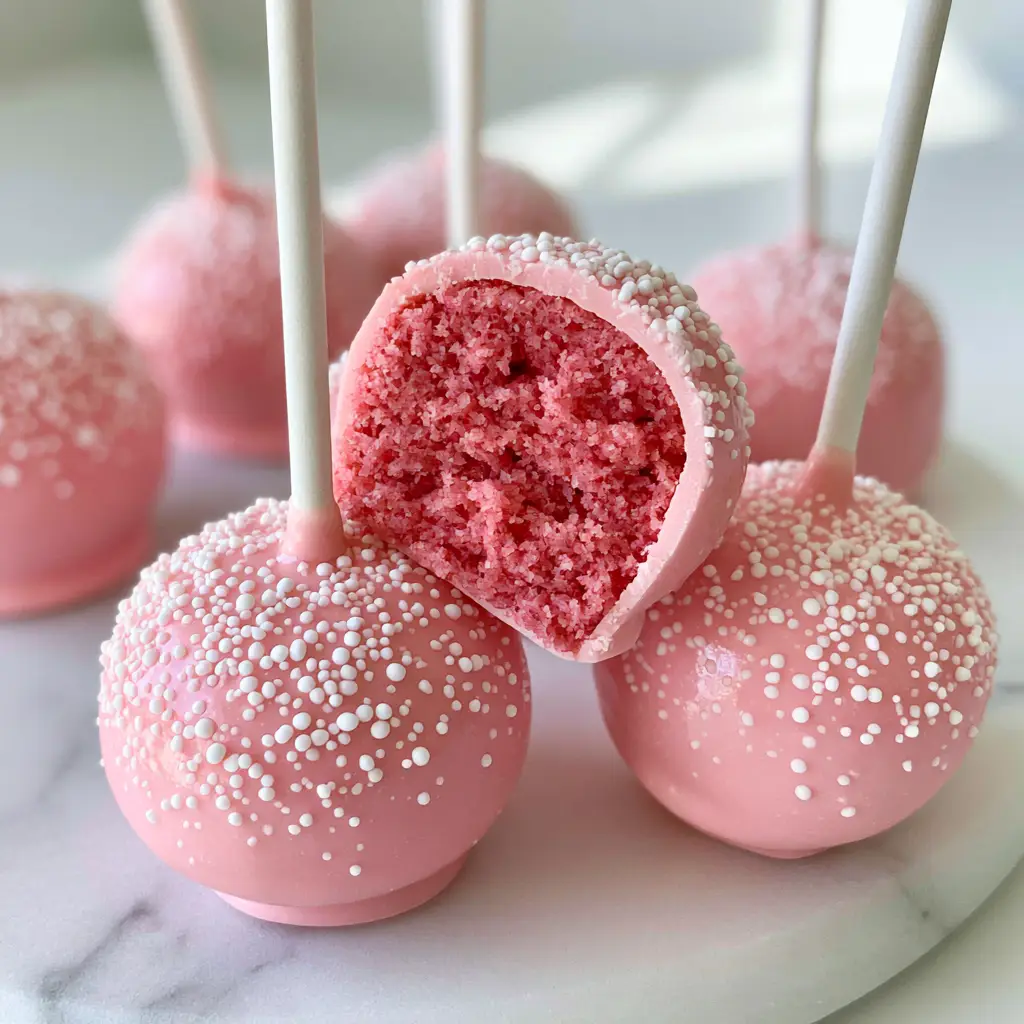
Once the cake is completely cool, crumble it into fine, sand-like grains using your hands or a food processor. There should be no large chunks remaining. This is the secret to a smooth internal cross-section when the pop is sliced.
Mix in your frosting one tablespoon at a time. You are looking for a texture that feels like playdough—pliable and moist, but not greasy. If the dough cracks when you roll it, add a teaspoon more frosting; if it sticks to your hands, you’ve added too much.
Phase 3: The Anchor and Chill Method
Roll the dough into 1-inch (2.5cm) spheres. Dip the tip of each white lollipop stick into a small amount of melted candy coating, then insert it halfway into the cake ball. This “candy glue” prevents the pops from sliding off the sticks.
Chill the pops in the refrigerator for at least 30 minutes. Do not freeze them! A frozen cake pop will cause the warm candy coating to crack as the cake expands while returning to room temperature.
Phase 4: The Perfect Glossy Dip
Melt your pink candy wafers in a deep, narrow microwave-safe glass. Stir in your coconut oil until the coating flows off the spoon like warm honey. This fluidity is essential for coating cake pops without leaving heavy drip marks.
Submerge the chilled pop vertically until the coating touches the stick. Pull it straight out and gently tap your wrist—not the stick—to remove excess coating. Before the gloss fades to a matte set, dust the top with white sugar nonpareil sprinkles.
Expert Tips for Troubleshooting Your Treats
- Preventing Cracks: Ensure your cake balls are room temperature or slightly chilled, but never frozen, before dipping into warm chocolate.
- Removing Air Bubbles: If you see a bubble in your coating, use a toothpick to pop it immediately before the candy sets.
- Thinning the Coating: If the mixture is too thick, add paramount crystals or a tiny drop of vegetable oil; never add water, or the chocolate will seize.
- Uniformity: Use a kitchen scale to weigh each ball at 28-30 grams for a consistent, professional appearance.
Storing and Serving Your Handheld Delights
These pops stay fresh at room temperature for up to 3 days if kept in an airtight container. For longer storage, refrigerate them for up to a week. The glossy pastel-pink candy coating acts as a seal, keeping the moist pink cake crumb fresh inside.
If you are serving these at a party, they pair beautifully with other whimsical treats. Consider offering them alongside cinnamon roll cake pops or even strawberry shortcake cake pops for a diverse dessert table display.
For a themed event, you can even adapt this base to create Stitch cake pops by changing the coating color and adding fondant ears. The possibilities are endless once you master this foundational dough.
Common Questions About Cake Pop Success
Yes, a boxed vanilla cake mix works well. Simply add pink gel food coloring to the batter before baking to achieve the signature pink crumb look.
The secret to a glossy finish is adding a thinning agent like paramount crystals or a small amount of coconut oil. This reduces the viscosity, allowing for a smooth, mirror-like set.
When kept in an airtight container at room temperature, they stay fresh for up to 3 days. The candy coating acts as a barrier that keeps the moisture locked inside the cake crumb.
This happens if the ‘anchor’ isn’t set. Always dip the stick into the melted candy before inserting it into the cake ball, and ensure the pops have chilled sufficiently to grip the stick.
Cracking usually happens due to extreme temperature changes. If the cake balls are too cold (frozen) and the candy coating is too warm, the cake will expand as it hits the warm liquid, causing the shell to snap.
The Final Homemade Cake Pops Recipe
Homemade Cake Pops Recipe: The Ultimate Guide to Glossy Pink Perfection
Ingredients
Equipment
Method
- Mix flour, sugar, and pink gel coloring to create a vibrant batter. Bake at 350°F (175°C) for 30 minutes until a moist pink cake crumb is formed.
- Crumble the cooled cake into fine grains. Mix with cream cheese frosting until a dough-like consistency is achieved.
- Scoop 1.5 tbsp portions and roll into smooth balls. Dip white lollipop sticks into melted candy and insert into each ball. Chill for 30 minutes.
- Thin the pastel-pink candy coating with coconut oil. Dip the chilled pops vertically, tap off excess, and immediately top with white sugar nonpareils.
Notes
Always use gel food coloring rather than liquid to maintain the cake's structural integrity.
Bring the Bakery Home Today
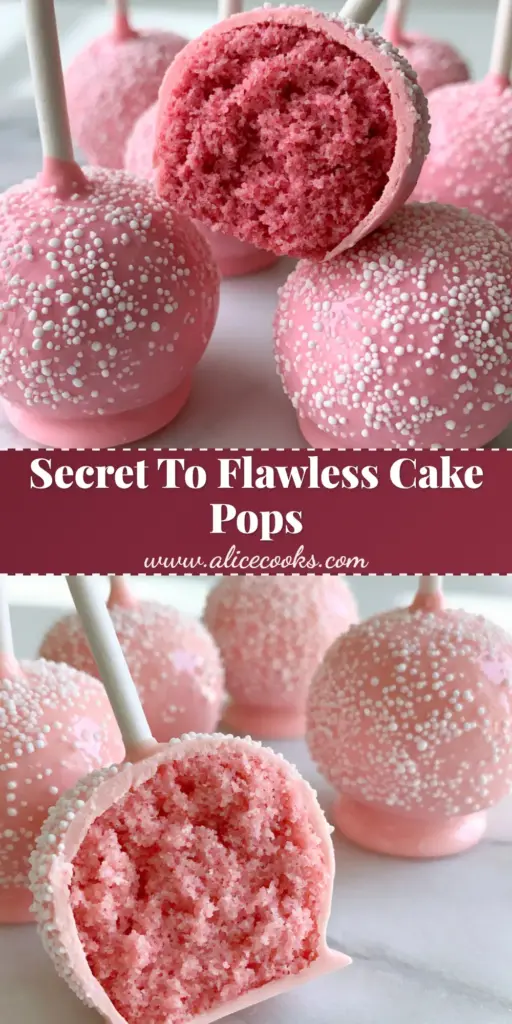
Mastering the homemade cake pops recipe allows you to bring a touch of artisanal flair to your home kitchen. From the dense, moist interior to the mirror-like pink finish, these treats are designed to impress both the palate and the eyes.
If you enjoyed this tutorial, please leave a comment below and let us know how your glossy coating turned out! Don’t forget to share your creations and follow us on Pinterest for more professional baking inspiration and easy cake pops recipes.


