There is something inherently nostalgic about sneaking a bite of raw cookie dough from the mixing bowl. These cookie dough truffles take that illicit childhood pleasure and transform it into a sophisticated, gourmet confection that is as visually stunning as it is delicious. By combining a dense, creamy center with a professional-grade chocolate snap, we are bridging the gap between home-style comfort and high-end chocolatier quality.
In this recipe, we focus on the forensic details that make a truffle world-class. You aren’t just making a snack; you are engineering a multi-sensory experience. From the audible “crack” of the thin dark chocolate shell to the way the flaky Maldon sea salt amplifies the richness of the mini semi-sweet chocolate chips, every element is intentional.
Whether you are preparing a dessert platter for a modern gathering or looking for a premium gift, these truffles deliver. The contrast of the soft, eggless interior against the glossy, crisp exterior creates a textural harmony that keeps you coming back for just one more bite. Let’s dive into the science and art of the perfect truffle.
What Makes These The Best Cookie Dough Truffles You Will Ever Taste
- Safety First Edible Dough: We use a specific heat-treating process for the flour to ensure every bite is 100% safe to consume raw, without sacrificing that classic “doughy” texture.
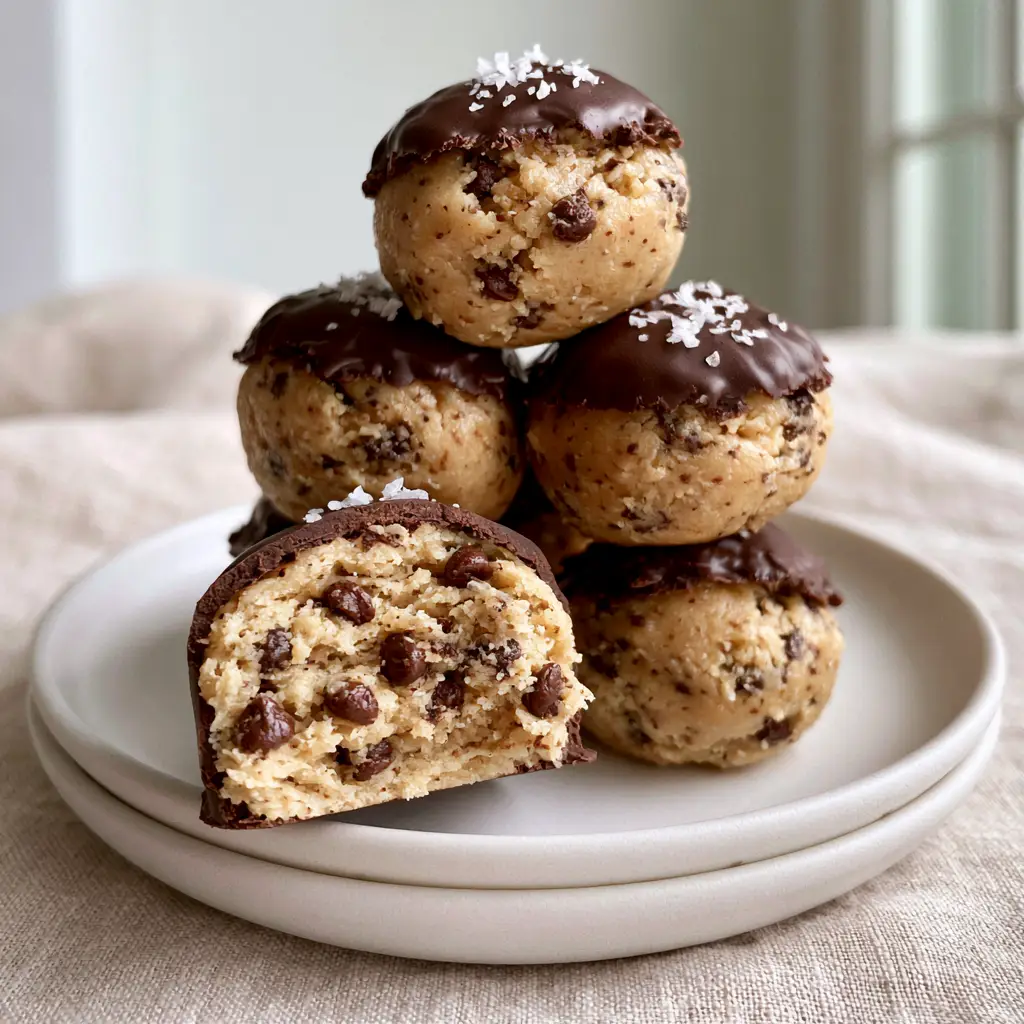
- The “Snap” Factor: A thin, glossy dark chocolate shell provides a sophisticated structural contrast to the dense, creamy center.
- Gourmet Finishing: A delicate garnish of flaky Maldon sea salt cuts through the sweetness, highlighting the complex notes of the dark chocolate.
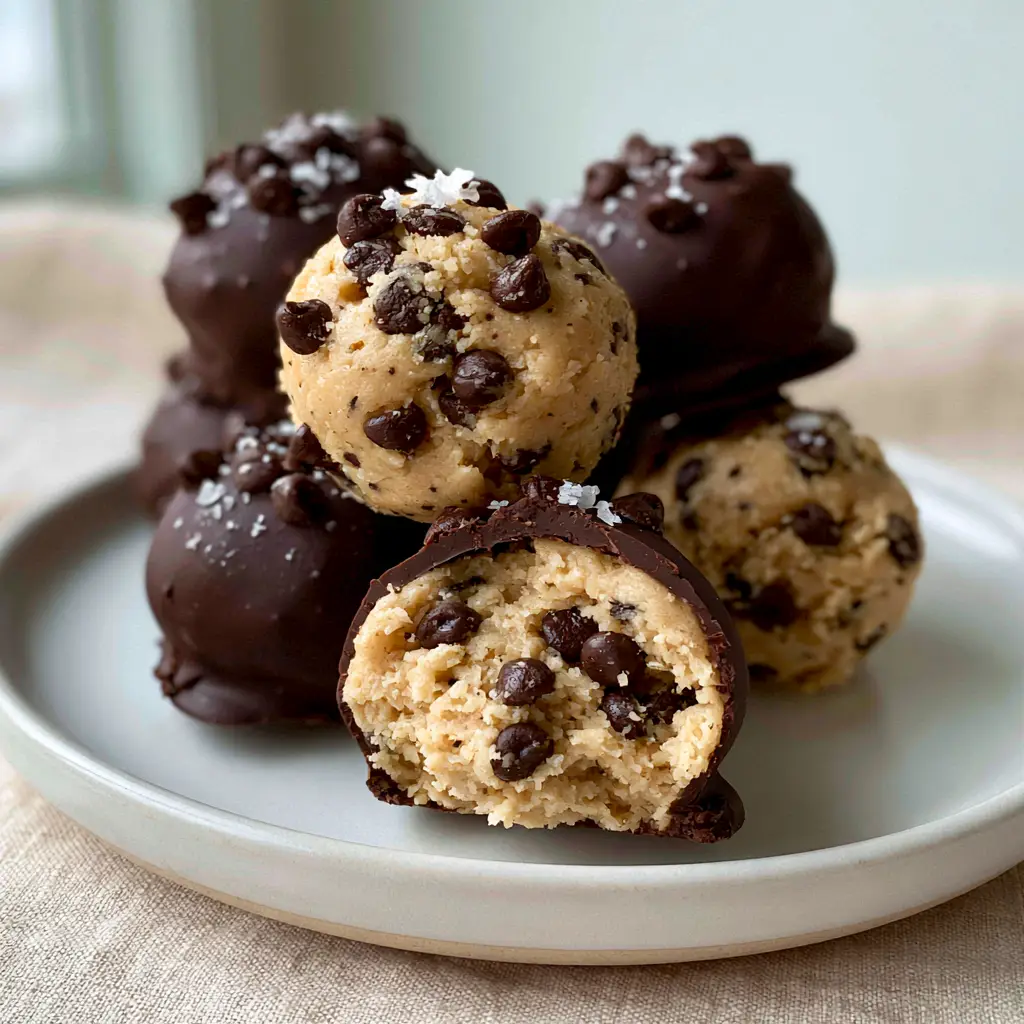
- Miniature Precision: The use of mini semi-sweet chocolate chips ensures an even distribution of chocolate in every bite, preventing large chunks from disrupting the creamy mouthfeel.
Essential Components for a Premium Edible Center
Creating a truffle that mimics the texture of premium cookie dough requires more than just omitting eggs. We need to balance fats, sugars, and solids to achieve a “melt-in-your-mouth” consistency that holds its shape under a chocolate coating.
Heat-Treated All-Purpose Flour: 1.5 cups (188g) of flour. Heat-treating the flour is non-negotiable as it eliminates potential bacteria while providing the necessary structure for the truffle core.
Unsalted High-Fat Butter: 0.5 cups (113g) of softened butter. Butter acts as the primary fat source, offering a rich flavor profile and a silky texture that firms up beautifully when chilled.
Light Brown Sugar: 0.75 cups (150g) of packed brown sugar. The molasses content in brown sugar provides the classic “cookie” depth and moisture that white sugar lacks.
Granulated White Sugar: 0.25 cups (50g) of sugar. This adds a clean sweetness and helps the dough achieve the correct density without becoming overly soft.
Heavy Cream: 2 tbsp (30ml) of cream. This is our “secret” ingredient that replaces the moisture of the egg, resulting in a significantly creamier and more luxurious dough.
Pure Vanilla Extract: 1 tsp (5ml). A high-quality extract provides the aromatic backbone that defines the classic chocolate chip cookie flavor profile.
Fine Sea Salt: 0.5 tsp (3g). A small amount of fine salt within the dough balances the sugar and enhances the cocoa notes in the chips.
Mini Semi-Sweet Chocolate Chips: 0.5 cups (90g) of chips. These small morsels are critical for visual accuracy, ensuring the cross-section of your truffle looks “studded” rather than cluttered.
The Science of the Glossy Dark Chocolate Shell
To achieve the handheld smartphone photo aesthetic—where the light bounces off a perfectly smooth surface—the coating must be handled with care. If you enjoy this process, you might also want to try our cakepop tutorial for more dipping mastery.
Dark Chocolate Couverture or Melting Wafers: 10 oz (280g) of high-quality dark chocolate. Using a chocolate with at least 60% cacao ensures the shell isn’t cloyingly sweet and provides a deep, sophisticated color.
Coconut Oil or Cocoa Butter: 1 tsp (5g). A tiny amount of fat added to the melting chocolate lowers the viscosity, allowing for a thinner, more professional-looking shell that snaps when bitten.
Maldon Sea Salt: For garnishing. These pyramid-shaped flakes provide a visual “sparkle” and a burst of salinity that elevates the entire flavor profile.
Professional Tools for Confectionery Success
You don’t need a commercial kitchen to produce professional results, but a few specific tools will make the process of crafting cookie dough truffles much smoother.
A microwave-safe glass bowl or a double boiler is essential for melting the chocolate gently. Avoid direct heat, which can scorch the cocoa solids and ruin the gloss. A small cookie scoop (1-tablespoon size) ensures every truffle is uniform, which is vital for a clean, stacked presentation on a ceramic plate.
Parchment paper or a silicone baking mat is necessary for setting the truffles. This prevents the chocolate from sticking and ensures the bottoms remain flat and clean. Finally, a dipping tool or a simple fork will help you achieve that thin, even coating without leaving excessive “feet” (pooled chocolate) at the base.
Step-by-Step Guide to Perfection
Phase 1: Neutralizing the Flour
Preheat your oven to 350°F (175°C). Spread the all-purpose flour on a rimmed baking sheet in an even layer. Bake for 5-7 minutes, or until the flour reaches an internal temperature of 160°F (71°C) on an instant-read thermometer.
Allow the flour to cool completely before whisking it to break up any clumps. This step is crucial for both safety and for ensuring a smooth, grit-free truffle center. If you love this dough, you’ll also adore our chocolate chip cookie dough hearts.
Phase 2: Creaming the Base
In a large mixing bowl, cream together the softened butter, brown sugar, and granulated sugar. Use a hand mixer or stand mixer on medium-high speed for about 2-3 minutes. You are looking for a pale, fluffy texture—this aeration is what makes the final truffle “creamy” rather than “heavy.”
Beat in the vanilla extract, fine sea salt, and heavy cream. The mixture should look cohesive and smooth. Gradually add the cooled, heat-treated flour on low speed until just combined. Fold in the mini semi-sweet chocolate chips by hand to ensure they are evenly distributed without being crushed.
Phase 3: Shaping and Chilling
Using your small scoop, portion the dough into 1-inch (2.5cm) balls. Roll them between your palms until they are perfectly spherical. Place them on a parchment-lined tray.
Chill the dough balls in the freezer for at least 30 minutes. This is a vital sensory cue: the dough must be firm and cold so it doesn’t melt or lose its shape when submerged in the warm melted chocolate shell.
Phase 4: The Enrobing Process
Melt the dark chocolate and coconut oil in 30-second intervals in the microwave, stirring well between each session. The chocolate should be glossy, fluid, and free of any lumps. Let it sit for 2 minutes to cool slightly so it doesn’t shock the cold dough.
Using a fork, dip each chilled dough ball into the chocolate. Tap the fork against the side of the bowl to let the excess chocolate drip off. This is how you achieve that “thin, crisp” shell described in the visual prompt. Place the truffle back onto the parchment paper.
Phase 5: The Finishing Touch
While the chocolate is still wet, immediately add a delicate pinch of flaky Maldon sea salt to the top of each truffle. The salt must be applied before the shell sets to ensure it adheres properly. Let the truffles set at room temperature or in the fridge until the shell is matte and firm to the touch.
Expert Tips for Confectionery Excellence
- Control the Temperature: If your chocolate starts to thicken during the dipping process, reheat it for 10 seconds. Cold chocolate results in a thick, clunky shell that ruins the elegance of the dish.
- Avoid Water: Even a single drop of water can cause your melting chocolate to “seize” and become a grainy mess. Ensure all bowls and tools are bone-dry.
- Sift Your Flour: After heat-treating, flour can sometimes form small, hard beads. Sifting it back into the bowl ensures a premium, dense, and creamy center.
- Storage Matters: These are best served slightly chilled for a firm bite, but can be enjoyed at room temperature for a softer, more “fudge-like” experience.
Creative Variations and Pairings
While these cookie dough truffles are a masterpiece on their own, they also pair beautifully with other treats. For a summer party, try serving them alongside a refreshing pink lemonade cocktail or even a chilled bellini peach raspberry iced tea.
If you are looking to expand your no-bake repertoire, consider adapting this recipe into chocolate chip cookie dough twists or exploring the indulgence of deep fried chocolate chip cookie dough for a carnival-style twist. For those who prefer a different shape, the same dough works perfectly for chocolate chip cookie dough cups.
Frequently Asked Questions
Yes, cookie dough truffles freeze exceptionally well. Store them in an airtight container for up to 3 months. Thaw in the refrigerator for an hour before serving.
Adding a teaspoon of coconut oil to the melted chocolate reduces its viscosity, allowing excess chocolate to drip off easily. This results in a professional, thin, and glossy snap.
Raw flour can contain bacteria, so it is only safe if you heat-treat it. Bake the flour at 350°F (175°C) until it reaches an internal temperature of 160°F (71°C) before mixing it into the dough.
Keep the truffles in a cool, dry place. If the environment is warm, store them in the fridge to prevent the chocolate shell from softening or losing its gloss.
Mini chocolate chips provide a better distribution of chocolate and a smoother texture. In a small truffle, large chips can make the center crumbly and harder to roll into spheres.
The Ultimate Cookie Dough Truffles Recipe Card
Cookie Dough Truffles: The Ultimate No-Bake Dark Chocolate Decadence
Ingredients
Equipment
Method
- Bake flour at 350°F (175°C) for 5-7 minutes until it reaches 160°F (71°C) to make it safe for raw consumption.
- Beat softened butter, brown sugar, and white sugar until light and fluffy (about 3 minutes).
- Mix in vanilla, salt, and heavy cream. Gradually add cooled flour and fold in mini chocolate chips.
- Roll dough into 1-inch balls and freeze for 30 minutes until firm.
- Melt dark chocolate and coconut oil in the microwave in 30-second bursts until glossy and smooth.
- Using a fork, submerge each ball in chocolate, tap off the excess for a thin shell, and place on parchment.
- Immediately sprinkle with a pinch of flaky Maldon sea salt before the chocolate sets.
Notes
Use mini chocolate chips for the best texture and visual appeal.
Store in the refrigerator for up to 2 weeks.

Closing & Call to Action
These cookie dough truffles are the pinnacle of no-bake desserts. With their glossy dark chocolate shells and creamy, salt-kissed centers, they offer a sophisticated flavor profile that satisfies any sweet tooth. The visual contrast of the white ceramic plate against the dark chocolate makes them a photographer’s dream.
Did you try this recipe? We would love to see your results! Leave a comment below or tag us in your photos. Don’t forget to save this recipe to your dessert boards on Pinterest so you can make them again and again. Happy “baking”!


