There is nothing quite as evocative of a perfect summer afternoon as a towering slice of strawberry sponge cake. Imagine a golden-yellow crumb so porous and light it practically melts upon impact, paired with a massive, two-inch layer of stiff, velvety whipped cream. This isn’t just a dessert; it is a masterclass in textures, balancing the tart brightness of glistening red strawberries against a cloud of fine powdered sugar.
When you look at a professional photo of this cake, your eyes are immediately drawn to that extreme macro detail: the airy, porous structure of the cake and the way the cream overflows with fruit. Achieving this visual masterpiece at home requires more than just a recipe; it requires an understanding of culinary physics. From the way we aerate the eggs to the specific fat content of the cream, every step is designed to replicate that handheld smartphone photo aesthetic of a perfect, tall slice.
Whether you are looking for a show-stopping centerpiece for a garden party or simply want to master the art of the classic strawberry shortcake profile in a sponge format, this guide provides the forensic level of detail you need. Let’s dive into the science of the sponge and the architecture of the perfect cream layer.
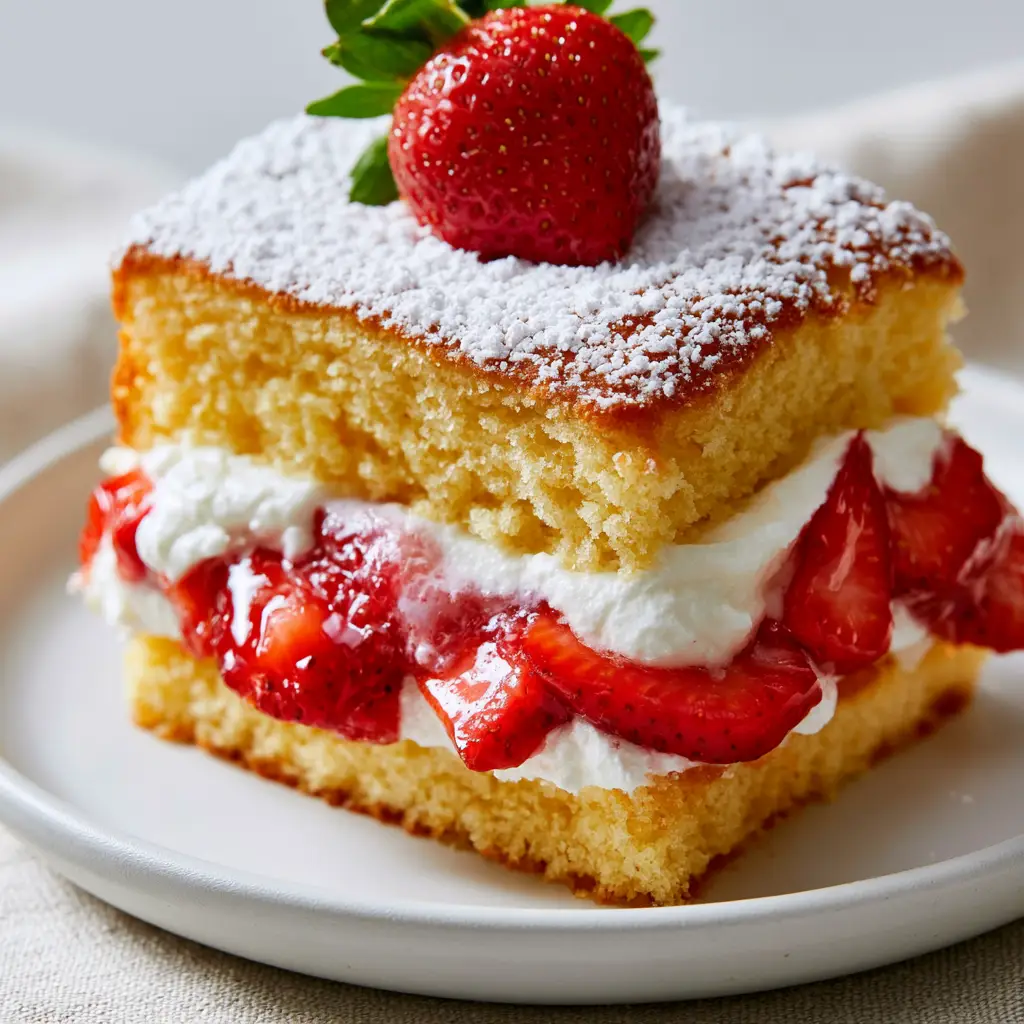
Why This Golden-Yellow Sponge Is a Culinary Triumph
- High-Porosity Crumb: We utilize a specific whisking method to ensure the cake reveals a cloud-like, airy interior that absorbs just enough strawberry juice without becoming soggy.
- Structural Integrity: The cake is strong enough to support a 2-inch (5cm) layer of stiff whipped cream without collapsing, thanks to the precise protein-to-starch ratio.
- Vibrant Visual Contrast: The golden-yellow hue of the sponge provides a stunning backdrop for the bright red strawberry slices and the stark white of the velvety cream.
- Balanced Sweetness: By using a heavy dusting of fine powdered sugar rather than a cloying frosting, the natural floral notes of the fresh strawberries remain the star.
Foundational Ingredients for the Fluffiest Sponge Results
To achieve the specific visual blueprint of this strawberry sponge cake, we must select ingredients that prioritize aeration and stability. Each component serves a technical purpose in building the tall, airy slice seen in the macro photography.
Large Farm-Fresh Eggs (6 total): These are the engine of your sponge, providing the golden-yellow color and the protein structure needed for a high rise. Ensure they are at room temperature to allow the protein bonds to stretch further during whisking.
Superfine Caster Sugar (1 cup / 200g): The fine crystals dissolve quickly into the egg foam, creating a stable network of tiny air bubbles. This results in the “porous, cloud-like crumb” described in our visual prompt.
Cake Flour (1 ¼ cups / 150g): With a lower protein content than all-purpose flour, cake flour ensures the sponge remains tender rather than chewy. Sifting it three times is the “invisible” step that prevents heavy clumps from deflating your air bubbles.
Unsalted Butter, Melted and Cooled (3 tbsp / 45g): A small amount of fat adds a velvety mouthfeel and helps the cake stay moist. It must be folded in at the very end to avoid weighing down the delicate foam.
Baking Powder (1 tsp / 5g): While the eggs provide most of the lift, this small amount acts as insurance for that “tall, thick slice” height. It reacts with the heat of the oven to create secondary expansion.
Heavy Whipping Cream (2 cups / 480ml): You need a minimum of 36% fat content to achieve the 2-inch (5cm) stiff, velvety layer. Anything less will result in a cream that slumps under the weight of the strawberries.
Fresh Strawberries (1 lb / 450g): Select bright red, glistening berries for the best visual impact. You will need enough for both the internal slices and the whole garnish with fresh green leaves.
Powdered Sugar (for dusting): A fine mesh sieve is required to get that “heavy dusting” look that resembles a fresh fall of snow on the golden cake top.
Essential Tools for Precision Baking
To replicate the handheld smartphone photo style, you need equipment that ensures even baking and perfect cream peaks. A standard 8-inch (20cm) deep cake pan is non-negotiable for achieving that vertical height.
A stand mixer with a balloon whisk attachment is highly recommended for the 10-12 minutes of continuous whisking required for the “ribbon stage.” Additionally, a long offset spatula will help you level that 2-inch layer of cream with surgical precision. For the strawberries, a sharp paring knife ensures clean, glistening edges on every slice.
Mastering the Golden-Yellow Sponge: Step-by-Step
Achieving the Perfect Ribbon Stage
Preheat your oven to 350°F (175°C) and grease your deep cake pan. In the bowl of your stand mixer, combine the 6 eggs and 1 cup (200g) of sugar. Whisk on high speed for at least 8 to 10 minutes until the mixture is thick, pale, and leaves a trail (the “ribbon”) that stays on the surface for 3 seconds.
The Delicate Art of Folding
Sift your 1 ¼ cups (150g) of cake flour and baking powder over the egg foam in three stages. Use a large metal spoon or silicone spatula to fold the flour in using a “figure-eight” motion. This is the sensory cue you are looking for: the mixture should remain voluminous and bubbly, never flat or liquid.
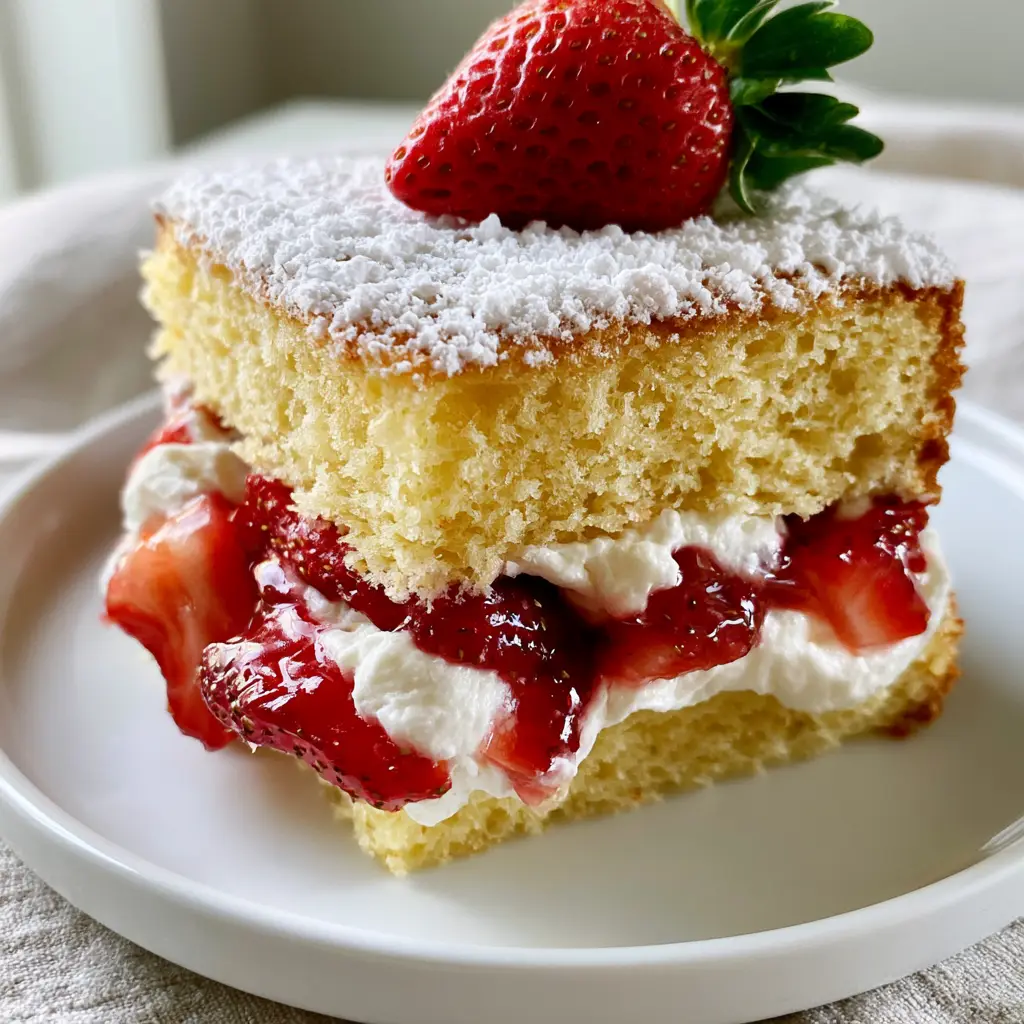
Baking for a Cloud-Like Texture
Gently pour the batter into the pan and bake for 25-30 minutes. Do not open the oven door early, as the sudden temperature drop can cause the porous crumb to collapse. The cake is done when the top is a vibrant golden-yellow and springs back when lightly pressed. Allow it to cool completely on a wire rack before slicing horizontally into two even layers.
Constructing the 2-Inch Cream Layer
Whisk the 2 cups (480ml) of heavy cream with 2 tbsp (30g) of powdered sugar until stiff peaks form. The cream should look velvety and matte, not shiny or curdled. Place the bottom cake layer on a matte white ceramic plate and pile the cream high, ensuring it reaches that 2-inch (5cm) thickness. Press the glistening strawberry slices into the cream, allowing them to overflow slightly at the edges for that “handheld photo” look.
The Final Flourish: Sugar and Garnish
Place the top cake layer gently over the cream. Use a fine-mesh sieve to apply a heavy dusting of powdered sugar across the entire surface. Finally, place a single, perfect whole strawberry with its fresh green leaves right in the center. The contrast between the white sugar, green leaves, and red berry is the hallmark of a professional strawberry sponge cake.
Expert Tips for Bakery-Quality Results
- Temperature Control: Ensure your heavy cream is ice-cold before whipping. This ensures the fat globules remain stable, allowing for that tall, thick 2-inch layer.
- Sifting is Key: To get the porous, airy crumb, sift your flour multiple times. This aerates the dry ingredients, matching the aeration of the eggs.
- The Clean Slice: To get a “macro close-up” worthy slice, dip your knife in hot water and wipe it dry between every single cut. This prevents the cream from smearing onto the golden cake layers.
- Don’t Over-Macerate: If you are using the strawberries inside the cake, slice them just before assembly. If they sit too long in sugar, they will release too much juice and compromise the structural integrity of the cream.
Storage and Preservation
Because of the fresh whipped cream and sliced berries, this cake is best enjoyed the day it is made. However, if you have leftovers, store them in an airtight container in the refrigerator for up to 2 days. The sponge is highly porous, so it will actually absorb a bit of moisture from the cream, becoming even more tender by day two.
We do not recommend freezing the assembled cake, as the fresh strawberries will become mushy upon thawing. However, you can freeze the unadorned sponge layers (wrapped tightly in plastic wrap) for up to 3 months. This is a great tip if you plan to make cake pops or perfect cake pops with any leftover sponge trimmings later on.
Creative Pairings and Serving Suggestions
This strawberry sponge cake is a complete sensory experience on its own, but it pairs beautifully with a few specific sides. For a double hit of fruit, serve each slice with a drizzle of homemade strawberry sauce or a spoonful of fresh strawberry puree.
If you find yourself with extra strawberries after decorating, they are the perfect addition to a strawberry banana smoothie the next morning. For those who enjoy themed baking, you can even use the flavor profile of this cake to inspire vanilla cake pops for a party favors tray.
Frequently Asked Questions
We don’t recommend frozen berries for the filling or garnish, as they release too much moisture upon thawing, which will bleed into the cream and ruin the ‘glistening’ visual appeal.
Use heavy whipping cream with at least 36% fat and whip it to stiff peaks. For extra stability, ensure the cake is completely cool before assembly and keep the cream chilled until the very last second.
The color comes from using high-quality, farm-fresh egg yolks and whisking them thoroughly with sugar. Avoid over-mixing the flour, which can dull the vibrant yellow hue.
A sinking sponge is usually caused by opening the oven door too early, which causes a sudden drop in temperature, or by under-whisking the eggs, meaning the protein structure wasn’t strong enough to hold the air.
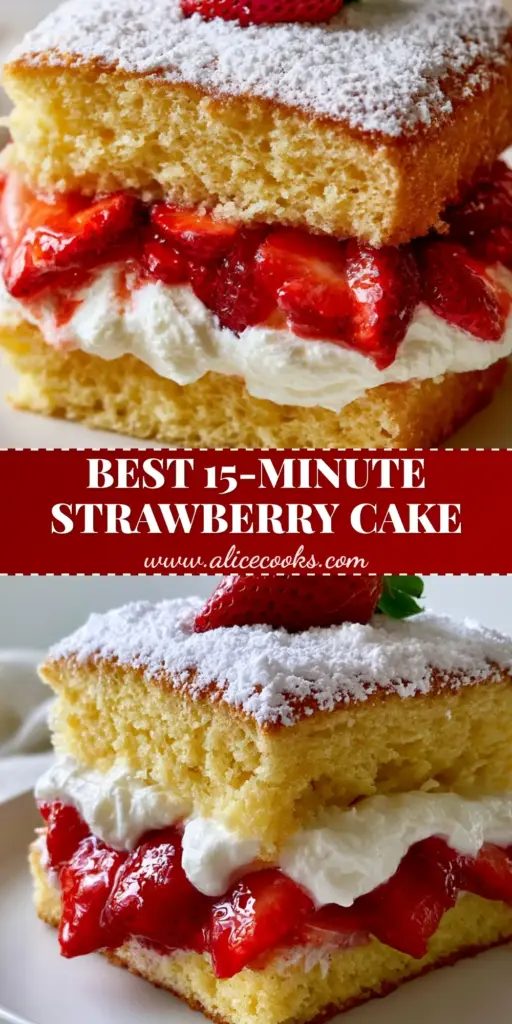
The Ultimate Strawberry Sponge Cake Recipe Card
Strawberry Sponge Cake: The Ultimate Recipe for an Airy, Cloud-Like Crumb
Ingredients
Equipment
Method
- Whisk eggs and sugar on high for 8-10 minutes until the ribbon stage is achieved and the mixture is pale golden-yellow.
- Sift flour and baking powder over the foam; fold gently in three batches using a figure-eight motion until no streaks remain.
- Pour into a prepared 8-inch pan and bake at 350°F (175°C) for 25-30 minutes until golden and springy.
- Whisk cold heavy cream and powdered sugar until stiff, velvety peaks form.
- Place bottom cake layer on a plate, spread a 2-inch layer of cream, and top with glistening strawberry slices.
- Add top layer, apply a heavy dusting of powdered sugar, and garnish with a whole strawberry with green leaves.
Notes
Keep the cream ice-cold to maintain the 2-inch height.
Bring the Bakery Home
Mastering the strawberry sponge cake is a rite of passage for every home cook. It combines the technical discipline of French pastry with the rustic, comforting appeal of fresh summer fruit. By following the visual cues of the golden crumb and the stiff velvety cream, you are guaranteed a result that looks just as good as it tastes.
We would love to see your creations! Please leave a comment below and let us know how your sponge turned out. If you enjoyed this recipe, don’t forget to share your photos and tag alicecooks_official on Pinterest so we can see your beautiful 2-inch cream layers!


