Mastering the art of the perfect Cake pop dough is a culinary milestone for any home baker looking to replicate that iconic, professional-grade texture. We aren’t just looking for crumbled cake; we are aiming for a dense, fudge-like consistency that melts in your mouth while maintaining enough structural integrity to hold onto a stick.
In this guide, we dive deep into the science of the Cake pop dough, ensuring your pink vanilla creations look as stunning as a macro smartphone photo. From the vibrant pink hue to the thick, glossy white chocolate shell, every element is designed for visual and gustatory perfection.
Whether you are prepping for a birthday party or just refining your technique, understanding the moisture-to-crumb ratio is vital. Let’s explore how to transform a simple vanilla sponge into a luxurious, sparkling pink masterpiece that rivals any professional bakery.
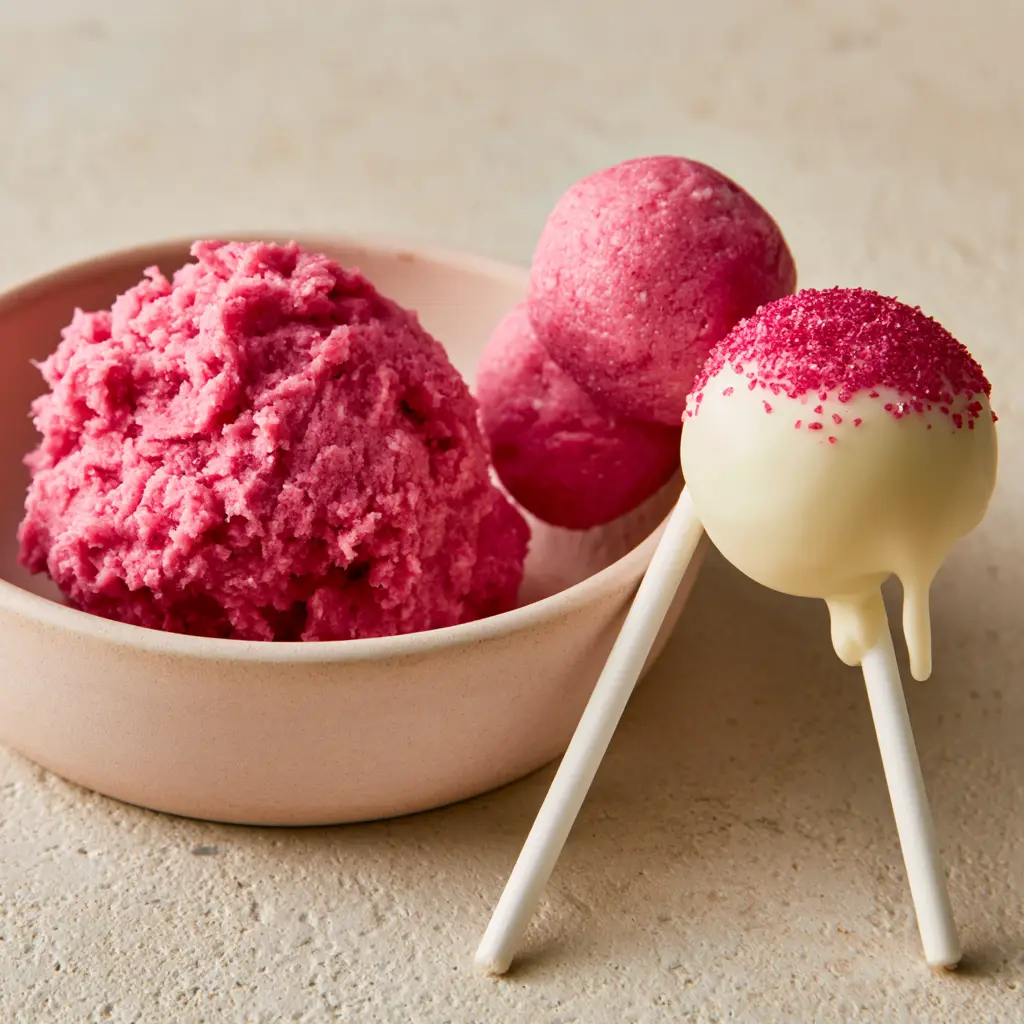
Why This Dense Pink Vanilla Dough Wins Every Time
- Unmatched Texture: By carefully controlling the binder, we achieve a fudge-like density that is rich and satisfying without being cloying.
- Vibrant Visuals: The specific use of pink gel coloring ensures a “vibrant pink” center that pops against the pristine white chocolate coating.
- Professional Finish: We focus on the “glossy white chocolate” technique to ensure a smooth, thick shell with that single perfect drip.
- Sparkling Details: The addition of fine, sparkling pink sanding sugar adds both a crunch and a high-end shimmer to the final product.
The Anatomy of Superior Pink Vanilla Ingredients
Creating the perfect Cake pop dough requires more than just cake scraps; it requires a balance of foundational ingredients and aesthetic enhancers. Using 1/2 cup (113g) of unsalted butter at room temperature ensures the base cake has a tender, moist crumb that crumbles efficiently.
For the vibrant color, we recommend using a high-quality pink gel food coloring rather than liquid, as liquid can alter the moisture balance of the dough. The 1 1/2 cups (190g) of all-purpose flour provides the necessary structure, while 1 tsp (5ml) of pure vanilla extract delivers that nostalgic, aromatic profile.
The binding agent is crucial for that “fudge-like” texture. We use a concentrated vanilla buttercream made from 1/4 cup (57g) of butter and 1 cup (120g) of powdered sugar, adding it gradually until the dough feels like chilled playdough. For the coating, 12 oz (340g) of high-quality white chocolate melting wafers are essential for that thick, glossy finish described in our visual blueprint.
Finally, do not forget the 2 tbsp (25g) of sparkling pink sanding sugar for the topping. These crystals catch the light perfectly, especially under natural side lighting, giving your pops a professional, high-end glow. If you want to master the dipping process, check out our guide on coating cake pops for a streak-free finish.
Essential Gear for Rolling and Dipping Success
To achieve the “macro eye-level” perfection seen in professional photography, you need the right tools. A matte ceramic bowl is ideal for mixing your Cake pop dough, providing a neutral background that makes the pink dough stand out.
You will also need pristine white lollipop sticks, which offer a clean, clinical contrast to the vibrant dough and glossy chocolate. A small cookie scoop (about 1 tbsp capacity) ensures that every sphere is uniform in size, which is critical for even dipping and presentation.
For the coating, a deep, narrow glass or microwave-safe silicone cup is better than a wide bowl. This depth allows for a full submergence of the sphere, which is necessary to achieve that “elegantly half-dipped” look with a single, controlled drip. If you’re looking for more inspiration, explore our cake pop maker recipes for alternative shaping methods.
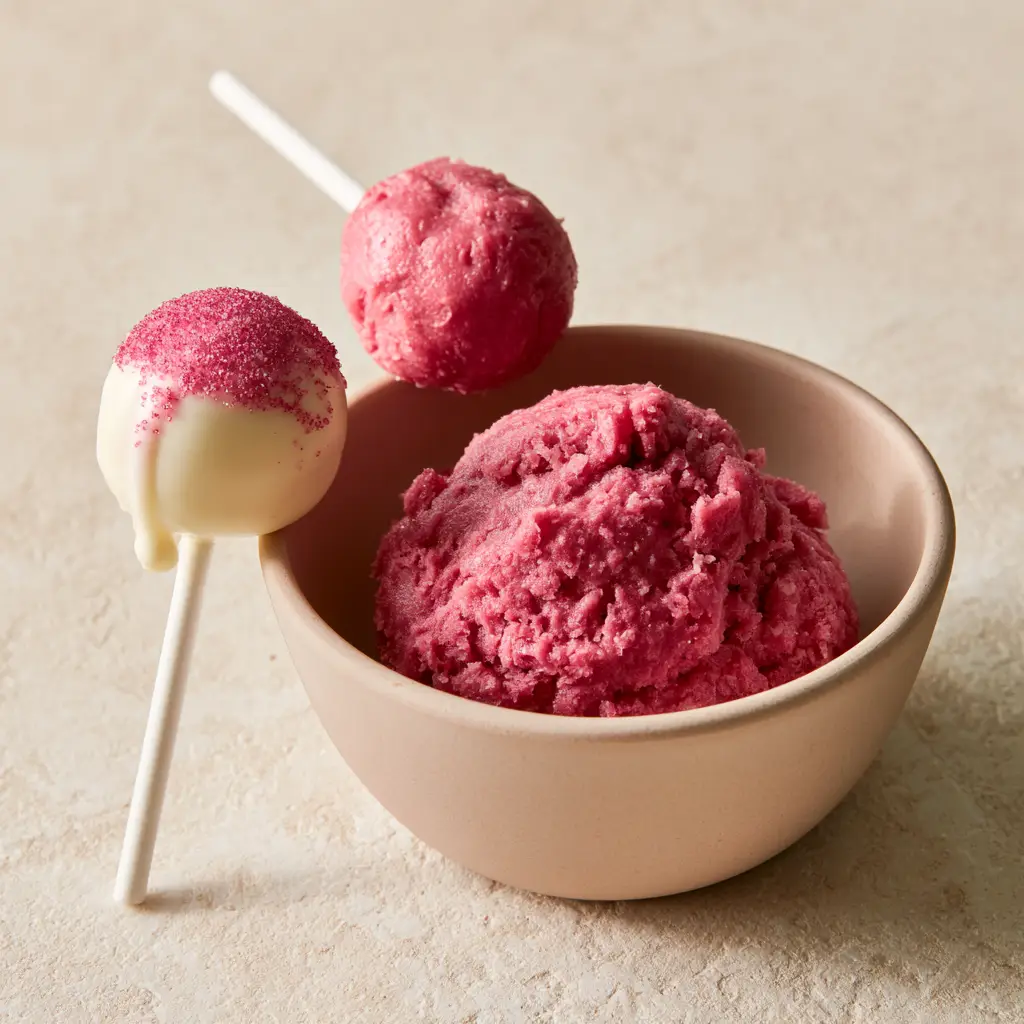
The Blueprint for Crafting Fudge-Like Cake Pop Dough
Building the Pink Vanilla Foundation
Begin by whisking your dry ingredients and creaming the butter and sugar until pale and fluffy. Add the pink gel coloring during the cream phase to ensure even distribution; you are looking for a vibrant, saturated pink that won’t fade during the baking process.
Bake the cake at 350°F (175°C) until a toothpick comes out clean but with a few moist crumbs attached. It is vital not to overbake, as a dry cake will require too much frosting binder, which can make the Cake pop dough greasy rather than fudge-like.
The Crumb and Bind Technique
Once the cake is completely cool, remove the browned edges with a serrated knife. This ensures the internal dough is purely pink without any brown flecks marring the visual. Crumble the cake by hand into a fine, sand-like texture in your ceramic bowl.
Add the vanilla buttercream one tablespoon at a time. Mix thoroughly after each addition until the dough can be pressed into a ball without cracking. The sensory cue here is a “thick, moist mound” that feels heavy and dense, similar to truffle filling.
Rolling and Setting the Spheres
Scoop the dough and roll between your palms until you have a perfectly smooth pink sphere. There should be no visible cracks. If the dough is sticking to your hands, chill it for 10 minutes before continuing.
Dip the tip of a white lollipop stick into melted chocolate and insert it halfway into the sphere. This acts as a “glue.” Place the pops on a parchment-lined tray and chill in the freezer for 15-20 minutes. They must be firm but not frozen before dipping.
The Glossy Half-Dip and Sparkling Finish
Melt your white chocolate wafers until they are completely smooth and glossy. Hold the pop by the stick and dip it halfway into the chocolate at an angle. As you lift it out, allow a single drip to form and slowly roll down the side of the pink dough.
Immediately, while the chocolate is still wet, sprinkle the fine, sparkling pink sanding sugar over the top. The contrast between the matte pink dough and the glossy white shell is what creates that high-end, artisanal look. For more tips on achieving this, see our cake pop tips for expert decorators.
Expert Troubleshooting for Dense Dough
- Avoid the Oil Slick: If your dough looks shiny or greasy, you have added too much frosting. Balance it by adding more dry cake crumbs or a small amount of almond flour.
- Cracking Shells: This happens when the cake pop is too cold and the chocolate is too hot. Let the chilled pops sit at room temperature for 5 minutes before dipping into the warm glossy chocolate.
- The Perfect Drip: To get that “single perfect drip,” do not shake the pop after dipping. Simply hold it upright and let gravity do the work for 3-5 seconds.
- Sanding Sugar Precision: Use a small spoon to sprinkle the sugar rather than dipping the pop into the sugar bowl. This keeps the chocolate shell smooth and prevents clumps.
Preserving Your Vibrant Vanilla Creations
These Cake pop dough treats are best stored in an airtight container in the refrigerator for up to 5 days. The dense, fudge-like interior actually improves after 24 hours as the flavors meld and the moisture stabilizes.
If you need to store them longer, they can be frozen for up to 6 weeks. However, be aware that the “glossy white chocolate” may lose some of its luster upon thawing due to condensation. For the best visual results, always serve at room temperature to let the vanilla aromatics shine.
What to Pair with Pink Vanilla Cake Pops
These treats are naturally sweet, so they pair beautifully with a tart contrast. A side of fresh strawberries or a glass of cold milk complements the dense vanilla profile perfectly. If you enjoy this flavor profile, you might also love our strawberry shortcake cake pops for a fruity twist.
For a complete dessert table, consider serving these alongside our vanilla cake pops recipe to offer guests variety in texture and color. The bright pink against a classic vanilla background creates a stunning visual gradient.
Frequently Asked Questions
Yes, you can prepare the dense pink dough up to 2 days in advance. Keep it tightly wrapped in plastic wrap in the fridge to maintain its moisture and fudge-like texture.
Use concentrated gel food coloring rather than liquid drops. Gel provides intense color with just a tiny amount, preserving the vanilla flavor profile and dough consistency.
Ensure the cake pop spheres are properly chilled and set before dipping. A cold dough surface helps the white chocolate shell firm up instantly, creating a clean barrier.
Using high-quality melting wafers with a high cocoa butter content is key. Avoid overheating the chocolate, as ‘seizing’ will cause it to look dull and lumpy rather than smooth.
This usually happens if the dough is too heavy/moist or if the pops weren’t chilled long enough. Ensure you dip the stick in chocolate before inserting it to act as a secure glue.
The Signature Pink Vanilla Cake Pop Dough Recipe
Cake Pop Dough: The Ultimate Secret to Dense, Fudge-Like Pink Treats
Ingredients
Equipment
Method
- Cream butter, sugar, and pink gel. Add flour and vanilla, then bake at 350°F (175°C) for 20 minutes until vibrant and moist.
- Remove browned edges and crumble the cooled pink cake into a fine sand-like texture in a ceramic bowl.
- Slowly mix in buttercream until a dense, fudge-like pink dough forms.
- Roll into 1-inch spheres and insert white sticks dipped in chocolate. Chill for 20 minutes.
- Half-dip the spheres into melted white chocolate, allowing for one perfect drip.
- Sprinkle with pink sanding sugar immediately while the shell is glossy and wet.
Notes
Ensure the chocolate is warm but not hot to prevent cracking.
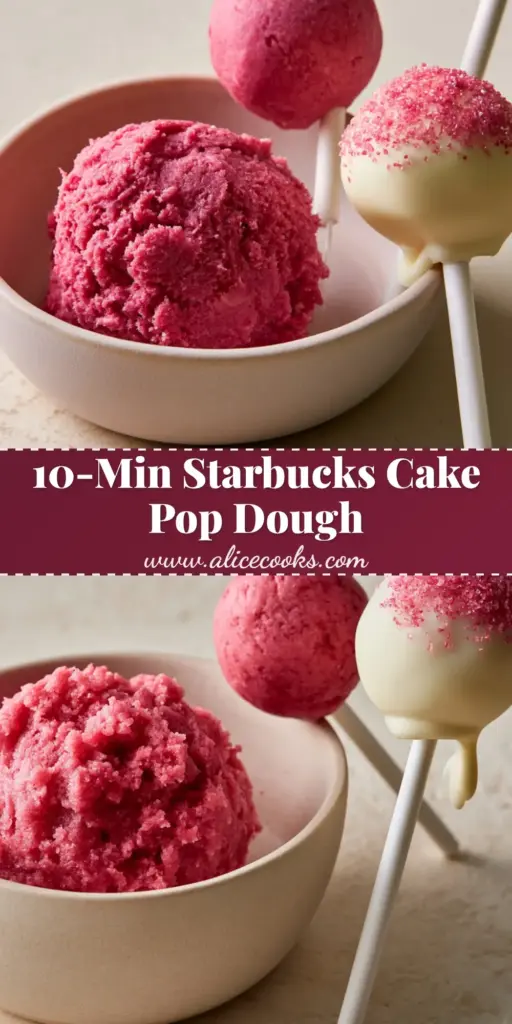
Ready to Roll Your Own Perfection?
Creating the perfect Cake pop dough is a rewarding journey into texture and color. By following this scientific approach to moisture and visual cues, you’ll produce pops that aren’t just snacks, but edible pieces of art. The combination of dense pink vanilla dough and a thick, glossy white shell is a guaranteed crowd-pleaser.
We would love to see your results! Tag us in your photos and share your “drip” success stories in the comments below. Don’t forget to follow our Pinterest for more visually stunning recipe inspiration!


