Mastering the art of coating cake pops is the difference between a homemade treat and a professional-grade dessert that looks like it belongs in a high-end boutique. Achieving that perfectly spherical shape and a shell so smooth it reflects the light requires more than just luck; it demands a fusion of culinary science and precise technique. Whether you are aiming for a soft pastel pink aesthetic or a bold chocolate finish, the secret lies in the temperature, the thinning agent, and the motion of the dip.
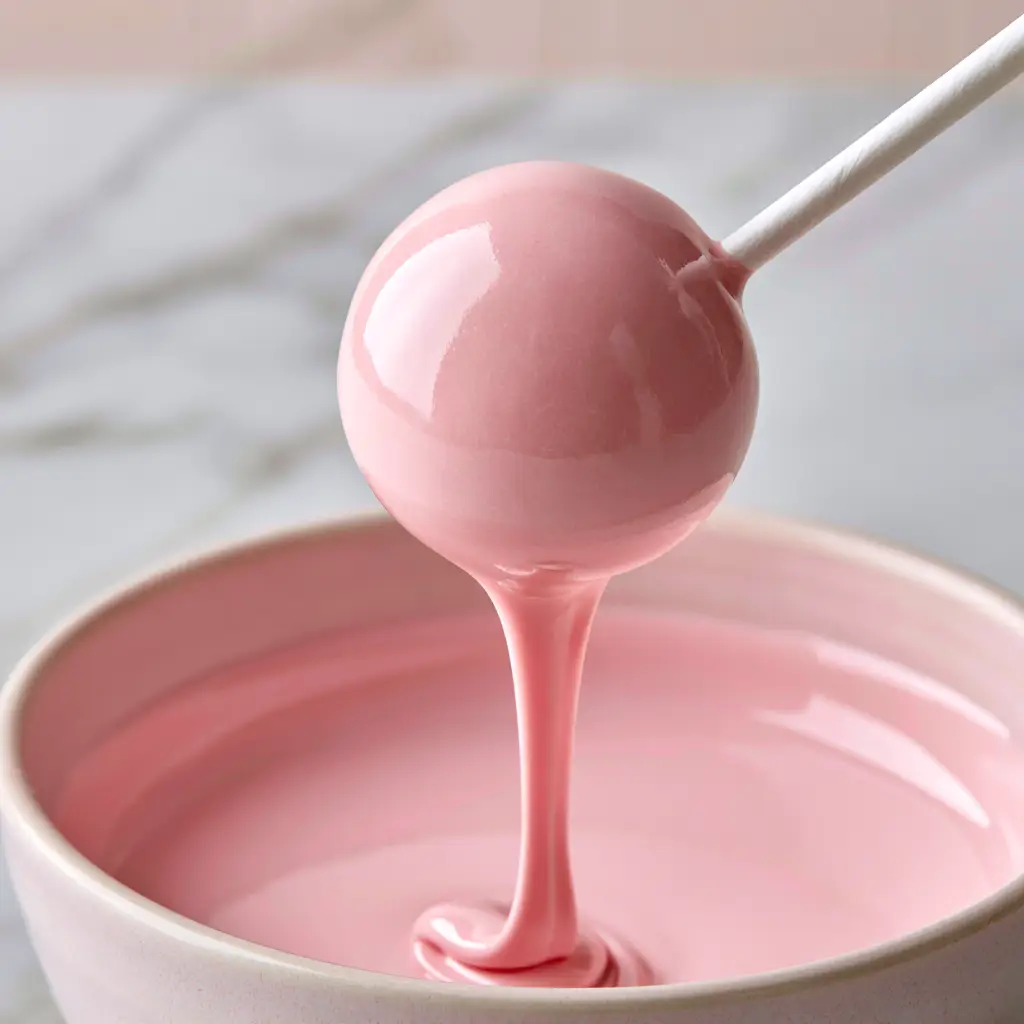
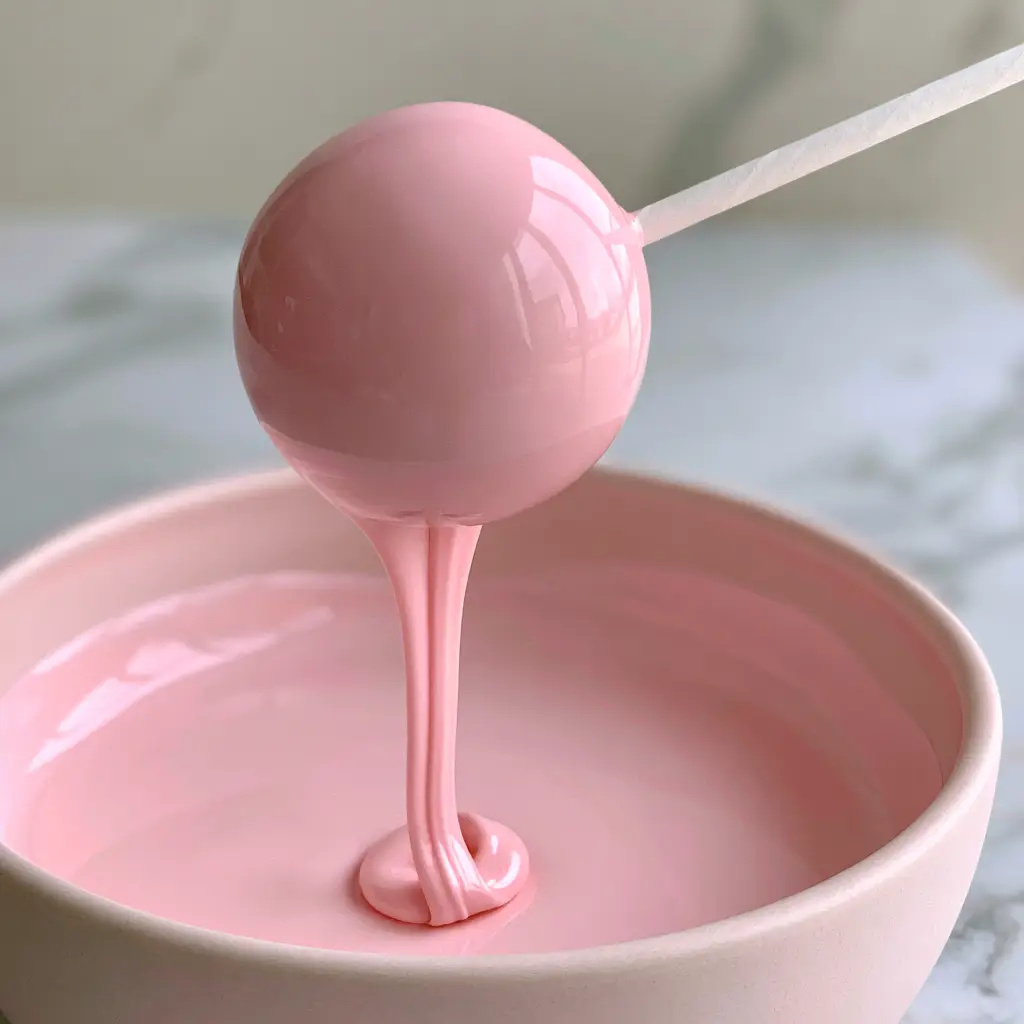
Imagine lifting a spherical vanilla cake pop from a pool of glossy, melted pink candy. As you pull it upward, a thick, elegant ribbon of shiny pink chocolate drips back into the bowl, leaving behind a coating that is flawlessly smooth and translucent. This guide will walk you through the forensic details of perfect cake pops, ensuring your next batch has that signature smartphone-photo-ready glow.
The Structural Science of a Picture-Perfect Cake Pop
- Shatter-Resistant Shell: A balance of candy melts and fats ensures the coating snaps when bitten but doesn’t crack while drying.
- Ultra-Smooth Texture: By incorporating a specific thinning agent, we eliminate the dreaded “glop” and achieve a professional cake-pop dough seal.
- Visual Depth: The use of pastel pink melts against a clean white paper stick creates a modern, minimalist contrast.
- Internal Stability: A precise ratio of vanilla cake crumbs to cream cheese frosting ensures the pop stays on the stick during the dipping process.
Essential Elements for the Perfect Pink Coating
Vanilla Cake Crumbs: 2 cups (approx. 240g) of finely crumbled vanilla cake serve as the foundation. You want a tight, even crumb to ensure the interior is dense enough to support the weight of the candy shell.
Cream Cheese Frosting: 2-3 tbsp (30-45g) of smooth cream cheese frosting acts as your culinary binder. It provides the moisture necessary to transform dry crumbs into a pliable, rollable dough without making it greasy.
Pastel Pink Candy Melts: 12 oz (340g) of high-quality pink candy melts or white chocolate with oil-based food coloring. These provide the vibrant, opaque color and the structural “snap” that defines a professional cake pop.
Vegetable Oil or Paramount Crystals: 1-2 tsp (5ml-10ml) of neutral oil is the “invisible” ingredient. It thins the melted candy to a dipping consistency, allowing excess coating to flow off in a thick ribbon rather than clumping.
White Paper Cake Pop Sticks: Standard 6-inch (15cm) sticks provide the classic aesthetic. The paper texture helps the cake “grip” the stick better than plastic alternatives.
Must-Have Tools for Culinary Precision
Achieving the look described in our cake pop tips requires the right environment. You will need a deep, narrow microwave-safe bowl (ceramic or glass) which allows for a full immersion of the cake sphere. A styrofoam block or a dedicated cake pop stand is essential for drying the pops upright to avoid flat spots. Lastly, a small offset spatula or a spoon helps in smoothing the initial crumb-to-frosting mixture.
Step-by-Step Methodology for Coating Cake Pops
Phase 1: Engineering the Spherical Core
Begin by crumbling your vanilla cake into a large bowl until no large chunks remain. Add the cream cheese frosting one tablespoon at a time, mixing until the dough feels like damp sand and holds its shape when squeezed. Scoop approximately 1 tbsp (15g) of dough and roll it between your palms to create a perfectly spherical shape. Place the spheres on a parchment-lined tray and chill for 20 minutes; they must be firm but not frozen to prevent the coating from cracking due to thermal shock.
Phase 2: The Fusion of Stick and Cake
Melt a small handful of candy melts in the microwave in 30-second bursts. Dip the tip of a white paper stick about 1/2 inch (1.3cm) into the melted candy, then insert it halfway into a chilled cake ball. This creates a “glue” that prevents the pop from sliding off during the coating cake pops process. Let these set for 5 minutes until the seal is hard.
Phase 3: The Master Dip and Ribbon Drip
Ensure your melted pink coating is warm and fluid, adding your thinning oil until it reaches the consistency of heavy cream. Submerge the cake pop in one single, fluid motion until the coating reaches the stick. Lift the pop straight up, holding it over the bowl. You should see a thick, elegant ribbon of shiny pink chocolate dripping back into the bowl. Gently tap your wrist (not the stick!) to help the excess flow off, rotating the pop slowly to ensure an even distribution.
Phase 4: The Final Setting
Once the dripping has subsided and the coating looks flawlessly smooth and matte-glossy, place the stick into your drying stand. Ensure the environment is cool and dry. Avoid the refrigerator at this stage, as condensation can ruin the shine of the vanilla cake pops shell.
Expert Troubleshooting for a Flawless Finish
- Preventing Cracks: Never dip a frozen cake pop into hot candy coating. The expansion and contraction of the cake core will cause the shell to fracture within minutes.
- Eliminating Bubbles: If you see air bubbles in your melted coating, tap the bowl firmly on the counter before dipping. Use a toothpick to pop any stubborn bubbles on the cake pop surface immediately after dipping.
- Fixing Thick Coating: If the coating feels “gloppy,” add a half-teaspoon of oil. It should flow off the pop like a silk ribbon, not a heavy sludge.
- Secure Sticks: If the pops are falling off, ensure you aren’t using too much frosting in your vanilla cake pops recipe. A greasy interior won’t bond to the stick.
What to Serve with These Pastel Delights
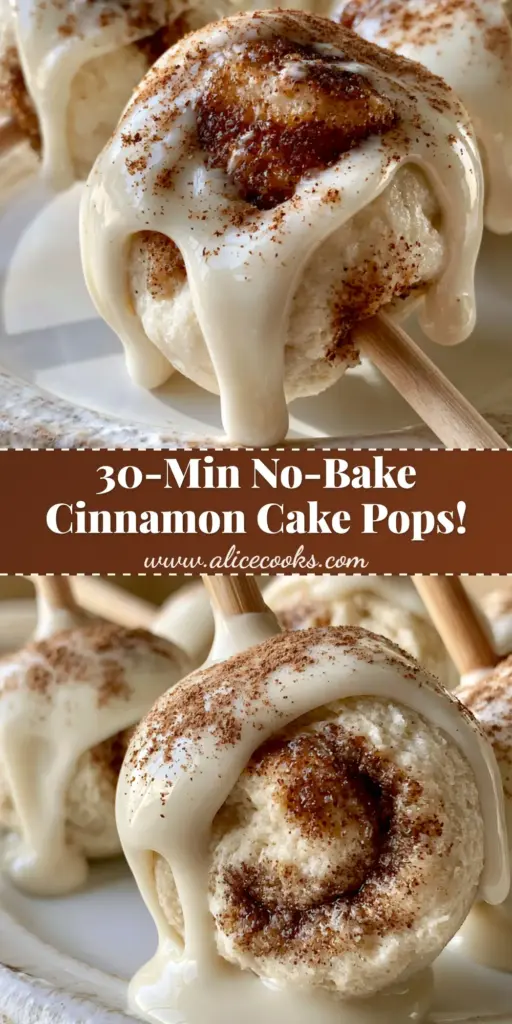
These pink vanilla treats are a centerpiece in themselves, but they pair beautifully with other textured desserts. Consider serving them alongside strawberry shortcake cake pops for a berry-themed spread or cinnamon roll cake pops for a warm, spiced contrast. If you’re hosting a larger event, a funfetti sheet cake provides a nostalgic backdrop to these modern, minimalist spheres.
Frequently Asked Questions
Yes, but white chocolate is more temperamental. You must use oil-based food coloring (never water-based) to avoid seizing, and you may need more thinning agent to reach the correct dipping consistency.
Tap the bowl of melted candy firmly on the counter to bring bubbles to the surface. After dipping, if bubbles appear on the pop, use a toothpick to pop them immediately while the coating is still wet.
Add a small amount of neutral vegetable oil or Paramount crystals (about 1 teaspoon per 12 oz of melts). This reduces the viscosity, allowing the coating to flow off the pop in a thin, even layer.
This happens if the cake dough is too oily/moist or if the stick wasn’t ‘glued’ properly. Ensure you dip the stick in melted candy before inserting it into the cake ball and let it set completely before dipping the whole pop.
Cracking usually occurs due to an extreme temperature difference. If the cake pop core is too cold (frozen) and the coating is too warm, the core expands as it adjusts to room temperature, causing the shell to fracture.
The Ultimate Recipe for Coating Cake Pops
Coating Cake Pops: The Professional Guide to a Flawless Glossy Finish
Ingredients
Equipment
Method
- Mix vanilla cake crumbs with cream cheese frosting until a pliable dough forms.
- Roll 1 tbsp of dough into a smooth sphere and chill for 20 minutes until firm.
- Dip the tip of a white stick into melted candy and insert halfway into the cake sphere.
- Melt pink candy melts with vegetable oil until it reaches a heavy cream consistency.
- Submerge the pop fully, lift straight up, and allow a thick ribbon of chocolate to drip back into the bowl while gently tapping your wrist.
- Place upright in a stand to dry until the coating is flawlessly smooth and set.
Notes
Use a deep, narrow bowl to minimize the amount of candy melts needed for full immersion.
Mastering the Art of the Dip
Perfecting the technique of coating cake pops is a rewarding skill that elevates your baking from hobbyist to artisan. By focusing on the temperature of your ingredients and the fluid motion of the drip, you create a sensory experience that is as beautiful as it is delicious. We invite you to share your glossy creations with us and join our community of home cooks. Don’t forget to follow us on Pinterest for more visual recipe inspiration and technical baking deep-dives!


