There is something undeniably nostalgic and satisfying about biting into perfect vanilla cake pops. That signature snap of a thin, pastel pink candy shell followed by a dense, moist, and fluffy vanilla core is the hallmark of a professional-grade treat. If you have ever stood in line at a cafe wondering how they achieve that ultra-smooth, crack-free exterior, you are in the right place.
Creating these handheld delights at home requires more than just crumbling a cake; it demands a forensic approach to texture and temperature. Our version captures the exact aesthetic of the viral Starbucks classic, featuring a light-yellow crumb and a delicate white chocolate drizzle. We will walk you through the science of the “perfect crumb-to-frosting ratio” to ensure your centers are never mushy, only tender and rich.
Whether you are preparing a dessert table for a bridal shower or simply want to master the art of the dip, this guide covers every technical detail. From preventing the dreaded “leaking oil” to ensuring your sticks stay securely fastened, this is the only masterclass you will ever need for successful vanilla cake pops.
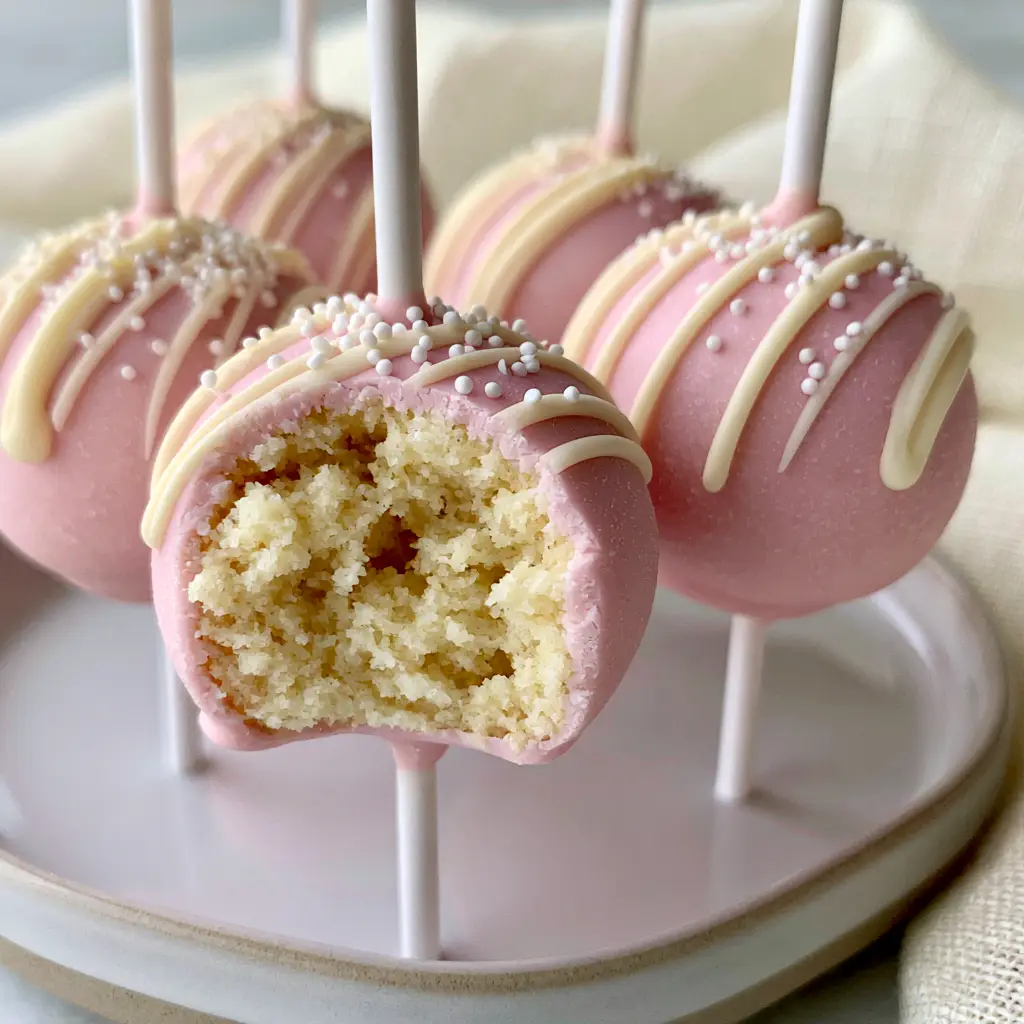
Why These Pastel Pink Vanilla Cake Pops Stand Out
- Visual Precision: Each pop features a flawlessly smooth, crack-free pastel pink candy coating that looks like it came from a high-end bakery.
- Superior Texture: A clean bite reveals a moist, fluffy, light-yellow vanilla cake core rather than a gummy or doughy center.
- Elegant Finishes: Decorated with a professional-grade glossy white chocolate drizzle and tiny white nonpareil sprinkles for that signature “copycat” look.
- Structural Integrity: Techniques designed to keep your pops upright on their white sticks without sliding or cracking.
Essential Components for the Perfect Vanilla Cake Core
To achieve the specific light-yellow, fluffy interior seen in our visual blueprint, we must use high-quality foundational ingredients. Every element plays a scientific role in the structural success of your vanilla cake pops.
Unsalted Butter (1/2 cup / 113g): Softened butter provides the aerated structure and rich mouthfeel necessary for a moist cake base. It ensures the crumb is flavorful enough to stand up to the sweetness of the candy shell.
Granulated Sugar (1 cup / 200g): Sugar does more than sweeten; it helps tenderize the gluten, ensuring the vanilla cake pops have that signature soft, melt-in-your-mouth quality.
All-Purpose Flour (1.5 cups / 190g): This provides the necessary protein structure to keep the cake from falling apart when crumbled and mixed with frosting.
Baking Powder (1.5 tsp / 7g): This leavening agent creates the “fluffy” light-yellow core described in our visual prompt by introducing tiny air pockets during the bake.
Whole Milk (1/2 cup / 120ml): Milk adds moisture and fat, which prevents the cake from becoming too dry once it is crumbled into cake pop dough.
Vanilla Extract (1 tbsp / 15ml): A high concentration of quality vanilla is essential for that iconic “birthday cake” aromatic profile.
Pink Candy Melts (12 oz / 340g): These provide the smooth, pastel pink exterior that hardens quickly and offers a clean, professional snap.
White Chocolate Chips (1/4 cup / 45g): Melted down, these create the glossy white drizzle that contrasts beautifully against the pink shell.
Vegetable Shortening or Coconut Oil (1-2 tsp / 5-10g): A secret baker’s ingredient used to thin the candy coating for a perfectly smooth, dip-able consistency.
Professional Tools for Bakery-Style Results
Achieving the elegant look of a Starbucks copycat cake pop requires specific equipment to manage the dipping and drying process. You will need a standard 9×9 inch (23x23cm) baking pan for the cake base and a large mixing bowl for crumbing. A digital kitchen scale is highly recommended for weighing the dough to ensure every pop is uniform in size.
For the dipping phase, a deep, narrow microwave-safe glass or silicone cup is vital for full submersion. You will also need 6-inch (15cm) white lollipop sticks and a cake pop stand or a block of styrofoam to keep the pops upright while the pastel pink shell sets. Finally, a small piping bag or a fork will help achieve that delicate, glossy white chocolate drizzle.
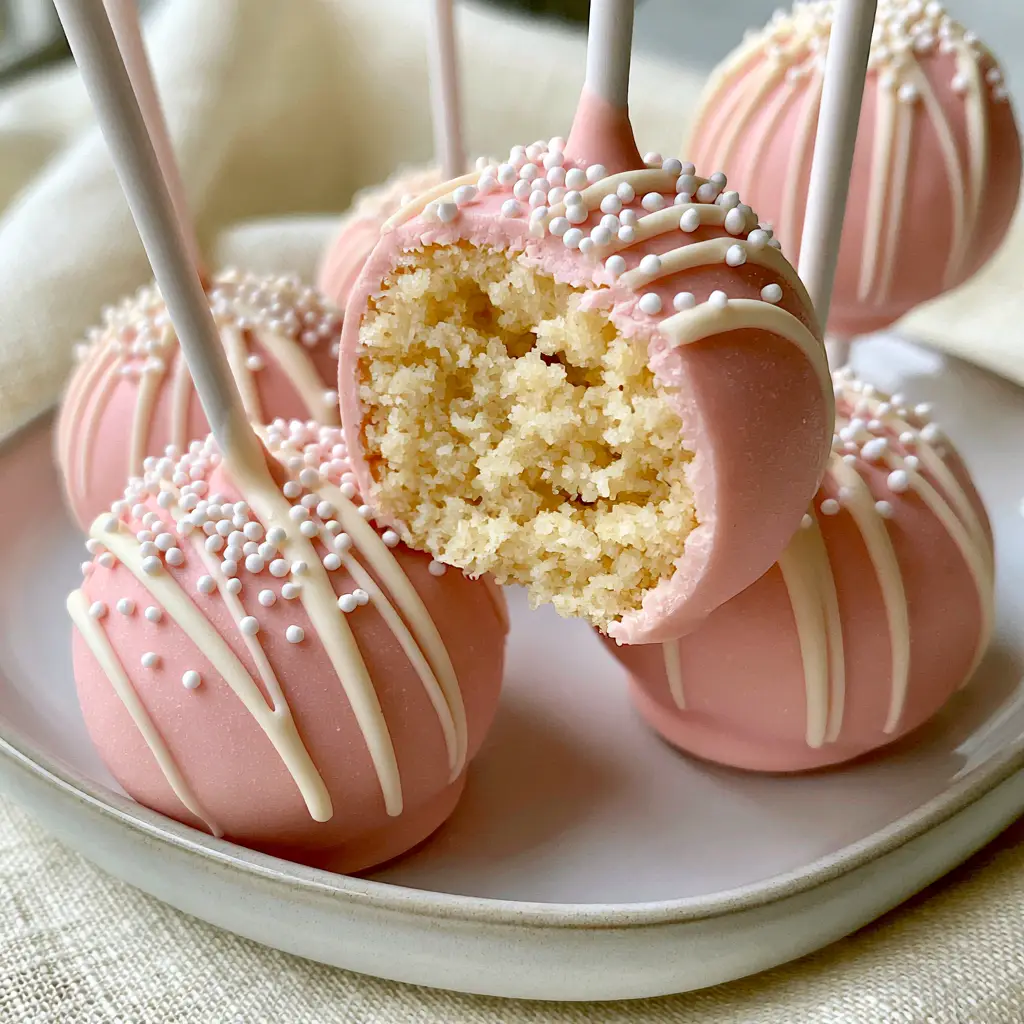
Mastering the Fluffy Vanilla Cake Base
Step 1: Creaming and Baking the Foundation
Preheat your oven to 350°F (175°C). In a large bowl, cream together the softened butter and granulated sugar until the mixture is pale and light, which takes about 3-5 minutes. Add the eggs one at a time, followed by the vanilla extract, ensuring each is fully incorporated before adding the next.
Sift your dry ingredients together and alternate adding them to the wet mixture with the whole milk. Pour the batter into a greased pan and bake for 25-30 minutes. You are looking for a light golden-brown surface and a toothpick that comes out clean, indicating the moist vanilla cake interior is ready.
Step 2: The Art of the Crumb and Bind
Once the cake has cooled completely, remove any browned edges with a serrated knife if you want a purely light-yellow interior. Crumble the cake into a large bowl until it resembles fine sand. Add 2-3 tablespoons (30-45g) of vanilla buttercream frosting.
Mix by hand until the dough holds together when squeezed, similar to the consistency of playdough. If the dough is too dry, it will crack; if it is too wet, it will slide off the stick. This is the foundation of perfect cake pops that maintain their shape during the dipping process.
Step 3: Shaping and Chilling for Stability
Scoop about 1 tablespoon (approx 30g) of dough and roll it between your palms until it is a perfectly smooth sphere. Place the spheres on a parchment-lined tray. Melt a tiny amount of pink candy coating, dip the tip of a white lollipop stick into it, and insert it halfway into the cake ball. Chill the pops in the refrigerator for at least 30-60 minutes to firm up the fats and secure the sticks.
Creating the Flawless Pastel Pink Exterior
Step 4: The Professional Dipping Technique
Melt the pink candy melts in a deep cup, adding a teaspoon of shortening to achieve a fluid, honey-like consistency. Submerge a chilled cake pop vertically until the coating touches the stick. Pull it straight out—do not stir—and gently tap your wrist to let the excess coating drip off. This creates that flawlessly smooth, crack-free pastel pink candy coating seen in the vanilla cake pops recipe photos.
Step 5: The Glossy Drizzle and Sprinkles
Before the pink shell fully hardens, you can apply your white sugar nonpareil sprinkles. Once the pink base is set, melt the white chocolate chips and drizzle them in a delicate back-and-forth motion over the top of the pop. The contrast of the glossy white drizzle against the pastel pink provides a sophisticated, modern aesthetic.
Expert Tips for Success
- Avoid Over-Heating: Never overheat your candy melts, or they will become thick and clumpy. If the coating is too thick, add a tiny bit more oil.
- Temperature Control: Ensure your cake balls are chilled but not frozen. Dipping a frozen cake ball into warm candy coating is the primary cause of cracking shells.
- The “Tap” Method: When removing excess coating, tap your wrist, not the stick itself, to prevent the cake pop from vibrating off the stick.
- Uniformity: Use a small cookie scoop to ensure every one of your vanilla cake pops is the exact same size for a professional display.
Storage, Reheating & Freezing
Vanilla cake pops are incredibly shelf-stable due to the candy shell. They can be stored in an airtight container at room temperature for up to 3 days, or in the refrigerator for up to a week. For the best flavor, always serve them at room temperature so the interior cake remains soft and fluffy.
If you wish to freeze them, place the finished pops in a single layer in a freezer-safe container. They will last for up to 2 months. To thaw, move them to the refrigerator overnight. Avoid touching the shells while they thaw to prevent fingerprint marks on the smooth pink finish.
Creative Pairings and Variations
These elegant treats are a staple for any dessert spread. If you are looking to expand your repertoire, you might try our strawberry shortcake cake pops for a fruity twist or the warming spices of our cinnamon roll cake pops. For those who love classic cookie flavors, the lofthouse cookie cake pops offer a similar soft-bite experience.
Serve these pops alongside a refreshing beverage or as part of a larger “Copycat Series” featuring banana bread cake pops and oatmeal creme pie cake pops. They also pair beautifully with a light strawberry sponge cake for a themed afternoon tea.
Frequently Asked Questions
Yes, you can prepare the cake balls and keep them in the fridge for up to 2 days before dipping. Once dipped, they stay fresh at room temperature for 3 days in an airtight container.
Thin your melted candy melts with a small amount of vegetable shortening or coconut oil until it reaches a fluid, honey-like consistency. Always dip vertically and tap your wrist gently to remove excess.
Cracks occur when there is a drastic temperature difference between the cake ball and the coating. Ensure your cake balls are chilled but not frozen before dipping into the warm candy melts.
A gummy interior is usually caused by adding too much frosting to the cake crumbs. Add frosting one tablespoon at a time until the dough just holds together like playdough.
The Ultimate Vanilla Cake Pops Recipe
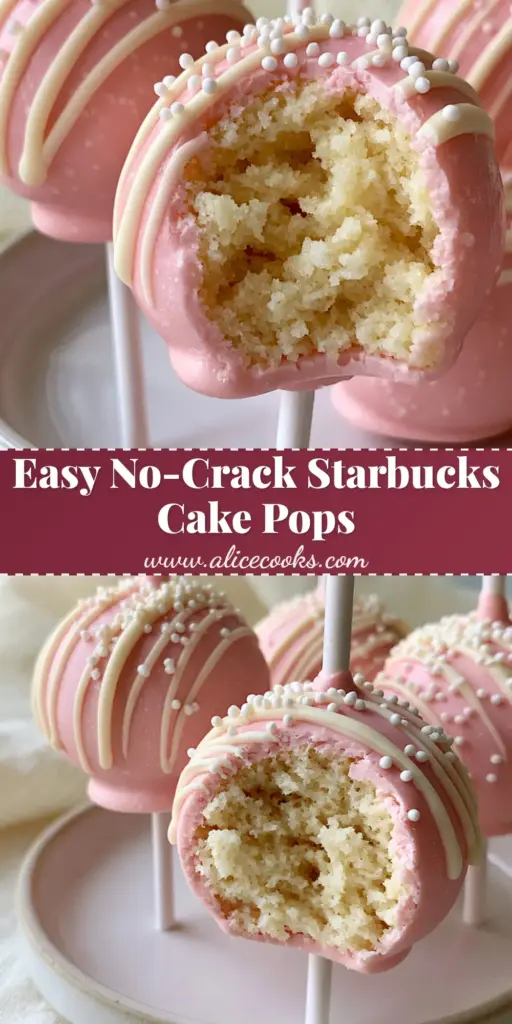
Vanilla Cake Pops: The Ultimate Starbucks Copycat Recipe for a Flawlessly Smooth Finish
Ingredients
Equipment
Method
- Cream 1/2 cup (113g) butter and 1 cup (200g) sugar until pale and fluffy.
- Mix in eggs and 1 tbsp (15ml) vanilla. Alternate adding 1.5 cups (190g) flour and 1.5 tsp (7g) baking powder with 1/2 cup (120ml) milk.
- Pour into a 9x9 pan and bake at 350°F (175°C) for 25-30 mins until light golden.
- Once cool, crumble cake into fine crumbs. Mix with 3 tbsp (45g) frosting until a dough forms.
- Roll into 20 balls. Dip sticks in melted candy, insert into balls, and chill for 60 minutes.
- Melt pink candy with shortening. Dip pops vertically to coat smoothly. Tap off excess.
- Apply white nonpareils, let set, then drizzle with melted white chocolate.
Notes
Keep candy coating warm but not hot for the smoothest finish.
Conclusion: Bring the Cafe Home
Mastering the vanilla cake pops is a rewarding culinary achievement that bridges the gap between baking and edible art. By following these forensic steps—from the light-yellow fluffy core to the glossy white drizzle—you can recreate a high-end bakery experience in your own kitchen. These pops are not just treats; they are a testament to the beauty of precision baking.
If you enjoyed this recipe, please leave a comment below and let us know how your smooth pink shells turned out! Don’t forget to share your creations and follow us at Pinterest for more elegant dessert inspiration.


