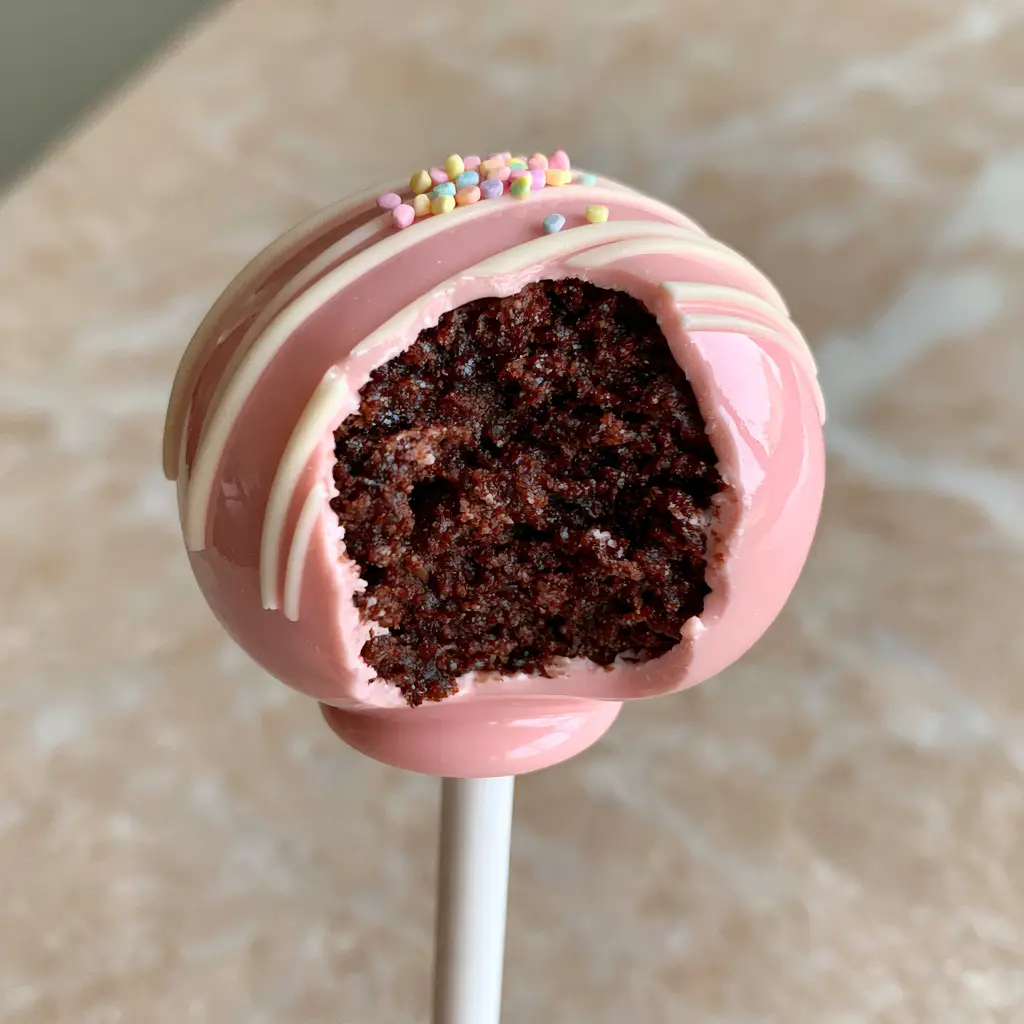
Mastering the art of Perfect Cake Pops is the ultimate milestone for any home baker. There is a specific, undeniable joy in biting through a crisp, snappy candy shell to reveal a dense, fudgy chocolate interior that melts on the tongue. This recipe isn’t just about making a sweet treat; it is about achieving that boutique-quality finish characterized by a flawless pastel pink glow and delicate micro-thin white chocolate stripes.
Visualizing the perfect result is key to culinary success. Our goal is a cake pop that looks as good as it tastes—anchored securely to a clean white stick with a visible candy melt “collar lock” that ensures it never slides off. Whether you are prepping for a celebration or just honing your pastry skills, these professional-grade techniques will elevate your dessert game to new heights.
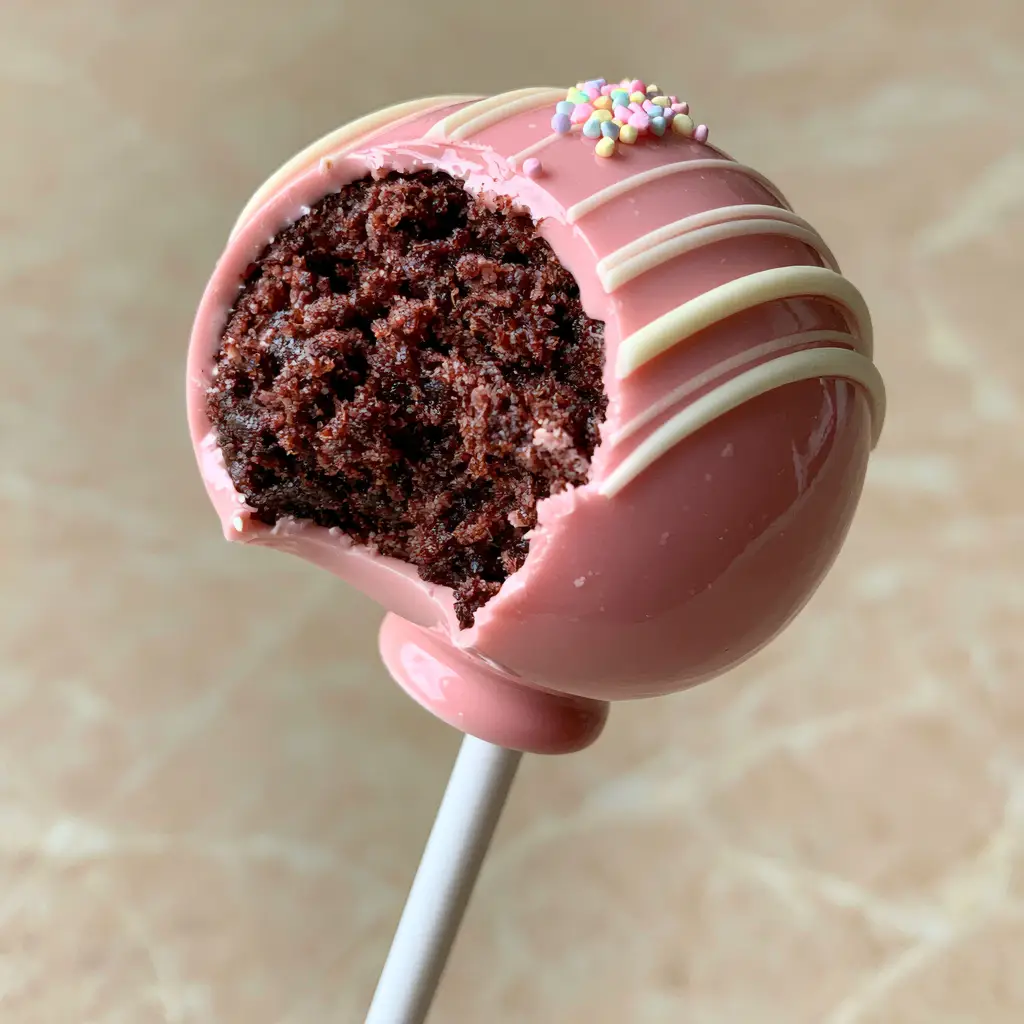
The Secret to That Signature Fudgy Chocolate Core
- Ultra-Moist Crumb Texture: Unlike dry, crumbly alternatives, this recipe utilizes a high-fat chocolate cake base to ensure a truffle-like consistency.
- Precision Binding: We use a measured ratio of cake pop dough to frosting, creating a structure that is pliable but never mushy.
- The “Collar Lock” Technique: A visible ring of hardened candy melt at the base of the sphere provides the structural integrity seen in professional displays.
- Artisanal Finishing: The contrast between the thick pastel pink coating and the micro-thin white chocolate drizzle provides a multi-textural experience.
Foundational Ingredients for the Ultimate Cake Pop dough
Dutch-Processed Cocoa Powder: 3/4 cup (75g). This provides the deep, dark color and “fudgy” flavor profile essential for a rich chocolate center.
All-Purpose Flour: 1.5 cups (190g). Flour provides the necessary gluten structure so the cake can be crumbled without turning into paste.
Granulated Sugar: 1 cup (200g). Sugar not only sweetens but also interferes with gluten development, keeping the baked cake tender enough to blend.
Buttermilk: 1/2 cup (120ml). The acidity in buttermilk reacts with the leavening agents to create a soft, moist crumb that holds moisture long after baking.
Vegetable Oil: 1/4 cup (60ml). Oil remains liquid at room temperature, ensuring the cake centers stay “fudgy” rather than hardening like butter-based cakes.
Pastel Pink Candy Melts: 16 oz (450g). These specialized wafers are designed for a smooth, glossy finish and a quick “snap” when bitten.
Refined Coconut Oil or Paramount Crystals: 1 tbsp (15g). Adding a small amount of fat to the melted coating creates that signature high-gloss sheen and a thinner, more workable dipping consistency.
White Chocolate Wafers: 2 oz (60g). High-quality white chocolate is melted and thinned to achieve the micro-thin decorative stripes.
Pastel Rainbow Nonpareil Sprinkles: 2 tbsp (30g). These tiny spheres add a pop of color and a delicate crunch to the exterior shell.
Professional Tools for Boutique-Quality Treats
To achieve the look of a Starbucks copycat version, you will need a few specific tools. A standard 1.5-inch (4cm) cookie scoop ensures every cake ball is uniform in size and weight. You will also need 6-inch (15cm) white plastic lollipop sticks, which offer a cleaner aesthetic than paper sticks.
A cake pop stand or a block of Styrofoam is essential for allowing the coating to dry without flat spots. Finally, use a deep, narrow microwave-safe silicone cup for dipping; this depth allows you to submerge the entire sphere in one fluid motion, which is the secret to coating cake pops without streaks.
Step-by-Step Instructions for Flawless Dipping
Crafting the Fudgy Chocolate Foundation
Preheat your oven to 350°F (175°C) and grease an 8-inch (20cm) square pan. Whisk together your dry ingredients, then fold in the buttermilk, oil, and one large egg until a smooth batter forms. Bake for 25-30 minutes, or until a toothpick comes out with a few moist crumbs; avoid overbaking, as we need that “fudgy” moisture.
Once the cake is completely cool, crumble it into a large bowl until it resembles fine, damp sand. Add 3 tbsp (45g) of chocolate frosting and mix with your hands until the dough can be pressed into a ball without cracking. Measure out 1.5-tablespoon (22g) portions and roll them into smooth, seamless spheres between your palms.
Executing the Precision Stick Insertion
Melt 1/4 cup (60g) of the pastel pink candy melts in a small bowl. Dip the tip of a white plastic lollipop stick about 1/2 inch (1.25cm) into the melted candy. Immediately insert the stick into the center of a chilled cake ball, pushing it about halfway through.
A small amount of the pink melt will squeeze out, forming a visible ring or “collar” at the base. This is the “collar lock” mentioned in our cake pop tips that prevents the cake from wobbling. Place the pops in the freezer for 10 minutes to set this anchor firmly.
Achieving the High-Gloss Pink Shell
Melt the remaining pink candy melts with the coconut oil in 30-second bursts, stirring until the mixture flows like warm honey. Hold a chilled cake pop by the stick and submerge it vertically into the coating until it reaches the collar lock. Lift it straight up and gently tap your wrist to allow excess coating to fall back into the cup.
As the coating begins to set, you will notice a transition from a liquid state to a smooth, satin-gloss finish. Before it hardens completely, lightly dust the top with a small pinch of pastel rainbow nonpareil sprinkles. Set the sticks upright in a stand to dry for at least 20 minutes.
Applying the Micro-Thin White Drizzle
Melt the white chocolate wafers and transfer them to a small piping bag with a tiny tip snipped off. With a swift, continuous back-and-forth motion, drizzle micro-thin stripes across the pink shell. The goal is a delicate, professional contrast that doesn’t overwhelm the pastel base.
Pro-Tips for Avoiding the Dreaded “Cake Pop Drop”
- Temperature Control: Never dip a frozen cake pop into hot candy melts. The extreme temperature difference causes the shell to crack as the cake expands.
- The Tapping Technique: When removing excess coating, tap your wrist, not the stick itself. Tapping the stick can vibrate the cake ball right off its anchor.
- Consistency is King: If your coating is too thick, it will pull the cake off the stick. Always thin it with a little oil or paramount crystals until it pours easily.
- Perfect Crumbs: If you prefer a lighter texture, you can experiment with a strawberry sponge cake base, following the same crumbling and binding ratios.
Preserving the Perfect Snap: Storage and Freshness
Perfect Cake Pops can be stored at room temperature in an airtight container for up to 3 days. For longer storage, keep them in the refrigerator for up to 7 days; however, be aware that condensation may form on the glossy shell when brought back to room temperature. To prevent this, place a paper towel in the container to absorb excess moisture.
If you are making these in bulk for an event, you can freeze the undipped cake balls for up to 3 months. Simply thaw them in the fridge before proceeding with the dipping and decorating steps for a fresh-tasting result every time.
Creative Pairings for Your Dessert Spread
These pink treats look stunning alongside a variety of other handheld desserts. For a themed party, consider pairing them with vanilla cake pops to create a color gradient. The rich chocolate flavor also complements the spice notes found in cinnamon roll cake pops.
If you want to offer a fruitier alternative, a batch of strawberry shortcake cake pops provides a bright, acidic contrast to the fudgy chocolate core. Arrange them on a marble slab for a sophisticated, modern presentation that highlights the glossy texture of the candy melts.
Common Cake Pop Pitfalls Solved
Yes! You can prepare the cake spheres up to 2 days in advance and store them in the fridge. Once dipped, they stay fresh at room temperature for 3 days or in the fridge for a week.
Add a small amount of refined coconut oil or paramount crystals to your candy melts. This thins the coating to a fluid consistency and adds a professional high-gloss sheen once set.
The secret is thinning the white chocolate with a drop of oil and using a piping bag with a microscopic opening. Move your hand quickly and continuously across the pop for those ‘micro-thin’ stripes.
Cracking occurs when there is a large temperature difference between the cake and the coating. Never dip frozen cake balls into hot candy melts; ensure the cake is chilled but not frozen before dipping.
This usually happens because the cake ball is too heavy or the ‘collar lock’ was omitted. Ensure you dip the stick in melted candy before inserting it, creating a visible ring of hardened chocolate that anchors the sphere.
The Ultimate Recipe for Perfect Cake Pops
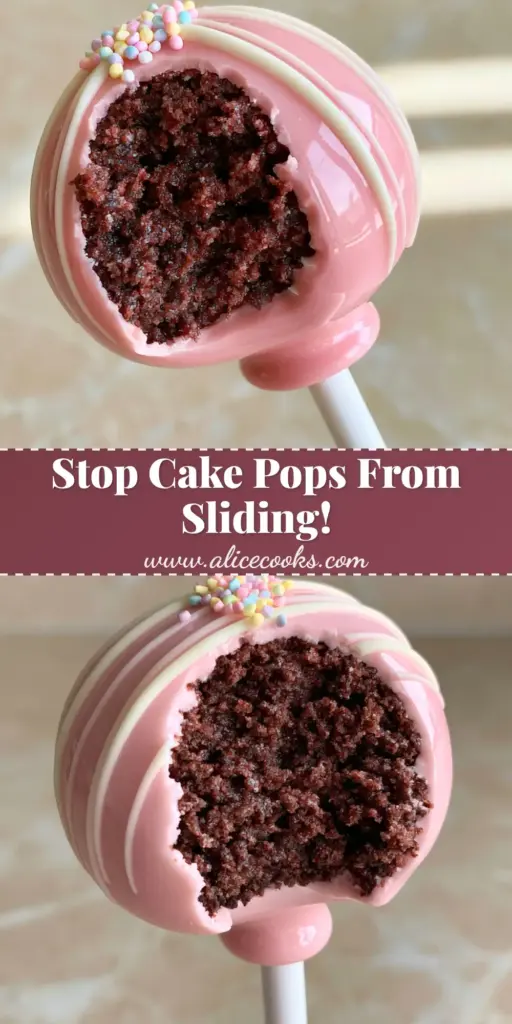
Perfect Cake Pops with Fudgy Chocolate Centers and Glossy Pink Shells
Ingredients
Equipment
Method
- Mix dry and wet ingredients for the chocolate cake. Bake at 350°F (175°C) for 25-30 minutes until fudgy but set. Cool completely.
- Crumble the cooled cake into fine crumbs. Mix with chocolate frosting until a fudgy dough forms. Roll into 1.5-inch spheres and chill for 20 minutes.
- Dip the tip of a white plastic stick into melted pink candy melts. Insert halfway into the cake ball to create a visible hardened ring at the base. Chill to set.
- Thin the remaining pink melts with coconut oil. Submerge the cake ball vertically until it hits the collar lock. Tap gently to remove excess. Add sprinkles while wet.
- Once the pink shell is hard, pipe micro-thin white chocolate stripes across the top for a professional finish.
Notes
If the coating is too thick, add more coconut oil 1 teaspoon at a time.
Share Your Sweet Success!
Creating these Perfect Cake Pops is a rewarding culinary journey that results in a truly professional dessert. The combination of the fudgy chocolate crumb and the snappy pink shell is a guaranteed crowd-pleaser. We would love to see your creations!
Did you master the micro-thin drizzle or the perfect collar lock? Leave a comment below or share your photos on social media. Don’t forget to save this recipe to your favorite boards on Pinterest so you always have these pro-tips at your fingertips!


