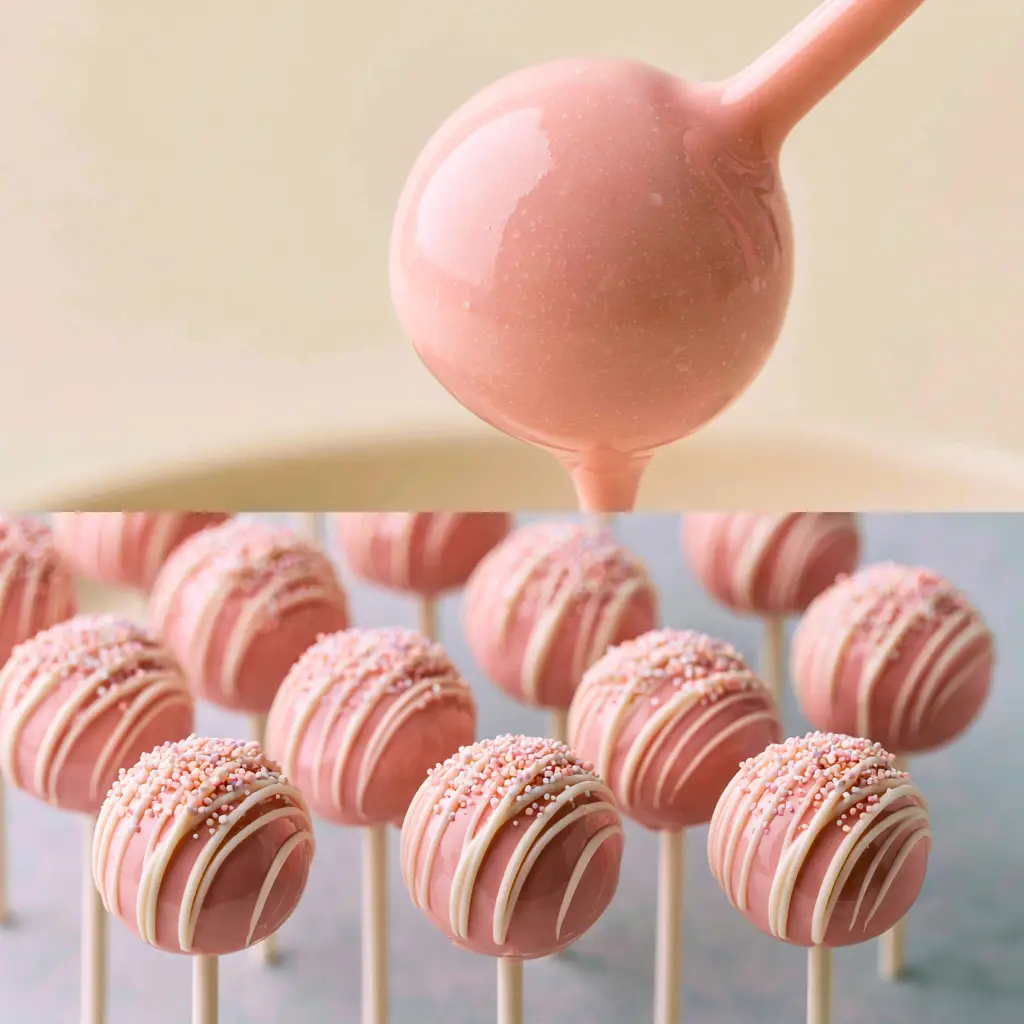
Mastering the art of the perfect dessert often comes down to the smallest details, and when it comes to Cake pop tips, precision is everything. There is a specific magic in seeing a perfectly smooth, pastel pink candy coating that looks as if it were airbrushed in a professional bakery.
Whether you are a hobbyist or looking to sell your treats, achieving that “drip-free” finish is the ultimate goal. In this guide, we will break down the culinary forensics of the perfect pop, from the moisture content of the crumb to the exact angle of the dip.
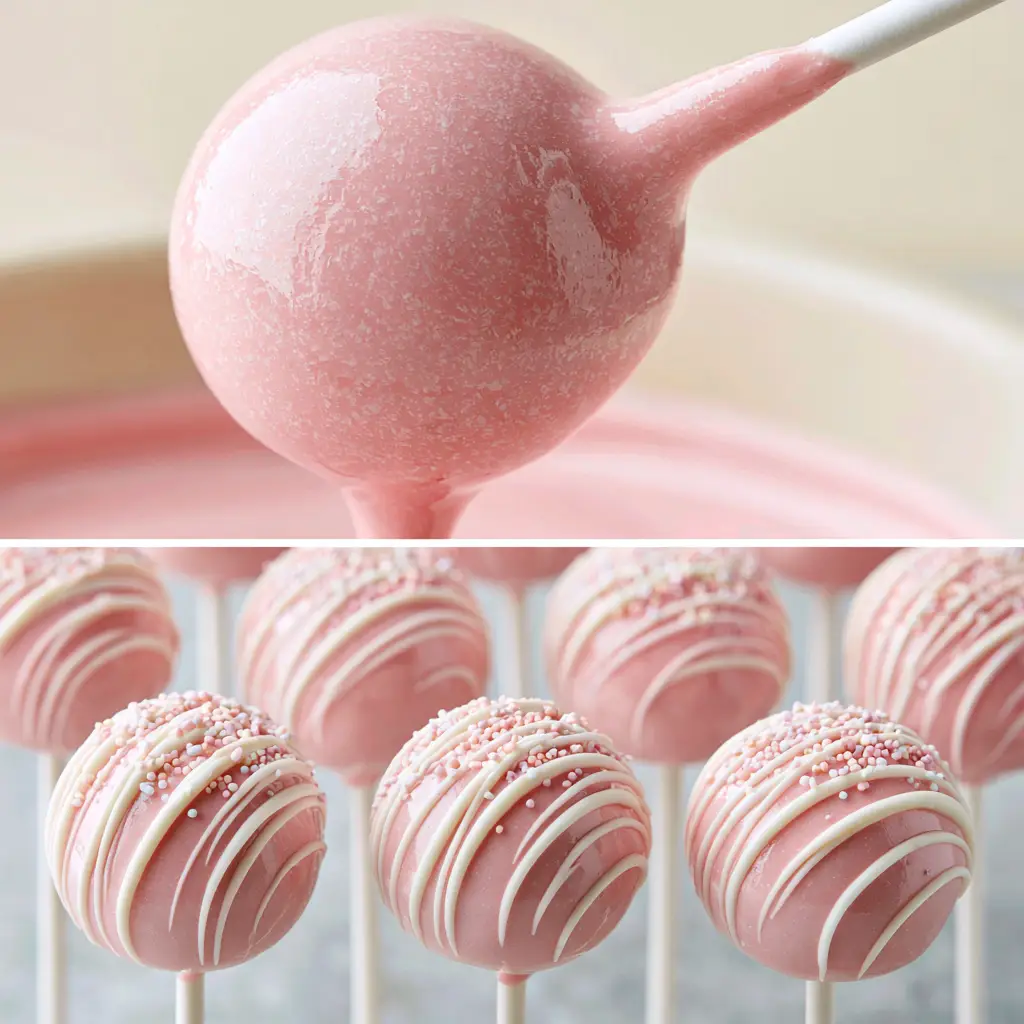
The visual appeal of a glossy, crack-free surface paired with a delicate white chocolate drizzle is not just luck. It is the result of controlled temperature and the right ratio of binder to cake, ensuring every bite is as structurally sound as it is delicious.
Why These Professional Cake Pop Techniques Work
- Ultra-Smooth Texture: By utilizing specific thinning agents in the candy melts, we eliminate the dreaded “clumpy” look for a high-gloss sheen.
- Structural Integrity: Our method ensures the cake ball stays firmly on the stick, preventing the common “slide-off” disaster during the dipping process.
- Professional Aesthetics: We focus on the “45-degree dip” and “tapping method” to ensure a uniform coating that mimics high-end artisanal treats.
- Visual Precision: Every step is designed to replicate that flawless pink pastel aesthetic with fine sprinkles and a clean white drizzle.
The Anatomy of a Flawless Cake Pop
To achieve the result seen in our visual blueprint, we must start with high-quality foundational ingredients. Every component serves a scientific purpose in the final structure and appearance of the treat.
Moist Vanilla Cake Crumb: The base of our pop requires a cake that is moist but not greasy. This provides the structure needed to hold the stick without crumbling apart under the weight of the candy coating.
Silky Vanilla Buttercream: This acts as our “glue.” We use just enough to bind the crumbs into a pliable, truffle-like consistency that is easy to roll into perfectly spherical shapes.
Pastel Pink Candy Melts: These vanilla-flavored wafers provide the iconic glossy shell. Their high vegetable oil content allows them to melt smoothly and harden into a snap-capable coating.
High-Quality White Chocolate: Used for the drizzle, this must be melted carefully to maintain its bright white contrast against the pink pastel base.
Vegetable Shortening or Paramount Crystals: This is our “secret” ingredient. Adding 1-2 tsp (5-10g) to the melts ensures the coating is thin enough to flow but thick enough to cover.
Fine Pastel Sprinkles: These provide the final touch of texture and color, adhering perfectly to the wet coating before it sets.
Essential Tools for Bakery-Quality Results
Having the right equipment is just as important as the ingredients. To get that handheld smartphone-photo-ready look, you will need a few specific items.
You will need a set of white paper lollipop sticks (6-inch / 15cm length) which provide the classic aesthetic and better grip for the cake than plastic alternatives. A styrofoam block or cake pop stand is non-negotiable for allowing the pops to dry upright without flat spots.
For the coating, use a deep, narrow microwave-safe silicone cup. This allows you to submerge the entire pop in one motion, which is the key to a seamless finish. Finally, a small piping bag or a fork will be needed for that signature white chocolate drizzle.
Mastering the Cake Pop Dough Consistency
Step 1: The Precision Crumb
Start with a cooled vanilla cake. Using your hands or a food processor, break the cake down into very fine, uniform crumbs. Large chunks will cause bumps in your final coating, so aim for a sand-like texture.
Step 2: The Binding Process
Add 1/4 cup (60g) of buttercream for every 4 cups (approx. 400g) of cake crumbs. Mix thoroughly until the consistency of your cake pop dough resembles damp sand that holds its shape when squeezed. It should not be mushy; if it feels like mashed potatoes, you have added too much frosting.
Step 3: Rolling and Chilling
Scoop 1 tbsp (approx. 30g) of dough and roll it between your palms until perfectly spherical. Place the balls on a parchment-lined tray and chill in the refrigerator for 20 minutes. Do not freeze them; an extreme temperature difference between the cake and the coating is what causes the candy shell to crack later.
The Art of the Perfect Glossy Dip
Step 4: Melting the Coating
Place your pastel pink candy melts in your deep cup. Microwave at 50% power in 30-second intervals, stirring vigorously between each. Once melted, stir in 1 tsp (5g) of vegetable shortening to achieve a “drip-free” fluid state. It should flow off your spoon like warm honey.
Step 5: Securing the Stick
Dip 1/2 inch (1.25cm) of the paper stick into the melted candy, then insert it halfway into the chilled cake ball. This creates a “seal” that prevents the pop from falling off. Let this set for 2 minutes before dipping the entire ball.
Step 6: The 45-Degree Submerge
Hold the stick and dip the cake ball at a 45-degree angle into the pink melt until the coating meets the stick. Lift it straight up—do not stir. Tap your wrist gently with your other hand while rotating the pop to allow excess coating to fall off. This is the core of mastering the art of coating cake pops.
Final Flourishes and Decoration
Step 7: The Pastel Sprinkle Garnish
While the pink coating is still wet, lightly dust the top with your fine pastel sprinkles. If the coating starts to set, the sprinkles won’t stick, so work in small batches. The goal is a delicate, even distribution that doesn’t overwhelm the glossy finish.
Step 8: The White Chocolate Drizzle
Once the pink base is fully hardened (about 10 minutes), melt your white chocolate. Using a small piping bag with a tiny hole, move your hand in a fast, back-and-forth motion over the pops to create thin, elegant lines. This professional touch is what separates achieving perfect cake pops from amateur efforts.
Expert Troubleshooting for Cake Pop Success
- Avoid Over-mixing: If your dough is too oily, the oil will seep through the candy coating, causing yellow spots.
- Prevent Cracking: Ensure the cake balls are room temperature or “fridge-cool,” never frozen. Expanding cake as it warms is the #1 cause of cracks.
- Fixing Thick Coating: If your candy melt is too thick, do not add water! Water will “seize” the chocolate. Only use oil or shortening to thin it.
- The Tap Method: Always tap your wrist, not the stick itself. Tapping the stick too hard can vibrate the cake ball right off the end.
Storage and Preservation
Store your finished pops in an airtight container at room temperature for up to 3 days. For longer storage, you can refrigerate them for up to a week, but be aware that “sweating” (condensation) may occur when you bring them back to room temperature.
If you are making these for an event, they can be frozen for up to 6 weeks. Wrap each pop individually in plastic wrap before placing them in a freezer bag. Thaw them slowly in the refrigerator to maintain that glossy, professional sheen.
What to Pair with Your Pink Cake Pops
These pops are a standout on any dessert table, but they pair exceptionally well with other classic treats. For a full-scale dessert spread, consider serving these alongside a festive funfetti sheet cake or even some banana bread cake pops for a flavor variety.
If you are looking for that specific coffee-shop vibe, these are the perfect companion to a Starbucks copycat cake pops collection, allowing you to showcase both vanilla and chocolate options for your guests.
Frequently Asked Questions
You can, but white chocolate is more temperamental. It requires tempering to stay shiny and hard. Candy melts are recommended for beginners because they are oil-based and easier to handle.
Add 1-2 teaspoons of vegetable shortening or paramount crystals per bag of candy melts. This thins the consistency without causing the chocolate to seize, resulting in a professional ‘drip-free’ finish.
Always dry your cake pops upright by sticking them into a styrofoam block or a dedicated cake pop stand. Never lay them flat on parchment paper while the coating is still wet.
This happens if the cake ball is too heavy or the stick isn’t secured. Always dip the stick 1/2 inch into the melted candy before inserting it into the cake ball to create a hardened ‘glue’ seal.
Cracking is usually caused by a temperature extreme. If the cake balls are too cold (frozen) when dipped into warm candy melts, the cake expands as it warms, causing the shell to snap.
The Ultimate Glossy Pastel Cake Pop Recipe
Cake pop tips: How to Achieve a Flawless, Glossy Professional Finish
Ingredients
Equipment
Method
- Mix finely crumbled cake and buttercream until the mixture holds its shape when squeezed. Do not over-mix to avoid an oily texture.
- Roll into 1-inch (2.5cm) spheres. Chill in the refrigerator for 20 minutes to firm up.
- Melt pink candy wafers in 30-second intervals at 50% power. Stir in shortening until glossy and fluid.
- Dip stick into melt, insert into cake ball, then submerge the entire ball at a 45-degree angle. Tap wrist to remove excess.
- Apply pastel sprinkles immediately while the coating is wet.
- Once set, use melted white chocolate to create a fast back-and-forth drizzle over the pops.
Notes
Use a deep, narrow cup for dipping to ensure the pop is covered in one clean motion.
Closing & Call to Action
Achieving the perfect cake pop is a rewarding culinary journey that combines science with art. By following these Cake pop tips, you’ve mastered the balance of moisture, temperature, and technique required for a professional, bakery-style finish. We would love to see your glossy creations! Leave a comment below with your favorite flavor combinations, and don’t forget to share this guide to Pinterest to save these tips for your next baking project!


