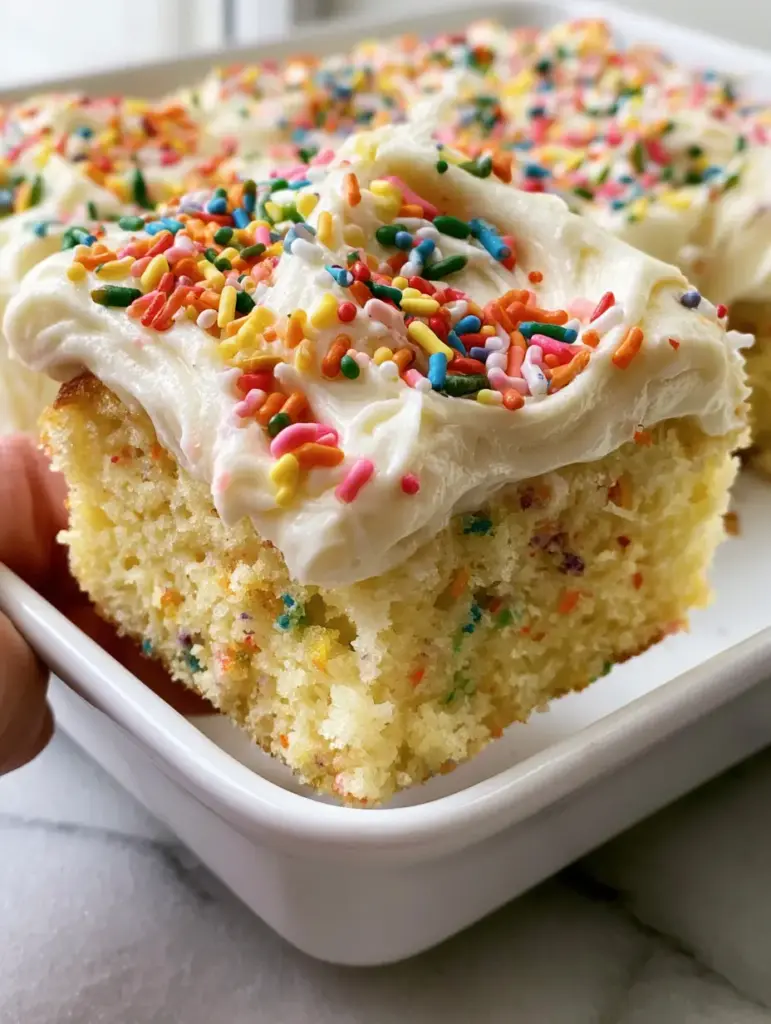
There is something inherently nostalgic and joyful about a thick, moist slice of funfetti sheet cake being lifted directly from a white ceramic baking pan. This isn’t just a dessert; it’s a celebration in edible form, designed to bring a smile to anyone who sees those iconic rainbow specks peeking through a soft, yellow crumb.
Our version of the classic funfetti sheet cake elevates the childhood staple into a gourmet experience. By focusing on professional pastry techniques and high-quality ingredients, we achieve a pillowy texture that melts in your mouth, perfectly contrasted by a luscious layer of creamy, swooped white vanilla frosting.
Whether you are hosting a birthday party or simply craving a hit of sugary nostalgia, this recipe delivers on every visual and sensory promise. From the heavy shower of vibrant, multi-colored rainbow jimmies to the deep vanilla aroma, every bite is a reminder of why this remains the king of party cakes.
Why This Confetti-Speckled Masterpiece Is the Best You’ll Ever Bake
- The Perfect Pillowy Crumb: We utilize a specific mixing method and a hint of sour cream to ensure the yellow cake base is incredibly soft and moist, never dry or crumbly.
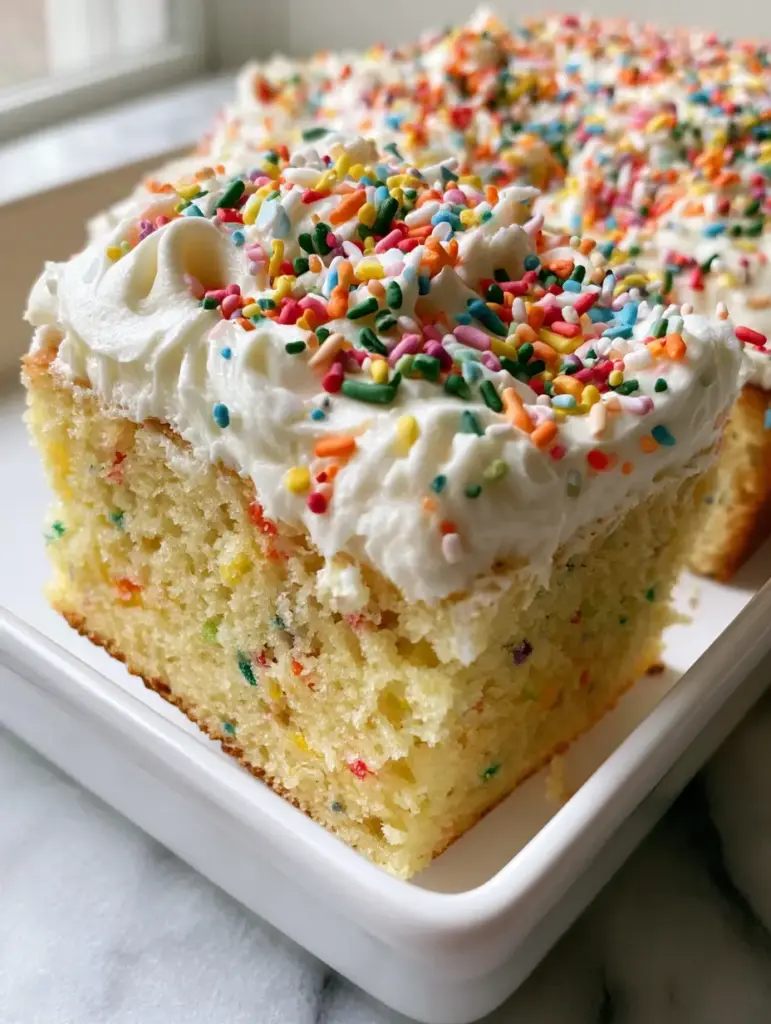
- Visual Vibration: The contrast between the stark white, swooped buttercream and the explosion of vibrant rainbow jimmies creates a stunning, photo-ready aesthetic.
- Baked-In Integrity: By using the right type of sprinkles inside the batter, we ensure the colors stay distinct and “baked-in” rather than bleeding into a muddy grey.
- Deep Vanilla Profile: We use a combination of clear vanilla and vanilla bean paste to achieve that classic “birthday” flavor while maintaining a sophisticated depth.
The Anatomy of a Flawless Funfetti Sheet Cake: Ingredients and Science
Every ingredient in this funfetti sheet cake serves a specific structural and aesthetic purpose. Understanding the “why” behind the “what” is the first step toward culinary mastery in your home kitchen.
Cake Flour (3 cups / 360g): This is non-negotiable for a “pillowy” crumb. The lower protein content in cake flour prevents excess gluten development, resulting in a finer, softer texture than all-purpose flour.
Unsalted Butter (1 cup / 226g): We use high-fat European-style butter, softened to exactly 65°F (18°C). This allows for optimal aeration during the creaming process, which is the foundation of the cake’s rise.
Granulated Sugar (1 ¾ cups / 350g): Sugar doesn’t just sweeten; it provides moisture and helps tenderize the gluten. It also aids in the “yellow” color of the crumb when creamed with butter and eggs.
Large Eggs (4 total): These provide the structure and the rich golden hue. Ensure they are at room temperature so they emulsify properly with the fats in the batter.
Full-Fat Sour Cream (½ cup / 120ml): The acidity in sour cream breaks down gluten strands for a more tender bite, while the fat adds a richness that milk alone cannot provide.
Whole Milk (1 cup / 240ml): This provides the necessary hydration for the flour to swell. Room temperature milk prevents the butter from seizing during the mixing process.
Rainbow Quins (½ cup / 85g): For the interior of the cake, use flat, disc-shaped “quins.” Unlike jimmies, quins hold their shape and color better during the high heat of the oven.
Clear Vanilla Extract (1 tbsp / 15ml): To get that specific “nostalgic” flavor that mimics high-end bakery cakes, clear vanilla is the secret weapon that keeps the frosting snowy white.
Rainbow Jimmies (¾ cup / 130g): These are reserved exclusively for the topping. Their elongated shape provides the classic “showered” look against the swooped frosting.
Essential Tools for a Professional Finish
To achieve the look of a handheld smartphone photo from a high-end blog, you need the right equipment. A 9×13 inch (23x33cm) white ceramic baking pan is preferred for its even heat distribution and beautiful presentation.
An electric stand mixer with a paddle attachment is vital for properly creaming the butter and sugar until pale and fluffy. You will also want an offset spatula to create those signature “swoops” in the creamy white buttercream frosting.
Step-by-Step Guide to the Ultimate Funfetti Sheet Cake
1. Prepping for Success
Preheat your oven to 350°F (175°C). Grease your white ceramic baking pan generously with butter and line the bottom with parchment paper for easy removal of those thick, moist slices.
Sift your cake flour, 1 ½ tsp (6g) baking powder, ½ tsp (3g) baking soda, and 1 tsp (6g) fine sea salt into a medium bowl. Sifting is the “invisible” step that ensures there are no clumps in your pillowy crumb.
2. The Creaming Phase
Place your softened butter and granulated sugar in the bowl of your stand mixer. Beat on medium-high speed for 3-5 minutes. Watch for the visual cue: the mixture should turn from a dense yellow to a very pale, almost white, fluffy cloud.
Add the eggs one at a time, beating well after each addition. Scrape down the sides of the bowl to ensure every bit of fat and sugar is fully integrated into the emulsion.
3. Incorporating the Moisture
Whisk together your sour cream, milk, and vanilla extract. With the mixer on low, alternate adding the dry ingredients and the wet ingredients, starting and ending with the dry.
Mixing on low speed is critical here. If you overmix, you will develop too much gluten, and your funfetti sheet cake will lose that soft, pillowy texture and become tough or rubbery.
4. The Confetti Fold
Turn off the mixer. Using a large rubber spatula, gently fold in the rainbow quins by hand. Do not over-fold; you want the sprinkles distributed evenly without the colors starting to bleed into the yellow batter.
Pour the batter into the prepared pan and smooth the top. Bake for 30-35 minutes. You are looking for a visual cue of light golden-brown edges and a toothpick inserted in the center to come out clean or with just a few moist crumbs.
5. Crafting the Swooped Buttercream
While the cake cools completely in the pan, prepare the frosting. Beat 1.5 cups (340g) of softened butter with 4 cups (500g) of sifted powdered sugar, a splash of heavy cream, and more clear vanilla.
Whip the frosting for a full 5 minutes until it is incredibly luscious and airy. Once the cake is cold to the touch, pile the frosting on top. Use your offset spatula to create deep, artistic swoops across the surface.
6. The Heavy Shower of Color
Immediately after swooping the frosting, heavily shower the top with the multi-colored rainbow jimmies. Pressing them lightly into the frosting ensures they stay in place when you lift a slice from the pan.
Expert Tips for the Perfect Moist Crumb
- Temperature is Everything: Ensure your butter, eggs, milk, and sour cream are all at room temperature. This creates a stable emulsion that traps air, leading to a better rise.
- The Sprinkle Choice: Never use “nonpareils” (the tiny round balls) inside the batter. They bleed instantly, turning your cake a muddy color. Stick to quins for the interior.
- Don’t Overbake: Sheet cakes are thin and can dry out quickly. Start checking for doneness 5 minutes before the timer goes off. The cake should spring back when lightly pressed.
- The Crumb Coat: If you find your cake is “shredding” as you frost it, do a very thin layer of frosting first, chill it for 15 minutes, then apply the rest of the swooped buttercream.
Storage and Make-Ahead Advice
This funfetti sheet cake stays remarkably moist for up to 4 days when stored at room temperature in an airtight container. The fat content from the sour cream and butter keeps the crumb soft.
If you need to freeze it, it is best to freeze the cake base without the frosting. Wrap it tightly in plastic wrap and foil for up to 3 months. Thaw at room temperature before adding the fresh buttercream swoops and jimmies.
What to Serve with Your Celebration Cake
This cake is a star on its own, but it pairs beautifully with other party favorites. If you are looking to create a full dessert spread, consider making festive cake pops using any leftover cake scraps.
For a refreshing drink to cut through the sweetness of the buttercream, a peach and raspberry iced tea is a sophisticated choice. If you’re leaning into the nostalgia, try serving it alongside crispy homemade funnel cakes.
If you have extra sprinkles and want a different texture, these marshmallow peanut butter brownies offer a chewy contrast to the pillowy cake crumb.
Frequently Asked Questions
You can, but the crumb will not be as ‘pillowy’ or soft. If you must use AP flour, replace 2 tablespoons of each cup with cornstarch and sift it three times to mimic cake flour.
Yes, a white ceramic baking pan or a light-colored metal pan is best. Dark pans absorb more heat and can cause the edges of the yellow cake to over-brown or dry out.
Use a generous amount of frosting and an offset spatula. Press the tip of the spatula into the frosting and pull it in a C-shaped motion, lifting at the end to create a crest.
Sprinkles bleed if you use nonpareils (tiny balls) instead of quins (flat discs) or if you overmix the batter. Always fold sprinkles in gently by hand at the very last second.
Clear vanilla provides that specific ‘bakery-style’ nostalgic flavor and ensures the buttercream frosting stays bright white rather than turning a slight off-white or tan color.
The Ultimate Funfetti Sheet Cake Recipe
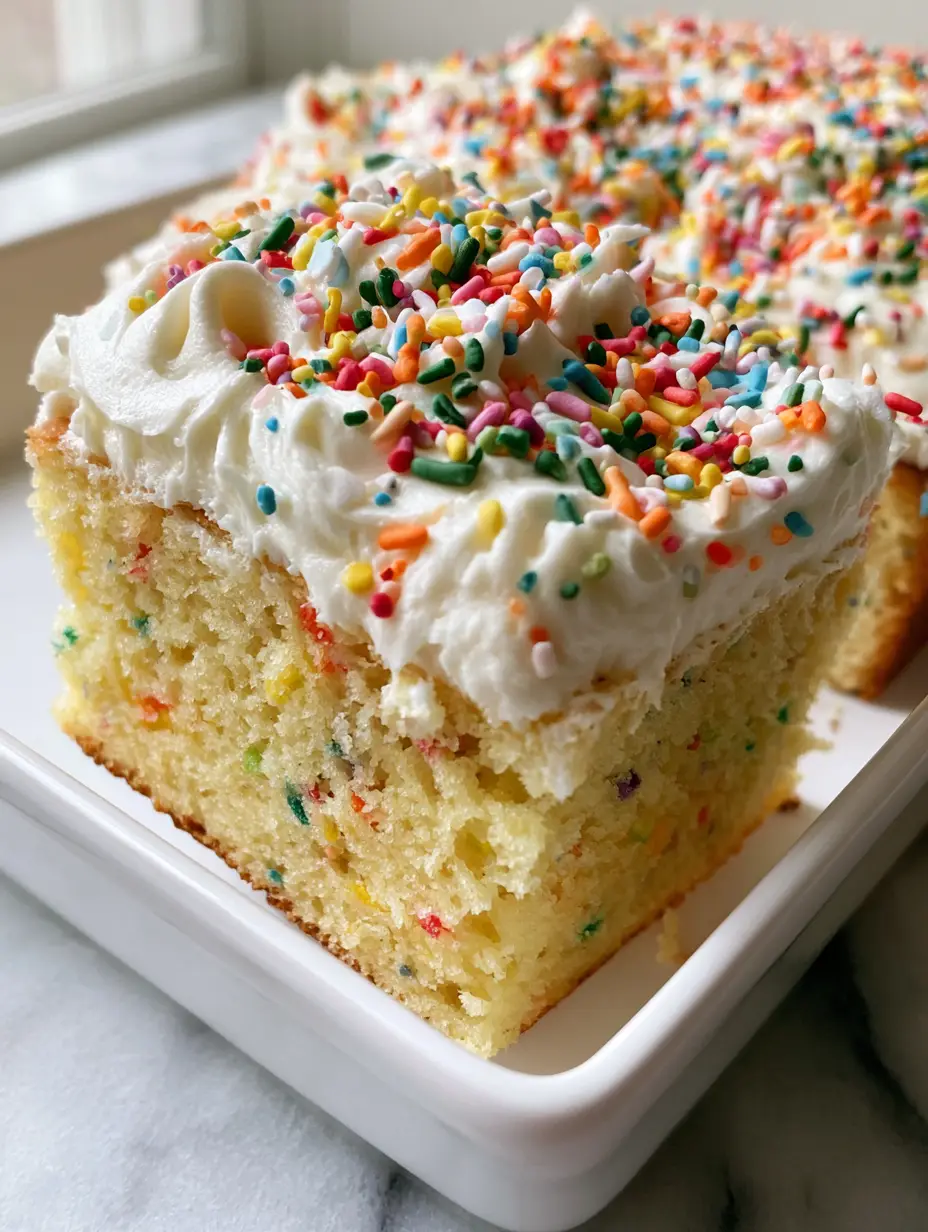
Funfetti Sheet Cake: The Ultimate Soft and Pillowy Celebration Dessert
Ingredients
Equipment
Method
- Preheat oven to 350°F (175°C). Grease a 9x13 white ceramic pan and line with parchment.
- Cream butter and sugar for 5 minutes until pale and fluffy. Add eggs one at a time.
- Alternate adding dry ingredients and milk/sour cream mixture. Fold in rainbow quins.
- Bake for 30-35 minutes until a toothpick comes out clean. Cool completely.
- Whip butter and powdered sugar until luscious and creamy. Add vanilla and cream.
- Spread frosting over the cool cake using an offset spatula to create decorative swoops.
- Heavily shower the top with rainbow jimmies and press lightly to adhere.
Notes
Ensure all dairy is at room temperature for a perfect emulsion.
Closing & Call to Action
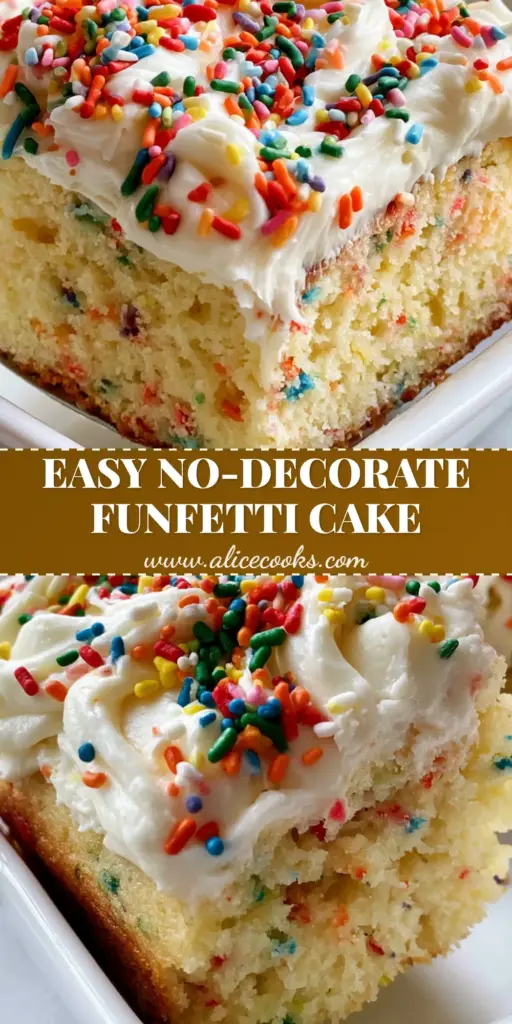
Baking this funfetti sheet cake is more than just following a recipe; it’s about creating a moment of pure, unadulterated joy. The combination of the moist yellow crumb and the vibrant rainbow jimmies makes it the ultimate centerpiece for any gathering.
We would love to see your “swooped” frosting creations! Leave a comment below telling us what occasion you’re baking for, and don’t forget to share your photos and follow us on Pinterest for more culinary inspiration.
If you enjoyed this tutorial, check out our step-by-step cakepop tutorial to master the art of the bite-sized treat!
Happy Baking from the Alice Cooks Team!
—


