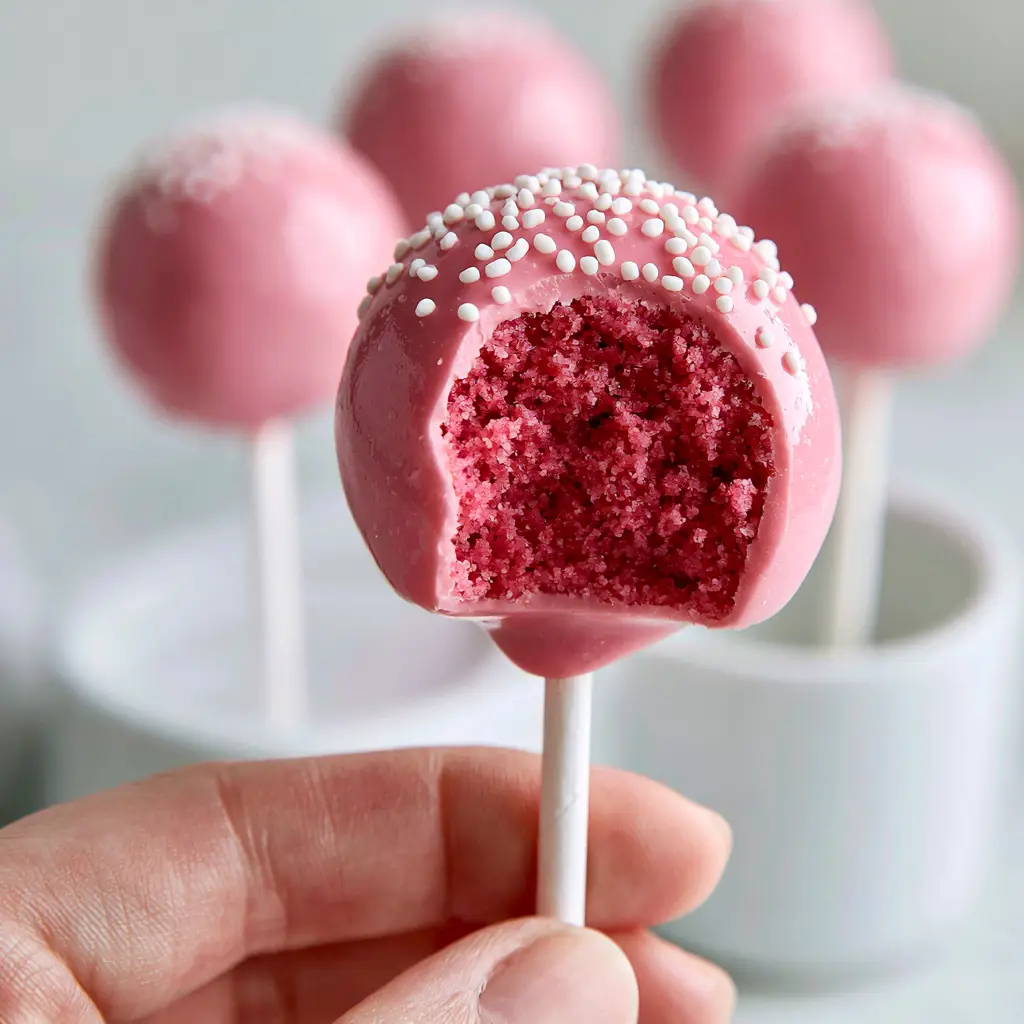
Cake pops are the undisputed royalty of the handheld dessert world, combining the nostalgic joy of a lollipop with the decadent indulgence of a rich, moist truffle. There is something uniquely satisfying about that first “snap” of a perfectly tempered candy shell giving way to a dense, vibrant pink crumb center.
If you have ever stood in line at a café admiring those flawless, glossy pink spheres, you know exactly what the goal is: a professional-grade aesthetic with a taste that exceeds expectations. This recipe focuses on achieving that exact “Starbucks copycat” finish, featuring a pastel pink exterior and a surprise bright pink interior that stays moist for days.
By mastering the ratio of crumbled cake to creamy binder, you will create a treat that is structurally sound enough to stay on the stick but soft enough to melt in your mouth. Whether you are prepping for a birthday party or just want to master a new culinary skill, these treats are the perfect canvas for your creativity.
Why You Will Fall in Love With These Pink Vanilla Gems
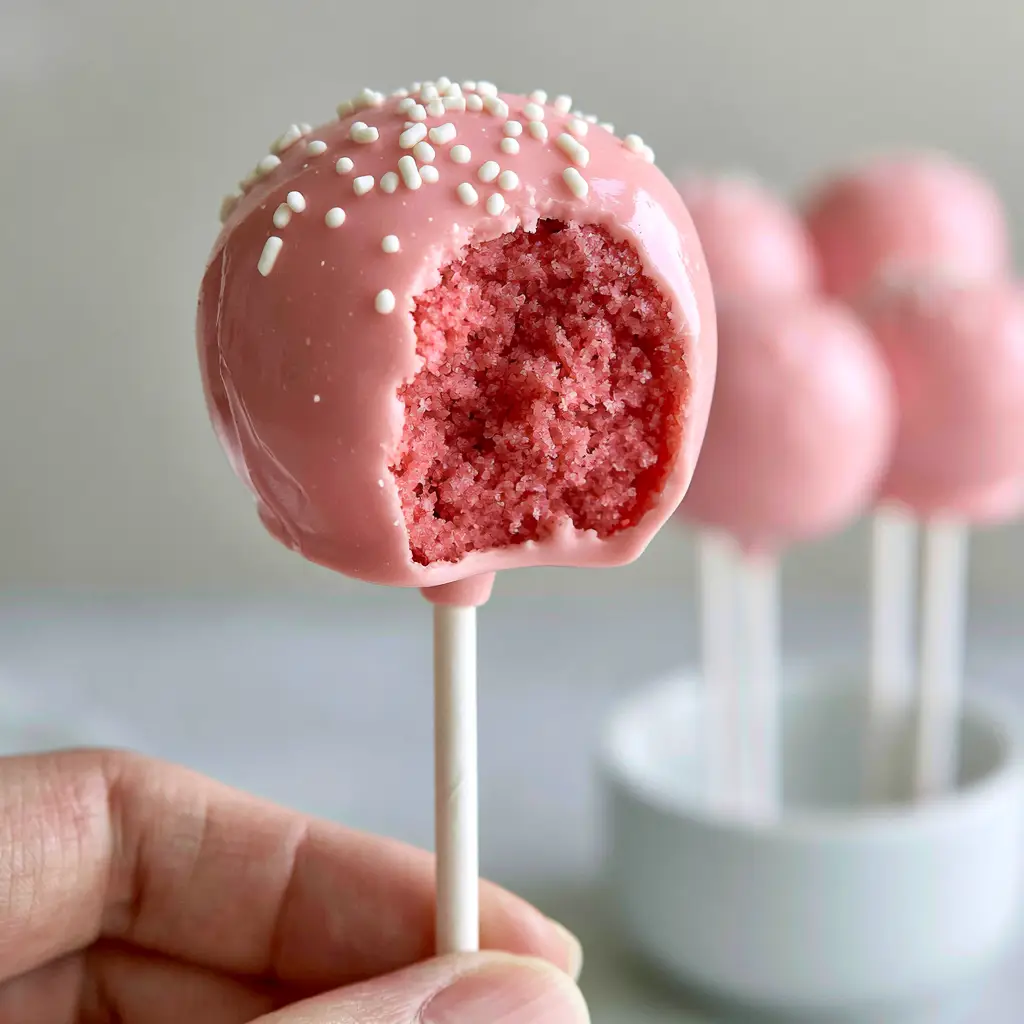
- Visual Perfection: These pops feature a flawless, glossy pastel pink candy shell with zero cracks and a neat scattering of tiny white nonpareils.
- The Ultimate Texture: A single bite reveals a moist, dense, bright pink cake crumb that contrasts beautifully with the crisp outer coating.
- Professional Stability: Using a sturdy white paper lollipop stick and a scientifically balanced binder ensures your pops never slide or crumble.
- True Starbucks Flavor: The combination of high-quality vanilla and a creamy frosting binder mimics the iconic coffeehouse taste perfectly.
The Secret Pantry Staples for Ultra-Moist Pink Centers
All-Purpose Flour: 1.5 cups (185g) provides the structural foundation for a sturdy cake that can withstand crumbling and reshaping without becoming mushy.
Granulated Sugar: 1 cup (200g) sweetens the crumb while assisting in the browning process during the initial bake, though we keep the heat low to preserve the pink hue.
Unsalted Butter: 0.5 cups (115g), softened to room temperature, ensures a rich, buttery flavor that permeates every bite of the finished pop.
Sour Cream: 0.25 cups (60ml) is our “invisible” hero ingredient, providing the acidity and fat necessary to keep the pink cake crumb incredibly moist and dense.
Pink Gel Food Coloring: A few drops are essential for achieving that vibrant, saturated interior color that surprises guests when they take their first bite.
Pure Vanilla Extract: 1 tbsp (15ml) offers that classic, aromatic bakery scent that distinguishes a gourmet treat from a store-bought alternative.
Creamy Vanilla Frosting: 0.5 cups (120g) acts as the culinary glue, binding the moist crumbs together into a pliable, truffle-like consistency.
Pastel Pink Candy Melts: 12 oz (340g) creates the signature smooth, glossy shell that sets hard at room temperature for a professional finish.
Vegetable Shortening or Paramount Crystals: 1 tbsp (15g) is required to thin the candy coating to the perfect “dipping” viscosity, ensuring a thin, even layer.
White Nonpareils: These tiny white candy sprinkles provide the necessary textural contrast and the iconic visual signature of a classic cake pop.
Essential Tools for a Flawless Candy Coating
To achieve the smooth-as-glass finish seen in the professional photos, you need more than just ingredients; you need the right setup. A deep, narrow microwave-safe glass or silicone cup is superior to a wide bowl for dipping, as it allows for a full vertical submersion of the pop.
You will also need a styrofoam block or a dedicated cake pop stand to allow the pops to dry vertically without flat spots. Finally, a set of 6-inch (15cm) white paper lollipop sticks is essential for that clean, minimalist aesthetic and reliable structural support.
A Masterclass in Crafting the Perfect Pink Cake Pop
Preparing the Vibrant Pink Cake Base
Preheat your oven to 350°F (175°C) and grease an 8-inch square pan. Cream the softened butter and sugar until pale and fluffy, then beat in one egg and the vanilla extract.
Slowly fold in the flour, baking powder, and salt, alternating with the sour cream. Add the pink gel food coloring drop by drop until the batter is a shade darker than your desired final result, as it will lighten slightly during baking.
Bake for 25-30 minutes until a toothpick comes out clean. Allow the cake to cool completely in the pan—warm cake will turn into a gummy mess when you try to crumble it.
The Art of the Moist Crumb Binder
Once the cake is cool, remove any browned edges with a serrated knife to ensure the pink color remains pure. Break the cake into small chunks and place them in a large bowl.
Using your hands or a stand mixer with the paddle attachment, break the cake down into fine, uniform crumbs with no large lumps remaining. Add the vanilla frosting one tablespoon at a time.
Mix until the dough holds together when squeezed but isn’t wet or greasy; the texture should resemble play-dough. Roll the mixture into 1.5-inch (3.8cm) spheres, ensuring they are perfectly smooth with no visible cracks.
Engineered Dipping for a Glossy Finish
Melt a small handful of pink candy melts in the microwave in 30-second bursts. Dip the tip of each paper stick into the melted candy, then insert it about halfway into a chilled cake ball.
Let these set in the refrigerator for 20 minutes; this “cements” the stick to the pop. Meanwhile, melt the remaining candy melts with the shortening, stirring until the mixture flows off the spoon like warm honey.
Submerge the cake pop vertically into the coating until it reaches the stick. Lift it straight up and gently tap your wrist—not the stick—to allow excess coating to drip off, creating a smooth, thin shell.
The Final Decorative Flourish
While the coating is still “wet” and glossy, immediately scatter the tiny white nonpareils over the top. If you wait too long, the candy will set and the sprinkles will simply bounce off.
Place the finished pop into your stand and let it air dry for at least 40 minutes at room temperature. You will know they are ready when the surface transition from a liquid sheen to a firm, porcelain-like matte gloss.
Expert Tips for a Crack-Free Candy Shell
- Temperature Control: Never dip a freezing cold cake pop into hot candy melts. The extreme temperature difference causes the cake to expand and the candy to contract, leading to hairline cracks.
- Thin is In: If your coating is too thick, it will pull the cake ball off the stick. Always use shortening or paramount crystals to achieve a fluid, “watery” melt.
- The “Wrist Tap” Technique: Instead of shaking the pop, tap your wrist gently while holding the stick. This vibration encourages a perfectly even distribution of the coating.
- Avoid Moisture: Ensure all your tools are bone-dry. Even a single drop of water can cause candy melts to “seize,” turning your smooth coating into a gritty paste.
Shelf Life and Storage Logistics
These pops are surprisingly resilient thanks to the airtight seal provided by the candy coating. You can store them at room temperature in a cool, dry place for up to 3 days, or in an airtight container in the refrigerator for up to a week.
If you need to prep for a major event, these freeze beautifully. Place the finished, set pops in a single layer in a freezer-safe container for up to 6 weeks. Thaw them slowly in the refrigerator to prevent condensation from forming on the glossy shells.
What to Serve With Your Pink Vanilla Treats
These pops are the star of any dessert table, but they pair exceptionally well with light, refreshing beverages. For a coordinated “pink” aesthetic, serve them alongside a refreshing pink lemonade cocktail or a chilled glass of whipped pink lemonade.
If you are looking to build a full dessert spread, consider contrasting the dense texture of the pops with a classic funfetti sheet cake or some marshmallow peanut butter brownies. For a sophisticated afternoon tea vibe, they also pair beautifully with bellini peach raspberry iced tea.
For those interested in the artistic side of baking, you might enjoy exploring aesthetic strawberry shortcake presentation styles to complement your pink theme. If you’re a beginner, check out our comprehensive cakepop tutorial for more foundational techniques.
Common Questions About Homemade Cake Pops
Yes, but white chocolate is more temperamental. You must use oil-based food coloring (not water-based gel) to prevent the chocolate from seizing, and you may need to temper it for a snap.
The secret is using a high-quality pink gel food coloring in the cake batter before baking. Gels provide intense color without changing the moisture content or chemistry of the cake.
Candy melts are naturally thick. Adding a tablespoon of vegetable shortening or paramount crystals will thin the consistency, allowing it to flow smoothly and create a professional-grade thin shell.
Cracking usually happens due to a temperature shock. If the cake balls are too cold and the candy coating is too hot, the cake expands and cracks the shell. Ensure both are closer to room temperature for the best results.
This happens if the cake ball is too heavy/large or if the coating is too thick. Ensure you dip the stick in melted candy before inserting it into the ball to act as a glue, and always thin your coating.
The Ultimate Pink Vanilla Starbucks Copycat Recipe
Cake Pops: The Ultimate Starbucks Copycat Pink Vanilla Recipe
Ingredients
Equipment
Method
- Cream butter and sugar until fluffy. Add eggs and vanilla, then fold in dry ingredients and sour cream with pink gel coloring until the batter is vibrant.
- Bake at 350°F (175°C) for 25-30 minutes. Let the cake cool completely to ensure a clean crumble.
- Remove browned edges and crumble the pink cake into fine, sand-like particles.
- Mix in vanilla frosting until the dough is pliable. Roll into 1.5-inch smooth spheres and chill for 20 minutes.
- Dip the lollipop stick into melted candy and insert into the ball to secure. Chill until set.
- Submerge the pop into thinned pink candy coating. Tap wrist to remove excess and immediately top with white nonpareils.
Notes
Use paramount crystals or shortening to thin the candy coating for a professional, smooth finish.
Join the Alice Cooks Community!
Creating the perfect cake pops is a journey of precision and patience, but the results are undeniably worth the effort. There is no feeling quite like holding a flawless, handcrafted treat that looks like it came straight from a high-end bakery case.
If you enjoyed this recipe, please leave a comment below and tell us how your pink centers turned out! Don’t forget to sign up for our newsletter for more “Culinary Forensics” deep-dives and professional-grade recipes. Make sure to share your creations and tag us on Pinterest so we can see your beautiful work!


