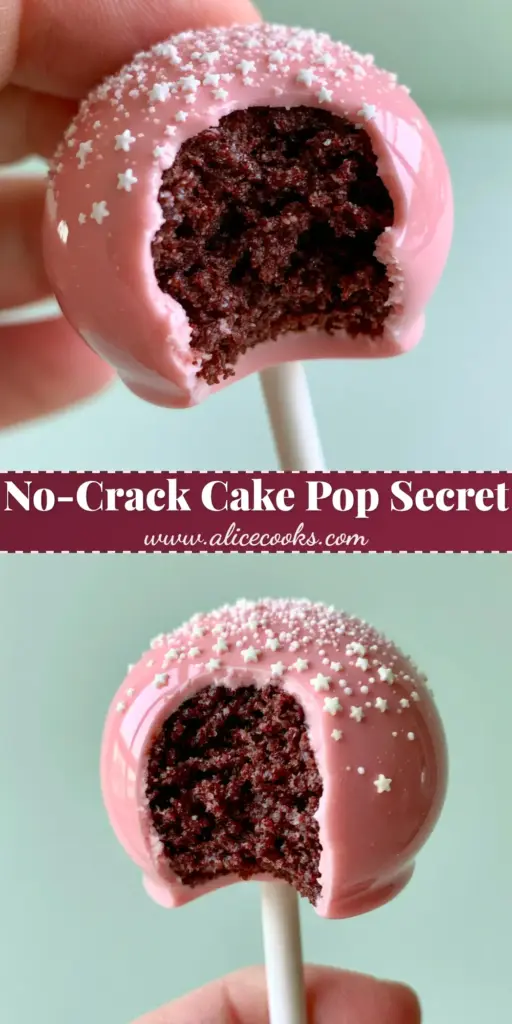
There is nothing quite as satisfying as the first “snap” of a glossy candy shell yielding to a rich, fudgy center. If you have been searching for a Cakepop tutorial that delivers professional, bakery-quality results from your home kitchen, you are in the right place. We are moving beyond the lumpy, cracked pops of the past to create something truly editorial.
Imagine a perfectly spherical treat, coated in a thick, vibrant pink glaze that reflects the light like a polished gemstone. Inside, a moist chocolate cake crumb awaits, held together by a velvety chocolate frosting binder. This guide will walk you through every sensory cue, from the smell of blooming cocoa to the visual shimmer of tiny white star sprinkles.
Whether you are preparing a dessert table for a celebration or simply want to master the art of the dip, this Cakepop tutorial focuses on the “Forensic Accuracy” of the perfect pop. We aren’t just making sweets; we are engineering a texture-driven experience that looks as good as it tastes. Let’s dive into the science of the smooth shell and the moist interior.
The Anatomy of an Elite Pink Cake Pop
- The Snap: A thick, glossy candy melt coating that provides a structural crunch before hitting the soft center.
- The Crumb: A deep, dark chocolate cake base that remains moist and dense, never dry or bready.
- The Aesthetic: A playful yet sophisticated finish using white star sprinkles and a clean, white paper lollipop stick.
- The Stability: A perfectly balanced cake-to-frosting ratio that ensures the pop stays on the stick without sliding.
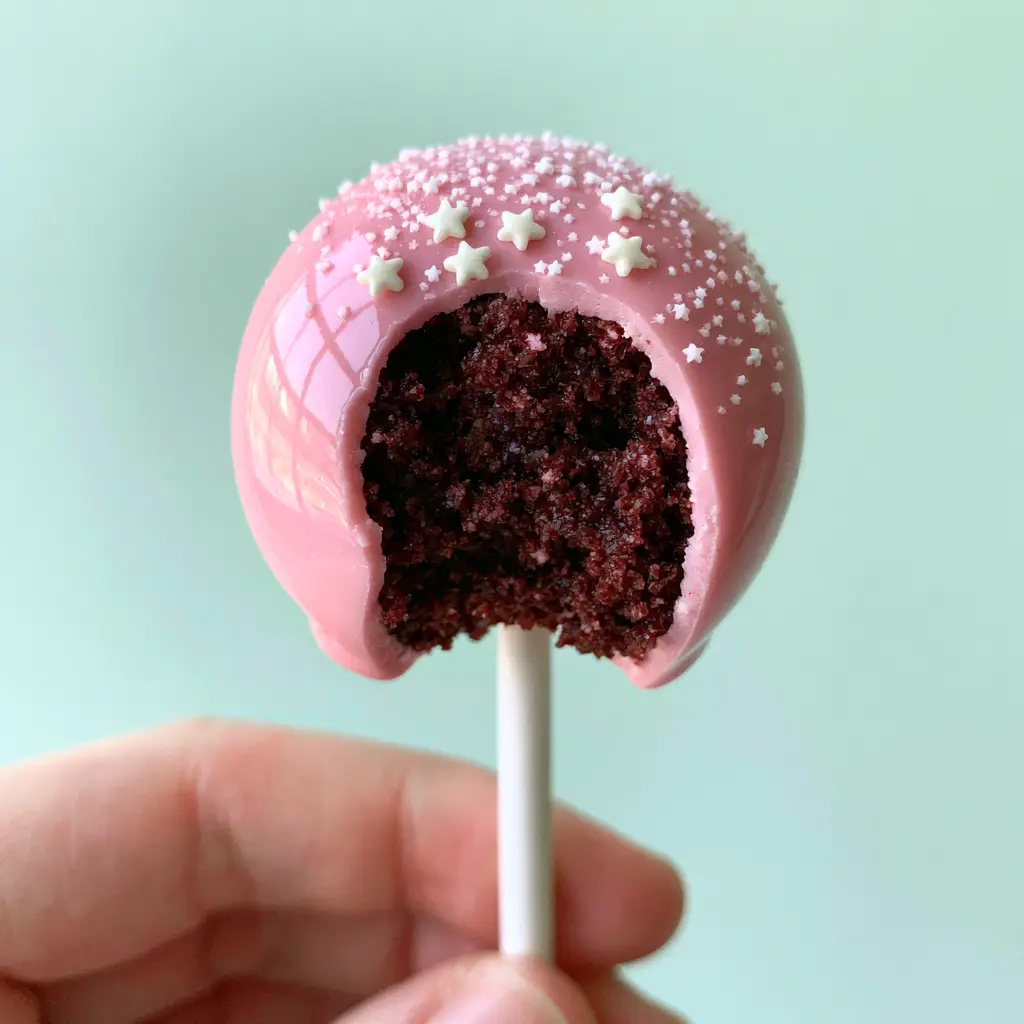
The Foundation: Rich Chocolate Cake and Creamy Binder
To achieve the dark, moist interior seen in our visual blueprint, we start with a high-moisture chocolate cake. You cannot use a dry sponge here; the crumb needs to be tight and tender to meld perfectly with the frosting.
All-Purpose Flour: 1 ½ cups (190g). This provides the necessary structure to keep the cake pops from becoming too “mushy” when mixed with the frosting binder.
Unsweetened Cocoa Powder: ½ cup (45g). We use Dutch-processed cocoa for that deep, dark chocolate color and a smoother, less acidic flavor profile that pairs beautifully with pink candy melts.
Granulated Sugar: 1 cup (200g). Beyond sweetness, sugar helps retain moisture in the cake crumb, ensuring the interior doesn’t dry out during the rolling process.
Baking Soda: 1 tsp (5g) and Salt: ½ tsp (3g). The baking soda provides lift, while the salt balances the intense sweetness of the candy coating.
Large Egg: 1 (50g). A single egg binds the cake batter together without making it overly airy or “cakey,” which is ideal for crumbling later.
Whole Milk: ½ cup (120ml). The fat content in whole milk adds a creamy mouthfeel to the chocolate base.
Vegetable Oil: ¼ cup (60ml). Oil is the secret to a “moist chocolate cake crumb” because it remains liquid at room temperature, unlike butter.
Boiling Water: ½ cup (120ml). Adding boiling water at the end “blooms” the cocoa powder, intensifying the chocolate flavor and thinning the batter for a delicate crumb.
Chocolate Frosting Binder: ⅓ cup (80g). This is the “glue.” Use a high-quality chocolate buttercream to ensure the interior is as rich as the exterior.
The Glaze and Decor: Achieving the Glossy Pink Finish
Pink Candy Melts: 16 oz (450g). These are specifically designed for dipping, providing a thicker, more opaque coverage than standard white chocolate with food coloring.
Coconut Oil or Paramount Crystals: 1 tbsp (15g). This “invisible” ingredient is critical. It thins the candy melts to a dippable consistency and creates that professional glossy reflection.
White Star Sprinkles: 2 tbsp (25g). Tiny, crisp white stars provide a visual and textural contrast against the smooth pink surface.
White Paper Lollipop Sticks: 24 count. A clean, 6-inch white stick is the classic choice for a professional presentation.
Essential Tools for Precision Dipping
To follow this Cakepop tutorial successfully, you will need a few specific items. A deep, narrow microwave-safe glass or silicone cup is better than a wide bowl for dipping; it allows for a full submersion of the pop in one go. You will also need a styrofoam block or a dedicated cake pop stand to let the pops dry upright without touching any surfaces.
A standard food processor is optional but recommended for achieving a uniform, fine cake crumb. If you prefer to match your treats with a beverage, consider serving these alongside a sparkling pink lemonade cocktail for a coordinated aesthetic.
The Step-by-Step Blueprint for Success
Phase 1: Baking the High-Moisture Chocolate Base
Preheat your oven to 350°F (175°C) and grease a 9-inch square pan. Whisk your dry ingredients—flour, sugar, cocoa, baking soda, and salt—in a large bowl until no lumps remain.
Add the egg, milk, and oil, mixing until just combined. Carefully pour in the boiling water; the batter will be very thin, but this is exactly what we want for a moist crumb. Bake for 28-32 minutes, or until a toothpick comes out clean. Allow the cake to cool completely. Using a warm cake will melt your frosting and result in a greasy pop.
Phase 2: Creating the Perfect Crumble and Binder
Once cooled, remove the “skin” or any browned edges from the cake. You want only the soft, dark interior for the best texture. Crumble the cake into a large bowl until it looks like fine coffee grounds.
Add the chocolate frosting one tablespoon at a time. Mix with your hands until the dough holds its shape when squeezed, similar to the texture of gourmet cookie dough truffles. If the mixture is too dry, it will crack; if it is too wet, it will fall off the stick.
Phase 3: Rolling and “The Anchor” Technique
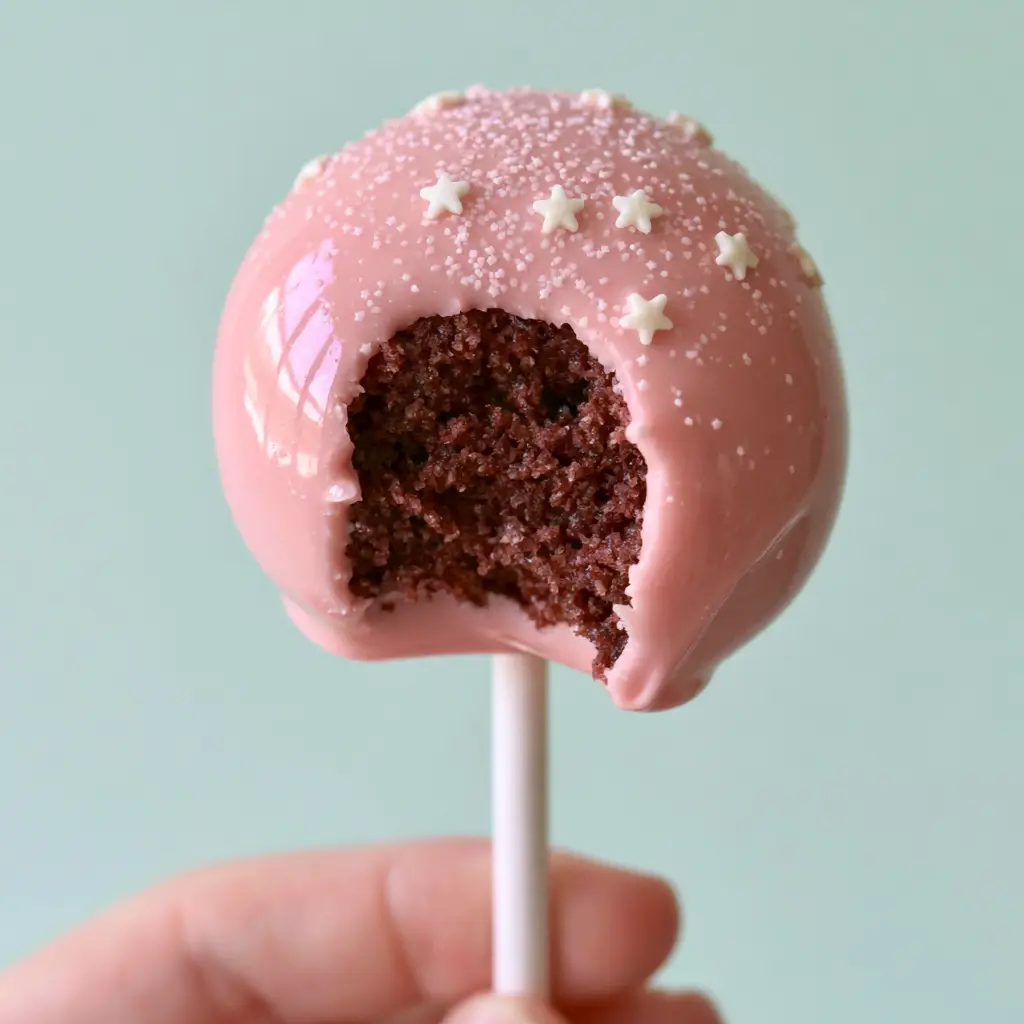
Scoop 1-tablespoon portions and roll them into perfectly smooth spheres. Place them on a parchment-lined tray. Now, here is the professional secret: melt a tiny amount of your pink candy melts. Dip the tip of each lollipop stick about ½ inch into the melted candy, then insert it halfway into the cake ball. This acts as an “anchor” or “glue” to keep the pop secure.
Chill the pops in the refrigerator for 20 minutes. Do not freeze them. If the cake balls are too cold, the hot candy melt coating will expand and crack as it cools. We want that uncracked, smooth finish described in our visual prompt.
Phase 4: The Master Dip and Star Garnish
Melt your pink candy melts with the coconut oil in 30-second intervals, stirring vigorously in between. The mixture should flow off a spoon like warm honey. Pour the coating into your deep, narrow cup.
Hold a chilled cake pop by the stick and submerge it in one fluid motion until the coating reaches the stick. Pull it straight out—do not stir. Tap your wrist gently to remove excess coating. While the glaze is still wet and glossy, lightly dust with the white star sprinkles. Place the stick into your stand to dry.
Expert Tips for a Professional Finish
- Avoid the Bubble: If you see air bubbles in your melted candy, tap the container on the counter several times before dipping.
- Temperature Control: If the coating becomes too thick, reheat it for 10 seconds. Cold coating leads to lumpy pops.
- The “Skin” Removal: Always trim the top layer of the baked cake. Those caramelized bits will create lumps in your otherwise smooth interior.
- Double Dipping: For a “thick pink candy melt coating” like in the prompt, let the first layer dry for 10 minutes, then dip a second time for an ultra-opaque finish.
Storage and Freshness Guide
Cake pops are incredibly durable. They can be stored at room temperature in an airtight container for up to 3 days. For longer storage, keep them in the refrigerator for up to 10 days. If you are preparing for a large event, these can be frozen (before dipping) for up to 3 months. If you enjoy make-ahead treats, you might also love our marshmallow peanut butter brownies which store equally well.
What to Serve with Your Pink Treats
These chocolatey, pink-glazed delights are the stars of the show, but they pair beautifully with other “sweet and salty” or “refreshing” options. Serve them alongside a tall glass of peach raspberry iced tea to cut through the richness of the chocolate. For a full dessert spread, a classic funfetti sheet cake provides a great color contrast to the pink glaze.
Frequently Asked Questions
You can, but white chocolate is much thinner and more temperamental. You will likely need to temper it to get a snap, and you must use oil-based food coloring, as water-based colors will cause the chocolate to seize.
The secret is adding a fat source like coconut oil or paramount crystals to the melted candy. This thins the consistency so it flows smoothly and creates a reflective, glossy finish once set.
When sealed in the candy shell, the cake stays moist for a long time. They last up to 3 days at room temperature, 10 days in the fridge, or 3 months in the freezer (though the shell may lose its gloss in the freezer).
This happens if the cake mixture is too heavy/wet or if you didn’t ‘anchor’ the stick. Always dip the stick in melted candy before inserting it into the cake ball, and ensure your frosting-to-cake ratio isn’t too high.
Cracking usually happens because of a temperature shock. If the cake balls are too cold (from the freezer) and the candy coating is too hot, the cake will expand as it warms up, causing the shell to snap. Refrigerate, don’t freeze, before dipping.
Mastering the Pink Cake Pop Tutorial
Cakepop tutorial: How to Make Perfectly Smooth Pink Chocolate Treats
Ingredients
Equipment
Method
- Preheat oven to 350°F (175°C). In a large bowl, whisk flour, sugar, cocoa, baking soda, and salt.
- Mix in the egg, milk, and oil. Pour in boiling water and whisk until a thin, smooth batter forms.
- Pour into a 9-inch square pan and bake for 30 minutes. Let cool completely before crumbling.
- Crumble the cooled cake into fine crumbs. Mix with chocolate frosting until it reaches a dough-like consistency.
- Roll into 1-tablespoon spheres. Dip sticks into melted candy, insert into spheres, and refrigerate for 20 minutes.
- Melt pink candy melts with coconut oil until glossy and fluid.
- Dip each pop vertically into the candy, tap off excess, and immediately garnish with white star sprinkles.
Notes
If the candy coating is too thick, add a teaspoon more of coconut oil to improve the flow.
The Final Snap: Share Your Results!
Mastering this Cakepop tutorial is a true culinary milestone. There is something magical about seeing that hand-held smartphone photo of a perfectly smooth pop with a clean bite taken out of it. The contrast of the pink shell and the dark chocolate interior is simply unbeatable. If you enjoyed this guide, please leave a comment below or share your creations with us on Pinterest! Don’t forget to sign up for our newsletter for more deep-dive recipes like our carnival-style funnel cakes.