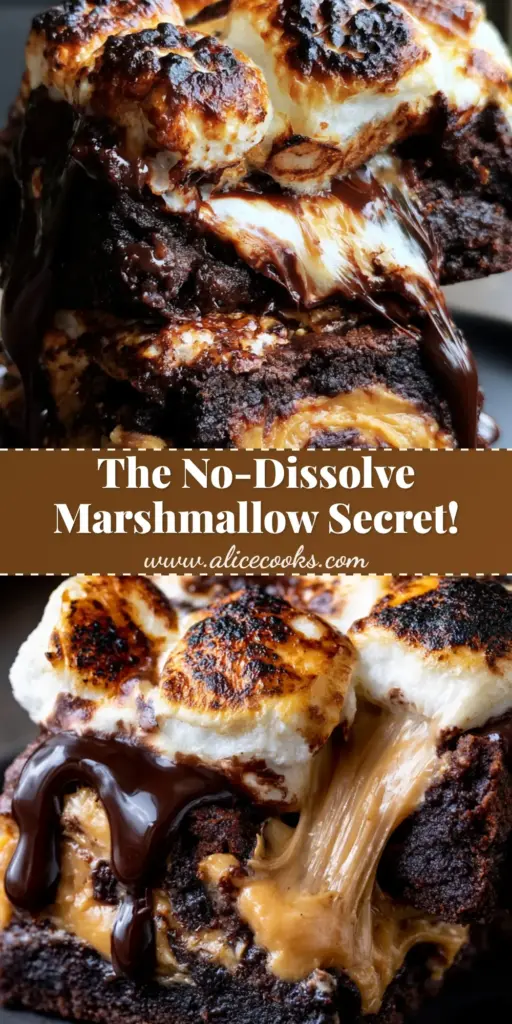
Marshmallow Peanut Butter Brownies are the ultimate indulgence for anyone who believes that dessert should be a multi-sensory experience. Imagine a base so dense and fudgy it resembles a truffle, topped with clouds of toasted sugar and a salty nutty swirl.
This recipe isn’t just about mixing ingredients; it’s about mastering the architecture of textures. We are layering ultra-dark chocolate, creamy peanut butter, and fire-toasted marshmallows into one cohesive, decadent square.
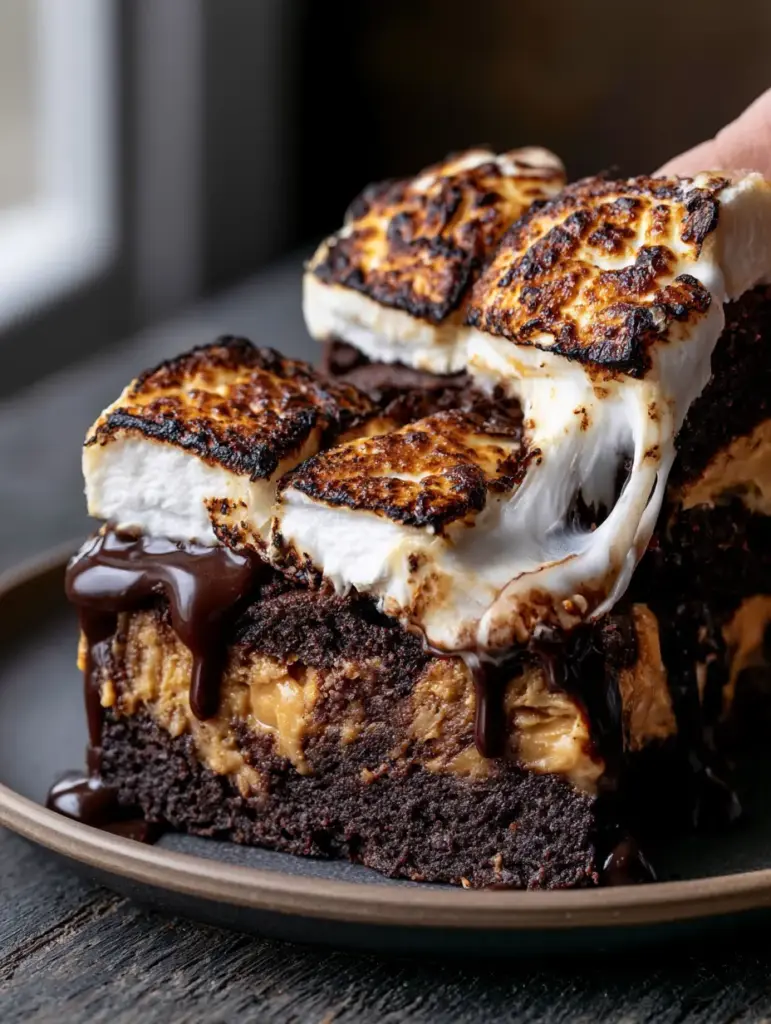
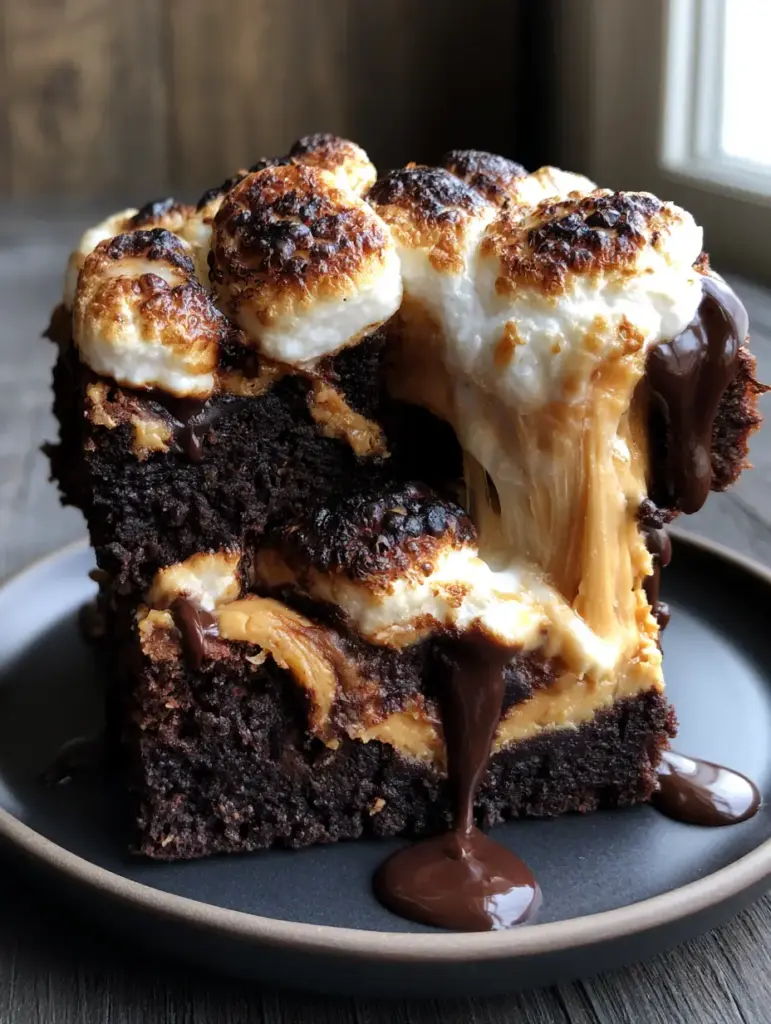
When you pull these brownies apart, you should see a thick, stretchy, gooey marshmallow pull that contrasts against the matte, dark chocolate crumb. It is the kind of dessert that stops the room, captured perfectly in that rustic, handheld smartphone style we all love to share.
Why These Fudgy Peanut Butter and Toasted Marshmallow Squares Work
- The Textural Trifecta: You get the dense chew of the brownie, the creamy melt of peanut butter, and the airy, sticky stretch of toasted marshmallows in every single bite.
- Visual Showstopper: With charred, golden-brown marshmallow tops and a glossy dark chocolate fudge drizzle, these look like they came from a high-end boutique bakery.
- Balanced Flavor Profile: The bitterness of 70% dark chocolate and the hit of sea salt flakes perfectly cut through the sweetness of the caramelized sugar tops.
- Scientifically Sound: We use a combination of melted chocolate and Dutch-processed cocoa to ensure the base remains moist and fudgy without becoming cakey.
The Anatomy of an Ultra-Fudgy Dark Chocolate Foundation
To achieve the “extreme close-up” quality seen in the visual blueprint, we must start with a high-fat, low-moisture base. This ensures the brownie remains dense rather than airy.
Unsalted Butter (1 cup / 227g): Butter provides the essential fat that carries the chocolate flavor across your palate. We melt it slowly to ensure it emulsifies perfectly with the sugars.
70% Dark Chocolate (8 oz / 225g): Using high-quality bar chocolate instead of just chips creates a superior mouthfeel. It melts into a glossy pool that forms the “ultra-fudgy” crumb described in our prompt.
Granulated Sugar (1 ½ cups / 300g): Sugar does more than sweeten; it breaks down the protein in the eggs to create that classic crackly top before we add the marshmallow layer.
Large Eggs (3 units): Eggs act as the structural glue. By beating them into the warm chocolate mixture, we create a stable emulsion that supports the heavy peanut butter swirls.
Dutch-Processed Cocoa Powder (½ cup / 45g): This specific cocoa is treated with alkali, giving it a darker color and a smoother, more intense chocolate flavor that matches our “dark chocolate” visual requirement.
All-Purpose Flour (¾ cup / 95g): We use a minimal amount of flour to keep the gluten structure weak. This prevents the brownies from becoming “bready” or cake-like.
Espresso Powder (1 tsp / 2g): A secret forensic ingredient that doesn’t make the brownies taste like coffee but intensifies the natural notes of the dark chocolate base.
Fine Sea Salt (½ tsp / 3g): Salt is the essential balancer, sharpening the contrast between the peanut butter and the sweet marshmallow topping.
Essential Ingredients for the Creamy Peanut Butter Swirl
The visual blueprint calls for “thick, creamy, golden-brown peanut butter” swirled throughout the base. Not all peanut butters are created equal for baking.
Creamy Peanut Butter (¾ cup / 190g): Use a stabilized commercial brand (like Jif or Skippy) for the best swirls. Natural oils in “stir-style” peanut butter can separate and make the brownies greasy.
Powdered Sugar (2 tbsp / 15g): Whisked into the peanut butter, this ensures the swirl holds its shape and develops a slightly matte, fudgy texture that mirrors the brownie base.
The Topping: Toasted Marshmallows and Glossy Drizzle
The “marshmallow pull” is the star of the show. We achieve this by using whole marshmallows and a specific two-stage baking process.
Large Marshmallows (20-24 units): We use whole marshmallows rather than minis to get those thick, gooey pockets. They provide the “perfectly toasted, charred tops” mentioned in the prompt.
Dark Chocolate Chips (½ cup / 90g): These are melted with a bit of cream to create the “glossy, dark chocolate fudge sauce” that drizzles down the sides of the cut squares.
Heavy Cream (2 tbsp / 30ml): This thins the chocolate just enough to create a pourable ganache that stays glossy even after it sets.
Flaky Sea Salt (for garnish): A final sprinkle adds a crystalline visual element and a burst of flavor that highlights the caramelized sugar notes.
Culinary Tools for Professional Results
To replicate the “minimal, dark ceramic plate” presentation, you need the right tools for a clean, professional bake. Using a parchment sling is non-negotiable for clean edges.
You will need an 8×8 inch (20x20cm) square baking pan. This specific size ensures the brownies have the “thick, dense” height required for the perfect side-view photo.
A kitchen torch is optional but recommended for achieving those specific “charred tops” without overcooking the brownie base. Otherwise, a high-heat broiler setting works well.
A sharp, thin-bladed knife dipped in hot water between cuts is the secret to seeing the internal layers of peanut butter and dark chocolate without smearing the crumb.
Step-by-Step Construction of the Ultimate Brownie
Phase 1: Melting the Chocolate Foundation
Preheat your oven to 350°F (175°C). Line your 8×8 pan with parchment paper, leaving an overhang on two sides for easy removal later.
In a medium microwave-safe bowl, combine the butter and chopped dark chocolate. Heat in 30-second increments, stirring until the mixture is glossy and completely smooth.
Whisk in the granulated sugar while the mixture is still warm. This helps the sugar dissolve slightly, which is the key to a fudgy (not grainy) texture.
Phase 2: Emulsifying the Batter
Add the eggs one at a time, whisking vigorously after each addition. You want the batter to look shiny and start pulling away from the sides of the bowl.
Sift in the cocoa powder, flour, espresso powder, and fine sea salt. Use a rubber spatula to fold the dry ingredients in until just combined.
Pour the batter into the prepared pan. Smooth the top with a spatula to ensure an even base for the upcoming layers.
Phase 3: The Peanut Butter Ripple
In a small bowl, warm the peanut butter in the microwave for 15 seconds until it is pourable. Stir in the powdered sugar until smooth.
Drop large dollops of the peanut butter mixture onto the brownie batter. Use a butter knife to swirl the peanut butter in a figure-eight motion, creating deep, thick ribbons.
Bake the brownies for 22-25 minutes. The center should be slightly set but still have a very soft jiggle; do not overbake, or you will lose the “ultra-fudgy” texture.
Phase 4: Toasting the Marshmallow Crown
Remove the pan from the oven and immediately cover the surface with the whole marshmallows. Press them down slightly so they adhere to the warm brownie base.
Switch your oven to the broiler setting. Place the pan back in the oven for 1-2 minutes. Watch closely: you are looking for the marshmallows to puff up and develop “perfectly toasted, caramelized golden-brown charred tops.”
Remove from the oven and let them cool in the pan for at least 2 hours. This patience is required for the marshmallow pull to stabilize and the chocolate to set.
Expert Tips for the Perfect Marshmallow Pull
- Temperature Control: If you try to cut these while they are hot, the marshmallows will simply slide off. For the best “handheld smartphone photo” look, cut them at room temperature.
- The Drizzle Timing: Apply the dark chocolate fudge drizzle just before serving. This keeps it looking “glossy” rather than dull and set.
- Avoiding the Sticky Mess: Lightly grease your knife with neutral oil before cutting through the marshmallow layer to prevent sticking.
- Salt Placement: Only add the flaky sea salt after the chocolate drizzle. This ensures the flakes sit on top and remain visible against the dark sauce.
Creative Pairings and Serving Suggestions
These brownies are incredibly rich, so they pair best with beverages that offer a bit of acidity or brightness. A cold glass of milk is classic, but you might enjoy something more complex.
For a summer party, try serving these alongside a Pink Lemonade Cocktail to cut through the density of the chocolate. The tartness of the lemon cleanses the palate between bites of gooey marshmallow.
If you’re hosting a brunch, these brownies make a bold statement next to Morning Smoothies. The contrast between a fresh, fruit-forward smoothie and a charred marshmallow brownie is surprisingly delightful.
For those who love a themed dessert table, consider pairing these with Funfetti Sheet Cake. The whimsical colors of the cake provide a beautiful visual contrast to the dark, rustic tones of the peanut butter brownies.
Preserving the Fudgy Texture: Storage and Reheating
Store your Marshmallow Peanut Butter Brownies in an airtight container at room temperature for up to 3 days. The marshmallows will stay softest at room temp.
Avoid refrigerating them if possible, as the cold can cause the fudgy base to become quite hard. If you must refrigerate, let them sit out for 30 minutes before eating.
To regain that “stretchy, gooey marshmallow pull” after a day or two, pop a single brownie in the microwave for 8-10 seconds. This softens the peanut butter and re-melts the marshmallow core.
Frequently Asked Questions
While you can, fluff will melt completely into the batter and won’t give you that iconic ‘marshmallow pull’ or the charred, toasted tops described in this recipe.
The marshmallows are very sticky. For the cleanest lines, let the brownies cool completely, then use a sharp knife dipped in hot water and wiped clean between every single cut.
The trick is using the broiler for a very short duration (1-2 minutes) or a kitchen torch. Since the brownies are already baked, you only need high, direct heat to caramelize the sugar on the marshmallow surface.
Use a high-quality dark chocolate bar with at least 70% cocoa. Avoid using only chocolate chips for the base, as they contain stabilizers that prevent that ultra-dense, truffle-like melt.
If the brownie batter is too thin or the peanut butter is too warm, they will mix rather than layer. Ensure your brownie batter is thick and whisk a little powdered sugar into the peanut butter to give it more structure.
The Ultimate Marshmallow Peanut Butter Brownies Recipe
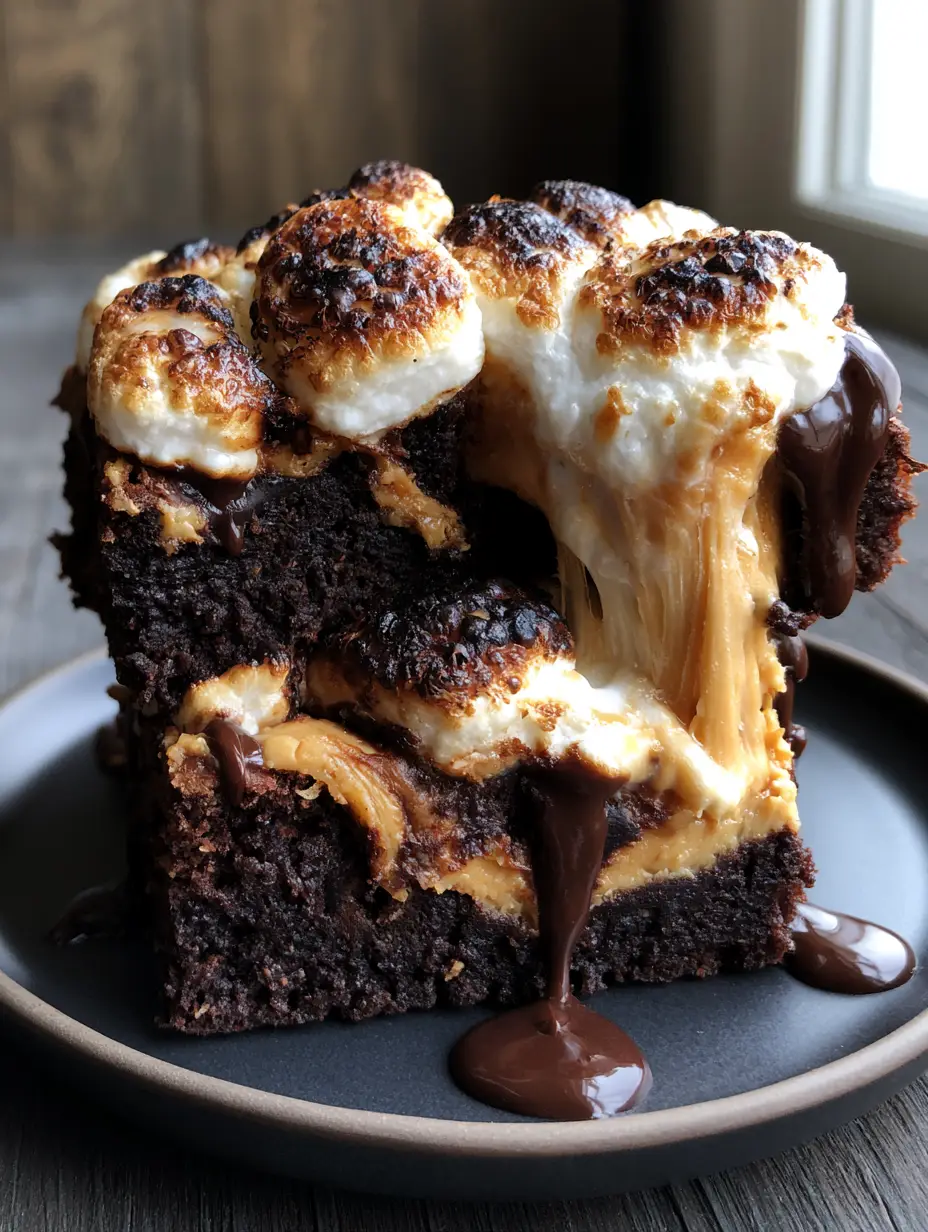
Marshmallow Peanut Butter Brownies with Toasted Gooey Tops
Ingredients
Equipment
Method
- Melt butter and dark chocolate together in 30-second increments in the microwave until glossy and smooth.
- Whisk in granulated sugar while warm, then add eggs one at a time, beating until the batter is shiny.
- Sift in cocoa, flour, espresso powder, and salt. Fold gently until no dry streaks remain.
- Pour batter into the pan. Dollop peanut butter on top and swirl with a knife to create thick golden ribbons.
- Bake at 350°F (175°C) for 22-25 minutes until the edges are set but the center remains slightly soft.
- Remove from oven, top with whole marshmallows, and broil for 1-2 minutes until tops are caramelized and charred.
- Melt chocolate chips with heavy cream to create a glossy sauce. Drizzle over cooled brownies and sprinkle with flaky sea salt.
Notes
Do not over-broil the marshmallows; they go from golden to burnt very quickly.
These Marshmallow Peanut Butter Brownies are a masterclass in dessert textures. From the charred sugar tops to the deep chocolate base, every element serves a visual and culinary purpose. If you enjoyed this recipe, please share your results on Pinterest and tag us!