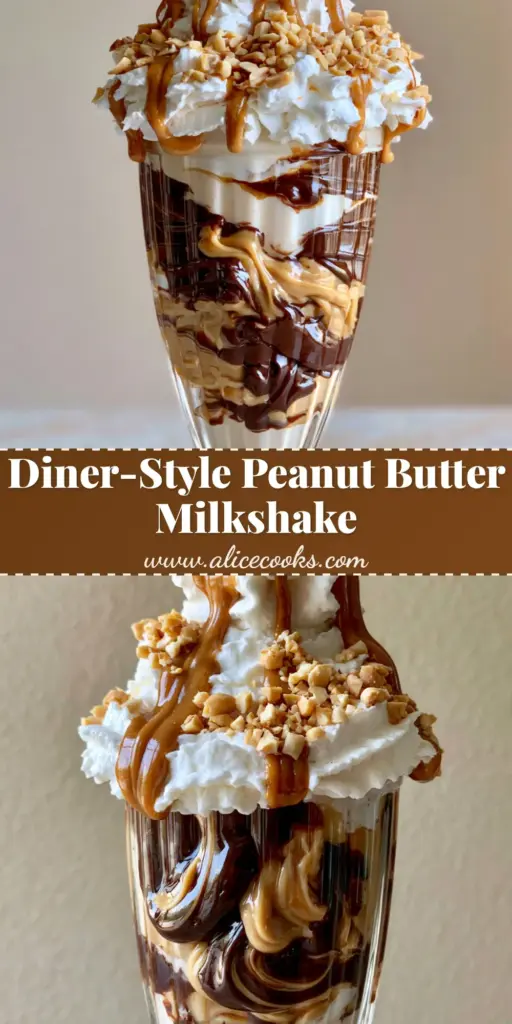
There is something undeniably nostalgic about a thick, Peanut Butter Milkshake served in a vintage tall ribbed glass. It evokes memories of neon-lit diners, chrome counters, and the pure joy of a treat so thick it practically defies the straw. This isn’t just a blended drink; it is a structural masterpiece of velvet-smooth dairy and salty-sweet nuttiness.
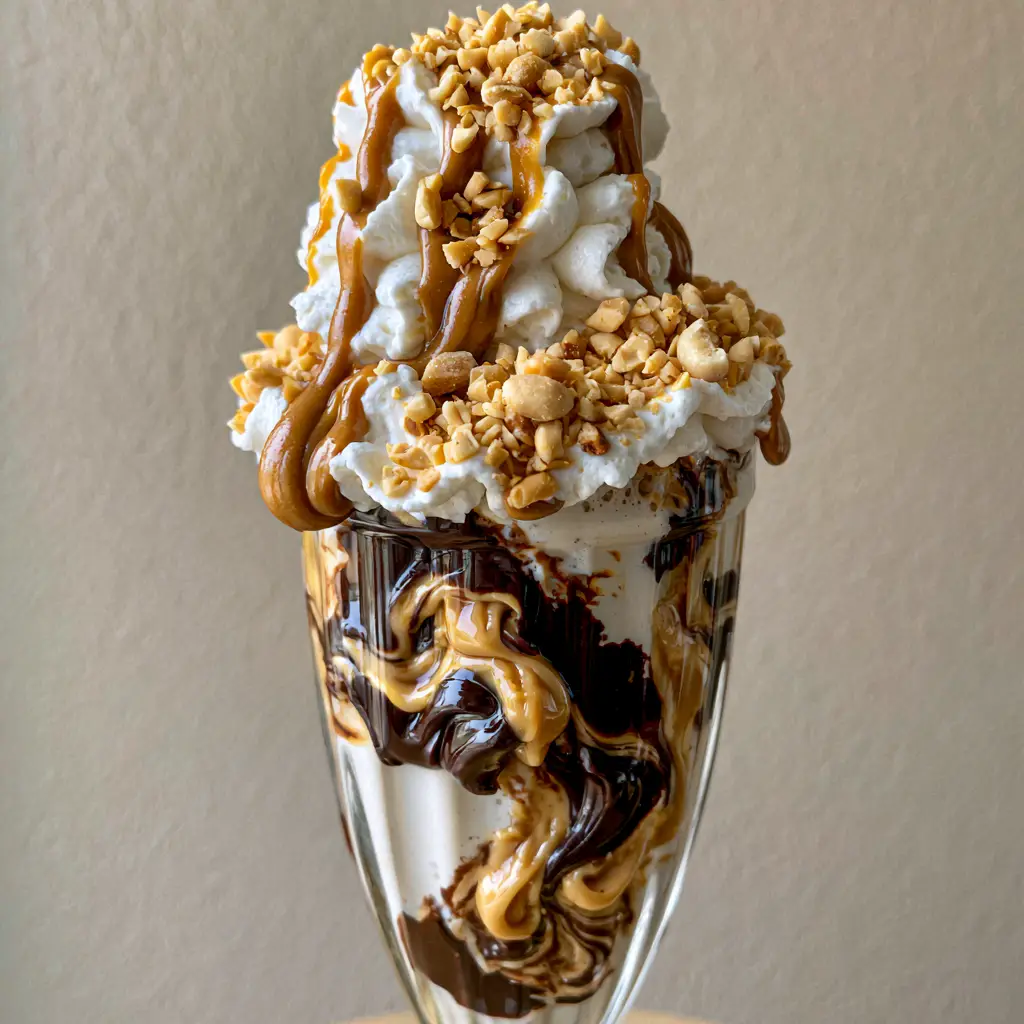
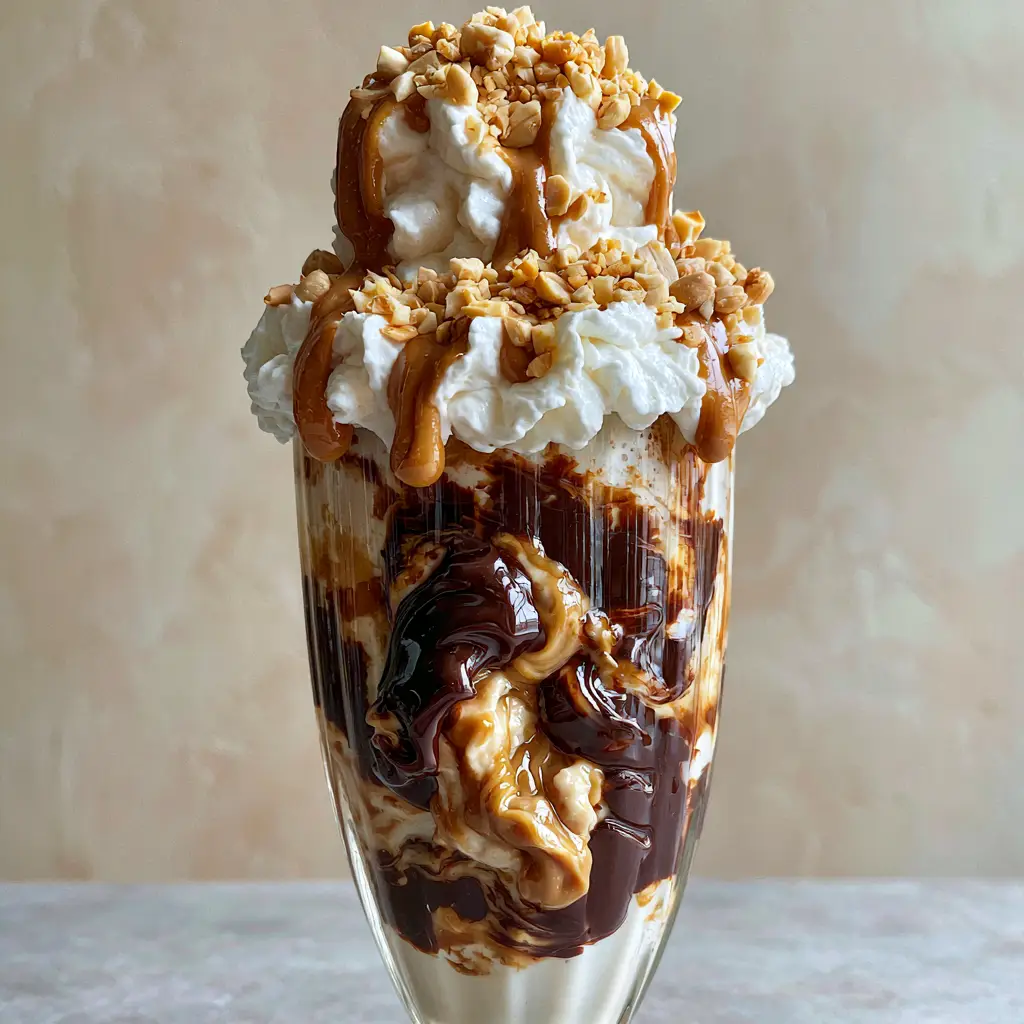
When you look at this Peanut Butter Milkshake, your eyes are immediately drawn to the thick, glossy swirls of dark chocolate fudge and creamy peanut butter sauce clinging to the inside of the glass. The base itself is a dense, pale tan hue, promising a rich mouthfeel. It is crowned with a towering mountain of whipped cream, drizzled with even more warm peanut butter, and finished with a shower of finely chopped roasted peanuts for that essential crunch.
In this guide, we are going to master the culinary physics required to achieve that perfect “handheld smartphone photo” aesthetic. From the temperature of your milk to the specific viscosity of your fudge, every detail matters. Let’s dive into the science of the perfect shake.
Why This Creamy Peanut Butter Milkshake Stands Out
- The Perfect Viscosity: We use a high-fat ratio to ensure a “diner-style” thickness that holds its shape even under a mountain of toppings.
- Dual-Swirl Technology: By layering both dark chocolate fudge and warm peanut butter sauce, we create a complex flavor profile in every sip.
- Textural Contrast: The combination of silky whipped cream and chopped roasted peanuts provides a sensory experience that goes beyond just liquid.
- Visual Precision: This recipe is designed to look exactly like a professional food shoot, with glossy drips and stable peaks.
Essential Components for a High-End Peanut Butter Milkshake
Premium Vanilla Bean Ice Cream: 3 large scoops (approx. 1.5 cups or 350ml). Use a high-quality, full-fat ice cream with minimal overrun (air) to ensure the Peanut Butter Milkshake remains dense and creamy rather than foamy.
Creamy Peanut Butter: 1/3 cup (80g). For the base, use a traditional emulsified creamy peanut butter; natural oils can sometimes separate when hitting the cold ice cream, leading to a grainy texture.
Whole Milk: 1/2 cup (120ml). Cold whole milk provides the necessary liquid to facilitate blending while maintaining a rich, fatty mouthfeel that lower-fat milks lack.
Dark Chocolate Fudge Sauce: 3 tbsp (45ml). Look for a thick, glossy fudge sauce rather than a thin chocolate syrup to achieve those iconic, non-bleeding swirls inside the glass.
Warm Peanut Butter Drizzle: 2 tbsp (30g). By gently heating peanut butter with a teaspoon of neutral oil, we create a pourable sauce that mimics the professional “drip” look seen in our visual blueprint.
Heavy Whipping Cream: 1/2 cup (120ml). Whipped to stiff peaks, this creates the “towering mountain” that supports our toppings without collapsing into the drink.
Roasted Peanuts: 2 tbsp (20g), finely chopped. These provide the salty “shower” of texture that balances the intense sweetness of the chocolate and cream.
Fine Sea Salt: A tiny pinch. This “invisible ingredient” is crucial to brighten the peanut notes and cut through the richness of the dairy.
Professional Tools for the Perfect Blend
To achieve the macro focus on delicious textures described in our prompt, you need the right gear. A high-speed blender is ideal for complete emulsification, though a dedicated milkshake mixer (the spindle type) will provide the most authentic diner aeration. You will also need a piping bag with a large star tip to create that towering whipped cream mountain, and a small offset spatula or spoon to paint the fudge swirls inside your vintage glass.
Architecting the Peanut Butter Milkshake: Step-by-Step Instructions
Phase 1: Preparing the Decorative Elements
Before you even touch the blender, prepare your glass. Take your vintage tall ribbed glass and use a spoon to drizzle the dark chocolate fudge in a circular motion against the inner walls. Follow this with a few swirls of the warm peanut butter sauce.
Place the decorated glass in the freezer for 5-10 minutes. This “sets” the swirls so they don’t immediately slide to the bottom when you pour in the heavy Peanut Butter Milkshake base. While the glass chills, whip your heavy cream with a touch of powdered sugar until stiff peaks form, and transfer it to a piping bag.
Phase 2: Blending for Maximum Density
In your blender canister, combine the vanilla ice cream, 1/3 cup (80g) of creamy peanut butter, the whole milk, and a pinch of sea salt. Start on the lowest speed to break up the ice cream, then increase to medium for only 15-20 seconds.
Watch for the “vortex” to form. As soon as the mixture is uniform and smooth, stop blending. Over-blending introduces too much air and friction heat, which will turn your thick Peanut Butter Milkshake into a runny soup. You want a consistency that is difficult to pour but yields to a heavy spoon.
Phase 3: The Assembly and Garnish
Retrieve your chilled glass. Carefully pour the peanut butter mixture into the center of the glass to avoid disturbing the frozen swirls on the sides. Fill it to about an inch below the rim.
Pipe the whipped cream in a tight, upward spiral, starting from the edge and moving toward the center to build height. Immediately drizzle the remaining warm peanut butter sauce over the cream, allowing it to “web” across the peaks. Finish by showering the top with the finely chopped roasted peanuts, ensuring they catch on the sticky sauce and cream.
Expert Tips for a Picture-Perfect Result
- The Temperature Rule: Always use rock-hard ice cream straight from the freezer. If the ice cream is already soft, your Peanut Butter Milkshake will lose its structural integrity within minutes.
- The Drizzle Secret: If your peanut butter is too thick to drizzle, microwave it in 10-second bursts with a half-teaspoon of coconut oil. This creates a glossy, professional finish.
- Salt is Key: Don’t skip the pinch of salt in the blender. It acts as a flavor bridge between the cold fats and the nutty oils.
- Straw Selection: Use a wide-bore “boba” straw or a reusable metal straw. A standard thin straw will struggle with the thickness and the peanut fragments.
Creative Pairings and Serving Suggestions
This Peanut Butter Milkshake is a centerpiece dessert, but it pairs beautifully with other treats for a full dessert spread. If you are hosting a summer party, consider serving these alongside some peanut butter butterscotch marshmallow squares for a double dose of nutty goodness.
For a balanced party menu, contrast the richness of this shake with a refreshing beach peach lemonade cocktail or some light no-bake cheesecake bars. If you’re looking for more frozen inspiration, our frozen mudslide offers a similar boozy indulgence for the adults in the room.
Storage and Make-Ahead Advice
Milkshakes are best enjoyed immediately to appreciate the contrast between the cold base and the room-temperature toppings. However, you can prep the “swirled” glasses up to 24 hours in advance and keep them in the freezer. You can also chop the peanuts and whip the cream (if using a stabilizer like mascarpone or gelatin) a few hours ahead of time.
We do not recommend freezing a fully assembled Peanut Butter Milkshake, as the whipped cream will lose its texture and the ice cream base will develop ice crystals, destroying that velvety diner-style mouthfeel.
Common Questions About This Recipe
Yes! Substitute the ice cream and milk with high-quality oat or coconut-based alternatives, and use a vegan-certified dark chocolate fudge and whipped coconut cream.
While you can, emulsified ‘no-stir’ peanut butter works best for the base as it blends more smoothly with cold dairy without becoming grainy or separating.
Use less milk and ensure your vanilla ice cream is high-fat and completely frozen. Avoid over-blending, which generates heat and thins the mixture.
For a thick diner-style shake, use a 3:1 ratio of ice cream to milk (e.g., 1.5 cups ice cream to 0.5 cups milk).
If the fudge is too thin or the glass is too warm, it will slide. Chilling the glass after drizzling the fudge helps it ‘grip’ the sides before you pour the shake.
The Ultimate Peanut Butter Milkshake Recipe Card
Peanut Butter Milkshake: The Ultimate Creamy Diner-Style Recipe
Ingredients
Equipment
Method
- Drizzle dark chocolate fudge and warm peanut butter inside a tall glass. Freeze for 10 minutes to set.
- Beat heavy cream until stiff peaks form; place in a piping bag with a star tip.
- Combine ice cream, 1/3 cup peanut butter, milk, and salt in a blender. Pulse until just smooth and thick.
- Pour the mixture into the chilled glass. Pipe a tall mountain of whipped cream on top. Drizzle with warm peanut butter and sprinkle with chopped peanuts.
Notes
Chill your glass beforehand to prevent the shake from melting too quickly.
Share Your Culinary Creation!
We want to see your towering whipped cream mountains and glossy fudge swirls! This Peanut Butter Milkshake is designed to be shared—both in person and on social media. If you make this recipe, be sure to leave a comment below and let us know how it turned out.
Don’t forget to follow us on Pinterest for more visually stunning dessert inspiration. Pin this recipe to your “Dessert Goals” board so you can find it the next time a peanut butter craving strikes!