There is something undeniably magical about walking into a bakery and seeing those perfectly round, glistening treats perched atop white sticks. If you have been searching for easy cake pops recipes that actually deliver that professional, high-end finish, you are in the right place. We are going to bridge the gap between “homemade” and “gourmet” by focusing on the science of the crumb and the chemistry of the coating.
Imagine biting into a shell that snaps cleanly to reveal a center so moist and dense it feels like velvet on your tongue. We aren’t just making a snack; we are recreating the iconic, handheld luxury of the pastel pink Starbucks classic. By following this guide, you will master the specific techniques required to achieve a flawless, crack-free finish every single time.
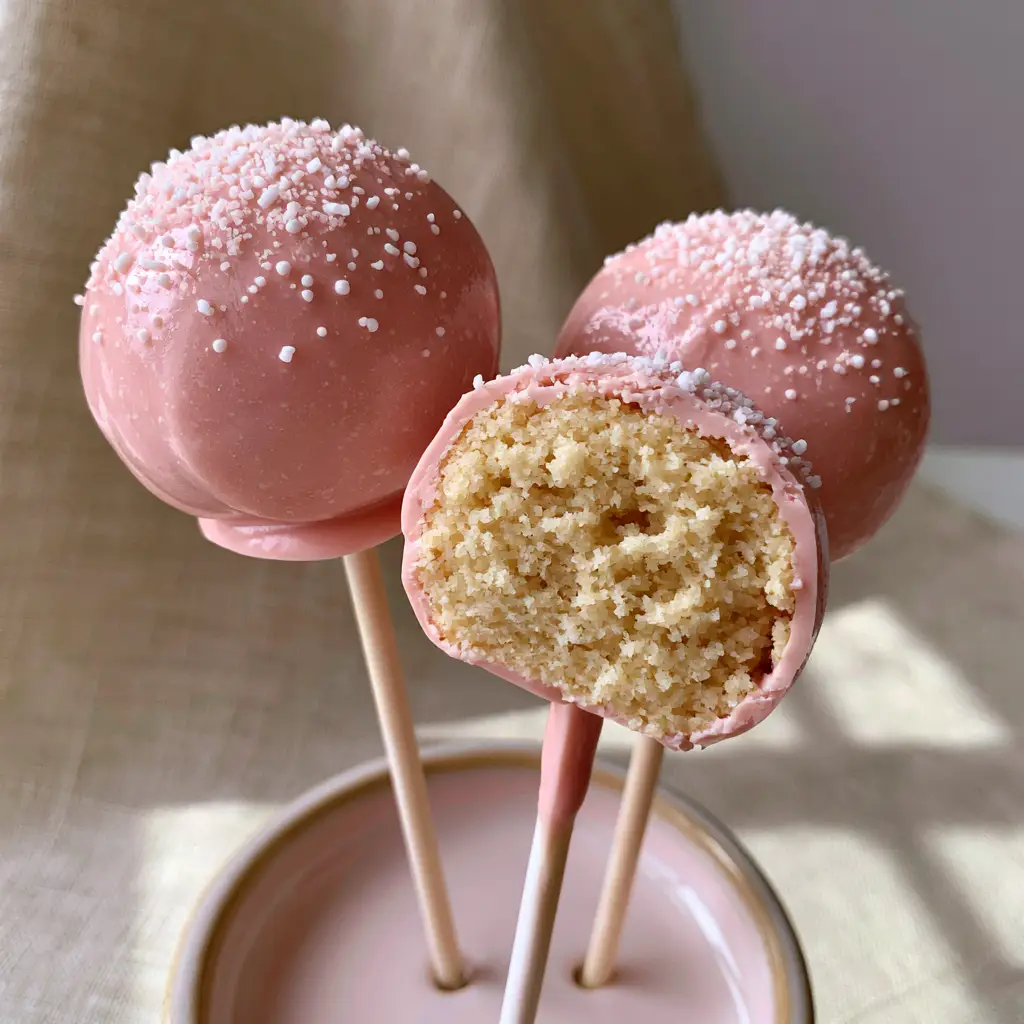
Why These Are the Best Starbucks Copycat Cake Pops
- High-Gloss Finish: A specialized thinning technique ensures the candy coating is smooth, glossy, and free of unsightly clumps.
- Dense Vanilla Core: Unlike dry, crumbly versions, this recipe uses a specific cake-to-binder ratio for a fudgy, uniform interior.
- Visual Precision: From the delicate dusting of white sugar sprinkles to the pastel pink hue, these are indistinguishable from the store-bought version.
- Structural Integrity: We use proven chilling methods to ensure your cake pops never slide down the stick.
Essential Ingredients for the Perfect Vanilla Crumble
Moist Vanilla Cake: You will need 4 cups (approx. 500g) of prepared vanilla cake crumbs. Whether you bake a fresh sponge or use a high-quality mix, ensure it is fully cooled before crumbling to maintain the correct moisture level for cake pop dough.
Vanilla Buttercream Binder: Use 1/3 cup (75g) of room-temperature vanilla frosting. This acts as the “glue” that creates that signature dense, truffle-like texture without making the mixture greasy or overly sweet.
Pastel Pink Candy Melts: You will need 16 oz (450g) of high-quality pink vanilla-flavored candy wafers. These are formulated to melt smoothly and provide the vibrant, opaque color seen in the starbucks copycat cake pops photos.
Paramount Crystals or Neutral Oil: 1-2 tbsp (15-30ml) of melted coconut oil or vegetable shortening is vital. This foundational “invisible” ingredient thins the coating, allowing it to flow over the cake ball for a seamless, professional look.
White Sugar Sprinkles: A delicate dusting of fine white nonpareils or granulated sugar provides the final tactile contrast. These tiny white accents catch the natural daylight, adding a touch of elegance to the pastel pink shell.
Lollipop Sticks: Standard 6-inch (15cm) paper or plastic sticks are required for stability. Choosing the right stick ensures your easy cake pops recipes are easy to handle and display.
The Tools for Success
To achieve the handheld perfection shown in our visuals, you need a modern ceramic stand or a heavy styrofoam block to hold the pops upright while they set. A microwave-safe deep silicone cup or a narrow glass jar is also essential for the dipping process. This ensures you can fully submerge the cake ball in one fluid motion, preventing the dreaded “double-dip” texture.
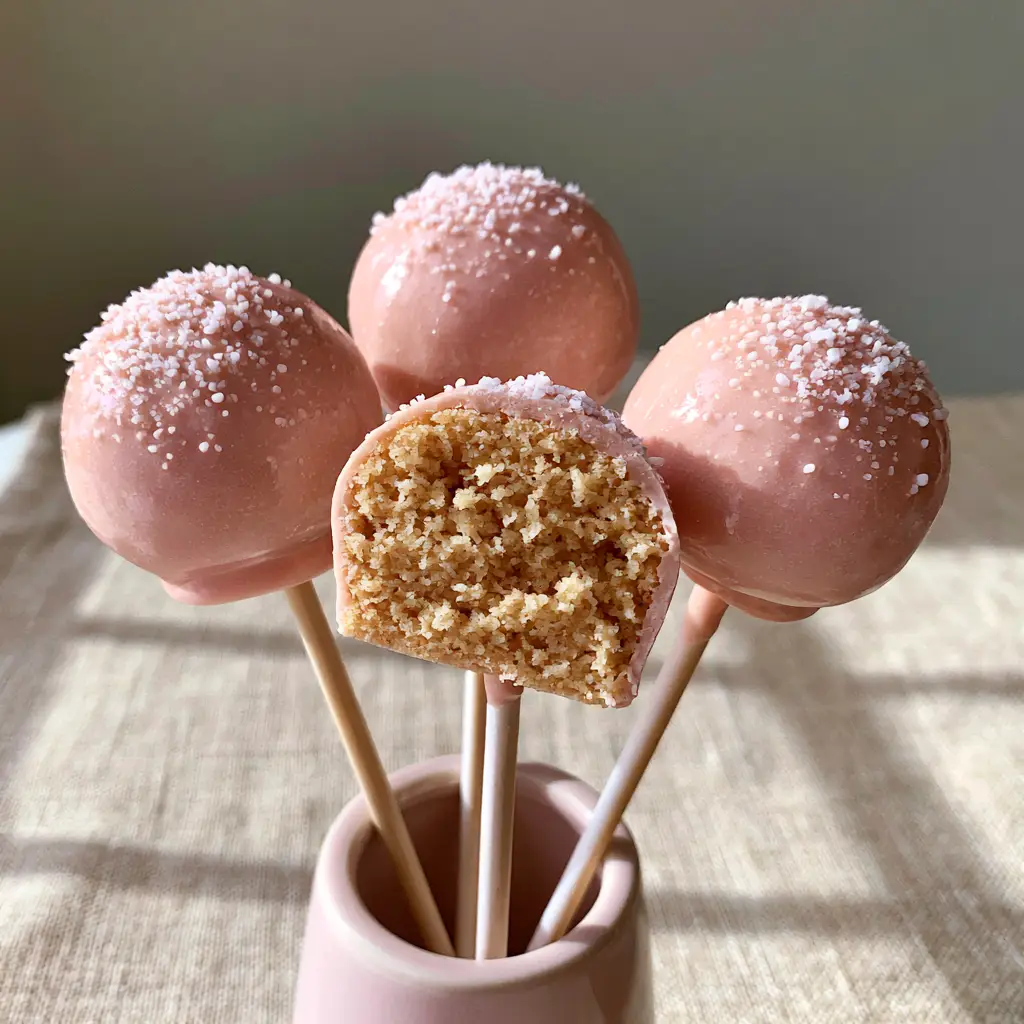
Mastering the Art of the Dense Vanilla Core
Step 1: The Forensic Crumble
Break your cooled vanilla cake into large chunks and place them into a large mixing bowl. Using your hands or a stand mixer with a paddle attachment, process the cake until it resembles fine, uniform sand. There should be no large chunks remaining, as this ensures a perfectly smooth bite when you finally cut the pop in half.
Step 2: Achieving the Fudgy Consistency
Add your vanilla frosting one tablespoon at a time. Mix thoroughly after each addition until the dough holds together when squeezed, similar to the consistency of chilled playdough. If the dough is too dry, it will crumble off the stick; if it is too wet, it will be too heavy and slide down. This is the secret to perfect cake pops every single time.
Step 3: Precision Rolling and Chilling
Scoop approximately 1.5 tbsp (30g) of dough and roll it between your palms until it is a perfectly smooth sphere about 1.25 inches (3cm) in diameter. Place these on a parchment-lined tray and chill in the refrigerator for at least 30-60 minutes. Do not freeze them, as extreme temperature shifts cause the candy coating to crack later.
How to Achieve a Flawless, Glossy Pink Coating
The Science of the Dip
Melt your pink candy wafers in 30-second intervals, stirring vigorously in between. Once melted, stir in your oil or paramount crystals. The coating should have the consistency of warm maple syrup—thin enough to run off a spoon in a steady stream, but thick enough to remain opaque. This is a crucial step in all coating cake pops techniques.
The Structural Anchor
Dip the tip of a lollipop stick (about 1/2 inch) into the melted coating and insert it halfway into a chilled cake ball. This act creates a “seal” that locks the cake onto the stick. Let these set for 5 minutes before the final dip. This is why our easy cake pops recipes stand tall without wobbling.
The Final Submersion
Hold the stick and dip the cake ball vertically into the coating until it is completely submerged and the coating meets the seal on the stick. Lift it straight up and gently tap your wrist—not the stick—to allow excess coating to drip off. While the coating is still wet, immediately garnish with a delicate dusting of white sugar sprinkles.
Expert Tips for Visual Perfection
- Room Temperature Matters: Never dip ice-cold cake balls into hot candy melts. Let the chilled balls sit at room temperature for 5-10 minutes before dipping to prevent the shell from cracking as the cake expands.
- Eliminate Air Bubbles: If you see small bubbles in your melted coating, gently tap the container on the counter to bring them to the surface and pop them with a toothpick.
- Uniform Crumb: For that “Starbucks” look, ensure your interior crumb is dense and uniform. Avoid using cake recipes with large air pockets or heavy fruit inclusions.
- Smooth Transitions: When rotating the stick to remove excess coating, keep it horizontal and turn it slowly to ensure the coating distributes evenly around the sphere.
How to Store and Preserve Your Treats
These cake pops are surprisingly resilient. You can store them in an airtight container at room temperature for up to 3 days, or in the refrigerator for up to a week. If you are prepping for a party, these can be frozen for up to a month; just be sure to thaw them slowly in the fridge to prevent condensation from dulling the glossy pink shell.
What to Serve With Vanilla Cake Pops
These sweet treats pair beautifully with other handheld delights. If you are hosting a brunch, consider serving them alongside strawberry shortcake cake pops for a variety of flavors. For a more sophisticated dessert spread, these vanilla versions complement the rich notes of cinnamon roll cake pops or even a light strawberry sponge cake.
Frequently Asked Questions
Yes! You can roll the cake balls 2 days in advance and keep them refrigerated. Once dipped, they stay fresh at room temperature for 3 days or in the fridge for up to a week.
While frosting is traditional for the Starbucks texture, you can also use softened cream cheese or chocolate ganache. The goal is a binder that creates a dense, pliable dough without being overly greasy.
Adding a thinning agent like paramount crystals or a small amount of vegetable oil (or coconut oil) helps achieve that ‘dip-and-flow’ consistency, resulting in a glossy, thin shell rather than a thick, clumpy one.
Cracking usually happens due to extreme temperature differences. If the cake balls are too cold (from the freezer) and the candy coating is too hot, the cake expands and cracks the shell. Aim for chilled, not frozen, cake balls.
This happens if the cake balls are too large/heavy, the dough is too oily, or you didn’t ‘anchor’ the stick. Always dip the stick in candy coating before inserting it into the cake ball to create a secure bond.
The Ultimate Easy Cake Pops Recipe Card
Easy Cake Pops Recipes: The Ultimate Starbucks Copycat Guide
Ingredients
Equipment
Method
- Place the vanilla cake into a large bowl and crumble until it reaches a fine, sandy texture with no large lumps.
- Add the vanilla frosting and mix until a dense, moist dough forms that holds its shape when squeezed.
- Roll the mixture into 1.25-inch spheres and place on a parchment tray. Chill in the refrigerator for 30-60 minutes.
- Melt the pink candy wafers with oil in the microwave, stirring until glossy and fluid like warm syrup.
- Dip the tip of a lollipop stick into the coating, then insert it halfway into a chilled cake ball.
- Dip the entire cake ball into the coating vertically, lift, and tap off the excess for a smooth, flawless shell.
- Immediately dust the top with tiny white sugar sprinkles while the coating is still wet and place in the stand to set.
Notes
Use a deep, narrow glass for dipping to ensure the entire pop is covered in one motion.

Closing & Call to Action
Creating these easy cake pops recipes at home allows you to enjoy a luxury bakery experience without the high price tag. By focusing on the moisture of the crumb and the fluidity of the coating, you have created a dessert that is as beautiful as it is delicious. If you enjoyed this tutorial, please leave a comment below and share your photos with us!
For more visual inspiration and daily recipe updates, follow us on Pinterest and save this recipe to your “Dessert Goals” board.


