There is a specific kind of magic that happens when deep, obsidian-dark chocolate meets the creamy, golden-tan swirl of high-quality peanut butter. This Peanut Butter Brownie Recipe isn’t just another tray of bars; it is a masterclass in texture, designed to deliver a paper-thin, crackled crust that shatters upon the first bite to reveal a molten, gooey interior.
We are going beyond the standard box mix here. We are leaning into culinary science to achieve that “Extreme Close-up” worthy finish you see in professional food photography—the kind where the center is so moist it practically pools on the plate, and the peanut butter swirls remain thick and creamy rather than drying out in the oven.
Whether you are baking for a special occasion or simply satisfying a late-night craving, this recipe provides the sensory cues you need to succeed. You will hear the crunch of the salt, see the shimmer of the sugar-meringue crust, and smell the intoxicating aroma of toasted cocoa and warm nut butter.
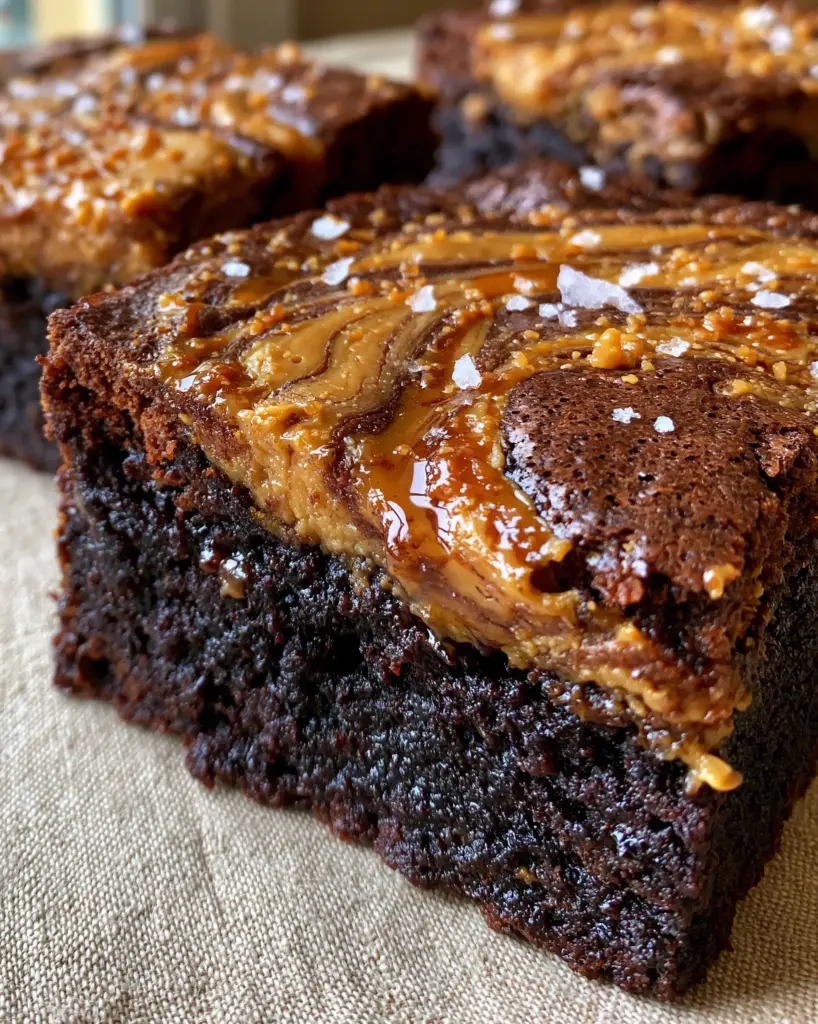
The Anatomy of a Perfect Dark Chocolate Base
To achieve the visual and structural results described in our blueprint, this Peanut Butter Brownie Recipe relies on a few non-negotiable characteristics. If you are looking for a cakey brownie, you won’t find it here; we are strictly focused on the dense, fudgy, and molten.
- Obsidian Chocolate Foundation: We use a combination of melted 70% dark chocolate and Dutch-processed cocoa powder to achieve that deep, near-black color and intense flavor.
- The Molten Equilibrium: By manipulating the ratio of fat to flour, we ensure the center remains “lava-like” even after the brownies have cooled to room temperature.
- The Paper-Thin Crust: Through a specific whipping technique of the eggs and sugar, we create a delicate meringue layer that rises to the top, creating that signature crackle.
- Thick Marbleized Swirls: We don’t just “mix” the peanut butter in; we dollop and drag to create distinct, thick channels of golden-tan creaminess.
- Salty-Sweet Finish: A final scatter of crystalline flaky sea salt and a warm peanut butter drizzle adds the visual and flavor “pop” that defines elite baking.
Foundational Ingredients for Obsidian Chocolate Success
Every ingredient in this Peanut Butter Brownie Recipe serves a specific scientific purpose. We don’t use “fluff” ingredients; we use building blocks for flavor and texture.
Unsalted Butter (1 cup / 225g): We melt the butter to ensure a dense, fudgy crumb. Creaming room-temperature butter would incorporate too much air, leading to a cakey texture we want to avoid.
70% Dark Chocolate Bars (8 oz / 225g): Using high-quality bars instead of chips is crucial. Chips often contain stabilizers that prevent them from melting into the “molten” pool we are looking for in the center.
Dutch-Processed Cocoa Powder (1/2 cup / 45g): This is treated with alkali to neutralize its acidity, resulting in a smoother flavor and that signature “obsidian” dark color.
Granulated Sugar (1.5 cups / 300g): Sugar isn’t just for sweetness; it is the key to the crackled top. When beaten thoroughly with eggs, it forms the meringue-like crust.
Large Eggs (3 total): These provide the structure. We want them at room temperature so they emulsify perfectly with the melted chocolate and butter.
Vanilla Extract (1 tbsp / 15ml): High-quality vanilla acts as a flavor enhancer, making the chocolate taste “more like chocolate” and rounding out the saltiness of the peanut butter.
All-Purpose Flour (3/4 cup / 95g): We use a relatively low amount of flour to keep the gluten structure weak, ensuring the brownies remain soft and fudgy rather than tough.
Creamy Peanut Butter (1/2 cup / 125g + 2 tbsp for drizzle): Use a stabilized creamy peanut butter (like Jif or Skippy) for the swirls to ensure they don’t separate or become oily during the bake.
Flaky Sea Salt (1 tsp / 5g): These large crystals provide a visual contrast against the dark chocolate and a burst of flavor that cuts through the richness.
Essential Gear for Professional-Grade Squares
To achieve the “handheld smartphone photo” aesthetic, you need the right tools to handle the heat and the texture of this dense batter.
8×8-inch (20x20cm) Square Baking Pan: A metal pan is preferred over glass. Metal conducts heat more evenly, which is essential for getting those edges set while keeping the center molten.
Parchment Paper: Leave an overhang on two sides. This allows you to lift the entire block of brownies out once cooled, ensuring clean, sharp edges for your “sliced edge” photos.
Electric Hand Mixer or Stand Mixer: While you can whisk by hand, a mixer is necessary to beat the eggs and sugar long enough (about 3-5 minutes) to create the crackled top.
Rubber Spatula: This is for folding in the flour gently. You want to avoid overmixing once the flour is added, as that would develop too much gluten.
Master the Marble: Step-by-Step Technique
Follow these steps closely to ensure your Peanut Butter Brownie Recipe looks exactly like the visual blueprint provided. Pay attention to the sensory cues in each subsection.
Step 1: The Chocolate Melt
In a medium microwave-safe bowl, combine your 1 cup (225g) of unsalted butter and 8 oz (225g) of chopped dark chocolate. Heat in 30-second bursts, stirring in between, until the mixture is glossy and completely smooth. Set aside to cool slightly; it should be warm to the touch, not scalding.
Step 2: Building the Meringue Crust
In a large mixing bowl, combine 1.5 cups (300g) of sugar and 3 large eggs. Using your mixer, beat on medium-high speed for at least 3-5 minutes. Look for the mixture to become pale, thick, and “ribbon-like.” This step is the secret to the shiny, paper-thin crackled crust.
Step 3: Folding the Foundation
Gently pour the warm chocolate-butter mixture into the egg mixture while whisking slowly. Add your 1 tbsp (15ml) of vanilla. Once combined, sift in 1/2 cup (45g) of Dutch-process cocoa, 3/4 cup (95g) of flour, and 1/2 tsp (2.5g) of fine salt. Use a spatula to fold until no dry streaks remain. The batter should look like deep, obsidian liquid silk.
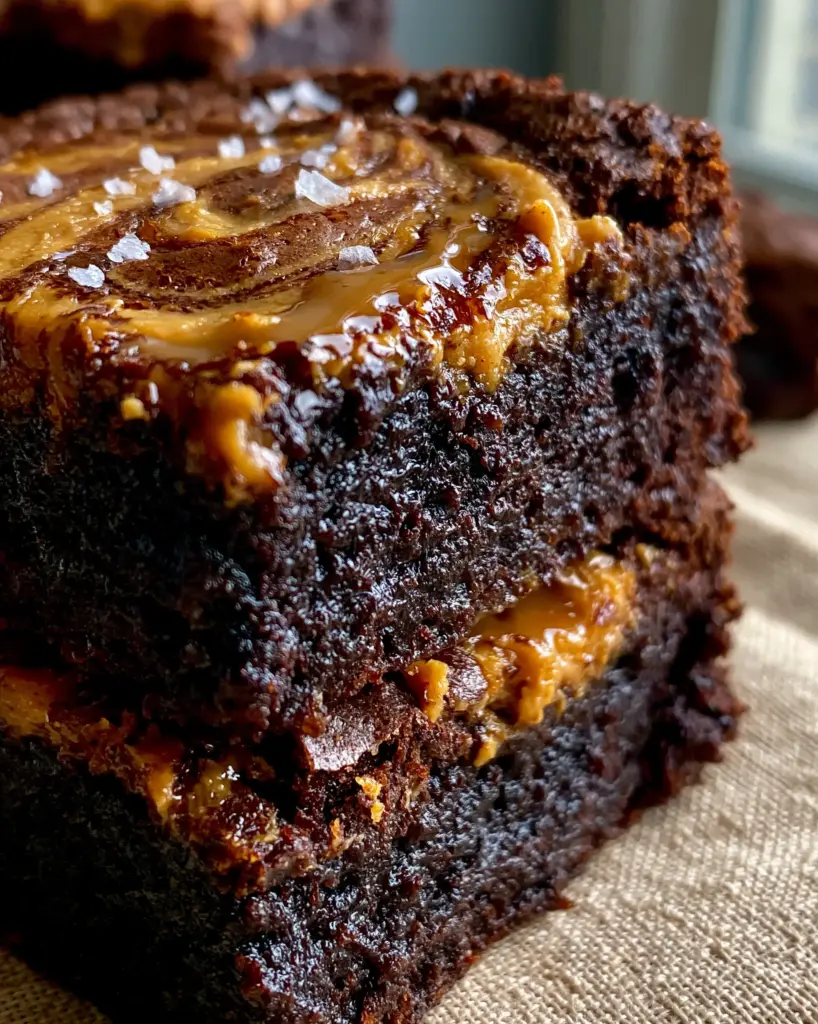
Step 4: Creating the Peanut Butter Marble
Pour the chocolate batter into your prepared 8×8-inch pan. Warm 1/2 cup (125g) of creamy peanut butter in the microwave for 15 seconds until it is slightly fluid. Drop large dollops of peanut butter onto the batter. Use a butter knife to swirl the peanut butter in a “figure-eight” motion, creating thick, marbleized channels of golden-tan against the dark base.
Step 5: The Precision Bake
Bake at 350°F (175°C) for 25-30 minutes. The sensory cue you are looking for: the edges should be set and slightly pulling away from the parchment, but the center should still have a slight “jiggle” when the pan is nudged. Do not overbake, or you will lose the molten center!
Pro Secrets for the Paper-Thin Crackled Crust
If your brownies didn’t come out with that shiny, shattered top, it usually comes down to the sugar-egg interaction. To ensure success with this Peanut Butter Brownie Recipe, make sure your sugar is fully dissolved. If the sugar remains granular in the batter, it won’t migrate to the surface to form the “crust.”
Another tip: Use Dutch-process cocoa. Regular natural cocoa powder is acidic and reacts with leaveners (like baking soda, which we intentionally omit here). By using Dutch-process, we keep the batter dense and dark, allowing the natural fats of the chocolate to dominate the texture.
If you love the depth of flavor in dark chocolate, you might also enjoy my brown butter espresso brownies which utilize a similar fat-to-flour ratio for maximum fudginess.
Preserving the Gooey Texture
Because this Peanut Butter Brownie Recipe is designed to be molten and moist, storage is key. Once completely cooled, store the brownies in an airtight container at room temperature for up to 3 days. To maintain that “fresh out of the oven” molten feel, microwave a square for 10-12 seconds before serving.
You can also freeze these brownies! Wrap individual squares tightly in plastic wrap and store in a freezer bag for up to 2 months. Thaw at room temperature for an hour, and they will retain that dense, fudgy obsidian center perfectly.
Dessert Pairings and Decadent Combinations
These brownies are intense, so they pair beautifully with lighter or fruitier elements. Try serving a warm square with a scoop of vanilla bean ice cream and a drizzle of homemade strawberry sauce to cut through the richness of the peanut butter.
If you are hosting a dessert party, these brownies look stunning next to a platter of classic rice krispie treats or a stack of creamy banana pudding cookies. The contrast in textures—crunchy, chewy, and molten—makes for a professional dessert spread.
Frequently Asked Questions
It is best to use a stabilized creamy peanut butter (like a no-stir brand). Natural peanut butter often separates or becomes too oily, which can ruin the texture of the swirls during baking.
The secret is beating your eggs and sugar together for at least 3-5 minutes until the sugar is fully dissolved and the mixture is pale and thick. This creates a meringue-like layer that rises to the top during baking.
Look for the ‘jiggle test.’ The edges should be firm and set, but the very center of the pan should still have a slight wobble when nudged. It will firm up into a molten fudge as it cools.
Cakey brownies usually result from too much flour or over-beating the butter and sugar (incorporating air). This recipe uses a low flour-to-fat ratio and melted butter to ensure a dense, fudgy texture.
Dutch-processed cocoa is treated with alkali, giving it a darker ‘obsidian’ color and a smoother, less acidic flavor that pairs perfectly with rich peanut butter.
The Ultimate Peanut Butter Brownie Recipe
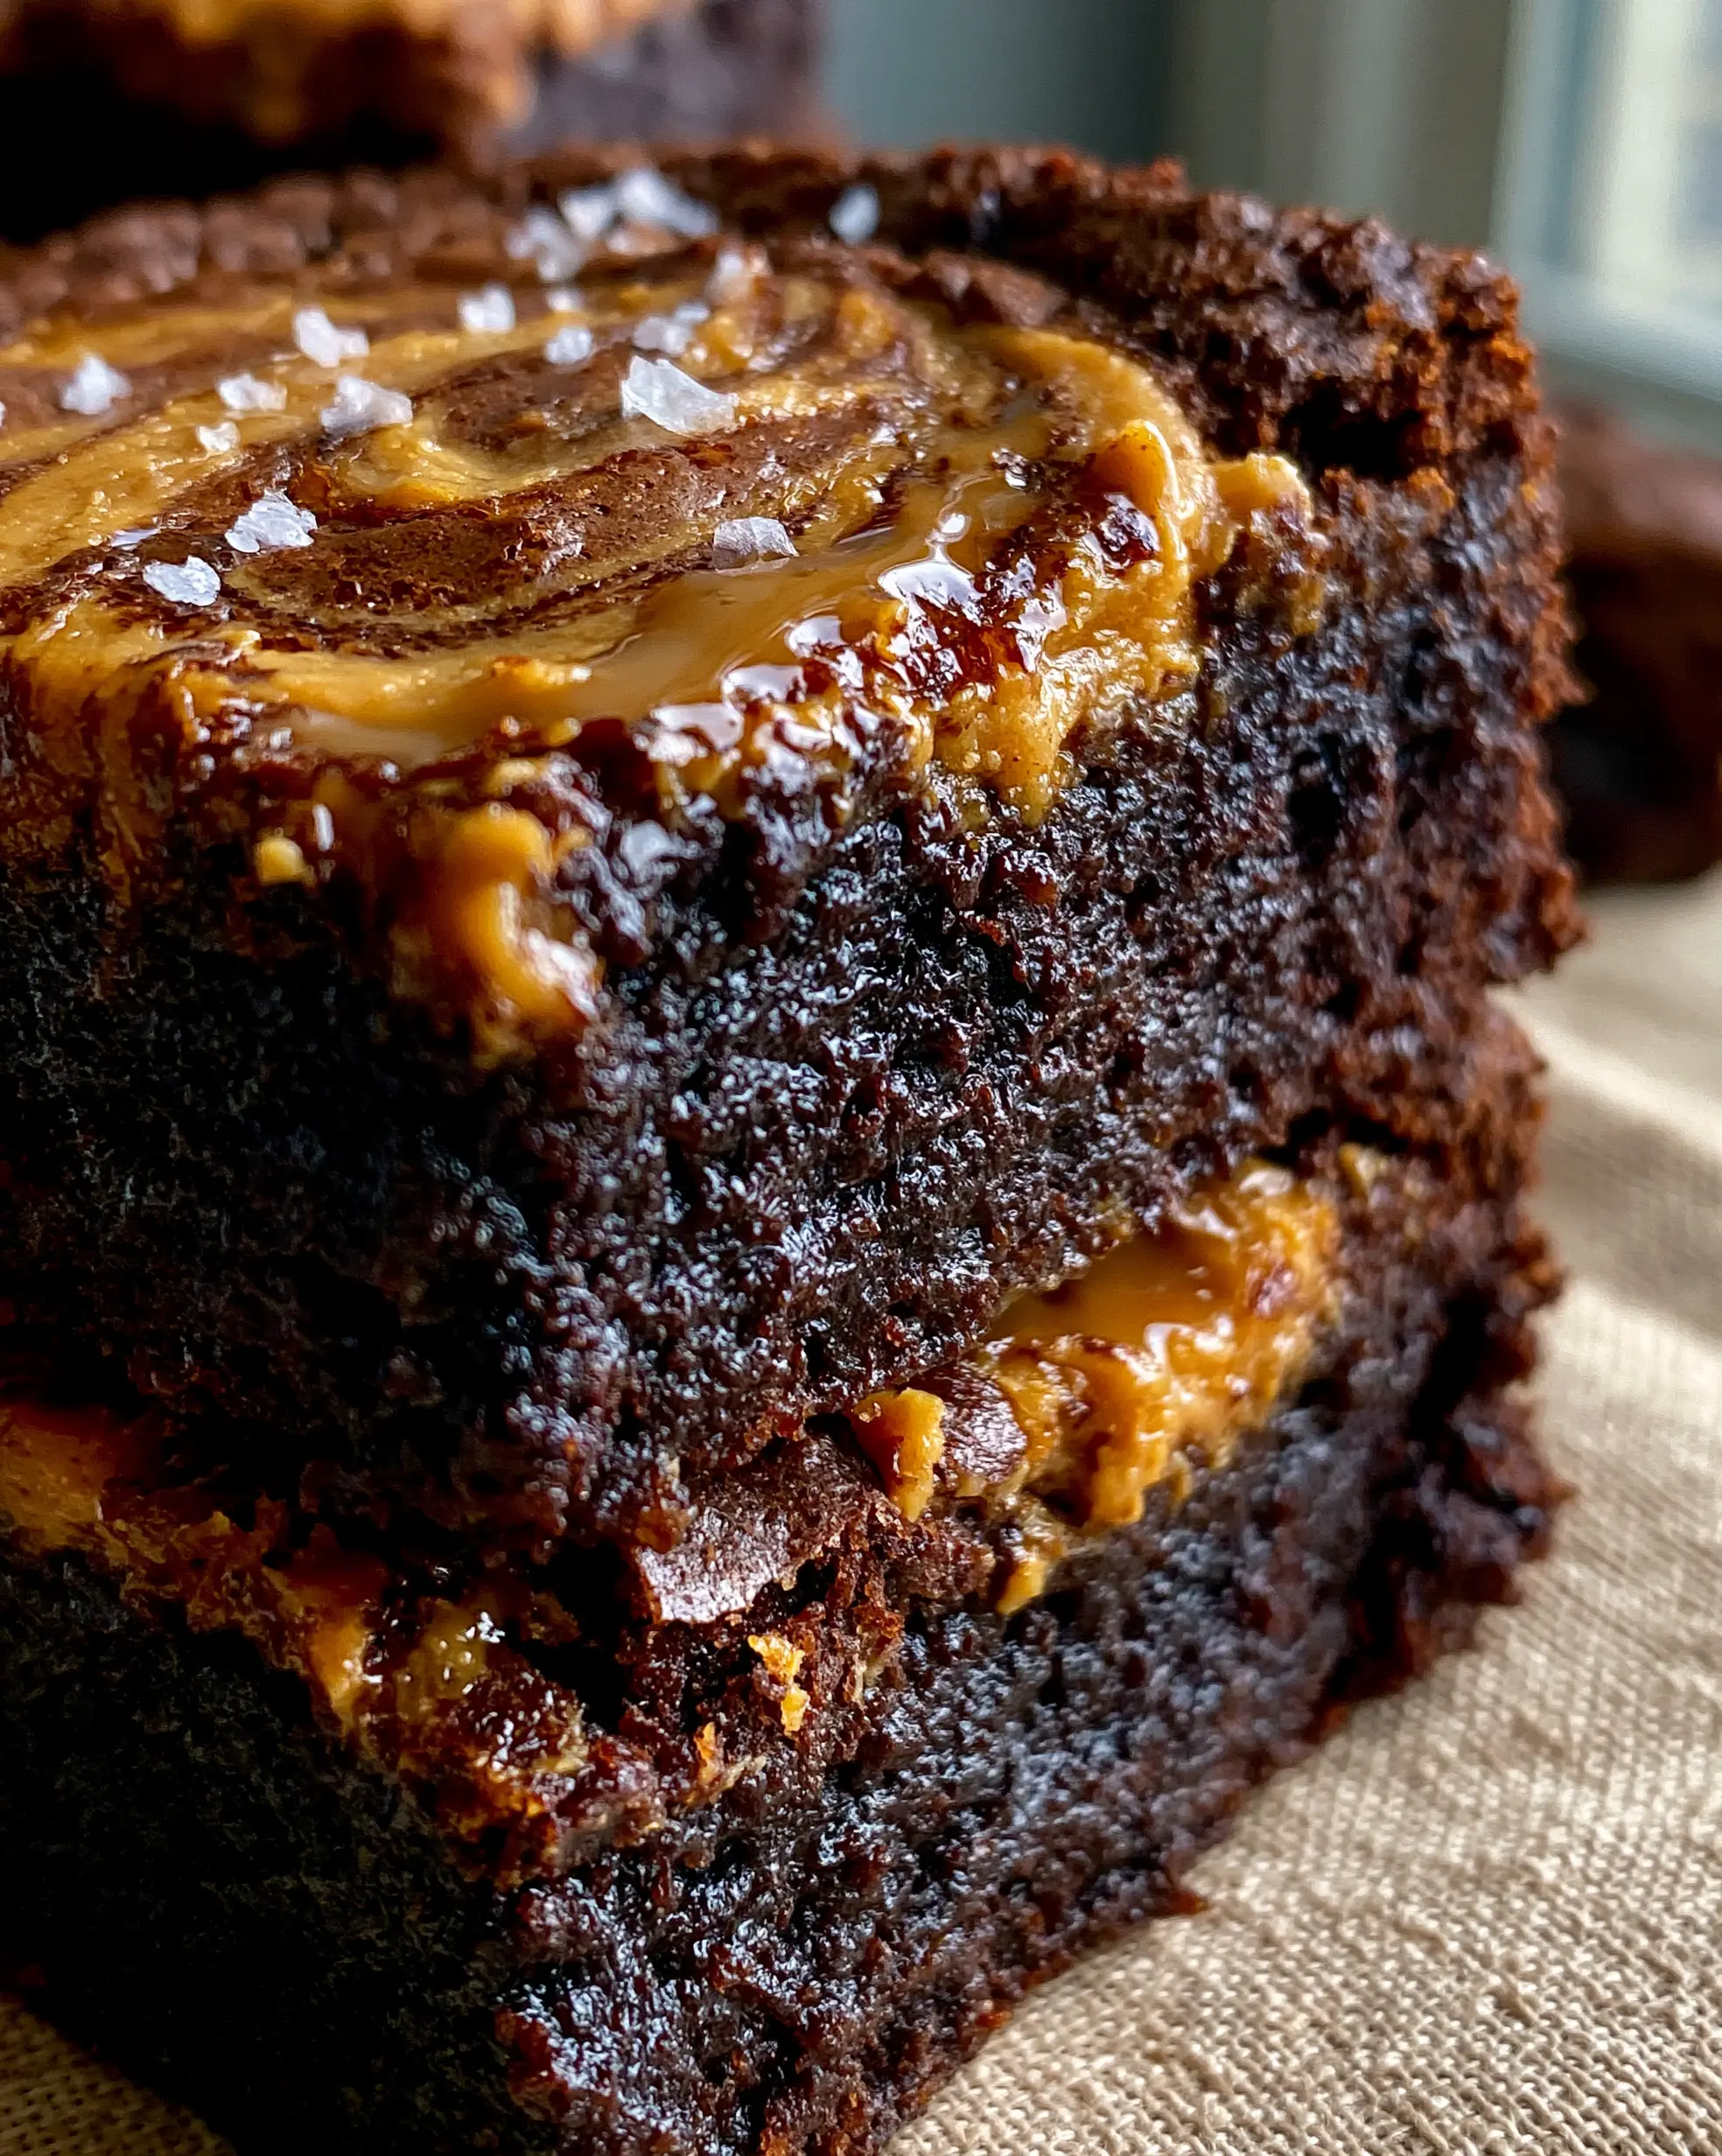
The Ultimate Fudgy Peanut Butter Brownie Recipe with a Molten Center
Ingredients
Equipment
Method
- Melt butter and chopped dark chocolate together until glossy and smooth.
- Beat eggs and sugar for 3-5 minutes until thick, pale, and ribbon-like to ensure a crackled top.
- Fold melted chocolate into eggs, then gently fold in dry ingredients until no streaks remain.
- Pour batter into pan. Dollop warmed peanut butter on top and swirl with a knife for a marbleized look.
- Bake at 350°F (175°C) for 25-30 minutes until edges are set but center remains moist and molten.
- Top with flaky sea salt and a drizzle of warm melted peanut butter once slightly cooled.
Notes
Use Dutch-process cocoa for the deep obsidian color.
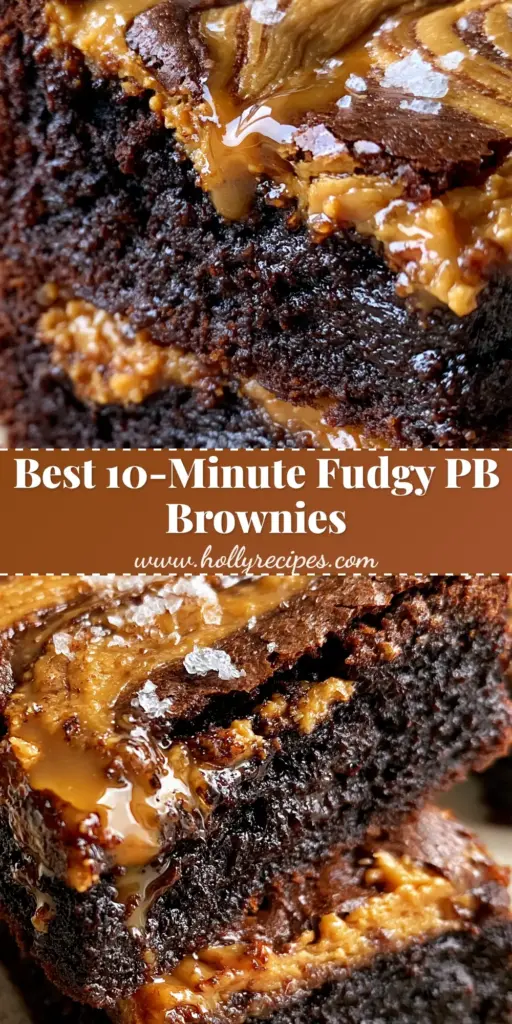
Closing & Call to Action
The beauty of this Peanut Butter Brownie Recipe lies in the contrast: the obsidian chocolate, the golden swirls, and the crystalline salt. It is a visual and culinary triumph that proves you don’t need a bakery to produce world-class desserts. If you made these and loved that molten center, let me know in the comments below!
Don’t forget to follow me on Pinterest for more deep-dives into culinary science and visually stunning recipes. Share your bakes by tagging me—I love seeing your crackled crusts!


