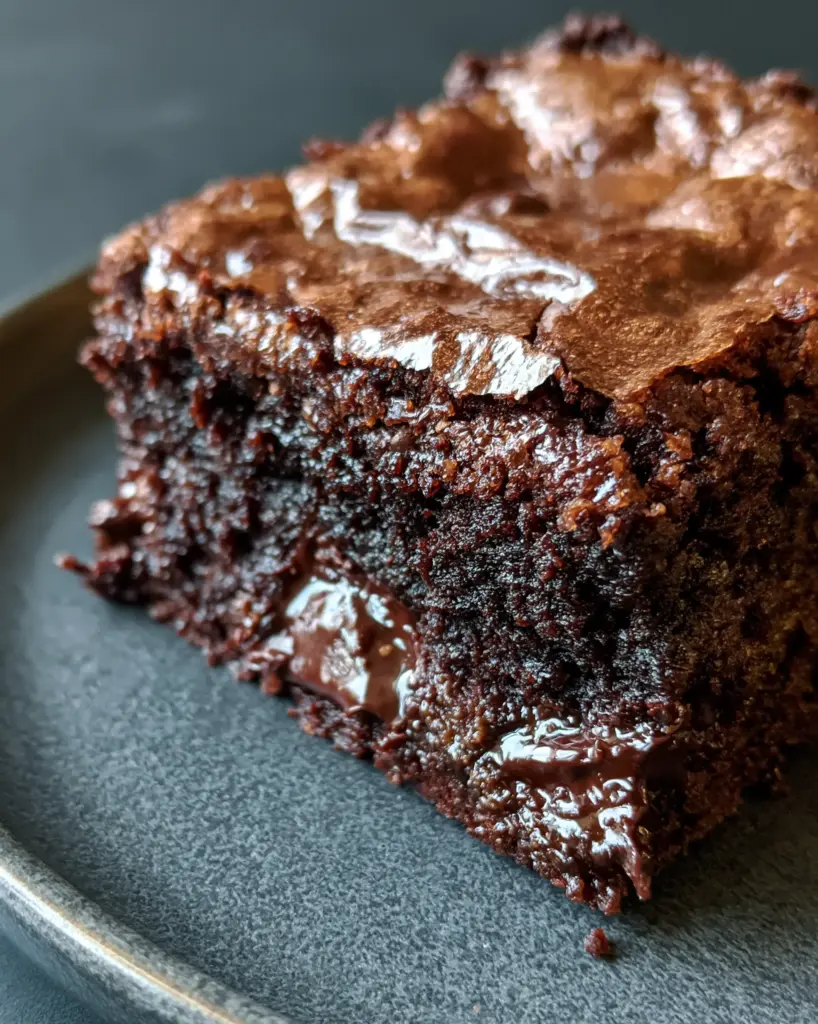
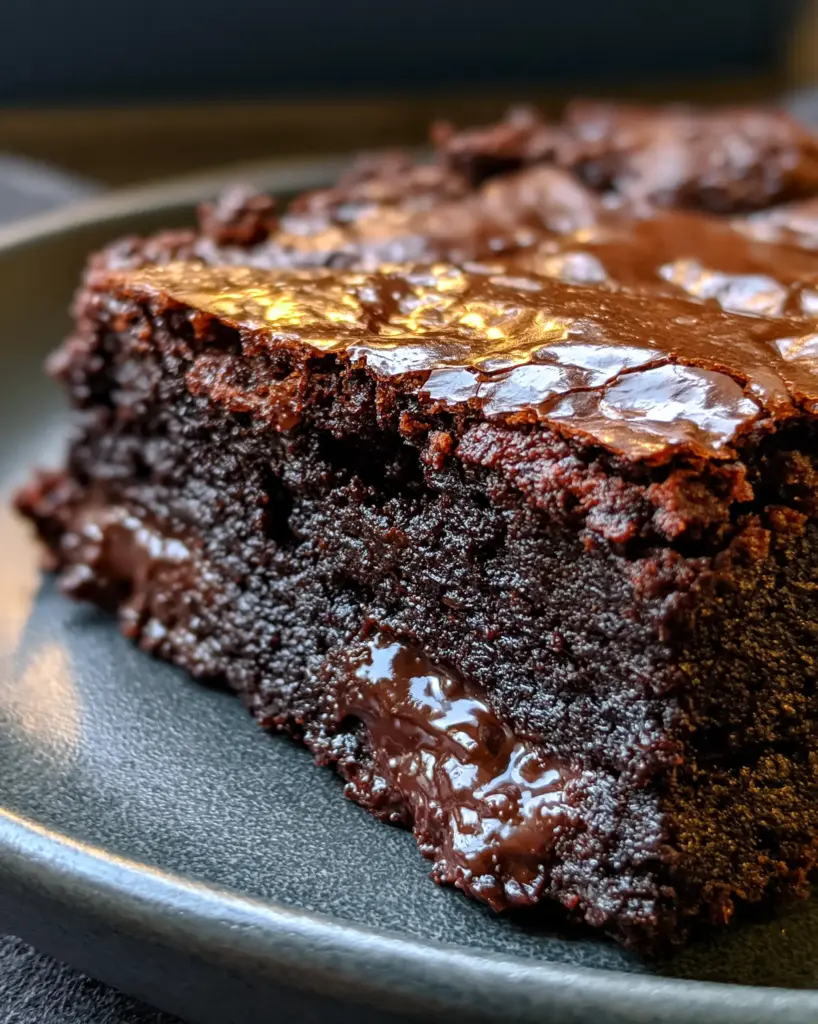
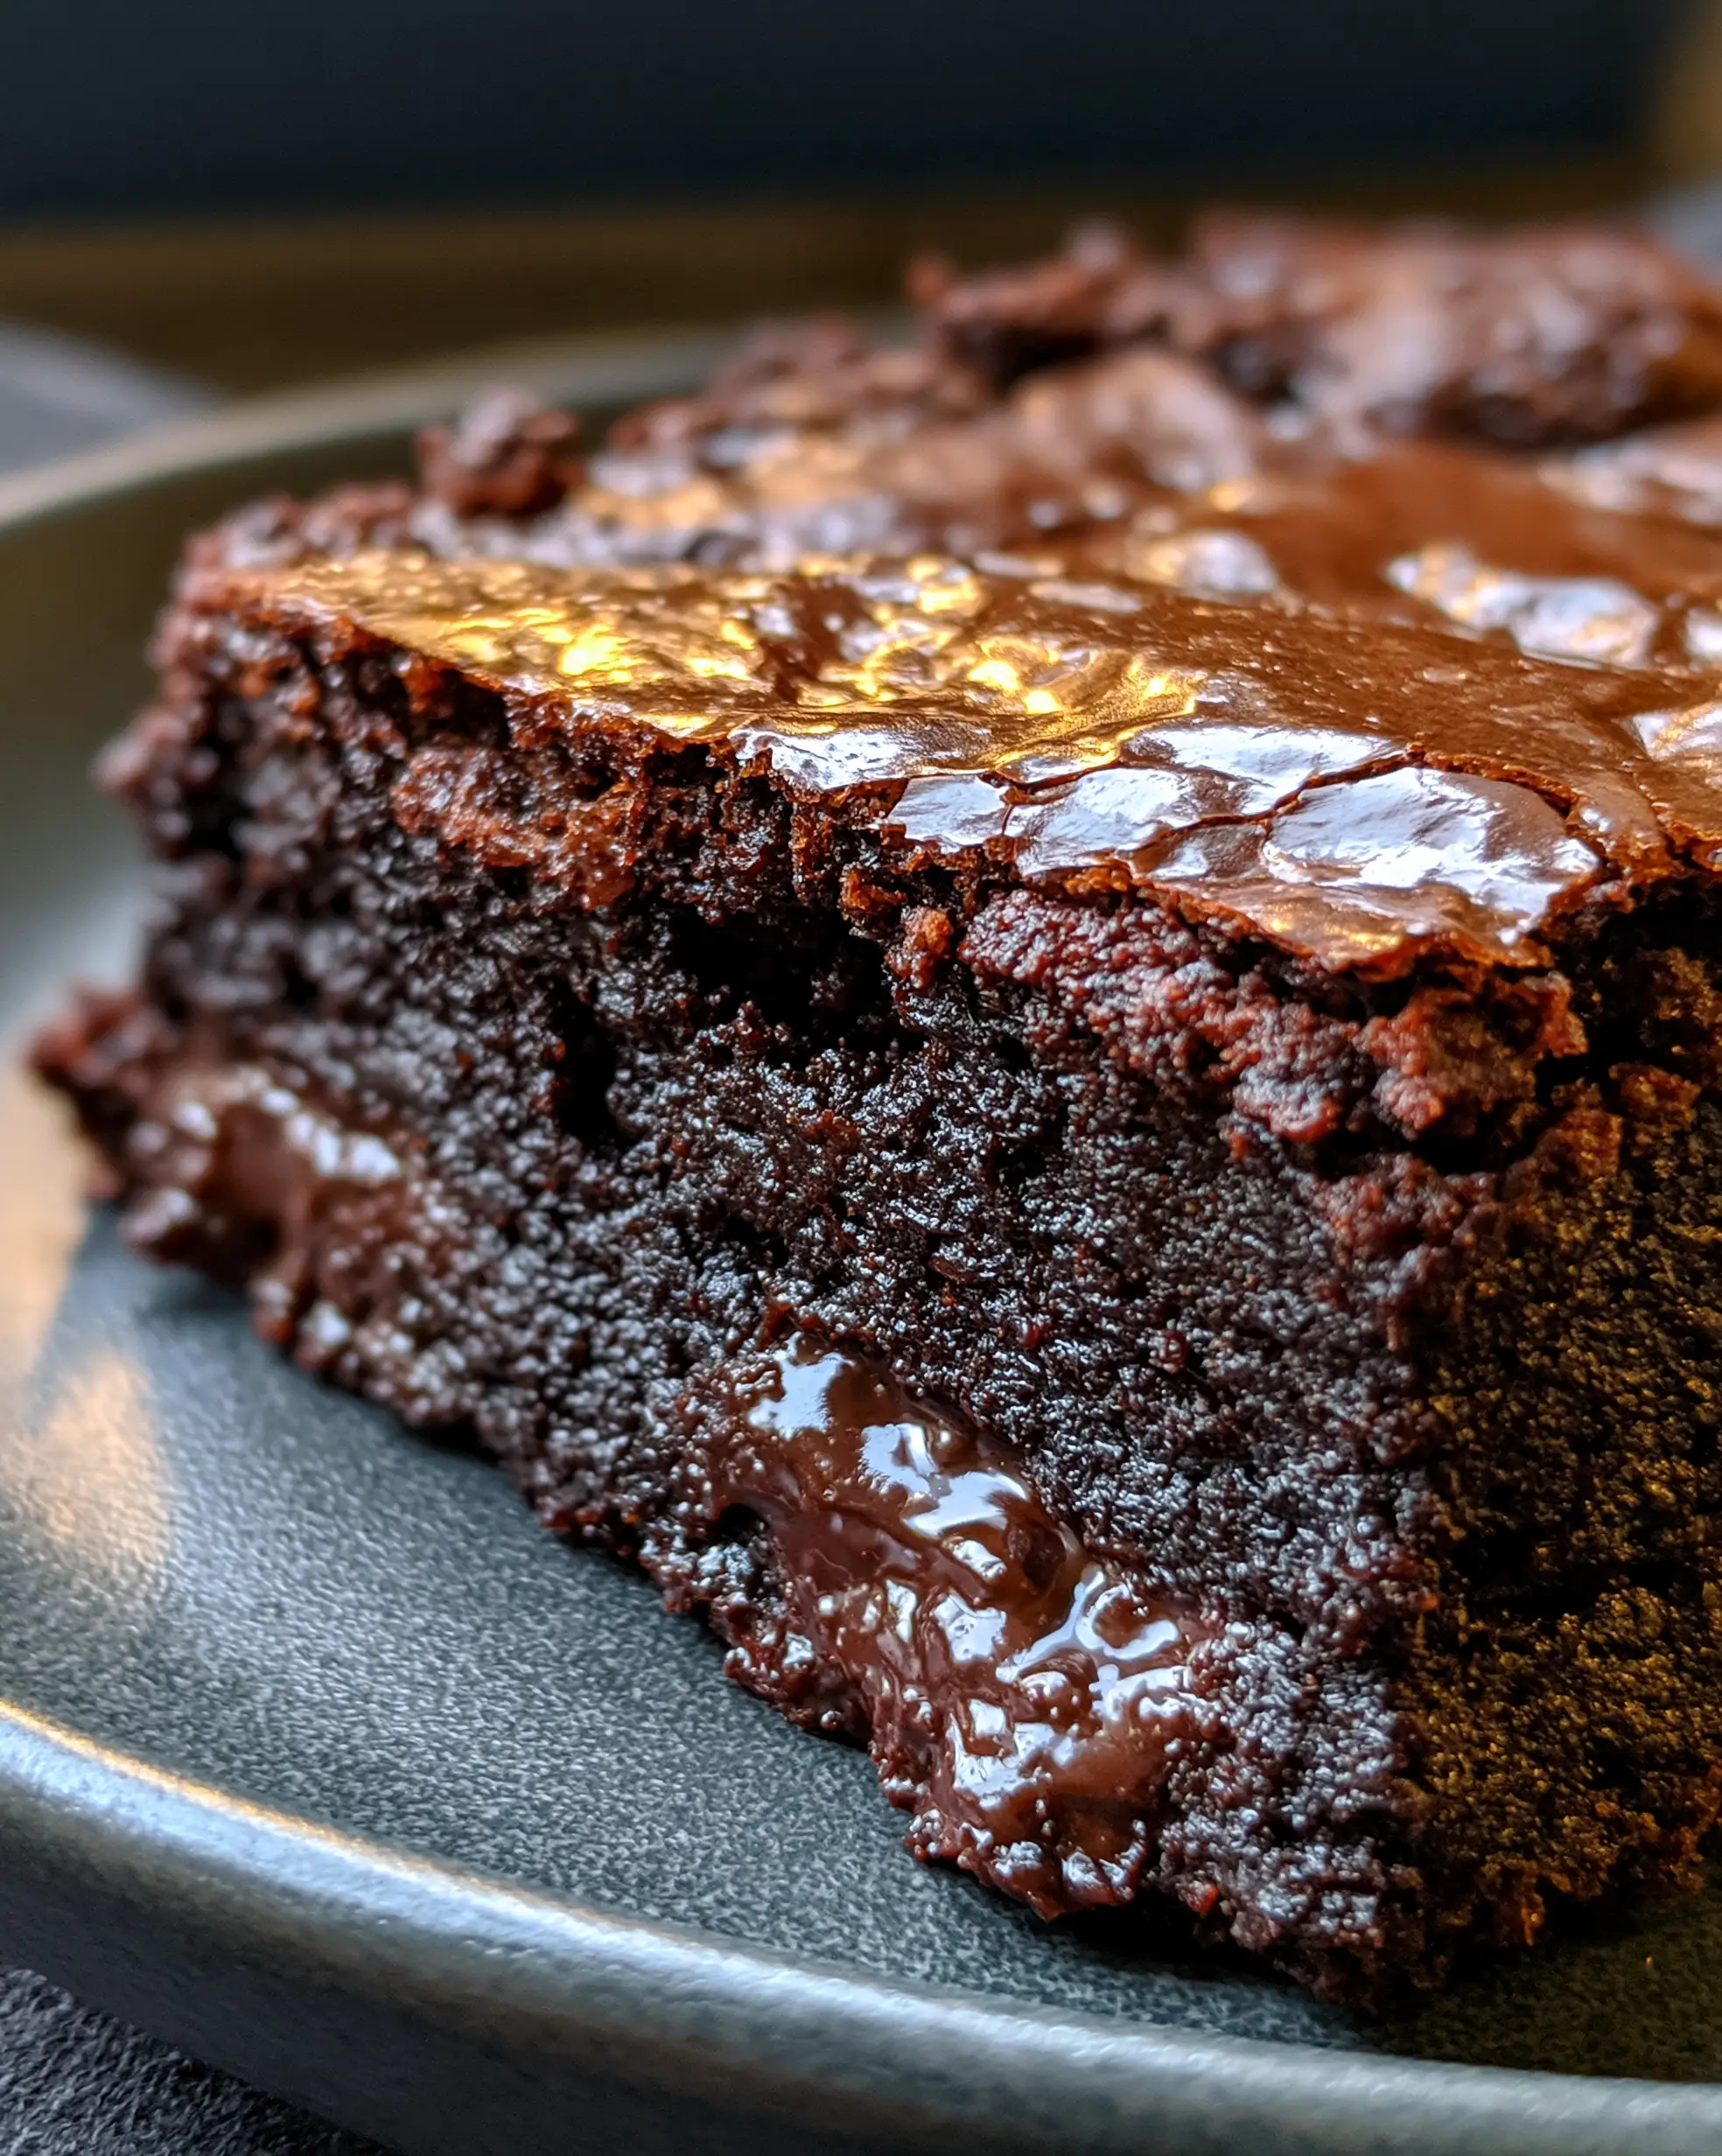
There is a specific, almost architectural beauty in the perfect brownie. When you pull a pan of these brown butter espresso brownies out of the oven, the first thing you notice is the light catching the paper-thin, shiny crinkled crust. It looks like delicate topographical maps of chocolate, ready to shatter at the slightest touch of a fork.
Beneath that fragile meringue-like surface lies an ultra-dense, fudgy dark chocolate core. This isn’t a cakey brownie; this is a decadent, truffle-like experience intensified by the nutty aroma of toasted butter and the sharp, sophisticated bite of espresso powder. Every slice reveals glistening, half-melted dark chocolate chunks that offer a textural contrast to the velvet-smooth base.
Plated on a dark grey matte ceramic dish, these brownies are the epitome of modern dessert aesthetics. The contrast between the glossy, cracked texture of the brownie and the flat, muted finish of the ceramic creates a visual depth that makes this recipe a favorite for both the palate and the camera. Whether you are an experienced baker or just starting, this guide will help you master the science of the crinkle top.
The Alchemy of Toasted Milk Solids: Why Brown Butter Matters
The foundation of this recipe is “beurre noisette,” or brown butter. By simmering butter until the water evaporates and the milk solids toast, we introduce a complex, nutty flavor profile that regular melted butter simply cannot match. This liquid gold acts as a flavor bridge between the bitterness of the espresso and the richness of the dark chocolate.
When you brown butter for these brown butter espresso brownies, you are engaging in the Maillard reaction. This chemical process creates hundreds of new flavor compounds, giving your brownies a toasted marshmallow and hazelnut aroma. If you enjoy this technique, you might also want to try our brown butter brookies for a different take on the flavor profile.
It is important to watch the pan closely during this stage. The transition from perfectly browned to burnt happens in a matter of seconds. Use a light-colored pan so you can accurately judge the color of the sediment as it settles at the bottom.
The Secret to the Paper-Thin Crinkle Top Meringue Crust
That coveted “shiny” top is not a matter of luck; it is a matter of chemistry. The crinkle top is essentially a thin layer of meringue that forms on top of the brownie as it bakes. To achieve this, the sugar must be fully dissolved into the eggs before the dry ingredients are added.
We achieve this by vigorously whisking the room-temperature eggs and sugars for several minutes. You are looking for the “ribbon stage,” where the mixture becomes pale, thick, and falls off the whisk in slow, structured folds. This aeration creates the structure that rises to the surface, creating that delicate, parchment-like crust described in the visual blueprint.
Using a combination of granulated and brown sugar is vital. The granulated sugar provides the crispness for the top, while the brown sugar ensures the interior remains “ultra-dense” and “fudgy.” Without this specific aeration process, your brownies will have a matte, dull surface rather than the glistening, cracked texture we desire.
Essential Ingredients for the Ultimate Fudgy Core
Unsalted Butter: 1 cup (226g). High-quality European-style butter is preferred for its lower water content, which leads to a more concentrated browned butter flavor.
Dark Chocolate (70% Cacao): 8 oz (225g). Use a high-quality bar rather than chips for the base, as bars contain fewer stabilizers and melt into a smoother consistency for the batter.
Espresso Powder: 2 tbsp (10g). This does not make the brownies taste like a latte; instead, it acts as a flavor enhancer that makes the chocolate taste “more like itself” by adding depth and a slight bitterness.
Granulated Sugar: 1 ¼ cups (250g). This is the primary driver for the crinkle top; don’t be tempted to reduce it, or you will lose that signature shine.
Light Brown Sugar: ½ cup (100g). Packed for moisture. The molasses in the brown sugar keeps the center dense and prevents a cakey texture.
Large Eggs: 3 units. These must be at room temperature to ensure they emulsify properly with the fats and sugars during the high-speed whisking phase.
Dutch-Processed Cocoa Powder: ½ cup (45g). This cocoa is treated with alkali, making it darker and less acidic, which aligns perfectly with our dark, moody visual prompt.
All-Purpose Flour: ¾ cup (95g). We use a relatively small amount of flour to ensure the brownies stay fudgy rather than becoming bread-like or fluffy.
Dark Chocolate Chunks: 1 cup (170g). Hand-chopped pieces provide those “glistening, half-melted” pockets of pure chocolate found in the extreme macro close-ups.
Sea Salt: ½ tsp (3g). Fine sea salt inside the batter balances the sugar, while a few flakes on top can highlight the “glossy, cracked texture.”
Precision Tools for Professional Results
To recreate the visual described in the Midjourney prompt, you will need an 8×8 inch (20×20 cm) square baking pan. A metal pan is superior to glass for brownies, as it conducts heat more evenly and helps create those sharp, defined edges.
A stand mixer or high-powered hand mixer is nearly essential for reaching the ribbon stage with the eggs. Attempting to whisk the eggs and sugar by hand to the necessary volume is a true physical feat that few can maintain long enough to guarantee a crinkle top.
Finally, a dark grey matte ceramic plate is recommended for serving. The lack of reflection from the plate allows the “soft light” to focus entirely on the “shiny crinkled crust” of the brownie, just like in our professional reference images.
Step-by-Step Instructions: Engineering the Perfect Brownie
Step 1: The Brown Butter Infusion
In a medium saucepan over medium heat, melt the 1 cup (226g) of unsalted butter. Continue cooking, swirling the pan occasionally. Listen for the “sizzle and pop” to subside; this indicates the water has evaporated. Once you see golden-brown bits at the bottom and smell a nutty aroma, immediately remove from heat.
Step 2: Blooming the Espresso and Chocolate
While the butter is still hot, whisk in the 2 tbsp (10g) of espresso powder and 4 oz (113g) of the finely chopped dark chocolate. The heat from the butter will “bloom” the espresso and melt the chocolate, creating a glossy, fragrant slurry. This step ensures the espresso flavor is distributed evenly throughout the brown butter espresso brownies.
Step 3: Achieving the Ribbon Stage
In a large bowl, combine the 3 large eggs, 1 ¼ cups (250g) granulated sugar, and ½ cup (100g) brown sugar. Use your mixer on medium-high speed for 5-7 minutes. The mixture should triple in volume and become a pale ivory color. When you lift the beaters, the batter should fall back into the bowl in a thick ribbon that holds its shape for a few seconds.
Step 4: Folding and Incorporation
Gently stream the cooled chocolate-butter mixture into the egg mixture while whisking on low. Sift in the ¾ cup (95g) flour, ½ cup (45g) cocoa powder, and salt. Use a rubber spatula to fold the dry ingredients in by hand. Be careful not to deflate the air you worked so hard to incorporate, as this air is what creates the crinkle top.
Step 5: The Final Flourish and Bake
Fold in the remaining 1 cup (170g) of dark chocolate chunks. Pour the batter into your prepared pan and smooth the top. Bake at 350°F (175°C) for 25-30 minutes. Look for the visual cue: the edges should be set, but the center should still have a very slight, “fudgy” jiggle when the pan is nudged.
Expert Tips for Success
- Room Temperature Ingredients: Ensure your eggs are not cold. Cold eggs will cause the browned butter to seize, resulting in a grainy batter rather than a smooth, dense core.
- Don’t Overbake: Brownies continue to cook in the pan after they are removed from the oven. If a toothpick comes out completely clean, they are overdone. You want a few moist crumbs attached.
- The Tap Technique: Halfway through baking, firmly tap the baking pan against the oven rack. This helps pop any large air bubbles and settles the batter, encouraging the crinkle top to fracture.
- Quality of Chocolate: Since chocolate is the star, avoid “semi-sweet” chips which contain fillers. A 70% dark chocolate bar will provide the “glistening” chunks seen in the macro photo.
Storage, Reheating & Freezing
These brown butter espresso brownies are actually better the second day. Store them in an airtight container at room temperature for up to 4 days. The fudgy core will become even more dense and “truffle-like” as the flavors meld.
For long-term storage, wrap individual squares in plastic wrap and freeze in a freezer-safe bag for up to 3 months. To reheat, simply let them thaw at room temperature. If you crave that “melted chocolate chunk” experience, a 10-second zap in the microwave will return them to their glistening state.
What to Serve With This Fudgy Masterpiece
To balance the intense richness of these brownies, pair them with something creamy or fruity. A scoop of vanilla bean ice cream is a classic, but for a truly sophisticated spread, consider serving them alongside our strawberry rhubarb pie during a summer gathering.
If you are looking for more chocolate and peanut butter combinations, these brownies are a fantastic follow-up to a meal featuring our peanut butter pudding cookies. For those hosting a party, consider a beverage pairing like a spiced rum cocktail, which complements the toasted notes of the brown butter.
While you’re setting the table and perhaps touching up your makeup for a dinner party, remember that these brownies are best served at room temperature to allow the full spectrum of espresso and butter notes to shine.
Frequently Asked Questions
Yes, you can brown the butter ahead of time, but you will need to gently re-melt it before adding the chocolate and espresso powder to ensure they ‘bloom’ properly.
Yes, but espresso powder is more concentrated and finely ground. If using instant coffee, you may need to increase the amount slightly or dissolve it in the hot brown butter first.
The edges should be firm and the top should be shiny and cracked. A toothpick inserted into the center should come out with a few moist crumbs, not liquid batter or completely clean.
Use a high-quality dark chocolate bar (at least 70% cacao). Avoid chocolate chips as they contain stabilizers that prevent them from melting into the ‘glistening’ chunks seen in the photos.
The shiny top comes from dissolved sugar and aerated eggs. You must whisk the eggs and sugar for at least 5-7 minutes until they reach the ‘ribbon stage’ to create that meringue-like crust.
The Ultimate Brown Butter Espresso Brownie Recipe
Brown Butter Espresso Brownies with a Paper-Thin Crinkle Top
Ingredients
Equipment
Method
- Melt butter in a saucepan over medium heat. Simmer until the foaming stops and brown bits form at the bottom. Smell for a nutty aroma.
- Whisk espresso powder and 4oz chopped chocolate into the hot brown butter until smooth. Set aside to cool slightly.
- Beat eggs, granulated sugar, and brown sugar on medium-high speed for 5-7 minutes until thick, pale, and at the ribbon stage.
- Slowly whisk the butter mixture into the egg mixture. Gently fold in the sifted flour, cocoa, and salt with a spatula.
- Fold in the chocolate chunks. Pour into a lined 8x8 pan. Bake at 350°F (175°C) for 25-30 minutes until the top is shiny and crinkled.
Notes
Use high-quality bar chocolate rather than chips for the best fudgy texture.
Closing & Call to Action
Mastering the brown butter espresso brownies is a rite of passage for any serious home baker. The combination of the shattered-glass top and the molten, chocolatey center creates a sensory experience that is truly unmatched. We hope this deep dive into the science of crinkle tops and browned butter helps you achieve the perfect bake.
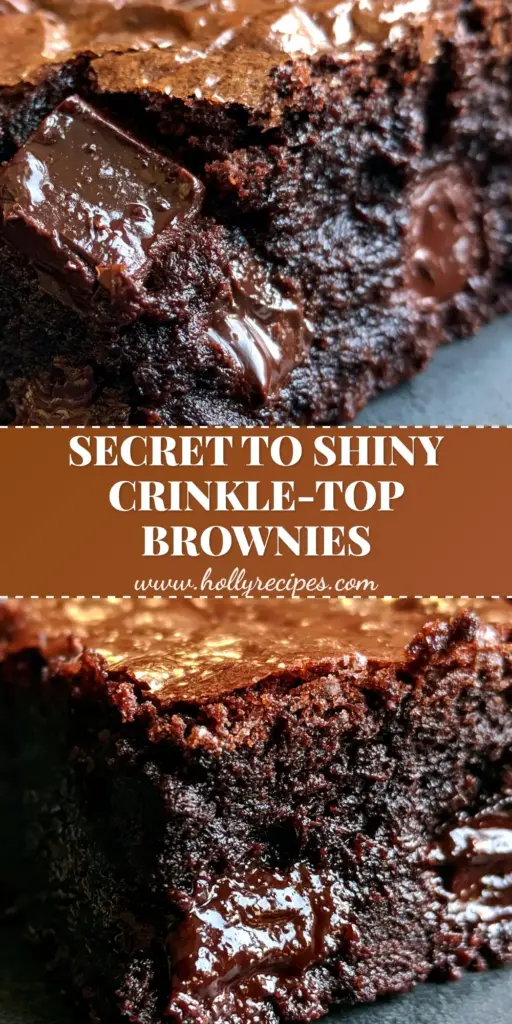
If you made these brownies, we would love to see your results! Tag us in your photos or leave a comment below with your favorite chocolate pairings. Don’t forget to save this recipe to your dessert boards on Pinterest so you can find it whenever the craving for a dense, fudgy treat hits!


