When it comes to iconic coffee shop treats, few things capture the imagination quite like the array of cake pop flavors displayed behind the glass case. The crown jewel of this collection is undoubtedly the pastel pink birthday cake pop, a treat that has become a viral sensation for its perfect balance of dense, moist cake and a snappy, glossy shell. Achieving that professional, handheld aesthetic requires more than just luck; it demands a forensic approach to crumb structure and coating chemistry.
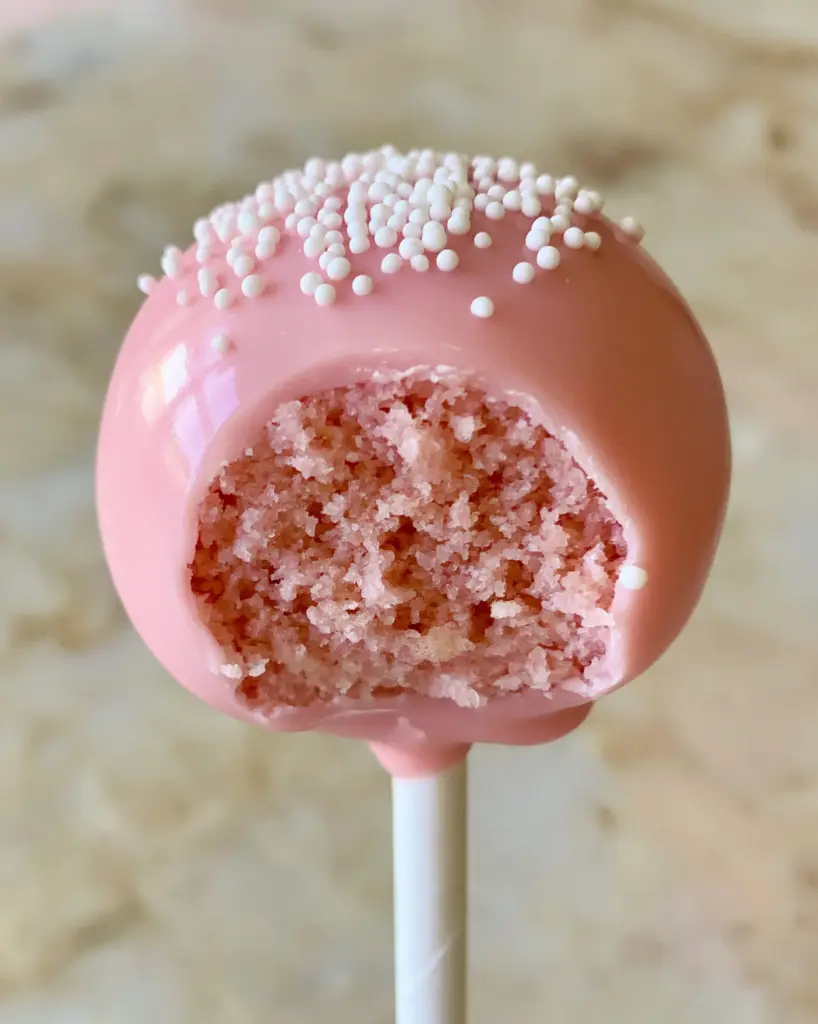
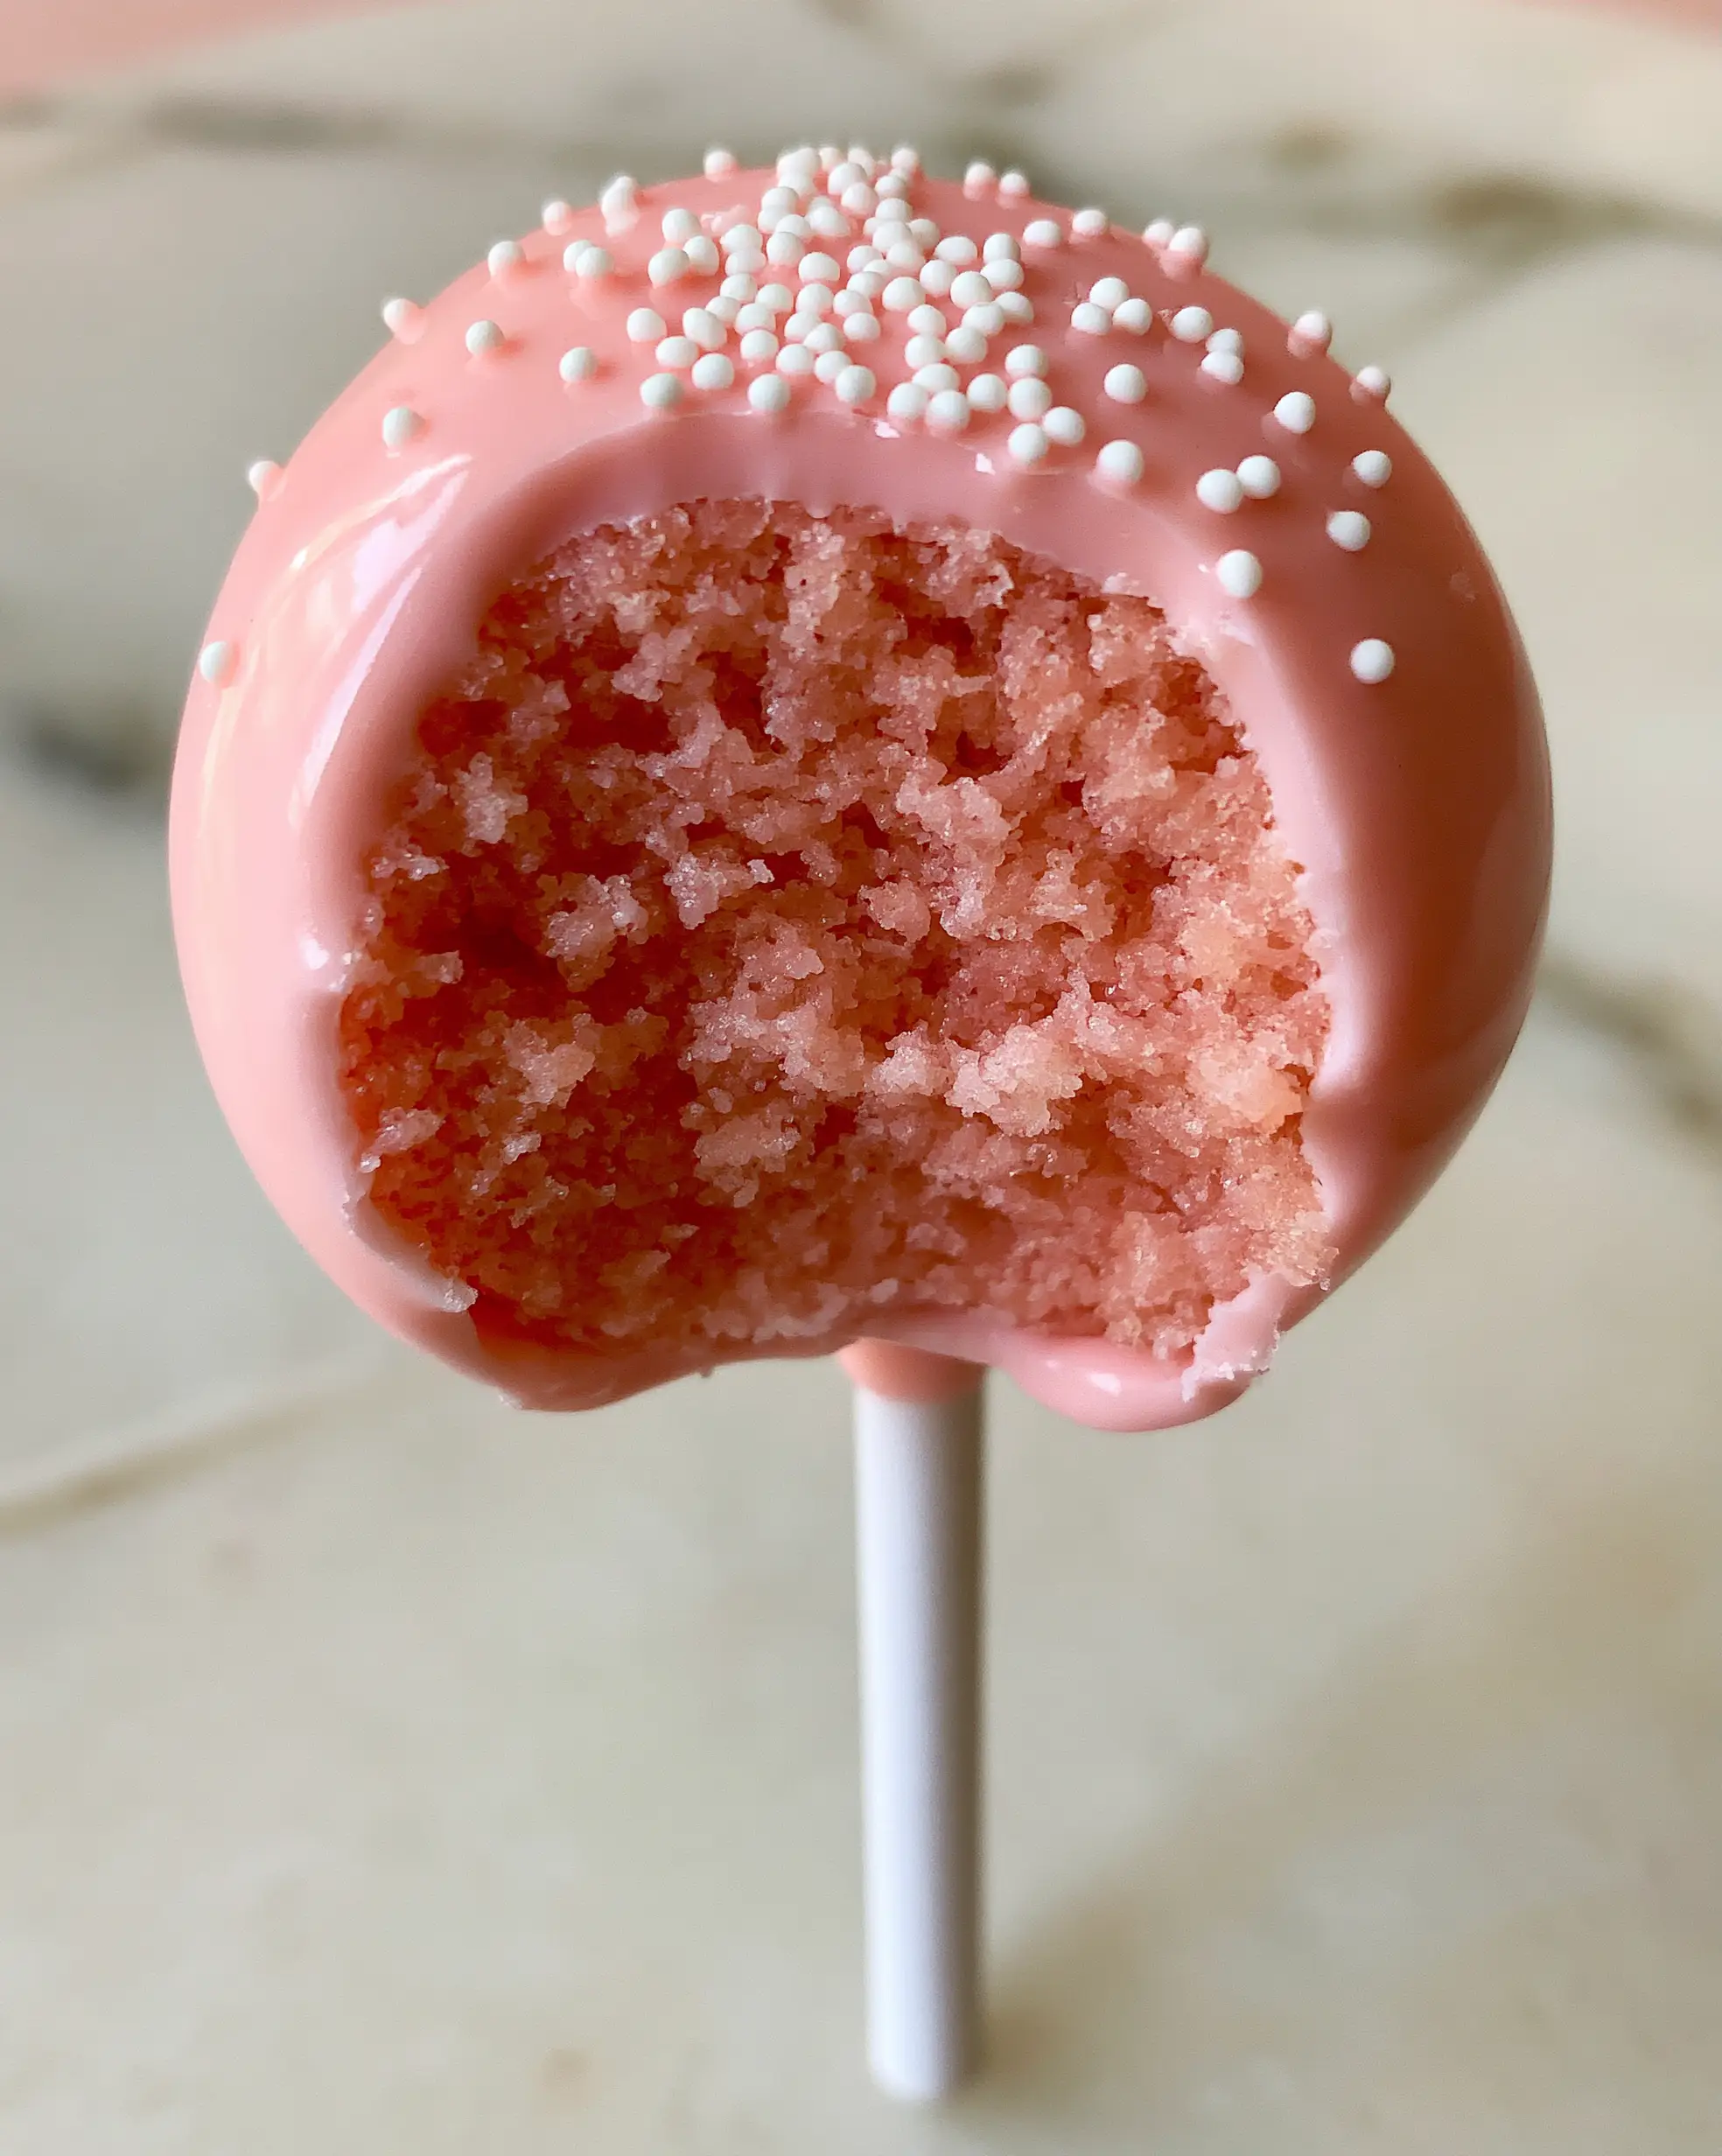
This recipe replicates the exact sensory experience described in our visual blueprint: a perfectly round, dense, pastel pink cake ball with a fine crumb texture, protected by a thin, flawlessly smooth coating of glossy pink candy melts. Whether you are prepping for a birthday party or just satisfying a mid-week craving, mastering these techniques will elevate your dessert game to professional standards.
Why This Signature Pink Variation Stands Out
- Structural Integrity: A dense, moist interior that stays firmly on the matte white paper stick without crumbling.
- Visual Precision: A thin, glossy pink shell that provides a satisfying “snap” when bitten into, revealing the vibrant pink center.
- Perfect Sweetness Balance: The vanilla-forward cake is balanced by a delicate scattering of tiny white nonpareil sugar sprinkles.
- Starbucks Fidelity: The flavor profile and texture are scientifically designed to mimic the famous “Birthday Cake” pop found in high-end cafes.
The Secret Ingredients for a Perfectly Moist Pink Center
To achieve the specific “pastel pink” interior and “fine crumb texture” mentioned in our visual prompt, we must be selective with our components. Each ingredient plays a structural role in ensuring the pop doesn’t fall apart during the dipping process.
Granulated Sugar: 1 cup (200g). Sugar provides the sweetness but also aids in the aeration of the butter for a tender, fine crumb that isn’t overly heavy.
Unsalted Butter (Room Temperature): 1/2 cup (113g). Using room-temperature butter ensures a seamless emulsion with the eggs, preventing a curdled batter that would result in an uneven texture.
Large Eggs: 2 units. Eggs provide the protein structure needed to hold the cake together when it is eventually crumbled and reformed into balls.
Pink Gel Food Coloring: 1/4 tsp (1.25ml). Gel coloring is essential because it provides intense “pastel pink” pigment without adding excess liquid that could ruin the cake’s chemistry.
All-Purpose Flour: 1 1/2 cups (190g). This provides the foundational structure; be sure to measure by weight to ensure the cake isn’t too dry or too soft.
Whole Milk: 1/2 cup (120ml). The fat content in whole milk adds to the “moist” descriptor of the blueprint, ensuring the interior isn’t sandy or parched.
Vanilla Frosting (The Binder): 1/3 cup (80g). This acts as the culinary “glue” that transforms crumbs into a moldable dough, essential for a dense, round shape.
Essential Equipment for Professional Results
To match the “handheld smartphone photo” aesthetic of a perfectly round treat, you will need specific tools to maintain symmetry and finish. High-quality equipment ensures your cake pop flavors look as good as they taste.
- Matte White Paper Sticks: These provide the classic “Starbucks” look and offer better grip for the cake ball than plastic alternatives.
- Small Cookie Scoop: A 1-tablespoon scoop ensures every ball is uniform in size, which is critical for even dipping.
- Styrofoam Block or Cake Pop Stand: Necessary for letting the “glossy pink candy melt coating” set upright without flat spots.
- Microwave-Safe Deep Bowl: A narrow, deep bowl allows for a full submersion dip, which is the secret to a “flawlessly smooth” finish.
Constructing the Foundation: The Pink Vanilla Cake
Creaming for Texture
Start by creaming your softened butter and sugar in a large bowl for at least 3-5 minutes. You are looking for a pale, fluffy texture that indicates enough air has been incorporated to create that “fine crumb.” Add your eggs one at a time, followed by the pink gel coloring, mixing until the batter is a uniform, vibrant pastel pink.
Baking for Moisture
Alternately add your dry ingredients and milk, beginning and ending with the flour. Pour the pink batter into a greased 9-inch pan and bake at 350°F (175°C) for 25-30 minutes. The visual cue for readiness is when a toothpick inserted into the center comes out clean, but the cake remains soft to the touch—avoid over-baking, as we need that “moist” profile for the final assembly.
Forensic Crumb Assembly: From Cake to Ball
The Crumbling Process
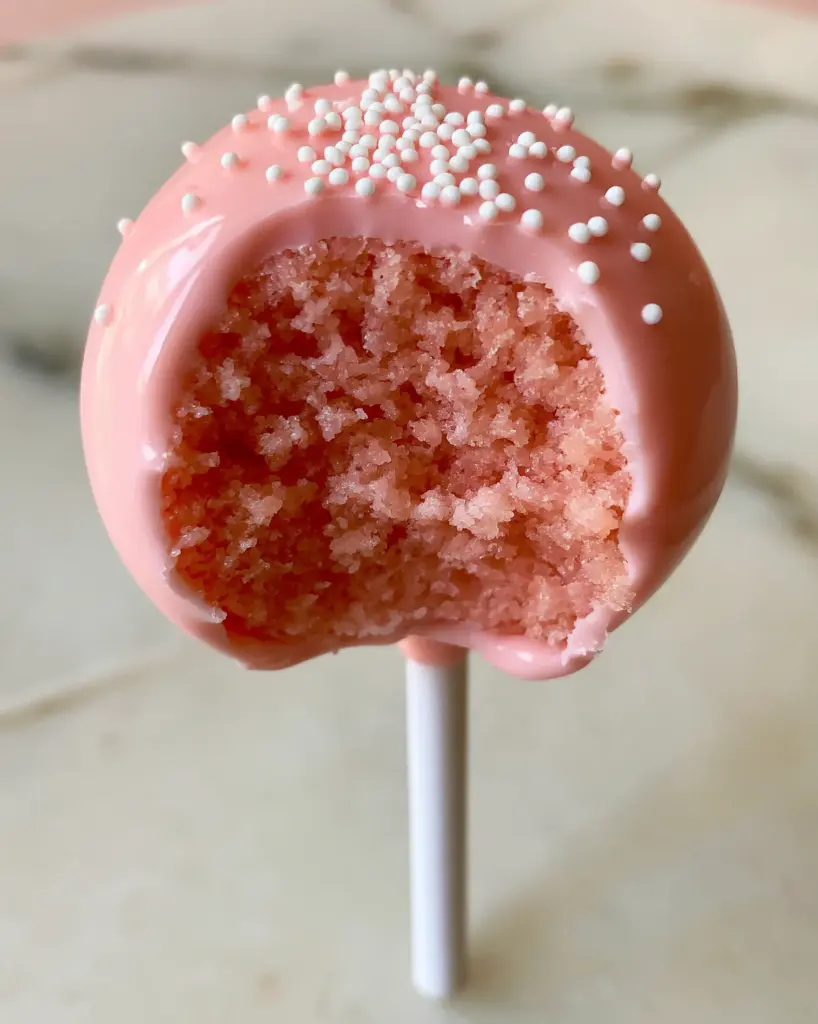
Once the cake has completely cooled, remove any browned outer edges with a serrated knife to ensure only the pink center remains. Tear the cake into small chunks and rub them together between your palms until they resemble fine, damp sand. This step is crucial for achieving the “dense, moist pastel pink cake ball” appearance mentioned in our visual prompt.
Achieving the Perfect Bind
Add the vanilla frosting one tablespoon at a time. The goal is a dough that holds its shape when squeezed but doesn’t stick excessively to your hands. If the mixture is too wet, the pops will slide off the sticks; if it is too dry, they will crack. Roll the dough into 1-inch (2.5cm) spheres, ensuring they are “perfectly round” and smooth.
The Art of the Dip: Achieving the Glossy Pink Shell
Melting the Coating
Heat your pink candy melts in 30-second intervals, stirring vigorously in between. To achieve the “thin, flawlessly smooth coating” seen in the smartphone photo, add 1 teaspoon (5ml) of coconut oil or paramount crystals to the melted chocolate. This thins the viscosity, allowing excess coating to drip off easily rather than clumping.
Securing the Stick
Dip the tip of a matte white paper stick into the melted coating, then insert it halfway into a chilled cake ball. This acts as a “weld” that prevents the pop from falling. Let these set for 5 minutes in the refrigerator before the final dip. This is a pro-level tip often used in professional variety of cake pop recipes to ensure stability.
The Final Submersion
Hold the stick and dip the cake ball vertically into the warm coating until it reaches the stick. Lift it straight up and gently tap your wrist—not the stick—to let the excess drip off. Before the coating sets, garnish with a delicate scattering of tiny white nonpareil sugar sprinkles on the very top, exactly as described in the Midjourney prompt.
Expert Tips for Cake Pop Mastery
- Temperature Control: Never dip a frozen cake ball into hot candy melts. The extreme temperature difference will cause the glossy shell to crack as the cake expands.
- The “Tap” Technique: When removing excess chocolate, rotate the pop slowly while tapping your wrist to ensure the coating remains “flawlessly smooth.”
- Avoid Condensation: If you refrigerate the pops after dipping, let them come to room temperature slowly to avoid moisture beads on your “glossy” finish.
- Uniformity: Use a kitchen scale to weigh each ball (approx. 30g) for that professional, consistent look.
What to Pair With Your Pink Cake Pops
While these pops are a standout solo treat, they pair beautifully with other dessert table staples. For a full celebration spread, consider serving them alongside a decadent chocolate Oreo cake or even some birthday cake cookies to keep the theme consistent. If you are hosting a summer event, these cake pop flavors contrast perfectly with a refreshing dragon fruit lemonade or a tart strawberry rhubarb pie.
Storage and Preservation
These treats are surprisingly hardy. Store them in an airtight container at room temperature for up to 3 days, or in the refrigerator for up to a week. If you need to transport them, a Styrofoam block covered in decorative paper is the best way to keep the glossy shells from touching and scuffing. For long-term storage, you can freeze the undipped cake balls for up to 3 months, then thaw and dip when ready to serve.
Frequently Asked Questions
It is not recommended. Liquid coloring is less concentrated and can alter the moisture balance of the batter. Gel food coloring provides the vibrant ‘pastel pink’ without changing the texture of the fine crumb.
The secret is the ‘weld.’ Always dip the tip of your stick into the melted coating before inserting it into the cake ball. Let this set completely before you attempt the full dip.
Adding a small amount of coconut oil or paramount crystals (about 1 teaspoon per 12oz of melts) will thin the coating, allowing it to flow more easily and create a ‘flawlessly smooth’ finish.
While vanilla and birthday cake are the most iconic Starbucks flavors, chocolate, red velvet, and cookies-and-cream are also highly sought-after varieties.
Cracking usually happens due to extreme temperature changes. If the cake balls are too cold (frozen) and the candy melts are too hot, the cake expands and cracks the shell. Ensure both are close to room temperature for the best results.
The Signature Pink Starbucks Copycat Recipe
Cake Pop Flavors: The Ultimate Starbucks Copycat Pink Recipe
Ingredients
Equipment
Method
- Cream butter and sugar until light and fluffy. Mix in eggs and pink gel coloring until a uniform pastel pink hue is achieved.
- Incorporate flour and milk. Bake at 350°F (175°C) for 25-30 minutes until the center is set but moist.
- Crumble the cooled cake into a fine, sandy texture. Mix with vanilla frosting until a moldable dough forms.
- Roll into 1-inch spheres and chill for 20 minutes to ensure they stay round.
- Dip the matte white stick into melted pink candy melts and insert into the cake ball. Submerge the entire ball into the glossy coating.
- Tap off excess coating and immediately top with white nonpareils before the shell sets.
Notes
Ensure the cake pops are at room temperature before dipping to prevent cracking.
Closing & Call to Action
Mastering the specific cake pop flavors that define the Starbucks experience is a rewarding journey for any home baker. By focusing on the fine crumb texture and the glossy pink finish, you can create a treat that is as visually stunning as it is delicious. If you enjoyed this forensic look at dessert design, please leave a comment below with your results! Don’t forget to share your creations and follow us at alicecooks_official on Pinterest for more culinary inspiration.


