There is a specific kind of culinary magic that happens when the humble chocolate sandwich cookie meets the sophisticated world of layered patisserie. This Oreo cake isn’t just a dessert; it is a structural masterpiece of textures, designed to stop scrolls and start conversations.
Imagine a handheld smartphone photo capturing a perfect slice resting on a modern matte ceramic plate. The soft natural lighting from a kitchen window highlights the velvety whipped filling contrasted against the dark, rugged biscuit layers. This recipe recreates that exact visual and sensory experience in your own kitchen.
Whether you are preparing a spread for labor-day-party-food or looking for a centerpiece for a birthday, this no-bake icebox method delivers professional results without ever turning on the oven. Let’s dive into the forensic details of building the perfect Oreo cake.
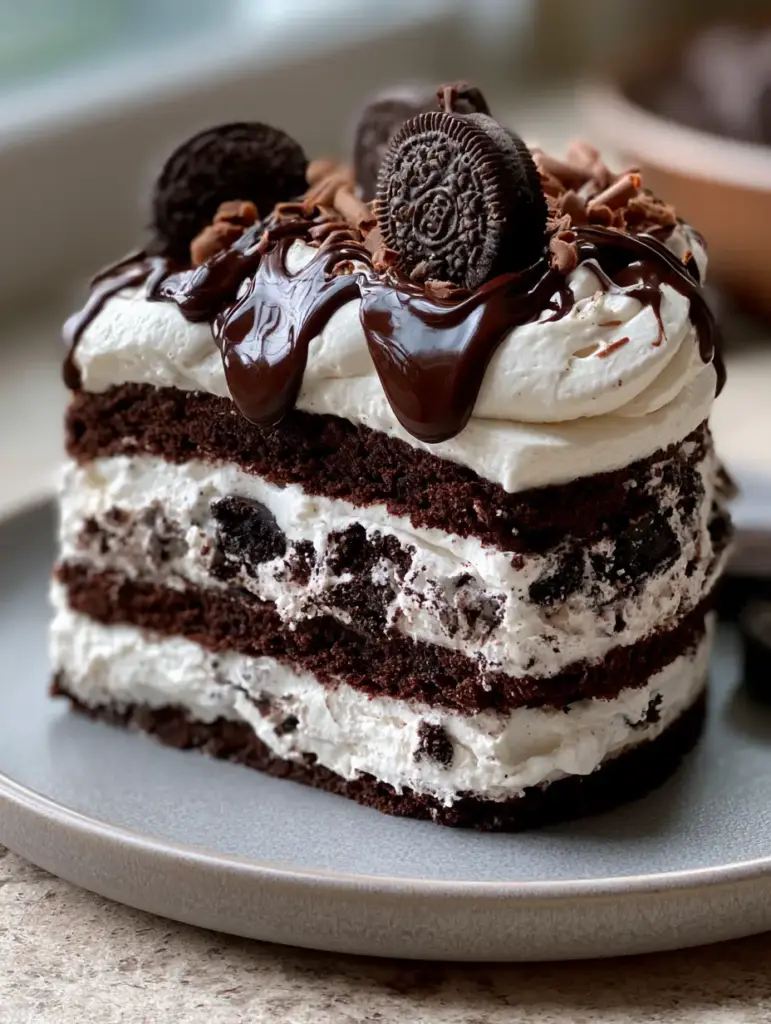
Why This No-Bake Oreo Cake Defines Dessert Perfection
- Structural Integrity: By using a stabilized whipped cream cheese base, each slice maintains distinct, beautiful layers even at room temperature.
- Textural Contrast: You’ll experience the crunch of the base, the silkiness of the cream, and the snap of the dark chocolate drizzle in every bite.
- Visual Sophistication: Decorated with mini cookies and fine chocolate curls, this cake moves beyond “home-style” into “artisan” territory.
- Zero-Bake Ease: This recipe relies on thermal setting rather than chemical leavening, making it foolproof for enthusiastic home cooks.
The Anatomy of Flavor: Essential Ingredients for Your Oreo Cake
Every component in this Oreo cake has been selected to provide the visual depth and flavor profile required for a world-class icebox dessert. We do not just use ingredients; we use culinary building blocks.
The Foundational Cookie Elements
Crushed Oreo Cookies (36 standard cookies / approx. 400g): These provide the deep, alkalized cocoa flavor that defines the cake. We use them both in the compressed base and as a textural “rubble” between cream layers.
Unsalted Butter (1/2 cup / 115g): Melted butter acts as the “glue” for your crust. It coats the cookie crumbs, and once chilled, it creates a solid, snappy foundation that won’t crumble when sliced.
The Velvety Whipped Core
Full-Fat Cream Cheese (16 oz / 450g): It must be room temperature to ensure it whips into a cloud-like consistency. This provides the necessary tang to cut through the sugar and adds structural density.
Heavy Whipping Cream (2 cups / 480ml): Use cream with at least 36% milkfat. When whipped to stiff peaks, it provides the “icebox” aeration that softens the cookies into a cake-like texture over time.
Powdered Sugar (1.5 cups / 180g): Also known as confectioners’ sugar, this contains a small amount of cornstarch. This is a “secret” invisible ingredient that helps stabilize the whipped cream filling for hours.
The Forensic Finishing Touches
Dark Chocolate Drizzle (4 oz / 115g): A high-percentage cocoa chocolate melted with a touch of oil creates that glossy, professional finish seen in our visual blueprint. It provides a bitter counterpoint to the sweet cream.
Mini Oreo Cookies & Chocolate Curls: These are the “garniture” that add height and luxury. Using a vegetable peeler on a room-temperature chocolate bar is the professional trick for those fine, elegant curls.
Culinary Tools for a Professional Finish
To achieve the sharp, clean lines of a professional Oreo cake, you will need a 9-inch (23cm) springform pan. This allows you to remove the sides without disturbing the delicate chocolate drizzle or the mini cookie decorations.
A stand mixer or a high-powered hand mixer is essential for aerating the cream cheese and heavy cream. Without proper aeration, the filling will be too heavy and won’t have that “velvety” look described in the Midjourney prompt.
Finally, an offset spatula is your best friend for smoothing the top surface. A perfectly flat top is required so the dark chocolate drizzle can flow evenly rather than pooling in one spot.
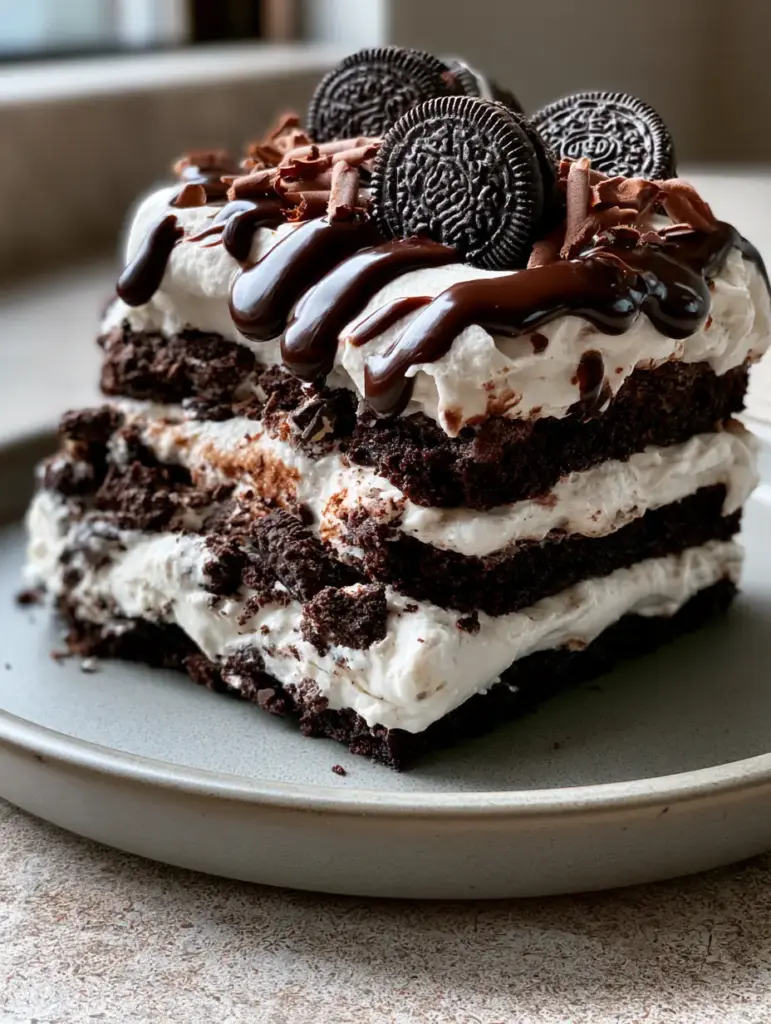
Step-by-Step Guide to Constructing Your Oreo Cake
1. Engineering the Dark Chocolate Crust
Pulse the standard-sized Oreos in a food processor until they resemble coarse sand. You want some fine powder to act as a binder, but small bits of cookie remain for that “crunchy dark chocolate cookie crust” mentioned in our blueprint.
Stir in the melted butter until the mixture feels like wet sand. Press this firmly into the bottom of your springform pan, using the bottom of a flat measuring cup to ensure it is level and packed tight.
2. Whipping the Velvety Cream Filling
In a large bowl, beat the softened cream cheese and powdered sugar until completely smooth. There should be no visible lumps; this is the “velvety” secret of the filling.
In a separate chilled bowl, whip the heavy cream until stiff peaks form. Gently fold the whipped cream into the cream cheese mixture in three stages, preserving the air you’ve worked so hard to incorporate.
3. The Layering Process (The Icebox Secret)
Spread half of the cream mixture over the chilled crust. Sprinkle a generous layer of crushed biscuits over the cream—this creates the “distinct, beautiful layers” when the cake is sliced.
Top with the remaining cream mixture and smooth the surface perfectly with your offset spatula. Chill the cake for at least 6 hours, or ideally overnight, which allows the moisture from the cream to soften the cookies just enough.
4. Executing the Glossy Dark Chocolate Drizzle
Melt your dark chocolate with 1 tablespoon (15ml) of coconut oil or butter. This ensures the drizzle remains soft enough to cut through without shattering the top of the cake.
Use a spoon or a piping bag to create a dramatic drip effect around the edges. Before the chocolate sets, strategically place your mini Oreos and scatter the fine chocolate curls across the center.
Expert Tips for Success
- Temperature Control: Ensure your heavy cream is ice cold before whipping, but your cream cheese is completely room temperature. This prevents the filling from becoming grainy.
- The Clean Slice: To get the look of the “perfect slice” on the matte ceramic plate, dip your knife in hot water and wipe it dry between every single cut.
- Patience is an Ingredient: An Oreo cake needs time. If you cut it too early, the cookies will still be hard, and the cream won’t have set into its final “velvety” state.
- Customize the Cocoa: If you love a deeper flavor, try using “Double Stuf” Oreos for the filling and “Thins” for the decorative crust.
Maintaining Freshness: Storage and Freezing Tips
This Oreo cake thrives in the refrigerator. Keep it covered with plastic wrap or in an airtight container to prevent it from absorbing any “fridge smells.” It will stay fresh and delicious for up to 5 days.
For longer storage, you can freeze this cake. It actually tastes incredible as a semi-frozen treat, similar to an ice cream cake. Wrap individual slices in parchment paper and then foil for a quick grab-and-go dessert.
If you enjoy the profile of this dessert, you might also love our brown-butter-brookies which offer a similar deep cocoa and butter richness.
The Best Accompaniments for Your Chocolate Dessert
While this cake is a star on its own, pairing it with the right beverage or side can elevate the experience. A glass of cold milk is the classic choice, but for a more adult profile, try it with a lavender-cold-foam topped coffee.
If you want to add a fruity acidity to the plate, a side of strawberry-sauce-recipe drizzled next to the slice provides a beautiful color contrast and cuts through the richness of the cream cheese.
For those who love fruit and chocolate together, serving a few lemon-blueberry-cookies on the side of the dessert table offers a bright, citrusy alternative for guests.
Common Questions About Making No-Bake Cakes
Yes, icebox cakes are actually better when made 24 hours in advance. This gives the cookies time to soften into a cake-like texture while the cream sets firmly.
We do not recommend low-fat cream cheese or whipped topping substitutes, as they lack the fat content required to hold the structural weight of the cookies and layers.
Use a food processor for a uniform, sandy texture. If crushing by hand in a bag, ensure you use a rolling pin to break down any large chunks that could cause the crust to fall apart.
Ensure you use full-fat cream cheese and whip your heavy cream to very stiff peaks. The combination of these two, along with the powdered sugar’s cornstarch, provides the necessary structure.
To avoid cracking, mix a small amount of oil or butter into the melted chocolate. This keeps the drizzle slightly flexible even when chilled.
The Final Word on the Perfect Oreo Cake
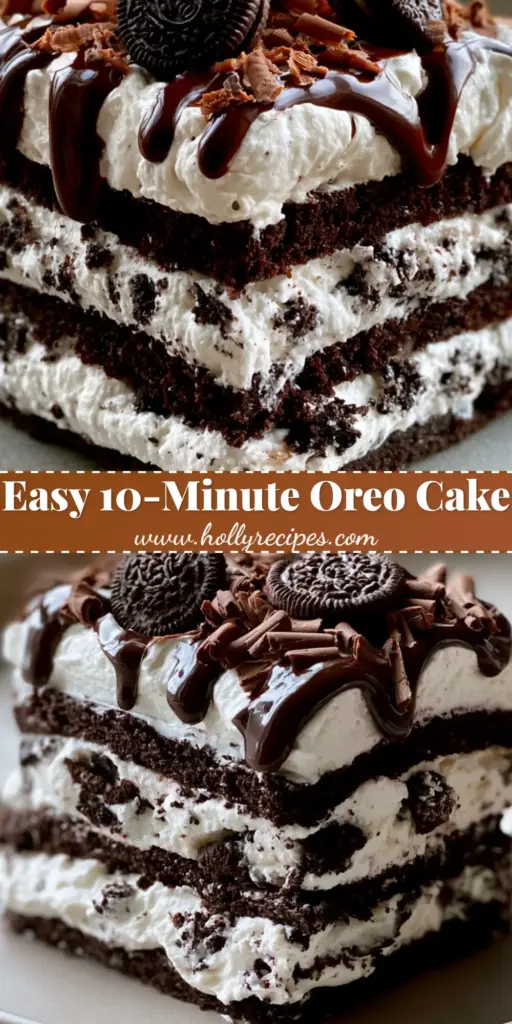
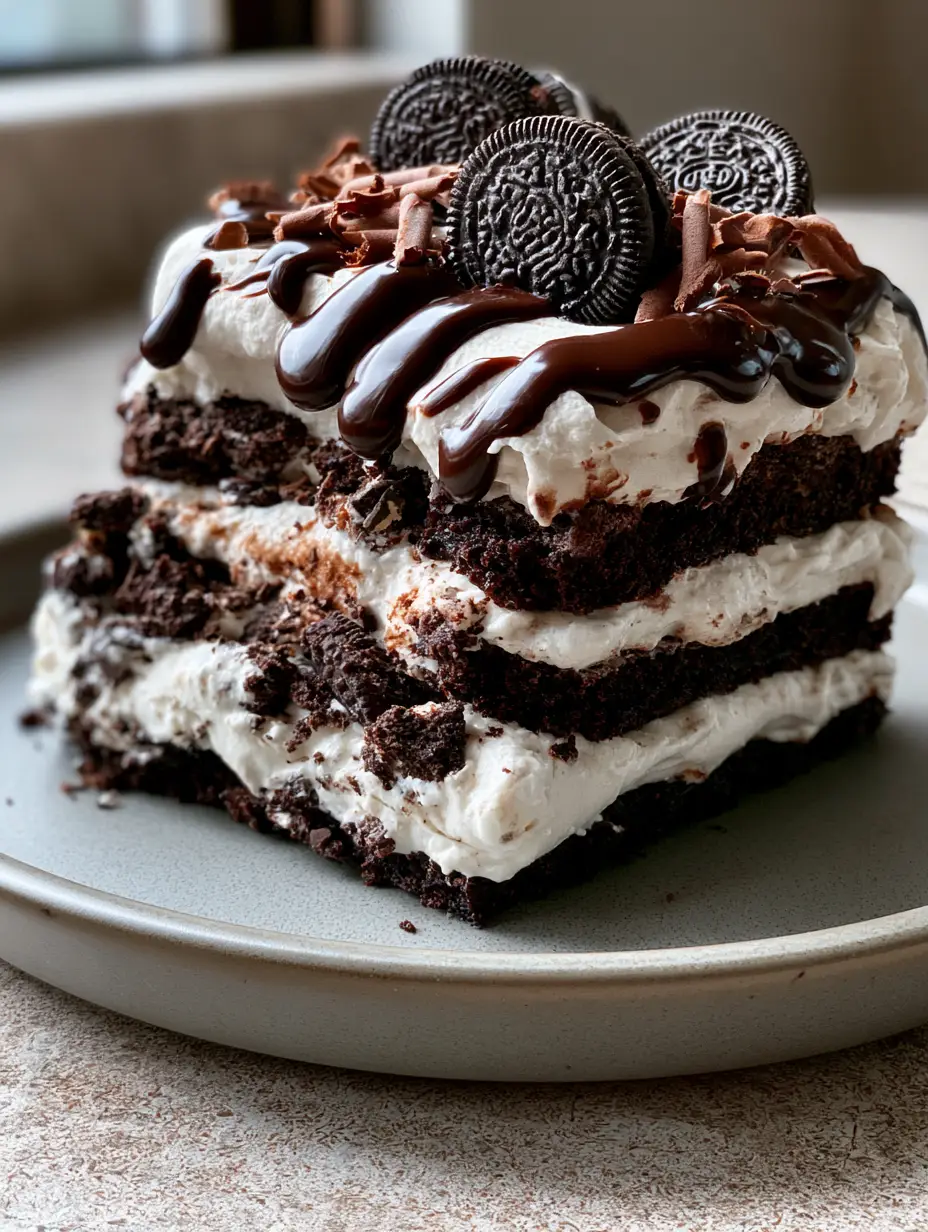
Oreo Cake: The Ultimate No-Bake Chocolate Layer Indulgence
Ingredients
Equipment
Method
- Combine 36 crushed Oreos with melted butter. Press firmly into the bottom of a 9-inch springform pan. Chill for 15 minutes.
- Beat softened cream cheese and powdered sugar until smooth. In a separate bowl, whip heavy cream to stiff peaks. Fold the two together gently.
- Spread half the cream over the crust. Sprinkle with the 1 cup of crushed cookies. Cover with the remaining cream and smooth the top.
- Refrigerate for at least 6 hours or overnight to allow the layers to set and the cookies to soften.
- Drizzle with melted dark chocolate. Decorate with mini Oreos and chocolate curls before serving.
Notes
Dip your knife in hot water for perfectly clean slices.
Sharing the Chocolate Love
Creating this Oreo cake is an act of culinary love. From the precise layering of the crushed biscuits to the final, glossy dark chocolate drizzle, every step is designed to create a moment of pure indulgence. The result is a dessert that looks like it stepped out of a high-end food magazine but tastes like home.
If you found this guide helpful, please leave a comment below and let us know how your layers turned out! Don’t forget to share your creations with us on Pinterest. Your feedback helps our community of home cooks grow!


