The Brownie refrigerator cake is the ultimate intersection of fudgy, chewy textures and silky, aerated finishes. This dessert isn’t just a treat; it is a visual masterpiece designed to anchor any dessert table with its clean, distinct horizontal layers and professional finish.
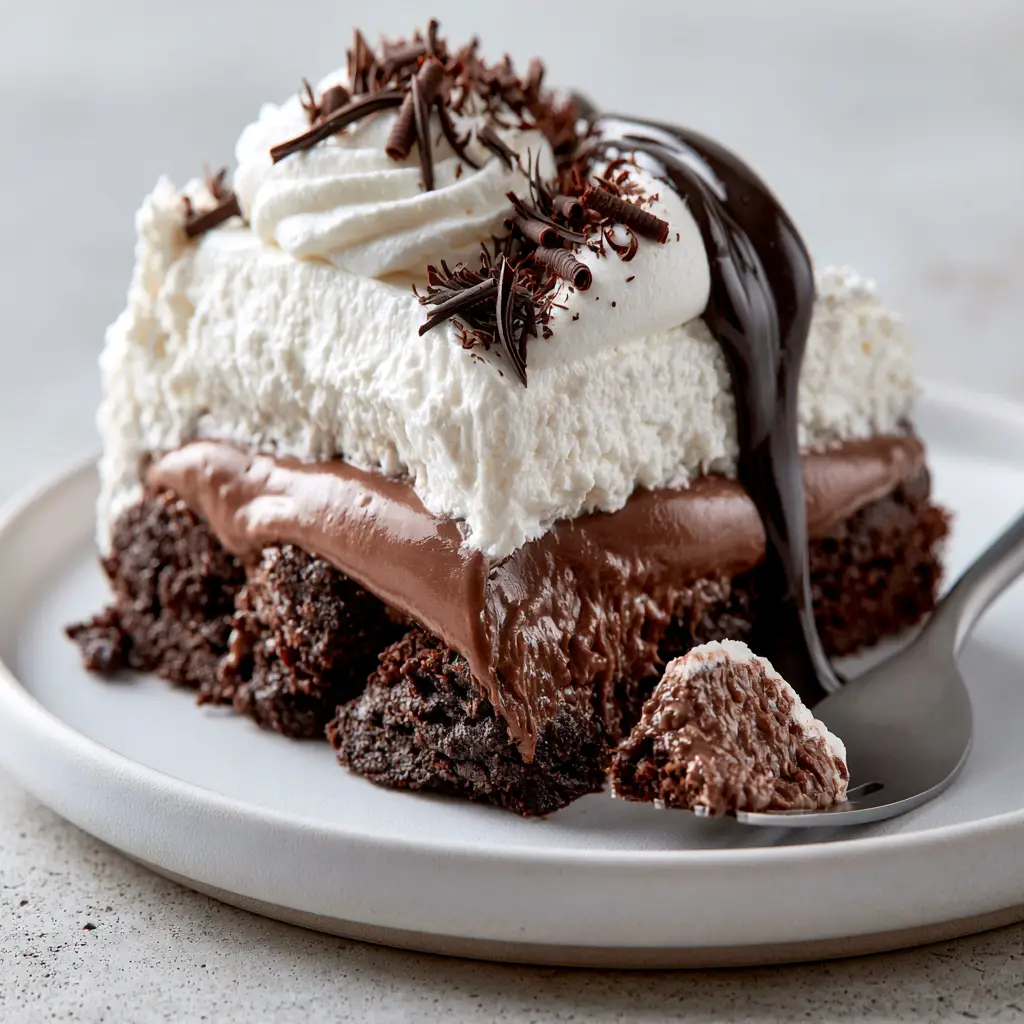
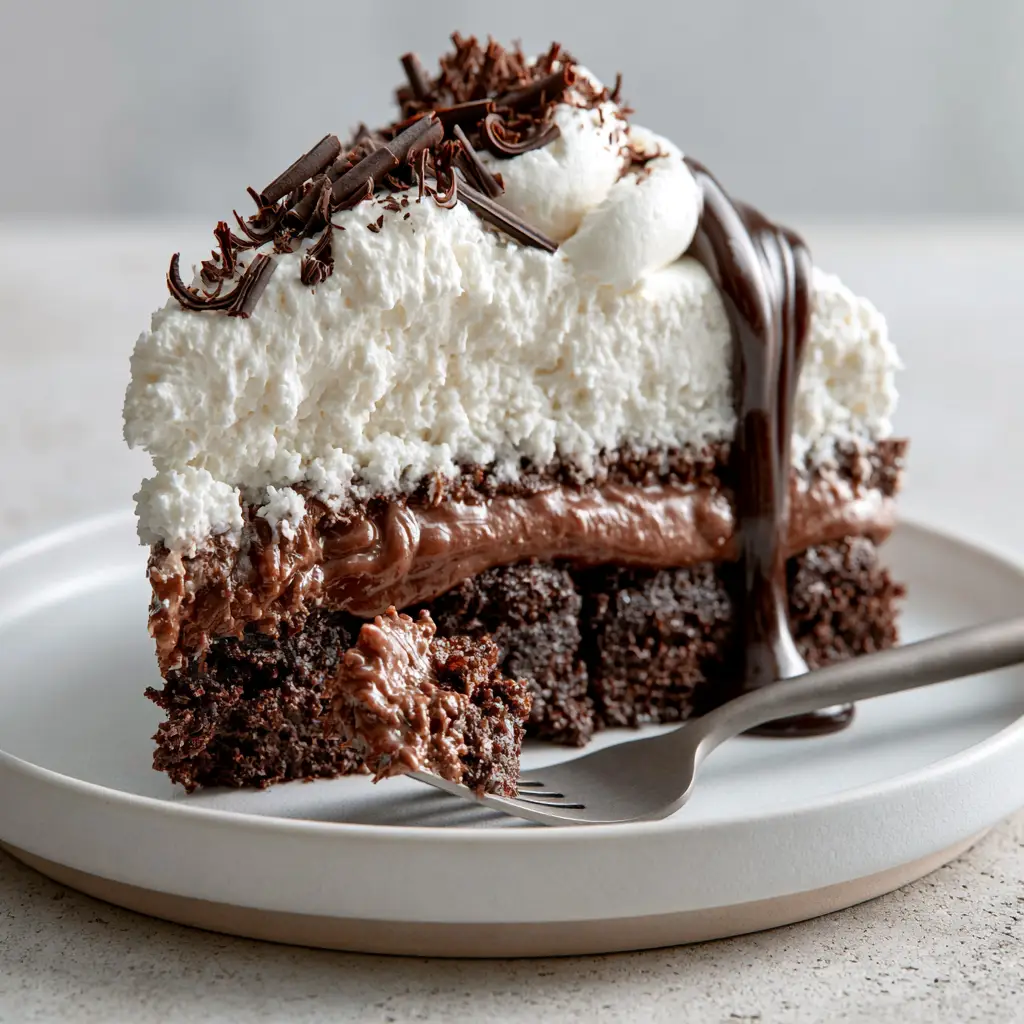
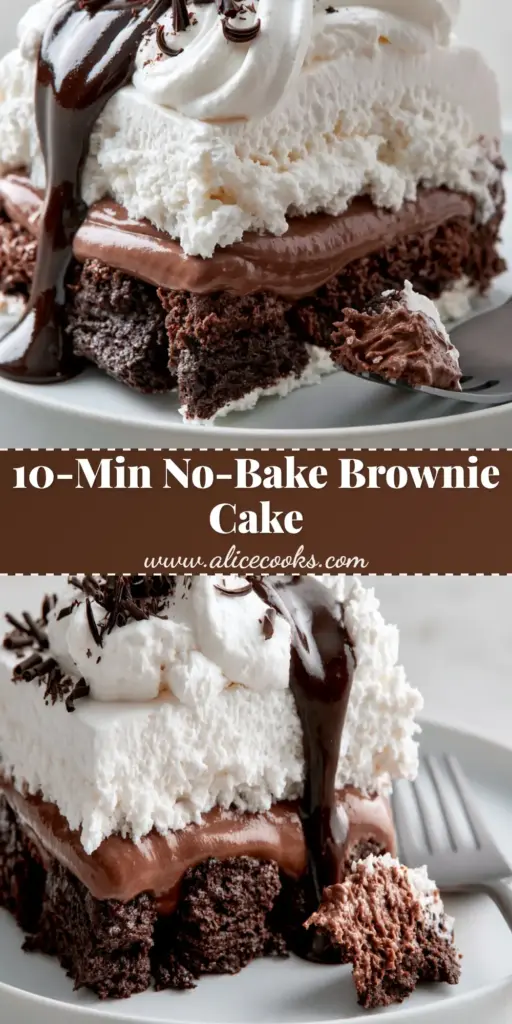
Imagine sinking a matte silver dessert fork into a slice where a foundation of dense, moist, dark fudgy brownie chunks meets a thick, glossy middle layer of milk chocolate pudding. Topped with a cloud of airy white whipped cream and a slow, thick drizzle of glossy dark chocolate ganache, this cake is a masterclass in chocolate temperatures and textures.
Whether you are hosting a summer soirée or a cozy winter gathering, the Brownie refrigerator cake offers a sophisticated take on the classic no-bake dessert. By following our scientifically-backed layering method, you will achieve the perfect structural integrity required for those Instagram-worthy clean cuts.
Why This Layered Chocolate Masterpiece Works
- Textural Contrast: The marriage of heavy, chew-focused brownie pieces with light-as-air whipped cream creates a complex mouthfeel that prevents “palate fatigue.”
- Visual Precision: By using a stabilized pudding and chilled cream, we ensure the horizontal layers remain distinct rather than bleeding together.
- Deep Flavor Profile: We utilize three different types of chocolate—dark, milk, and semi-sweet—to provide a multi-dimensional cocoa experience.
- Make-Ahead Convenience: As a refrigerator cake, this dessert actually improves over 24 hours as the flavors meld and the brownie base slightly softens into the pudding.
Essential Components for the Deepest Dark Chocolate Flavor
Dutch-Processed Cocoa Powder: 3/4 cup (75g). This provides the “dense dark chocolate” visual and a mellow, earthy flavor profile that acts as the foundation for our brownie base.
High-Fat European Butter: 1 cup (225g), melted. The fat content is crucial for achieving that fudgy, moist brownie chunk texture that stays soft even when refrigerated.
Whole Milk: 3 cups (720ml). This creates the necessary body for a thick, velvety milk chocolate pudding that won’t run when the cake is sliced.
Milk Chocolate Callets: 1/2 cup (85g). Melting these into the pudding ensures a “glossy” finish and a creamy, mild sweetness to balance the dark chocolate base.
Heavy Whipping Cream: 2.5 cups (600ml), divided. You need the high fat content (at least 36%) to achieve the “fluffy, airy” peaks described in our visual blueprint.
Dark Chocolate Bar (70% Cacao): 4 oz (115g). Half of this will be used for the fine dark chocolate curls, and the other half for the glossy ganache drizzle.
Cornstarch: 1/4 cup (32g). This is the “invisible” structural ingredient that thickens the pudding to a sliceable consistency.
Pure Vanilla Extract & Sea Salt: 1 tsp (5ml) and 1/2 tsp (3g). These are flavor enhancers that brighten the cocoa notes and cut through the richness of the cream.
Must-Have Tools for Clean, Professional Cake Layers
To achieve the look of a perfectly cut slice on a modern matte white ceramic plate, you need the right equipment. A 9×9 inch (23x23cm) square glass baking dish is ideal for seeing those beautiful horizontal layers through the side.
A heavy-bottomed saucepan is essential for the pudding to prevent scorching, while a stand mixer or electric hand mixer is required to reach the “fluffy” stage for your whipped cream. Finally, a sharp chef’s knife dipped in hot water and wiped clean between each cut is the secret to the professional, clean edges seen in the visual prompt.
Mastering the Architecture of the Brownie Refrigerator Cake
Step 1: Building the Fudgy Brownie Foundation
Preheat your oven to 350°F (175°C). Whisk the melted butter and 2 cups (400g) of granulated sugar until combined, then add 4 large eggs one at a time, beating well after each addition.
Fold in the cocoa powder, 1 cup (125g) of all-purpose flour, and salt until just combined—do not overmix, or the brownies will become cakey rather than dense. Bake for 20-25 minutes until a toothpick comes out with moist crumbs.
Allow the brownies to cool completely at room temperature. Once cool, cut them into 1-inch (2.5cm) cubes; these dense dark chocolate brownie chunks will form the textured base of our cake.
Step 2: Whisking the Velvety Milk Chocolate Pudding Layer
In your saucepan, whisk together the sugar and cornstarch. Slowly pour in the milk, whisking constantly to ensure no lumps form.
Place over medium heat and stir continuously until the mixture thickens and begins to bubble. Remove from heat and immediately stir in the milk chocolate chips and vanilla until the mixture is thick and glossy.
Press a piece of plastic wrap directly onto the surface of the pudding to prevent a skin from forming. Let it cool until it is just above room temperature before layering.
Step 3: Creating the Fluffy Airy Whipped Topping
In a chilled bowl, combine 2 cups (480ml) of heavy cream with 1/4 cup (30g) of powdered sugar. Beat on medium-high speed until stiff peaks form.
Look for the visual cue: the cream should hold its shape when the whisk is lifted, looking airy and white, providing a stark contrast to the dark chocolate layers below. Do not overbeat, or the cream will become grainy and lose its fluffiness.
Step 4: Assembly and the Glossy Ganache Drizzle
Layer the brownie chunks in the bottom of your dish, pressing them down slightly to form a solid base. Pour the thickened milk chocolate pudding over the brownies, smoothing it with an offset spatula for a clean horizontal line.
Spread the whipped cream over the pudding layer. For the final touch, melt the remaining dark chocolate with 1/4 cup (60ml) of heavy cream to create a glossy dark chocolate ganache.
Drizzle the ganache in a slow, thick motion so it runs down the sides of the layers. Finish by using a vegetable peeler to create fine dark chocolate curls across the top of the cream.
Chef’s Secrets for That Perfect Clean Slice
- The Chill Factor: This cake requires at least 4-6 hours in the refrigerator. This allows the pudding to set firmly and the brownie chunks to anchor the structure.
- Stabilization: If you are serving this at an outdoor event, add 1 tablespoon of instant vanilla pudding mix to your whipped cream to help it hold its “airy” shape for hours.
- Bloom Your Cocoa: When making the brownies, mix the cocoa powder with the melted butter first. This “blooms” the chocolate, intensifying the dark fudgy flavor.
- Clean Cuts: As mentioned, use a warm knife. The heat melts the ganache and pudding just enough to glide through without dragging the whipped cream into the lower layers.
Optimal Serving and Make-Ahead Storage Guidelines
The Brownie refrigerator cake is a champion of make-ahead desserts. You can prepare the entire cake 24 to 48 hours in advance, though it is best to add the final ganache drizzle and chocolate curls just before serving to maintain the “glossy” visual.
Store leftovers in the refrigerator, covered tightly with plastic wrap or in an airtight container, for up to 4 days. While you can freeze the brownie base, we do not recommend freezing the assembled cake, as the pudding and whipped cream textures can become watery upon thawing.
Sensory Pairings and Dessert Table Inspiration
This rich, velvety cake pairs beautifully with beverages that provide a sharp contrast. Consider serving a slice alongside a strawberry dole whip for a fruity palate cleanser, or a refreshing blueberry mint lemonade to cut through the dark chocolate intensity.
If you are building a full dessert spread, these brownies are a natural companion to other bar-style treats like cinnamon-swirl snickerdoodle blondies. If you find yourself with extra brownie scraps after leveling your layers, you can easily repurpose them into homemade cake pops for a zero-waste kitchen approach.
Troubleshooting Your No-Bake Chocolate Masterpiece
If your pudding layer seems too thin, it likely didn’t reach a full boil; the cornstarch requires heat activation to thicken properly. Simply return it to the heat and whisk until large bubbles pop on the surface.
If your whipped cream is collapsing, it may have been too warm when beaten. Always ensure your cream, bowl, and beaters are chilled before starting to maintain that “airy white” appearance described in the prompt.
Absolutely. Simply substitute the all-purpose flour in the brownie recipe with a 1:1 gluten-free flour blend. The pudding and whipped cream layers are naturally gluten-free.
Yes, you can use store-bought brownies if you are short on time. However, ensure they are ‘fudgy’ style rather than ‘cakey’ to maintain the structural integrity of the base layer.
The secret is chilling the cake for at least 6 hours and using a sharp chef’s knife dipped in hot water. Wipe the blade clean between every single cut.
This cake is best served within 24-48 hours but will remain delicious in an airtight container for up to 4 days.
Pudding thickens via cornstarch activation, which requires the mixture to reach a full boil. If it’s runny, you likely didn’t cook it long enough or the measurements were off.
The Ultimate Brownie Refrigerator Cake Recipe
Brownie Refrigerator Cake: The Ultimate Triple-Layer Chocolate Decadence
Ingredients
Equipment
Method
- Mix melted butter, sugar, eggs, cocoa, and flour. Bake at 350°F (175°C) for 20-25 mins. Cool completely and cut into 1-inch chunks.
- Whisk milk, sugar, and cornstarch in a saucepan. Heat until bubbling and thick. Stir in chocolate chips and vanilla. Cool slightly.
- Beat heavy cream and powdered sugar until stiff, airy peaks form.
- Layer brownie chunks, then pudding, then whipped cream. Top with chocolate curls and a warm ganache drizzle.
Notes
Ensure the pudding reaches a boil to activate cornstarch.
Closing & Call to Action
This Brownie refrigerator cake is more than just a dessert; it’s a decadent experience of dark chocolate fudginess and silky milk chocolate creaminess. The visual contrast of the white whipped cream against the dark ganache makes it a showstopper for any occasion.
If you enjoyed this recipe, please leave a comment below and let us know how your layers turned out! Don’t forget to share your creations and follow us on Pinterest for more culinary inspiration and professional plating tips.