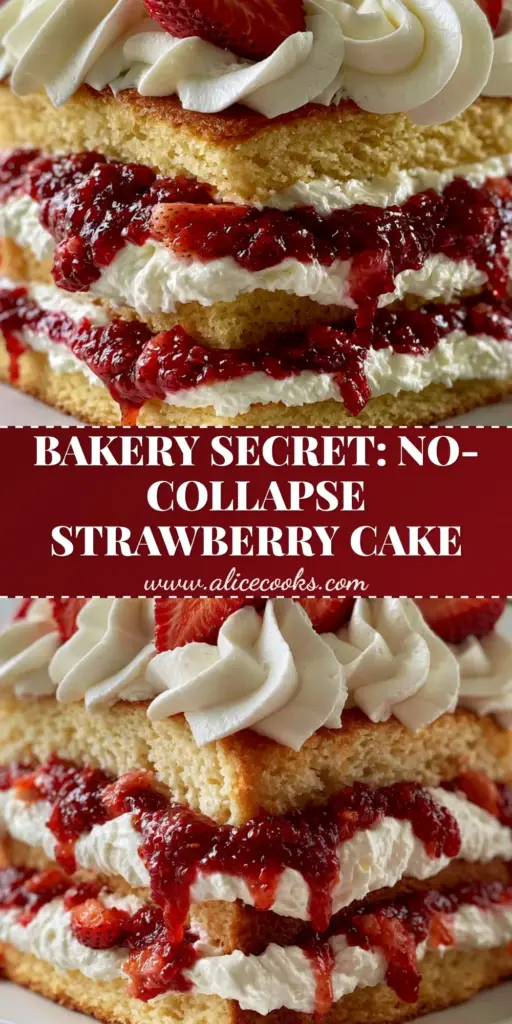
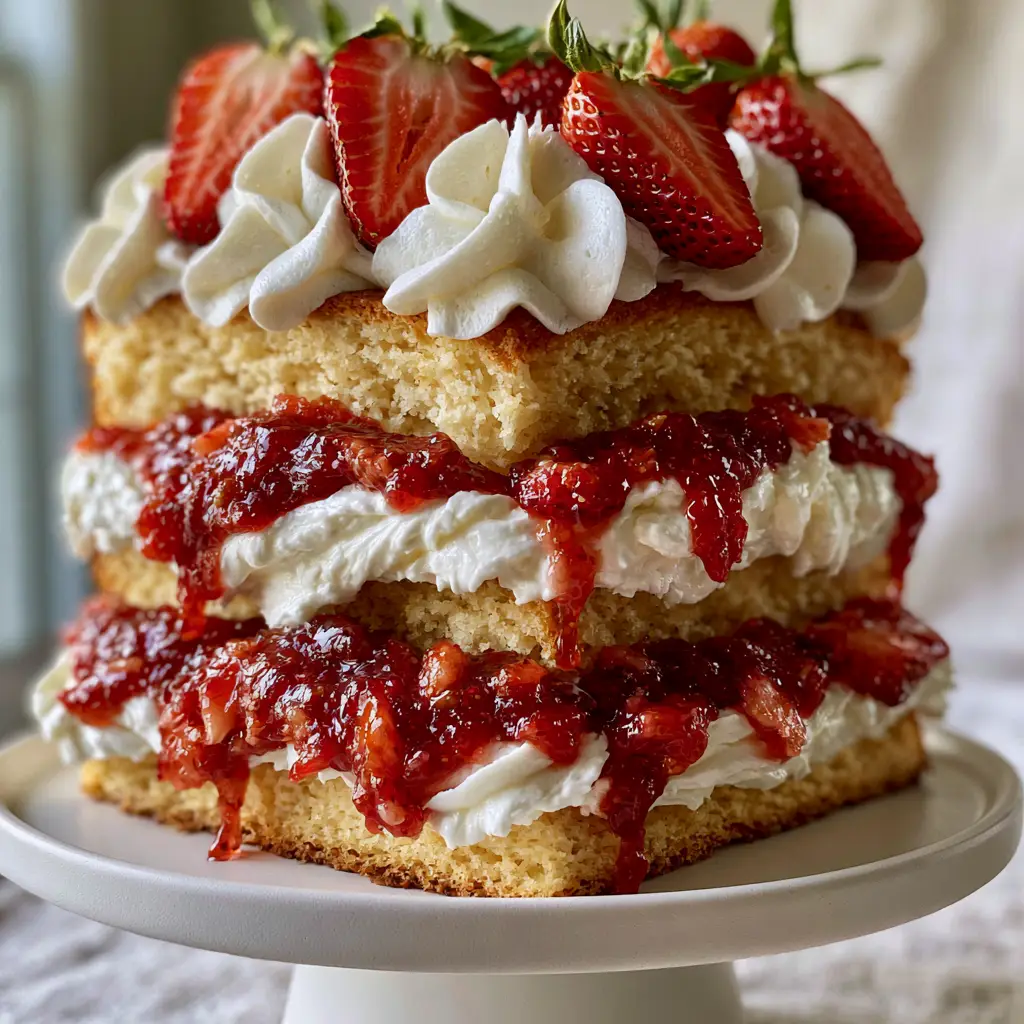
There is nothing quite as nostalgic or visually arresting as a towering Strawberry Shortcake Cake. This isn’t your average backyard biscuit; we are elevating the classic flavors into a massive three-layer architectural wonder featuring golden-brown vanilla sponge, velvety stabilized cream, and a glossy strawberry compote.
Inspired by the warmth of a sunlit kitchen, this recipe captures the essence of peak summer. Every slice reveals a fine, moist crumb that holds up beautifully against the weight of dense fruit and thick, piped cream peaks.
Whether you are hosting a garden party or celebrating a milestone, this Strawberry Shortcake Cake is designed to be the centerpiece. It bridges the gap between a rustic fruit dessert and a professional bakery showpiece, complete with the signature red fruit drips and a delicate dusting of powdered sugar.
Why This Three-Layer Strawberry Shortcake Cake Works
- Structural Integrity: The three thick, golden-brown vanilla sponge layers provide a sturdy foundation for the heavy fillings without becoming soggy.
- Stabilized Texture: By using a stabilized whipped cream, we achieve 1-inch thick, velvety layers that won’t deflate or weep over time.
- Glossy Fruit Contrast: The combination of a dense, glossy strawberry compote and fresh sliced strawberries offers multiple textures of fruit in every bite.
- Visual Grandeur: Topped with whole strawberries featuring fresh green stems and a snow-like dusting of powdered sugar, it looks exactly like a professional handheld smartphone photo from a high-end blog.
The Essential Components for a Showstopping Cake
Creating a cake of this magnitude requires specific ingredients to ensure both the flavor and the physics of the stack are perfect. Here is what you will need for the Strawberry Shortcake Cake.
Cake Flour: 3 cups (375g). Using cake flour ensures that “fine crumb” described in the visual blueprint, providing a softer texture than all-purpose flour.
Unsalted Butter: 1 cup (225g), softened. This foundational fat is creamed with sugar to create the golden-brown exterior and moist, tender interior.
Granulated Sugar: 2 cups (400g). Sugar provides sweetness and helps in the browning process to achieve that deep golden hue.
Whole Milk: 1 cup (240ml). Milk adds moisture and contributes to the richness of the sponge layers.
Baking Powder: 1 tbsp (15g). A critical “invisible” ingredient that provides the lift needed for three thick, massive layers.
Fresh Strawberries: 2 lbs (900g). You will need these for three purposes: the cooked compote, the fresh internal slices, and the whole stemmed garnishes on top.
Heavy Whipping Cream: 4 cups (960ml). This must be very cold to whip into the stiff, velvety peaks required for the piped crown.
Unflavored Gelatin: 2 tsp (10g). The secret to the “stabilized” cream, allowing the 1-inch thick layers to remain firm under the weight of the sponge.
Cornstarch: 1 tbsp (8g). Used to thicken the strawberry compote until it is dense, glossy, and capable of that perfect “drip” down the sides.
Professional Tools for Assembly
To achieve the massive side profile shown in the visual prompt, you will need three 8-inch (20cm) round cake pans. A rotating cake stand will help you apply the 1-inch thick cream layers evenly. Finally, a large star piping tip is essential for the decorative crown peaks.
Step 1: Crafting the Golden Vanilla Sponge
Preparing the Batter
Preheat your oven to 350°F (175°C). Cream the butter and sugar for at least 5 minutes until the mixture is pale and fluffy. This aeration is key to a fine crumb.
Slowly incorporate the eggs one at a time, then alternate between adding the dry ingredients and the milk. Do not overmix, or the sponge will lose its moist, airy quality. Use a spatula to ensure no pockets of flour remain at the bottom of the bowl.
Baking for Color and Crumb
Divide the batter equally between your three prepared pans. Bake for 30-35 minutes. You are looking for a specific visual cue: the edges should pull away slightly from the pan, and the tops should be a deep, vibrant golden-brown.
Let the layers cool completely on a wire rack. As they cool, the crumb sets, ensuring the Strawberry Shortcake Cake doesn’t crumble during the stacking process. If you have leftover scraps, they are perfect for making vanilla cake pops.
Step 2: The Glossy Strawberry Compote Drip
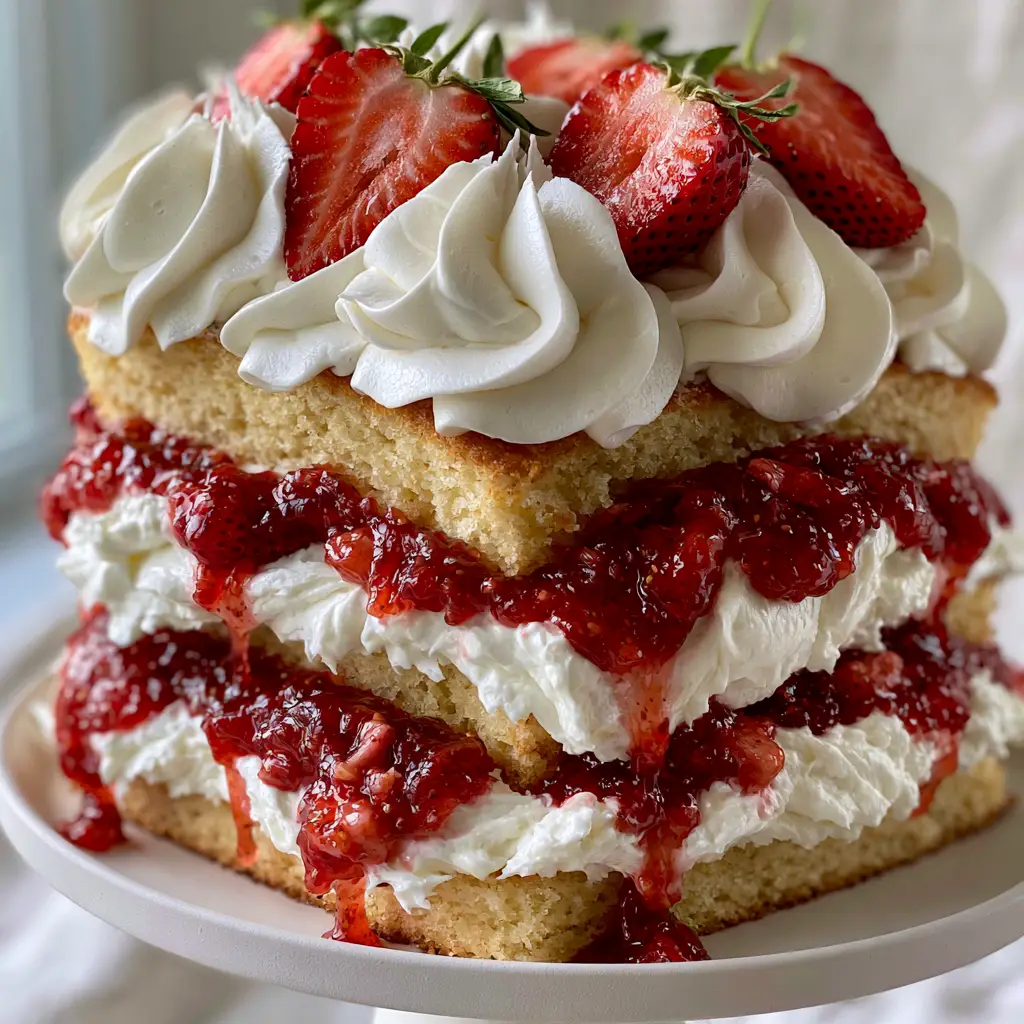
To make the dense, glossy red jam, combine 2 cups of chopped strawberries with sugar and lemon juice in a saucepan. Simmer over medium heat until the fruit begins to break down into chunks.
Slurry the cornstarch with a teaspoon of water and whisk it into the bubbling fruit. Continue to cook until the mixture coats the back of a spoon. It should look like a vibrant, translucent red glaze. This is much more concentrated than a standard strawberry sauce.
Step 3: Whipping the Stabilized Velvet Cream
Bloom the gelatin in a little cold water, then melt it briefly in the microwave. In a chilled bowl, begin whipping your heavy cream and powdered sugar. When you reach soft peaks, slowly drizzle in the liquid gelatin.
Continue whipping until the cream is stiff and velvety. It should hold its shape perfectly when the whisk is lifted. This stability is what allows us to create those iconic 1-inch thick white layers seen in the side profile photo.
Step 4: Assembling the Massive Three-Layer Stack
The Foundation Layer
Place the first golden sponge layer on a matte white ceramic pedestal. Spread a generous 1-inch thick layer of the stabilized cream across the surface. Ensure the cream goes all the way to the edge.
The Fruit Inlay
Arrange sliced ripe strawberries over the cream, then spoon the dense strawberry compote over the fruit. Let a little bit of the glossy red jam drip slightly down the sides of the sponge. This creates the “handheld smartphone photo” aesthetic we are aiming for.
Repeating the Stack
Repeat the process for the second layer. Top with the final sponge layer. For more assembly techniques, you can reference these expert cake pop assembly tips which cover similar structural logic.
Step 5: The Crown and Finishing Touches
Using a piping bag, create large whipped cream peaks around the perimeter of the top layer. In the center, place halved vibrant red strawberries, keeping the fresh green stems intact for a pop of color contrast.
Finally, give the entire Strawberry Shortcake Cake a light dusting of powdered sugar. The sugar should look like a fine mist against the red fruit and golden cake. If you enjoy this flavor profile, you might also love an airy strawberry sponge cake.
Expert Tips for a Perfect Result
- Cold Ingredients: Ensure your cream and bowl are ice-cold before whipping to get the highest volume and stiffest peaks.
- Compote Consistency: If the compote is too thin, it will soak into the cake rather than dripping down the side. Ensure it is cooled to room temperature before assembly.
- Slicing Technique: Use a long serrated knife to cut through the layers. Clean the knife between every single cut to keep the white cream layers pristine.
- Freshness Matters: Only add the whole strawberries with stems right before serving, as the stems can wilt if refrigerated for too long.
Storage and Make-Ahead Advice
Because of the stabilized whipped cream, this cake can be stored in the refrigerator for up to 48 hours. However, the powdered sugar dusting will eventually dissolve, so re-dust before serving. We do not recommend freezing the fully assembled cake, as the fresh strawberries will release too much moisture upon thawing.
What to Serve With Your Strawberry Cake
This massive dessert is a meal in itself, but it pairs beautifully with a light strawberry banana smoothie for a brunch setting. If you find yourself with extra strawberry components, you can always blend them into a fresh strawberry puree for cocktails or mocktails.
Frequently Asked Questions
You can use frozen strawberries for the cooked compote, but you must use fresh, ripe strawberries for the internal slices and the top decoration to achieve the proper visual and structural result.
The key is using a stabilized whipped cream and allowing the strawberry compote to cool completely before assembly. This creates a moisture barrier that prevents the sponge from soaking up the fruit juices.
Using a small amount of unflavored gelatin dissolved in water is the most professional method. It allows the cream to hold heavy cake layers without deflating or losing its velvety texture.
Overbaking is the primary culprit. Ensure you pull the cakes as soon as a toothpick comes out clean and the edges pull away. The use of whole milk and softened butter in this recipe is designed to ensure a moist, fine crumb.
The Ultimate Strawberry Shortcake Cake Recipe
Strawberry Shortcake Cake: A Massive Three-Layer Vanilla Sponge Masterpiece
Ingredients
Equipment
Method
- Cream butter and sugar until pale and fluffy. Add eggs one by one.
- Divide batter into three 8-inch pans. Bake at 350°F (175°C) for 35 minutes until deep golden-brown with a fine crumb.
- Simmer chopped strawberries and sugar with cornstarch slurry until a dense, glossy red jam forms. Let cool completely.
- Whip heavy cream and sugar, drizzling in melted gelatin until stiff, velvety peaks form.
- Stack sponges with 1-inch thick cream layers, sliced fruit, and compote drips. Top with piped peaks and whole strawberries.
Notes
Apply the powdered sugar dusting only seconds before serving for the best visual impact.
Share Your Masterpiece!
This Strawberry Shortcake Cake is more than just a dessert; it is a culinary experience. The combination of the golden sponge and the glossy fruit drip makes it a social media favorite. If you make this, we want to see your results!
Snap a photo at a 45-degree angle to capture that massive side profile and tag us. Don’t forget to save this recipe to your dessert boards on Pinterest so you can find it for your next celebration. Happy baking!