There is a specific kind of magic found in the pastry case of a certain global coffee giant, but nothing captures the imagination quite like those iconic pink spheres on a stick. These starbucks copycat cake pops are designed to replicate that exact sensory experience—from the high-gloss candy shell to the impossibly dense, doughy center.
If you have ever wondered how they achieve that signature “bite” that reveals a moist, pastel-pink interior, you are in the right place. We aren’t just making dessert; we are performing a culinary recreation of a cult favorite using professional techniques to ensure your kitchen smells like a high-end bakery.
This recipe focuses on the structural integrity of the cake ball and the fluidity of the coating. By the time you finish, you will have a tray of pink treats that look so professional, your friends will ask which drive-thru you visited this morning.
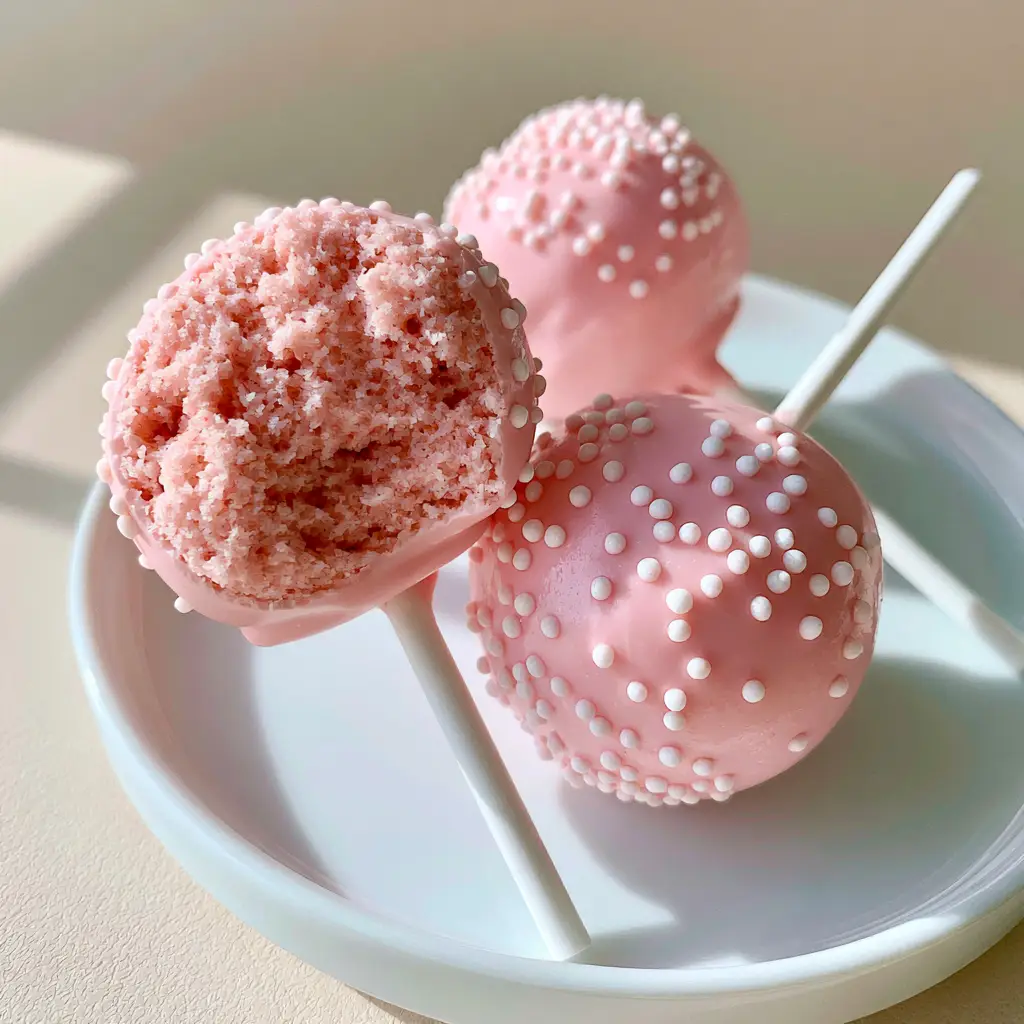
Why These Pink Treats Outshine the Drive-Thru Version
- The Signature “Doughy” Texture: Unlike a dry cupcake, these starbucks copycat cake pops feature a dense, fudgy interior that feels like a cross between cake and truffle.
- Flawlessly Smooth Shells: We use specific thinning agents to ensure the pink candy wafers create a glossy, professional finish without lumps.
- Visual Precision: From the specific shade of pastel pink to the crunch of the white nonpareils, every element is tuned to match the visual blueprint of the original.
- Cost-Effective Joy: Recreate an entire batch for the price of just three or four pops at the store, making them perfect for parties and gifts.
The Anatomy of a Perfect Pink Cake Pop
To achieve the result seen in professional food photography, we need a balance of visible ingredients and “invisible” culinary workhorses. Every component plays a role in the final architecture of the pop.
Vanilla Cake Base (900g / approx. 1 baked cake): A classic, moist vanilla cake serves as our foundation. For that specific Starbucks look, we will incorporate a drop of pink gel food coloring into the batter to achieve the pastel interior revealed when you take a bite.
Creamy Vanilla Frosting (1/2 cup or 120g): This acts as the “glue” for our cake pop dough. It needs to be stiff enough to hold the shape but creamy enough to provide that fudge-like consistency.
Pink Candy Wafers (12 oz or 340g): These provide the snap and the color. Unlike standard chocolate, candy wafers are designed to melt smoothly and harden into a matte-gloss shell.
Vegetable Shortening or Coconut Oil (1 tbsp or 15g): This is an “invisible” ingredient. It thins the melted candy coating to a dipping consistency, preventing the shell from being too thick or cracking.
White Nonpareil Sprinkles: These tiny, round sprinkles provide the classic contrast and a subtle crunch. They must be applied while the coating is still wet to ensure they stick perfectly.
White Paper Lollipop Sticks: The 6-inch (15cm) variety provides the traditional height and stability required for a handheld treat.
Essential Tools for Success
Achieving a professional result requires more than just a bowl and spoon. To mirror the perfect cake pops found in professional bakeries, you will need a few specific items.
A stand mixer or large mixing bowl is essential for crumbing the cake into fine, uniform particles. You will also need a small cookie scoop (1 tablespoon size) to ensure every pop is exactly the same size for a cohesive look.
For the dipping process, a deep, narrow microwave-safe glass or jar is better than a wide bowl. This depth allows you to submerge the entire cake ball in one fluid motion without hitting the bottom.
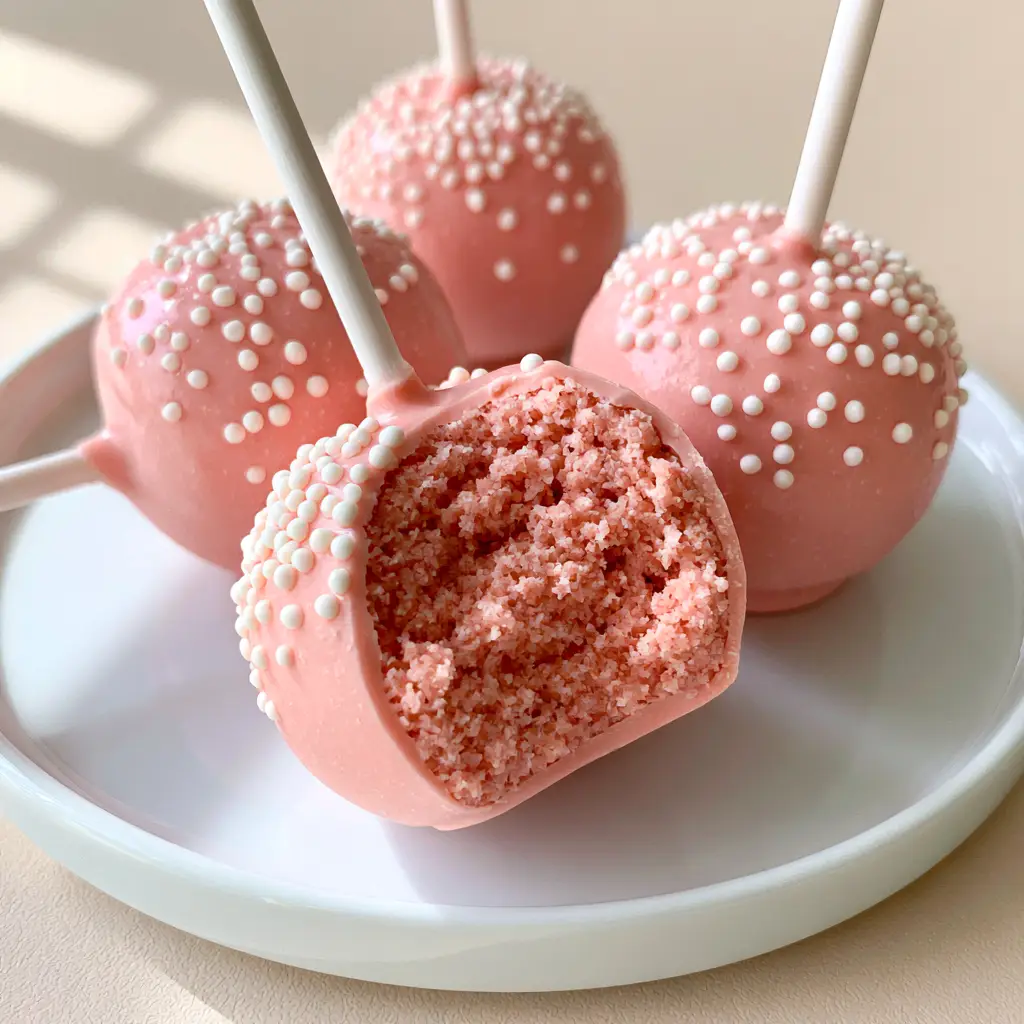
The Secret to a Moist, Pastel-Pink Center
Step 1: The Foundation Bake
Bake your vanilla cake according to standard instructions, but add a tiny amount of pink gel food coloring to the wet ingredients. You are looking for a soft, “ballet slipper” pink that will darken slightly once mixed with frosting.
Once baked, allow the cake to cool completely. Using a warm cake will melt the frosting prematurely, resulting in a greasy mess rather than a pliable dough.
Step 2: The Art of the Crumb
Remove any browned edges or “crust” from the cake with a serrated knife if you want an ultra-uniform interior. Break the soft interior into large chunks and place them in your mixer.
Beat the cake on medium speed until it resembles fine, sandy crumbs. There should be no large chunks left. This is the secret to the vanilla cake pops recipe consistency that people love.
Step 3: Binding the Dough
Add your vanilla frosting one tablespoon at a time. Mix until the dough holds together when squeezed, similar to the consistency of play-dough or chilled truffle filling.
Roll the mixture into 1.25-inch (3cm) balls. They should be smooth and crack-free. Place them on a parchment-lined tray and chill in the freezer for exactly 15 minutes to firm up.
Mastering the Glossy Pink Dip
Step 4: Securing the Stick
Melt a small handful of pink candy wafers in the microwave in 30-second bursts. Dip the tip of each white paper lollipop stick into the melted candy, then insert it halfway into a chilled cake ball.
This “candy glue” prevents the cake pop from sliding down the stick during the final dipping process. Let these set for 5 minutes in the fridge before proceeding.
Step 5: The Flawless Submerge
Melt the remaining candy wafers with the shortening until the mixture flows like warm honey. Holding the stick, plunge the cake ball straight down into the coating until it is completely covered up to the stick.
Do not stir the pop in the liquid. Pull it straight out and gently tap your wrist—not the stick—to allow excess coating to fall back into the jar. This prevents air bubbles and keeps the shell “flawlessly smooth and glossy.”
Step 6: The Finishing Touch
While the coating is still wet, immediately sprinkle a pinch of white nonpareils over the top. Place the sticks into a foam block or a box with holes to dry upright, ensuring the circular shape remains perfect.
Expert Strategies for Troubleshooting
- Preventing Cracks: Cracks happen when the cake ball is too cold and the candy coating is too hot. Ensure the cake balls are chilled but not frozen, and let the melted candy sit for a minute to cool slightly before dipping.
- Fixing Thick Coating: If your coating feels like paste, add more shortening half a teaspoon at a time. It should be thin enough to drip freely but thick enough to opaque the cake.
- Avoiding the “Oil Bleed”: If you see oil spots on your finished pops, it usually means there was too much frosting in the dough. Stick to the 1-tablespoon-at-a-time rule.
- Uniformity: Use a kitchen scale to weigh each ball (approx. 25-30g) for that exact Starbucks copycat look.
Preserving Your Homemade Bakery Treats
These starbucks copycat cake pops are surprisingly resilient thanks to the candy shell acting as a vacuum seal. You can store them at room temperature in an airtight container for up to 3 days.
For longer storage, keep them in the refrigerator for up to a week. If you notice condensation on the shell when you take them out, simply let them come to room temperature before touching them to avoid leaving fingerprints on the glossy surface.
You can also freeze the undipped cake balls for up to 3 months. This makes it easy to have a “ready to dip” stash whenever a craving for easy cake pops strikes.
What to Serve with Your Pink Cake Pops
These pops are a standout dessert on their own, but they pair beautifully with other coffee-shop-inspired treats. Consider serving them alongside a warm cup of coffee or a chilled latte for the full experience.
If you are hosting a themed party, they look stunning next to strawberry shortcake pops or even a tray of cinnamon roll inspired treats. The pastel pink aesthetic makes them a natural fit for baby showers, birthdays, or spring brunches.
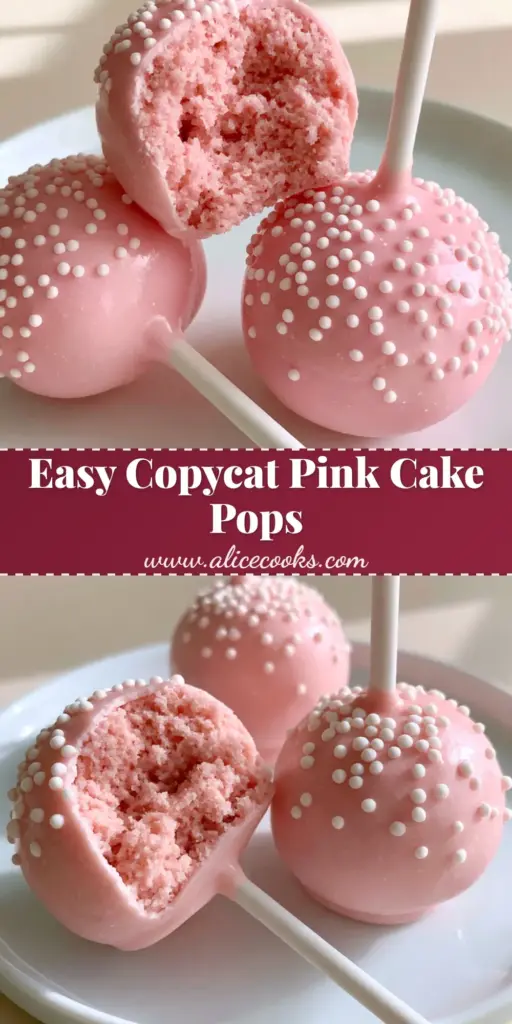
Common Questions About Copycat Cake Pops
Absolutely! A standard vanilla box mix works perfectly. Just remember to add pink gel food coloring to the batter before baking to get that signature Starbucks interior.
The secret is adding vegetable shortening or coconut oil to the melted candy wafers. This thins the coating so it flows easily and levels itself out without leaving lumps.
When stored in an airtight container, they stay fresh at room temperature for up to 3 days or in the refrigerator for up to a week.
This usually happens if the cake balls are too heavy (too much frosting) or if you didn’t ‘glue’ the stick into the ball with melted candy before dipping the entire pop.
Cracking is caused by a temperature shock. If your cake balls are frozen and your candy coating is very hot, the rapid expansion/contraction causes the shell to split. Ensure the balls are just chilled, not frozen.
The Official Starbucks Copycat Pink Cake Pop Recipe
Starbucks Copycat Cake Pops: The Ultimate Guide to Faux-Bakery Perfection
Ingredients
Equipment
Method
- Break the cooled, pink-tinted vanilla cake into large chunks and process in a stand mixer until fine, sandy crumbs form.
- Add vanilla frosting one tablespoon at a time, mixing until the cake crumbs form a dense, doughy consistency that holds its shape.
- Portion the dough into 1.25-inch balls (approx 25g each) and roll between your palms until perfectly smooth.
- Dip the tip of a lollipop stick into melted candy, then insert it halfway into the cake ball. Chill in the fridge for 20 minutes.
- Submerge the chilled cake ball into the melted pink candy wafers thinned with shortening. Pull straight out and tap off excess.
- While the shell is wet, sprinkle with white nonpareils and place in a foam block to set completely.
Notes
Use gel food coloring for the cake interior to avoid altering the moisture levels of the batter.
Final Thoughts on These Iconic Pink Treats
Bringing the magic of the bakery into your own kitchen is a rewarding experience, especially when the results are as visually stunning as these starbucks copycat cake pops. By focusing on the temperature of your ingredients and the fluidity of your coating, you can achieve a professional-grade finish every time.
If you enjoyed this deep dive into the world of portable desserts, please leave a comment below with your results! Don’t forget to share your photos and save this recipe to Pinterest so you can find it the next time you need a sweet, pink pick-me-up.


