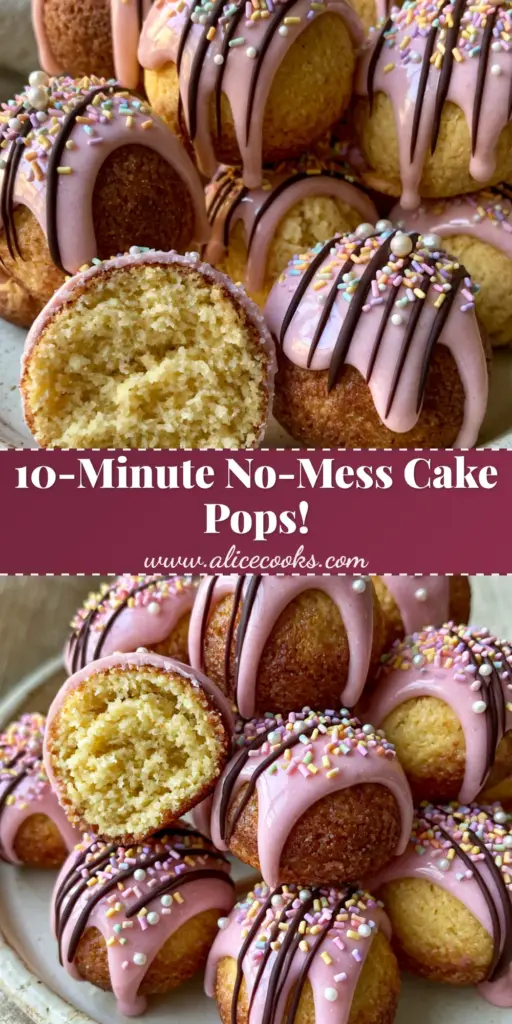
There is a unique magic that happens when the timer dings on an electric cake pop maker. Gone are the days of crumbling an entire cake into frosting and rolling sticky spheres by hand. With the right cake pop maker recipes, you can achieve professional-grade, perfectly spherical treats that boast a moist, fluffy yellow cake interior and a crisp, golden-brown exterior in under five minutes.
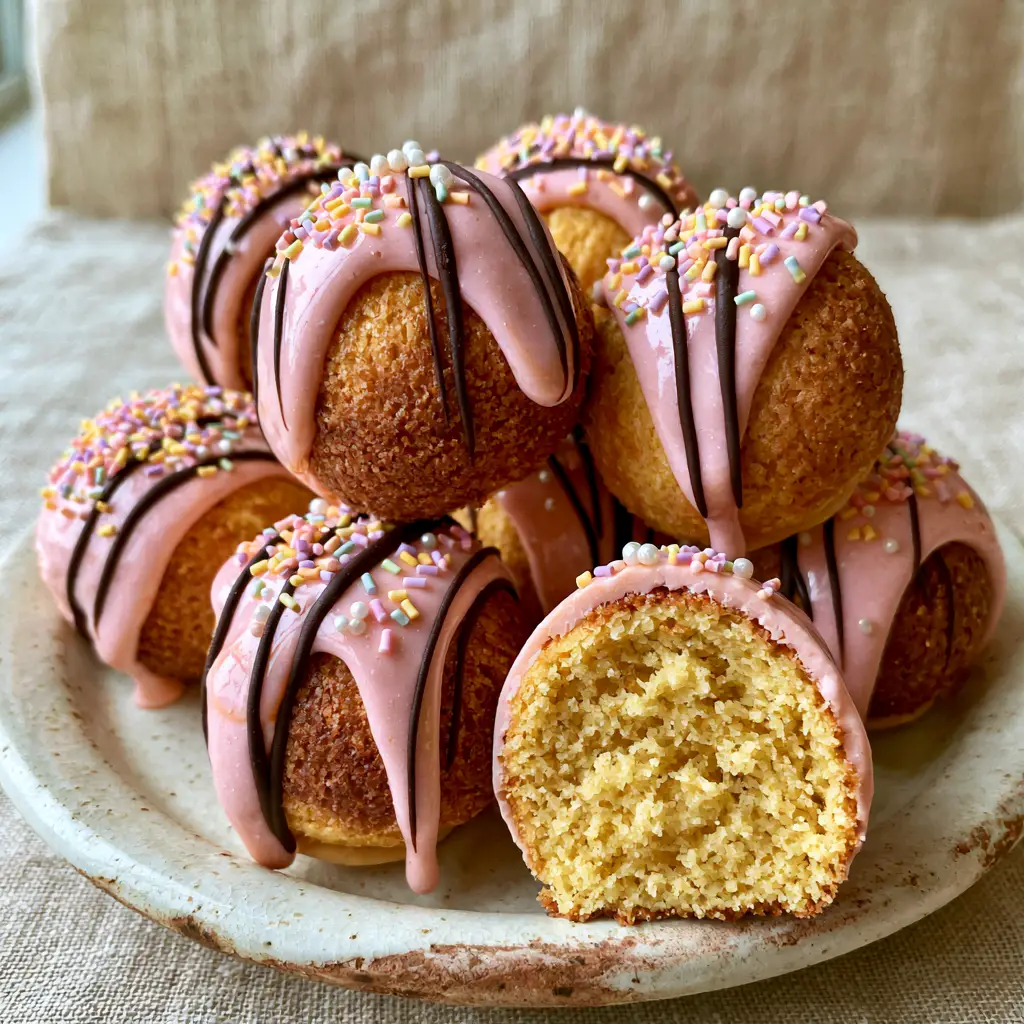
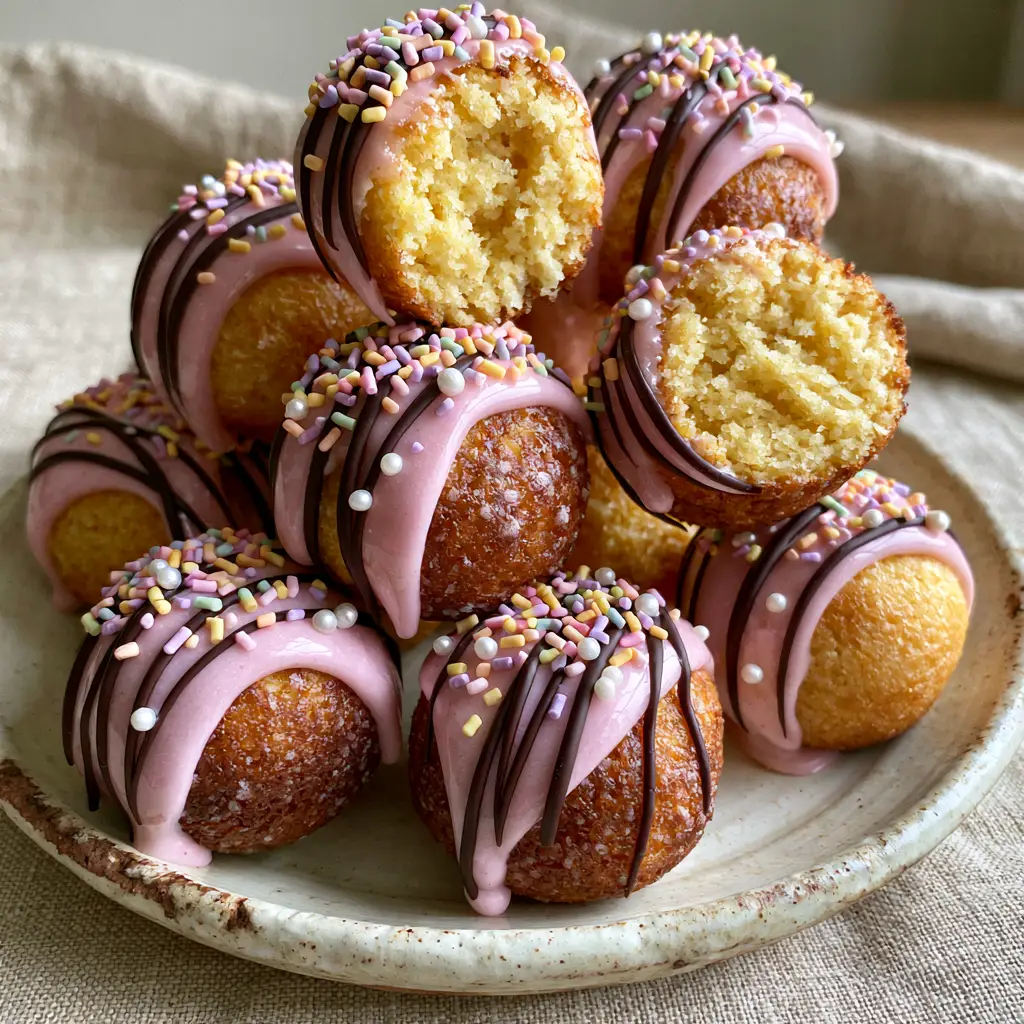
Visualizing the perfect dessert starts with the texture of the bite. Imagine a heap of these golden spheres resting on a rustic ceramic plate, each one cloaked in a thick, glossy pastel pink glaze. The contrast of thin dark chocolate ribbons and the crunch of micro white sugar pearls creates a sensory experience that rivals any high-end bakery. Whether you are prepping for a birthday or a weekend project, these recipes turn your countertop appliance into a gourmet powerhouse.
The secret to success lies in the science of the batter. Unlike traditional cake batter, which can be too thin and lead to “flying saucer” shapes, our specific formula is designed to expand perfectly within the cavities. This ensures a consistent crumb that holds up beautifully to heavy dipping and intricate decorating with pastel rainbow sprinkles.
Why These Cake Pop Maker Recipes Stand Out
- Perfectly Spherical Geometry: We use specific leavening ratios to ensure the batter fills the top and bottom of the mold simultaneously.
- Glossy High-Contrast Finish: The combination of thick pastel pink glaze and dark chocolate drizzle creates a professional, multi-layered aesthetic.
- Moist Yellow Crumb: By using a blend of butter and oil, we achieve that classic “halved” visual of a fluffy, tender interior seen in the best vanilla cake pops.
- Rapid Turnaround: You can produce dozens of cake pops in a fraction of the time it takes to bake and roll them the old-fashioned way.
Essential Ingredients for the Perfect Golden Crumb
Cake Flour: 1.5 cups (185g). Cake flour has a lower protein content than all-purpose flour, which is vital for creating that delicate, fluffy yellow cake crumb that looks so inviting when sliced open.
Unsalted Butter (Melted): 0.5 cups (115g). Butter provides the foundational flavor and creates a rich mouthfeel, while also helping the exterior achieve a deep golden-brown color against the heated plates.
Granulated Sugar: 0.75 cups (150g). Sugar does more than sweeten; it aids in the caramelization process, ensuring the outside of your cake pop has a slight, delicious crust.
Whole Milk: 0.5 cups (120ml). Milk adds moisture and fat, ensuring the interior doesn’t dry out during the intense, double-sided heat of the cake pop maker.
Large Eggs: 2 units. Eggs provide the structural integrity needed to keep the spheres from falling apart when they are eventually pierced with a stick and dipped.
Baking Powder: 1.5 tsp (7g). This is the “invisible” workhorse that creates the rise, forcing the batter to fill the spherical mold for that perfect round shape.
Pink Candy Melts: 12 oz (340g). To achieve that thick glossy pastel pink glaze, high-quality candy melts provide better coverage and a smoother finish than standard frosting.
Dark Chocolate: 2 oz (60g). A small amount of high-quality dark chocolate, melted and drizzled, provides the sophisticated “ribbon” look that cuts through the sweetness of the pink glaze.
Pastel Rainbow Sprinkles and Micro Pearls: 2 tbsp (30g). These are the final textural elements that catch the light and give the treats their “Pinterest-perfect” appeal.
The Tool Kit for Success
To master these cake pop maker recipes, you need more than just the appliance. A piping bag is essential for filling the cavities quickly and cleanly, preventing messy overflow. A wire cooling rack allows air to circulate around the golden spheres so they don’t get soggy from residual steam.
For the coating phase, a deep, narrow microwave-safe bowl is better than a wide one. This allows you to submerge the cake pop fully in the pink glaze without needing an excessive amount of coating. If you’re looking for more inspiration, you might enjoy our guide on how to coat cake pops like a pro.
Step-by-Step: From Batter to Golden Sphere
Creating the Fluffy Yellow Base
In a large mixing bowl, whisk together your melted butter and granulated sugar until the mixture is pale and slightly frothy. Add the eggs one at a time, ensuring each is fully incorporated to build a stable emulsion that supports the fluffy crumb.
Sift in your cake flour and baking powder, then alternate adding the milk. Whisk until the batter is just smooth; over-mixing will lead to a tough, rubbery texture rather than the moist, fluffy interior we are aiming for. This batter should be thicker than standard pancake batter but thinner than cookie dough.
Mastering the Machine Heat
Preheat your electric cake pop maker until the indicator light signals it is ready. Lightly brush the cavities with a neutral oil, even if the surface is non-stick, to ensure that perfect golden-brown release. Use a piping bag to fill each bottom cavity slightly above the rim.
Close the lid immediately and lock the latch. Bake for 3 to 5 minutes. You will know they are ready when you smell a sweet, toasted aroma and the spheres feel springy to the touch. The goal is a uniform golden-brown exterior that holds its shape when removed with a silicone fork.
The Pastel Pink Glaze and Dark Chocolate Drizzle
Melt your pink candy melts in 30-second intervals, stirring until the glaze is thick and glossy. If it is too thick, add a teaspoon of coconut oil to reach a “ribbon” consistency. Dip each chilled cake pop into the glaze, swirling gently to let the excess drip off.
While the pink glaze is still slightly tacky, melt the dark chocolate and place it in a small parchment cone or a zip-top bag with a tiny corner snipped off. Drizzle thin, elegant ribbons across the top of the spheres. This creates the professional “hand-crafted” look featured in our easy cake pop recipes collection.
The Final Flourish of Sprinkles and Pearls
Immediately after the dark chocolate drizzle, scatter the tiny pastel rainbow sprinkles and micro white sugar pearls over the top. The sugar pearls provide a matte contrast to the glossy pink glaze, while the sprinkles add a playful pop of color. Let the pops set completely in a styrofoam block or a dedicated stand before serving.
Expert Tips for Bakery-Quality Results
- Temperature Control: Ensure your eggs and milk are at room temperature before mixing to prevent the butter from curdling in the batter.
- The Dip Test: Always dip the tip of your cake pop stick into the pink glaze before inserting it into the cake sphere; this acts as “glue” and prevents the pop from sliding off.
- Avoid Overfilling: Filling the cavities too much creates “rings” around your spheres. Aim for just a hair above the bottom rim for the cleanest result.
- Internal Moisture: If your cake pops feel dry, check your cook time. Every machine is different, and even 30 seconds can be the difference between moist and crumbly. For a different flavor profile, check out our strawberry shortcake cake pops.
Storage and Make-Ahead Advice
These cake pops are best enjoyed within 48 hours of baking for maximum fluffiness. Store them in an airtight container at room temperature. Avoid refrigerating finished pops, as the change in temperature can cause the glossy pink glaze to “sweat” or develop condensation, which ruins the dark chocolate drizzle.
You can bake the yellow cake spheres up to two days in advance. Keep the un-dipped spheres in a sealed bag in the fridge. When you are ready to decorate, let them come to room temperature so the warm glaze doesn’t crack upon contact with a cold cake surface.
What to Pair with Your Cake Pops
These vanilla-forward treats are incredibly versatile. They pair beautifully with a cold glass of milk or a sharp espresso to balance the sweetness of the glaze. If you are hosting a themed party, consider serving these alongside funfetti sheet cake for a full dessert spread.
For those who love the “coffee house” vibe, these pops are the perfect DIY alternative to the Starbucks copycat cake pops. The thick glaze and moist interior offer a much more satisfying experience than the mass-produced versions.
Frequently Asked Questions
Absolutely. Flash-freeze the un-dipped spheres on a tray, then transfer to a bag. Thaw completely at room temperature before dipping to prevent the coating from cracking.
Yes, but you should reduce the liquid slightly. Boxed mixes are often too thin, so adding an extra egg or using less water/milk helps create a sturdier sphere.
Use high-quality candy melts and avoid overheating. If the glaze is thick, add 1-2 teaspoons of coconut oil or paramount crystals to thin it out.
The ring is caused by overfilling. Fill the bottom cavity just to the rim or slightly above; if batter oozes out when you close the lid, you’ve used too much.
Sticking usually happens if the plates aren’t hot enough or if there isn’t enough fat in the batter. Lightly brush the cavities with oil before the first batch.
The Ultimate Cake Pop Maker Recipe
Cake Pop Maker Recipes: The Ultimate Fluffy Golden Vanilla Bites
Ingredients
Equipment
Method
- Whisk melted butter and granulated sugar until pale and frothy. Add eggs one at a time, incorporating fully.
- Sift in cake flour and baking powder. Add milk gradually, whisking until a smooth, thick batter forms.
- Pipe batter into the preheated cake pop maker cavities, filling just above the bottom rim.
- Close and lock the lid. Bake for 3-5 minutes until the exterior is golden-brown and the cake is fluffy.
- Melt pink candy melts. Dip cake pops to create a thick, glossy pastel coating.
- Drizzle dark chocolate ribbons over the glaze and immediately top with rainbow sprinkles and micro pearls.
Notes
Dip the stick in glaze before inserting into the cake pop to act as glue.
Share Your Golden Creations!
Mastering cake pop maker recipes is a rewarding journey that turns your kitchen into a miniature bakery. The combination of the golden-brown sphere, the pastel pink glaze, and those delicate dark chocolate ribbons makes for a show-stopping dessert that is as fun to make as it is to eat. If you enjoyed this guide, please leave a comment below and share your photos!
Don’t forget to follow alicecooks_official on Pinterest for more visual recipe inspiration and tips. Pin this recipe to your favorite dessert board so you can find it the next time you have a craving for something sweet and perfectly round!