There is a specific kind of magic found in a perfectly executed cake pop recipe. You know the one—it looks exactly like the iconic treats in the Starbucks pastry case, featuring an ultra-smooth, glossy pink shell that gives way to a dense, fudgy interior. Many home bakers struggle with cracking shells or dry crumbs, but today we are mastering the forensic science behind the perfect bite.
This cake pop recipe focuses on achieving that high-end food blog aesthetic. We are looking for a vibrant pink interior that matches the pastel exterior, adorned with delicate white nonpareils. By following these professional culinary steps, you will create a dessert that is as structurally sound as it is visually stunning.
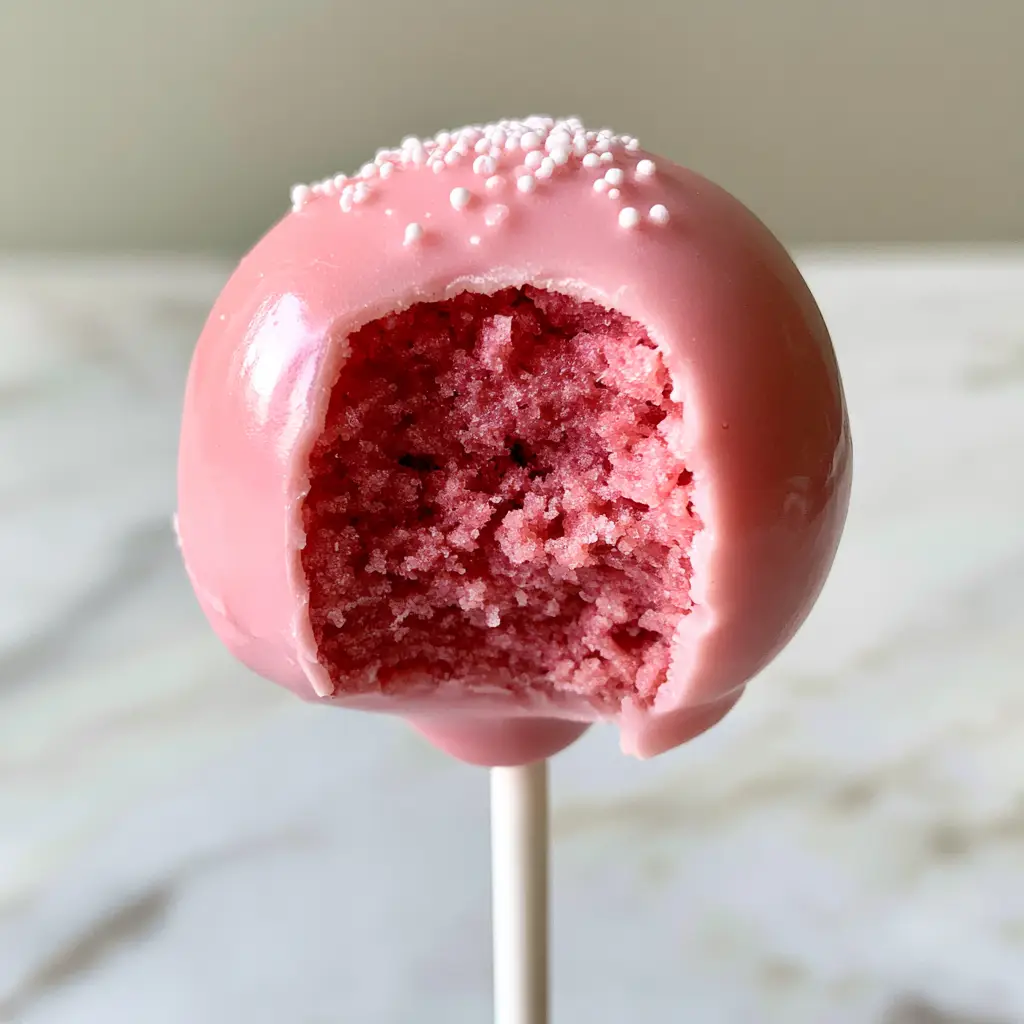
The Anatomy of the Perfect Pink Cake Pop
To achieve the result seen in high-end food photography, several visual and textural elements must align perfectly. This cake pop recipe is designed to hit every sensory note that makes these treats a viral sensation.
- The Ultra-Glossy Shell: We use a specific melting technique to ensure the pastel pink candy coating remains smooth and reflective without a single crack.
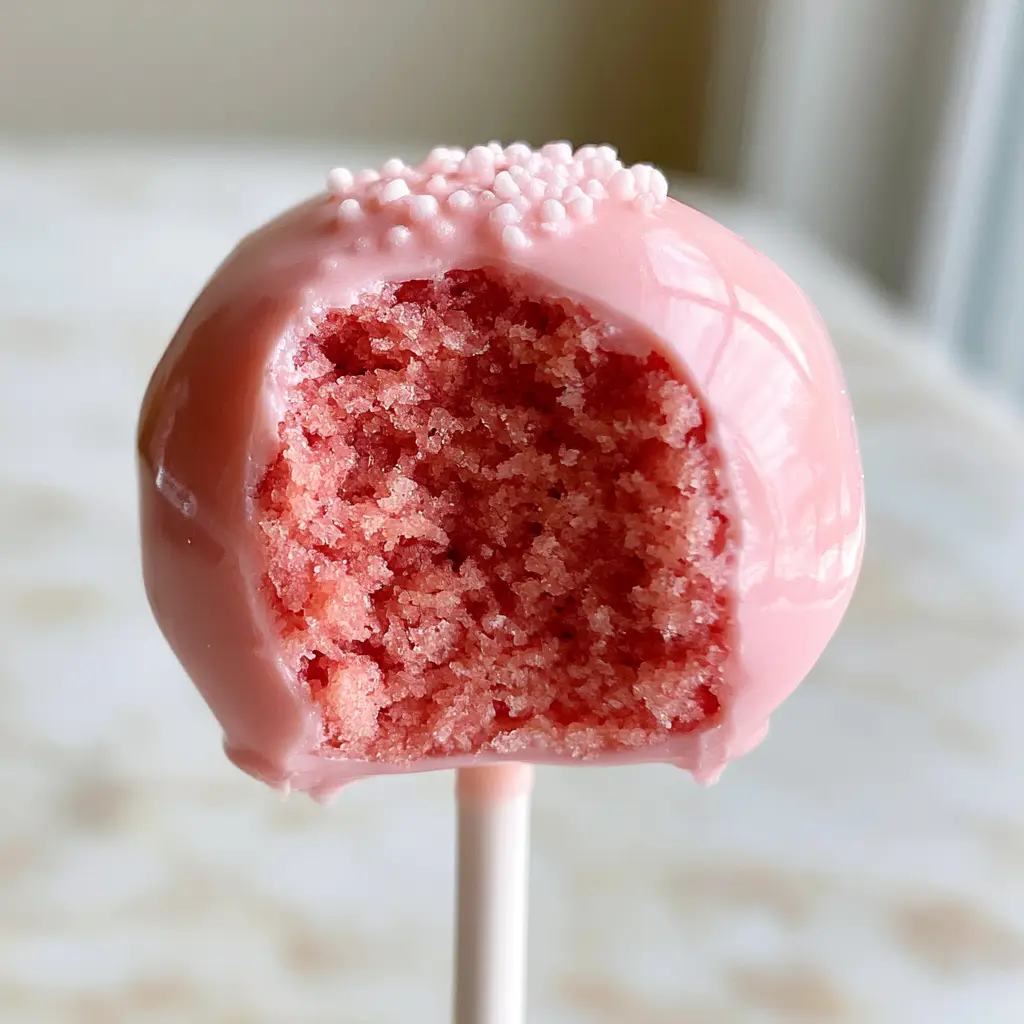
- The Fudgy Crumb: Unlike a standard cupcake, the interior of this treat is a tightly-packed, moist vanilla cake with a vibrant pink hue.
- The Delicate Crunch: Tiny white sugar pearls (nonpareils) are scattered strategically across the dome to provide a professional finish.
- The Structural Foundation: A clean white paper lollipop stick provides the necessary contrast and stability for the heavy, moist cake ball.
The Essential Pantry Staples for Glossy Cake Pops
Every ingredient in this cake pop recipe serves a distinct functional purpose. From the fats that ensure moisture to the stabilizers in the coating, nothing is left to chance.
Vanilla Cake Base: 1 ½ cups (190g) all-purpose flour provides the structure. This is the canvas for our vibrant pink gel coloring, ensuring the interior matches the outer aesthetic.
Unsalted Butter: ½ cup (115g) softened butter creates a tender, moist crumb. Using high-quality butter is essential for that “Starbucks-style” rich mouthfeel.
Granulated Sugar: 1 cup (200g) of sugar provides sweetness and aids in the browning of the cake before it is crumbled. It also helps retain moisture during the binding process.
Large Eggs: 2 large eggs act as the primary emulsifier. They hold the cake structure together so it doesn’t fall apart when mixed with the frosting binder.
Vanilla Extract: 1 tbsp (15ml) of pure vanilla extract gives that nostalgic, aromatic flavor profile. This is the backbone of the “fudgy vanilla” experience.
Pink Gel Food Coloring: A few drops of concentrated gel are required. Gel is superior to liquid coloring as it doesn’t alter the hydration levels of the batter.
Vanilla Frosting Binder: ¼ cup (60g) of stiff vanilla frosting. This acts as the “glue” that transforms crumbs into a dense, fudgy dough without making it greasy.
Pink Candy Melts: 12 oz (340g) of premium pastel pink candy wafers. These are formulated to melt smoothly and set with a hard, glossy finish.
Paramount Crystals or Coconut Oil: 1 tsp (5g) is the secret to a thin, professional coating. It thins the candy melts just enough to prevent the “clumpy” look often seen in amateur bakes.
White Nonpareils: 2 tbsp (25g) of tiny white sugar pearls. These provide the visual contrast against the pink shell that defines the high-end aesthetic.
Professional Tools for a Flawless Finish
Achieving a professional cake pop recipe result requires more than just a bowl and spoon. You will need a 9×9 inch (23x23cm) baking pan to bake the initial cake.
A stand mixer or electric hand mixer is vital for creaming the butter and sugar to the correct aeration level. You will also need a set of 6-inch (15cm) white paper lollipop sticks and a styrofoam block or a dedicated cake pop stand to allow the pops to dry upright without flat spots.
Crafting the Vibrant Pink Vanilla Foundation
Baking the Structural Cake
Preheat your oven to 350°F (175°C). Cream the butter and sugar until the mixture is pale and fluffy—this should take about 3 minutes on medium-high speed. Add the eggs one at a time, followed by the vanilla and the pink gel coloring.
Mix until the batter is a uniform, vibrant pink. Fold in the dry ingredients until just combined. Bake for 25-30 minutes, or until a toothpick comes out clean. If you enjoy bright colors, you might also love our strawberry poke cake for your next gathering.
The Transformation to Fudgy Crumb
Once the cake is completely cool, remove the browned outer edges with a serrated knife. This ensures the interior of your cake pop is a pure, uniform pink. Crumble the remaining cake into a large bowl until it resembles fine sand.
Add the vanilla frosting one tablespoon at a time. Mix by hand until the dough holds together when squeezed. It should feel like damp sand or playdough—dense and moist, never mushy. This texture is what separates a professional cake pop recipe from a crumbly failure.
Rolling and Chilling for Stability
Scoop about 1 ½ tablespoons (30g) of dough and roll it between your palms into a perfectly smooth sphere. Place the balls on a parchment-lined tray. Chill in the refrigerator for at least 2 hours or the freezer for 20 minutes.
Do not skip this step! Chilling the centers is the only way to ensure they stay on the stick during the dipping process. If you prefer a colder treat, check out our frozen strawberry lemonade slush to pair with these sweets.
The Master Class in Glossy Dipping Techniques
Melting for Maximum Shine
Melt your candy wafers in a deep, narrow microwave-safe glass or silicone cup. Heat in 30-second intervals at 50% power, stirring between each. Add the paramount crystals or coconut oil once melted to achieve a “flowing silk” consistency.
The narrow cup is essential because it allows you to fully submerge the cake ball in one fluid motion. This prevents the “seams” and “ridges” that occur when you have to rotate the pop in the chocolate.
Securing the Lollipop Stick
Dip the tip of a white lollipop stick about ½ inch (1.25cm) into the melted candy, then insert it halfway into a chilled cake ball. This “candy weld” prevents the pop from sliding down the stick later. Let these set for 5 minutes before the final dip.
The Final Plunge and Decoration
Submerge the cake pop vertically until the candy coating meets the stick. Pull it straight up and gently tap your wrist—not the stick—to shake off the excess. This vibration ensures a smooth, glossy surface.
While the coating is still wet, sprinkle a few white nonpareils over the top of the dome. Place the stick into a styrofoam block to dry completely. For more detailed troubleshooting, see our guide on mastering how to make cake pops.
Expert Tips for Success
- Avoid Over-Mixing: Adding too much frosting binder will result in a greasy, heavy center that will fall off the stick.
- Temperature Control: If the cake balls are too cold and the candy is too hot, the shell will expand and crack. Let the cake balls sit at room temperature for 5 minutes before dipping.
- The “Wrist Tap” Secret: Never hit the stick against the edge of the bowl; the vibration is too violent. Tapping your wrist provides a gentle oscillation that levels the chocolate perfectly.
- Pure Pink Interior: Always trim the golden-brown “skin” off the baked cake before crumbling to maintain that vibrant pink aesthetic.
Storage, Reheating & Freezing
Store your finished treats in an airtight container at room temperature for up to 5 days. For longer storage, they can be refrigerated for up to 2 weeks. However, condensation may form on the glossy shell when moved from the fridge to room temperature.
To freeze, wrap each pop individually in plastic wrap and store in a freezer bag for up to 3 months. Thaw in the refrigerator before serving. These are the perfect make-ahead treats for a party featuring our peach moscato sangria.
What to Serve With This Sweet Treat
These pink vanilla treats are quite rich, so they pair beautifully with tart or creamy beverages. For a kid-friendly afternoon, serve them alongside a creamy peanut butter milkshake.
If you are hosting an adult brunch, the pastel aesthetic complements our beach peach lemonade cocktail beautifully. For a full dessert spread, consider adding some no-bake cheesecake bars to provide a different texture for your guests.
Frequently Asked Questions
Yes, you can use a boxed vanilla mix. Just ensure you add pink gel food coloring to the batter before baking and trim away the browned edges to keep the interior vibrant pink.
Add high-quality pink gel food coloring to your vanilla cake batter before baking. After baking, crumble the cake and mix with white frosting to maintain the bright, saturated pink hue.
Always dip the end of the lollipop stick into the melted candy before inserting it into the cake ball. This creates a ‘weld’ that secures the ball to the stick once it hardens.
Use paramount crystals or a small teaspoon of refined coconut oil. This reduces the viscosity of the melted candy, allowing it to flow smoothly and create a thin, professional-looking shell.
Cracking occurs due to extreme temperature differences. If the cake balls are frozen and the candy coating is hot, the cake will expand as it warms, breaking the shell. Let chilled cake balls sit at room temperature for 5 minutes before dipping.
The Ultimate Glossy Pink Cake Pop Recipe
Ultimate Starbucks-Style Cake Pop Recipe: Fudgy Pink Vanilla Perfection
Ingredients
Equipment
Method
- Cream butter and sugar, add eggs, vanilla, and pink dye. Fold in flour and bake at 350°F (175°C) for 25-30 minutes.
- Remove cake edges, crumble into fine sand, and mix with frosting until a dense dough forms.
- Roll into 1.5 tbsp spheres and chill for 2 hours.
- Melt candy with crystals. Dip stick in candy, insert into ball, then submerge the whole ball. Tap wrist to level and add sprinkles.
Notes
Tap your wrist, not the stick, to remove excess chocolate without cracking.
Closing & Call to Action
Mastering this cake pop recipe is a rite of passage for any serious home baker. The combination of a fudgy pink center and a snap-hard glossy shell creates a professional experience that rivals any high-end bakery. Whether you are prepping for a birthday party or just satisfying a Starbucks craving, these pops are guaranteed to impress.
Did your shells turn out perfectly glossy? Let us know in the comments below! Be sure to share your beautiful creations and follow us on Pinterest for more culinary inspiration.
***


