When it comes to satisfying a deep, soulful craving for something sweet, salty, and incredibly chewy, nothing competes with these Peanut Butter Butterscotch Marshmallow Squares. Imagine a dense, fudge-like base that melts the moment it hits your tongue, punctuated by the airy lightness of colorful marshmallows.
This isn’t just another no-bake dessert; it is a masterclass in texture and visual contrast. The golden-brown hue of the butterscotch base provides the perfect canvas for the pops of soft white and pastel pink mini marshmallows that are nestled inside every single bite.
In our professional culinary studio, we designed this recipe to look as good as it tastes. Inspired by the rustic, “handheld smartphone” aesthetic, these squares feature a glossy peanut butter drizzle and toasted marshmallow garnishes that make them look like they came straight from a boutique bakery.
Why You Will Fall in Love With These Fudgy Squares
- Unmatched Texture: A dense, melt-in-the-mouth peanut butter and butterscotch base contrasted with soft, fluffy marshmallows.
- Visual Masterpiece: The combination of pastel pink and white marshmallows creates a stunning “confetti” effect that is perfect for photos.
- No-Bake Ease: Skip the oven entirely while still achieving a professional-grade dessert that sets up perfectly every time.
- Gourmet Finishing Touches: A warm, glossy peanut butter drizzle and tiny butterscotch chips elevate this from a simple snack to a centerpiece dessert.
- Salty-Sweet Harmony: The savory notes of high-quality peanut butter perfectly balance the intense sweetness of the butterscotch.
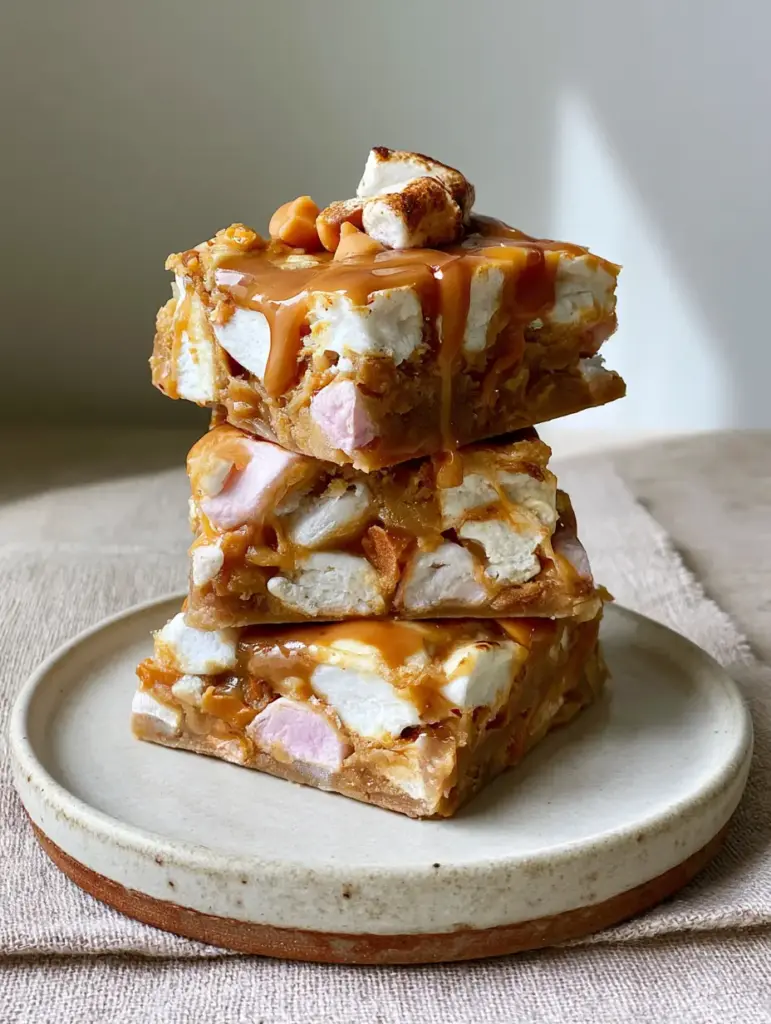
The Ultimate Ingredient Lineup for Chewy Peanut Butter Bliss
To achieve the specific visual and structural results seen in our blueprint, every ingredient serves a scientific purpose. We aren’t just mixing things together; we are building a stable emulsion of fats and sugars.
Creamy Peanut Butter (1 cup / 256g): Use a high-quality commercial brand rather than “natural” stir-style peanut butter. The stabilizers in commercial peanut butter are essential for creating that dense, fudge-like texture that holds its shape at room temperature.
Butterscotch Chips (2 cups / 340g): These provide the primary flavor profile and the golden-brown color. When melted with the peanut butter, they create a semi-soft set that remains chewy rather than snapping like chocolate.
Unsalted Butter (1/2 cup / 115g): Butter adds a velvety mouthfeel and helps the bars slice cleanly. It also acts as the carrier for the salt and vanilla flavors throughout the base.
Soft White Mini Marshmallows (3 cups / 150g): These provide the classic “pockets” of air and sweetness. They should be fresh and soft to ensure they integrate into the warm base without completely dissolving.
Soft Pastel Pink Mini Marshmallows (2 cups / 100g): Adding pink marshmallows isn’t just for flavor; it’s a visual strategy. The pink adds a playful, artisanal look to the cut edges of the squares.
Pure Vanilla Extract (1 tsp / 5ml): Vanilla acts as a flavor enhancer. It bridges the gap between the salty peanut butter and the caramelized notes of the butterscotch.
Fine Sea Salt (1/4 tsp / 1.5g): Salt is the “invisible” hero here. It cuts through the sugar of the marshmallows and butterscotch, making the peanut butter flavor pop.
Tiny Butterscotch Chips (2 tbsp / 20g): These are used exclusively for the garnish. Their small scale adds a delicate texture to the top of the bars.
Professional Tools for a Flawless Finish
While this is a no-bake recipe, using the right equipment ensures your Peanut Butter Butterscotch Marshmallow Squares have the “neatly piled” look of a professional studio photo.
You will need an 8×8 inch (20x20cm) square baking pan. Lining this pan with parchment paper is non-negotiable if you want to lift the entire block out for those perfectly clean, sharp-edged cuts.
A heavy-bottomed saucepan is vital for melting the butterscotch and peanut butter. Thin pans can create hot spots, causing the sugar in the butterscotch chips to seize or burn, ruining the glossy finish.
For the toasted marshmallow garnish, a small kitchen torch is the best tool. It allows you to precisely toast the garnish without melting the base of the bar, maintaining that “just-off-the-plate” fresh look.
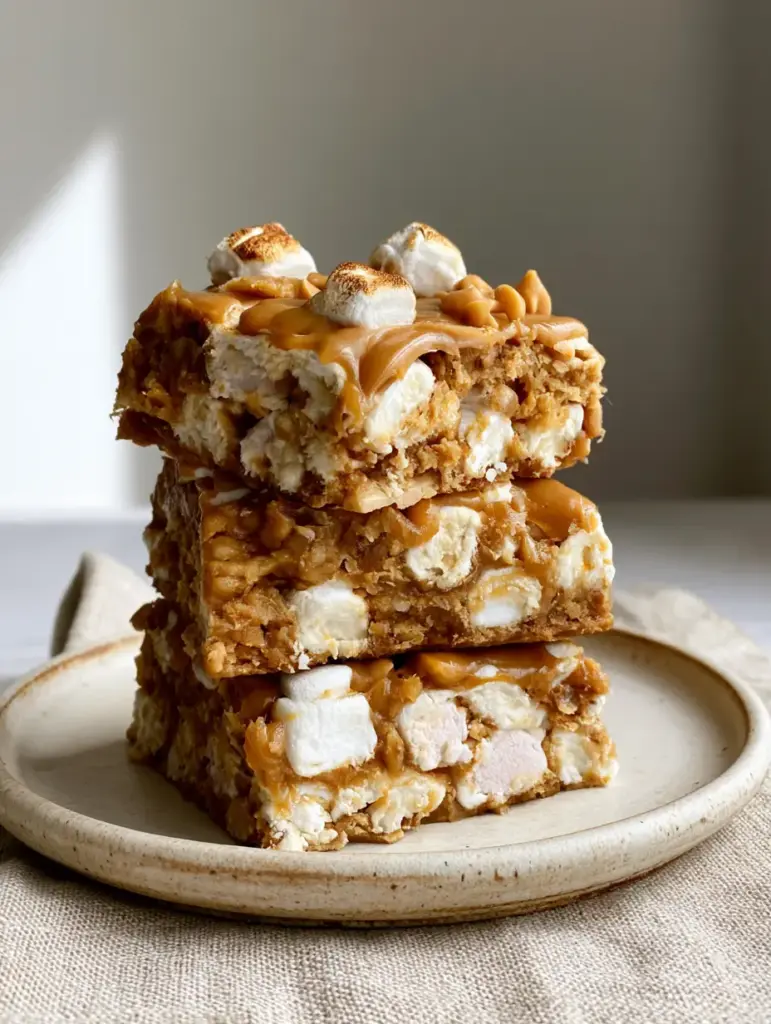
Mastering the Art of the Perfect No-Bake Fold
Creating the Golden-Brown Base
In your saucepan over low heat, combine the butter, peanut butter, and butterscotch chips. Stir constantly with a silicone spatula until the mixture is completely smooth and glossy.
Listen for the gentle sizzle of the butter, but do not let it bubble vigorously. Once smooth, remove from heat and stir in the vanilla and salt. This prevents the alcohol in the vanilla from evaporating too quickly.
The Critical Temperature Step
This is where many home cooks fail. You must let the peanut butter mixture cool for about 5-8 minutes before adding the marshmallows. If the mixture is too hot, the marshmallows will melt completely, and you’ll lose those beautiful white and pink pockets.
You are looking for a “warm but not hot” sensation. When you fold in the marshmallows, they should retain their shape while becoming slightly “tacky” on the surface, which helps them bond to the fudge.
Pressing and Setting for Density
Transfer the mixture into your prepared pan. Use the back of a greased spoon to press the mixture down firmly. This ensures the bars are dense and fudge-like, rather than crumbly.
Refrigerate for at least 2 hours. Patience is key here; the butterscotch needs time to recrystallize and the fats need to solidify to achieve that “melt-in-the-mouth” texture.
The Final Artistic Flourish
Once set, lift the squares out of the pan and cut them into thick bars. For the drizzle, melt 2 tablespoons of peanut butter until it is liquid and glossy. Use a spoon to create a delicate, zigzag pattern across the top.
Scatter the tiny butterscotch chips and a few extra mini marshmallows on top. Use your kitchen torch to lightly brown the marshmallows until they smell like a campfire. This sensory cue—the scent of toasted sugar—is what makes this recipe truly elite.
Pro Secrets for That Signature Fudgy Texture
- The Clean Cut: For the sharp edges seen in our photos, dip your knife in hot water and wipe it dry between every single cut.
- Marshmallow Freshness: If your marshmallows are sticking together in the bag, toss them with a teaspoon of cornstarch before adding them to the warm base.
- Don’t Overheat: If butterscotch chips are overheated, they can become grainy. Always melt them on the lowest heat possible.
- Salt Balance: If you use a very salty peanut butter, omit the extra sea salt. Balance is everything in a recipe this rich.
The Best Way to Store and Serve Your Squares
These Peanut Butter Butterscotch Marshmallow Squares are best kept in an airtight container in the refrigerator. They will stay fresh and chewy for up to 7 days. If you prefer a softer, more “melt-away” texture, let them sit at room temperature for 15 minutes before serving.
You can also freeze these bars! Wrap them individually in plastic wrap and store them in a freezer bag for up to 3 months. They are surprisingly delicious when eaten directly from the freezer, as the marshmallow remains soft while the base becomes ultra-dense.
Indulgent Pairings and Serving Ideas
If you are serving these at a dessert party, they pair beautifully with other rich treats. Try serving them alongside a creamy peanut butter milkshake for a double dose of nutty goodness.
For those who love a variety of textures, these squares are a great companion to no-bake cheesecake bars. The tanginess of the cheesecake cuts through the richness of the butterscotch perfectly.
If you’re looking for a drink to wash it all down, a root beer rum cocktail offers a spiced, bubbly contrast that highlights the vanilla notes in the marshmallow squares.
Frequently Asked Questions
Generally, yes, as the main ingredients are naturally gluten-free. However, always check the labels on your butterscotch chips and marshmallows to ensure they weren’t processed in a facility with wheat.
Absolutely! The toasted marshmallow garnish is optional. You can also achieve a similar effect by placing the bars under a broiler for 30-60 seconds, but watch them very closely so the base doesn’t melt.
It is not recommended. Natural peanut butter lacks the stabilizers needed to create the dense, fudge-like structure. Commercial creamy peanut butter ensures the bars set properly and don’t become oily.
The secret is temperature control. Let the melted peanut butter and butterscotch mixture cool for 5-8 minutes until it is warm to the touch, but not hot, before folding in the marshmallows.
If the squares are too hard, the butterscotch mixture may have been overheated or boiled. Next time, melt the chips over the lowest heat possible and remove them as soon as they are smooth.
The Complete Peanut Butter Butterscotch Marshmallow Squares Recipe
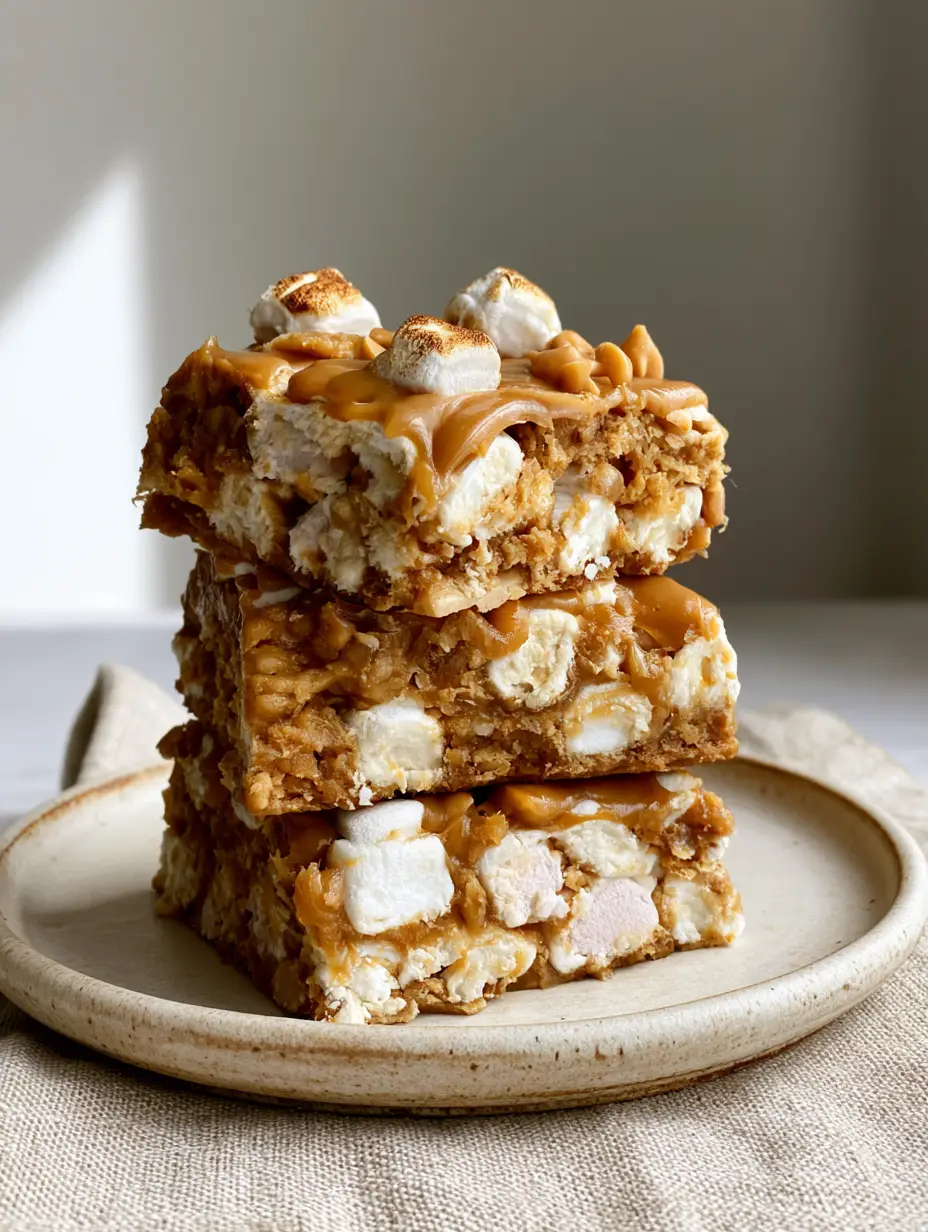
Peanut Butter Butterscotch Marshmallow Squares: The Ultimate No-Bake Indulgence
Ingredients
Equipment
Method
- In a heavy saucepan over low heat, combine 1 cup peanut butter, 1/2 cup butter, and 2 cups butterscotch chips. Stir constantly until melted and glossy.
- Remove from heat and stir in vanilla and salt. Let the mixture cool for 5-8 minutes until warm but not hot to the touch.
- Gently fold in the white and pink mini marshmallows until evenly coated but not melted.
- Transfer into a parchment-lined 8x8 pan and press firmly with a greased spatula.
- Refrigerate for at least 2 hours until the base is firm and fudge-like.
- Melt the remaining 2 tbsp of peanut butter and drizzle over the set block. Sprinkle with tiny butterscotch chips.
- Add a few extra marshmallows to the top and use a kitchen torch to lightly brown them for a toasted aroma.
Notes
Ensure the butterscotch mixture has cooled enough before adding marshmallows to prevent them from dissolving.
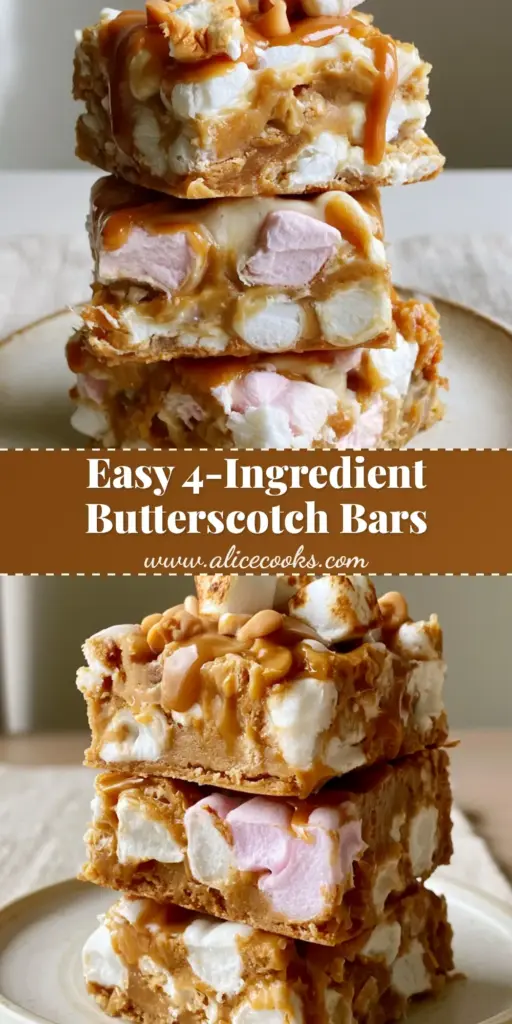
Bring the Bakery Home Today!
These Peanut Butter Butterscotch Marshmallow Squares are a testament to how simple ingredients can create a world-class dessert. With their dense texture, vibrant colors, and toasted marshmallow aroma, they are guaranteed to be the star of your next gathering.
Did you try the toasted marshmallow garnish? We’d love to hear how your squares turned out! Leave a comment below and share your photos with us. Don’t forget to save this recipe to your dessert boards on Pinterest so you can find it whenever that sweet craving strikes!
—


