There is nothing quite like a classic strawberry shortcake recipe to signal the peak of summer. This isn’t the sponge-cake-from-a-plastic-wrap version; this is a gourmet, texture-heavy masterpiece designed for the true dessert enthusiast. Imagine a warm, golden-brown flaky biscuit with craggy, buttery edges, split open to reveal an overflowing cloud of stiff-peak whipped cream and glistening, ruby-red macerated strawberries.
This strawberry shortcake recipe focuses on the structural integrity of the biscuit and the deep, concentrated flavor of the fruit. Every bite provides a contrast between the crunch of coarse sugar crystals and the pillowy softness of homemade cream. It is a visual and sensory experience that demands attention on any matte white ceramic plate.
Whether you are hosting a garden party or looking for the perfect finale to a Sunday dinner, this recipe delivers professional-grade results. We have engineered every step to ensure your biscuits rise high and your strawberry syrup reaches that perfect, translucent thickness that drips artfully down the side of your dessert.
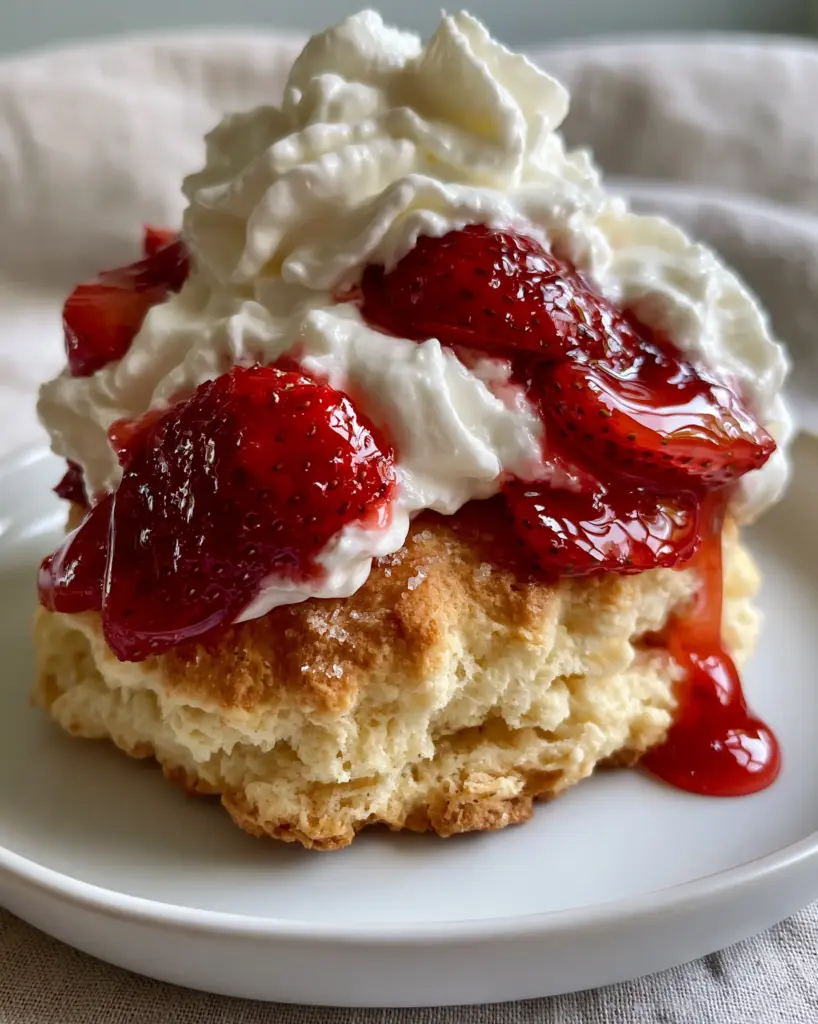
What Defines This Decadent Strawberry Shortcake Recipe?
- The Golden-Brown Biscuit: A thick, buttery base with visible lamination and craggy edges that provide a satisfying crunch.
- Coarse Sugar Topping: A generous dusting of sparkling sugar crystals that creates a shimmering, sweet crust on every biscuit top.
- Stiff-Peak Whipped Cream: A massive, stable cloud of whipped cream that holds its shape even under the weight of the berries.
- Translucent Ruby-Red Syrup: Natural juices drawn out from the strawberries through maceration, creating a thick, pourable glaze.
- Texture Contrast: The perfect marriage of a soft, macerated berry and a firm, flaky biscuit crumb.
Pantry Staples and Fresh Finds for Your Strawberry Shortcake Recipe
All-Purpose Flour: 3 cups (375g). This provides the essential structure for our biscuits; ensure you measure by weight or use the spoon-and-level method to avoid a dense result.
Unsalted Butter: 3/4 cup (170g), extremely cold and cubed. Cold butter is non-negotiable, as it creates the steam pockets required for those signature flaky edges and craggy textures.
Granulated Sugar: 1/2 cup (100g) for the biscuits and 1/3 cup (65g) for the strawberries. Sugar serves as both a sweetener and a tenderizer in the dough while acting as a macerating agent for the fruit.
Baking Powder: 1 tablespoon (15g). This high amount of leavening is the secret to achieving a thick, towering biscuit that doesn’t collapse under the cream.
Fine Sea Salt: 1 teaspoon (6g). Salt is a flavor enhancer that balances the sweetness of the berries and the richness of the butter.
Heavy Whipping Cream: 1 1/2 cups (360ml) for the dough and 2 cups (480ml) for the topping. High-fat cream is vital for both the moisture in the biscuit and the stability of the whipped topping.
Fresh Strawberries: 2 lbs (900g), hulled and sliced. Use the freshest berries possible; their natural juices will form the basis of our thick strawberry syrup.
Turbinado or Coarse Sugar: 2 tablespoons (25g). This is used exclusively for the topping to provide that professional, bakery-style visual finish and crunch.
Vanilla Extract: 2 teaspoons (10ml). A touch of high-quality vanilla adds aromatic depth to both the macerated fruit and the pillowy whipped cream.
The Baker’s Toolkit: Essential Gear for Success
To achieve the macro-photography-worthy results seen in our visuals, you will need a few specific tools. A pastry cutter or two knives is essential for working the cold butter into the flour without melting it with your hands. A 3-inch circular biscuit cutter ensures clean edges, which allows the dough to rise vertically rather than spreading outward.
For the strawberries, a non-reactive glass bowl is preferred for maceration to prevent any metallic aftertaste. Finally, a stand mixer or hand mixer is necessary to reach those elusive stiff peaks for your whipped cream cloud. Having these tools ready will make the process of completing this strawberry shortcake recipe much smoother.
Step-by-Step: Crafting the Perfect Flaky Shortcake
Phase 1: Macerating the Ruby-Red Strawberries
Begin by hulling and slicing your strawberries into even 1/4-inch slices. Place them in a glass bowl and toss with 1/3 cup (65g) of granulated sugar and 1 teaspoon (5ml) of vanilla extract. Let this sit at room temperature for at least 30 minutes; you will see a thick, translucent ruby-red syrup begin to pool at the bottom of the bowl.
Phase 2: Preparing the Buttery Biscuit Dough
Preheat your oven to 425°F (220°C). In a large bowl, whisk together the flour, granulated sugar, baking powder, and salt. Add the cold, cubed butter and use your pastry cutter to work it in until the mixture resembles coarse crumbs with some pea-sized pieces of butter remaining.
Make a well in the center and pour in 1 1/2 cups (360ml) of cold heavy cream. Stir gently with a fork just until a shaggy dough forms. Do not overwork the dough; those small chunks of butter are what create the “craggy, flaky edges” described in our visual blueprint.
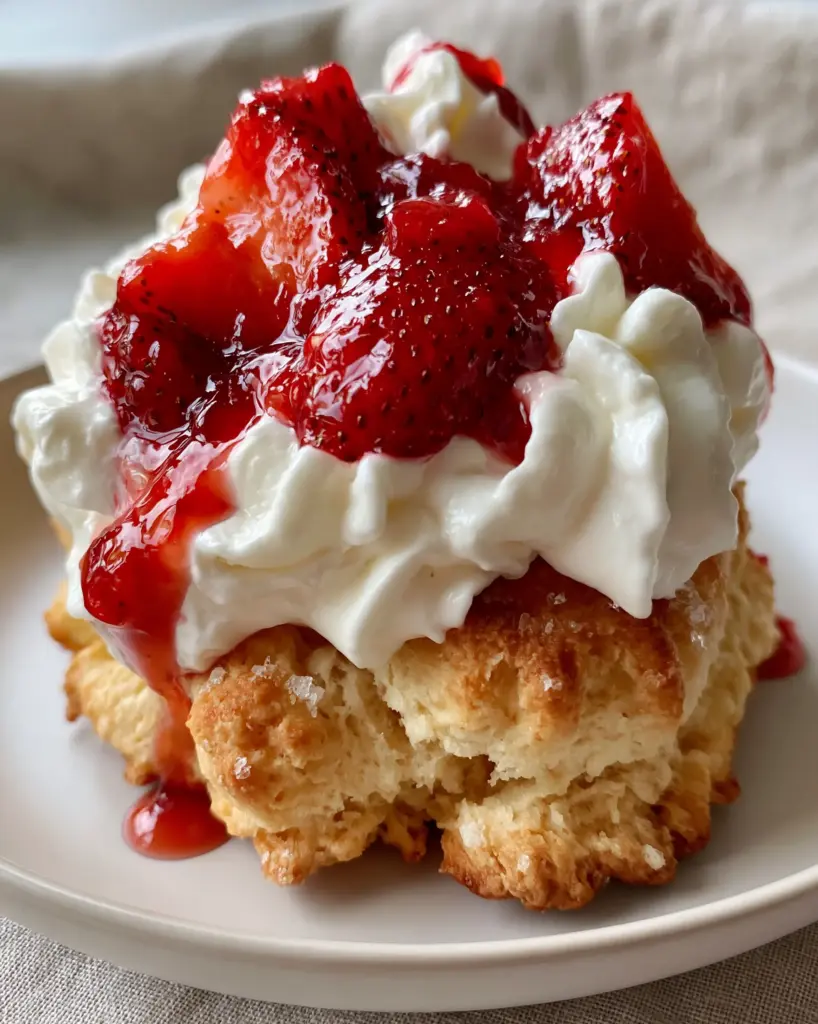
Phase 3: Folding, Cutting, and Topping
Turn the dough onto a lightly floured surface and pat it into a rectangle. Fold the dough in thirds, like a letter, then pat it down again to about 1-inch thickness. This lamination process creates the layers seen in high-end biscuits. Use your 3-inch cutter to press straight down—never twist—to cut out your rounds.
Place the rounds on a parchment-lined baking sheet. Brush the tops lightly with a bit of extra cream and generously sprinkle the coarse sugar crystals over the surface. Bake for 15-18 minutes or until the tops are a deep golden-brown and the edges look wonderfully craggy.
Phase 4: Whipping the Pillowy Cream Cloud
While the biscuits cool slightly, pour the remaining 2 cups (480ml) of heavy cream into a chilled bowl. Add 2 tablespoons (25g) of powdered sugar and the remaining vanilla. Whip on high speed until stiff peaks form. You are looking for a massive, stiff-peak, pillowy white whipped cream that holds its shape when lifted with a whisk.
Expert Tips for a Visual Masterpiece
- Keep it Cold: If your kitchen is warm, put the flour and butter mixture in the freezer for 10 minutes before adding the cream. Cold fat equals a higher rise.
- No Twisting: When cutting the biscuits, press the cutter straight down. Twisting the cutter seals the edges of the dough, preventing the flaky layers from opening up.
- Syrup Thickness: If your strawberry syrup is too thin, strain off a few tablespoons and simmer it in a small pan for 3 minutes until reduced, then stir it back into the berries.
- The Split: Always split your biscuits while they are still slightly warm, but let them cool enough so they don’t melt the whipped cream on contact.
Storage, Reheating, and Make-Ahead Advice
This strawberry shortcake recipe is best served immediately to maintain the contrast between the warm biscuit and cold cream. However, you can bake the biscuits up to 24 hours in advance and store them in an airtight container at room temperature. To regain that fresh-baked crunch, reheat them in a 350°F (175°C) oven for 5 minutes.
The macerated strawberries can be kept in the refrigerator for up to 2 days, though they will become softer over time. We do not recommend freezing the assembled shortcakes, as the cream will lose its structure and the biscuit will become soggy. For more fruit-forward ideas, check out our strawberry rhubarb pie or our homemade strawberry sauce.
What to Pair With Your Summer Dessert
While this strawberry shortcake recipe is a star on its own, it pairs beautifully with other seasonal treats. If you are hosting a larger gathering, consider adding a refreshing dragon fruit lemonade to the menu. For those who prefer a more portable strawberry treat, our strawberry shortcake scones offer a similar flavor profile in a grab-and-go format.
If you’re planning a full summer spread, these shortcakes are the perfect follow-up to a light lunch. You might also enjoy experimenting with different textures by serving them alongside banana pudding cookies for a truly decadent dessert table.
Frequently Asked Questions About Strawberry Shortcakes
While fresh strawberries are preferred for the best texture, you can use frozen. Thaw them completely and drain some of the excess water before macerating with sugar to ensure the syrup isn’t too watery.
For the best flavor and a thick syrup, macerate the strawberries for at least 30 minutes at room temperature. For an even deeper flavor, you can let them sit for up to 2 hours in the refrigerator.
Shortcake biscuits typically contain more sugar and often use heavy cream instead of buttermilk to create a richer, more tender crumb that leans toward a dessert profile.
The secret is using very cold butter and employing a folding technique (lamination) to create layers. Additionally, avoid twisting the biscuit cutter, as this seals the edges and prevents the biscuit from rising.
Whipped cream melts if it is applied to a hot biscuit or if it wasn’t whipped to stiff peaks. Ensure your biscuits have cooled to just warm and your cream is chilled before whipping.
The Ultimate Strawberry Shortcake Recipe Card
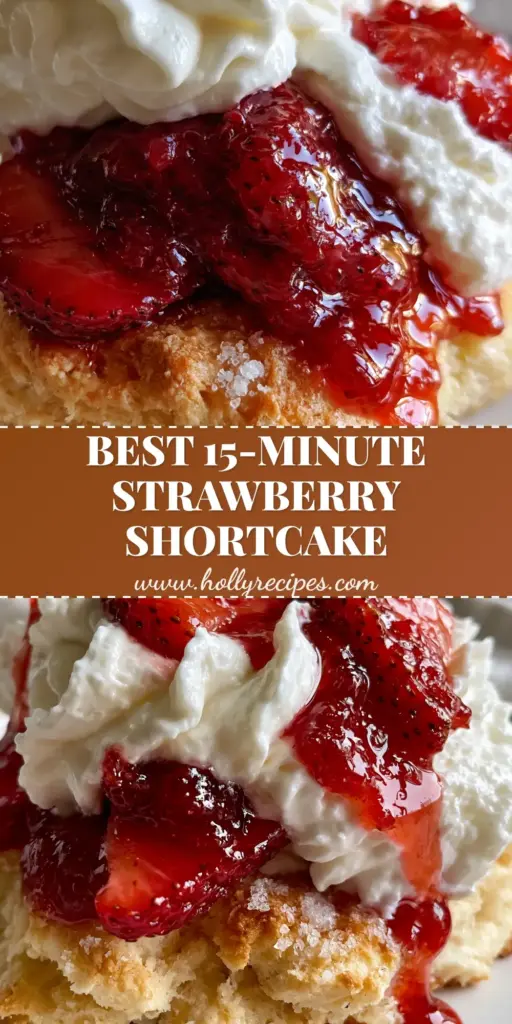
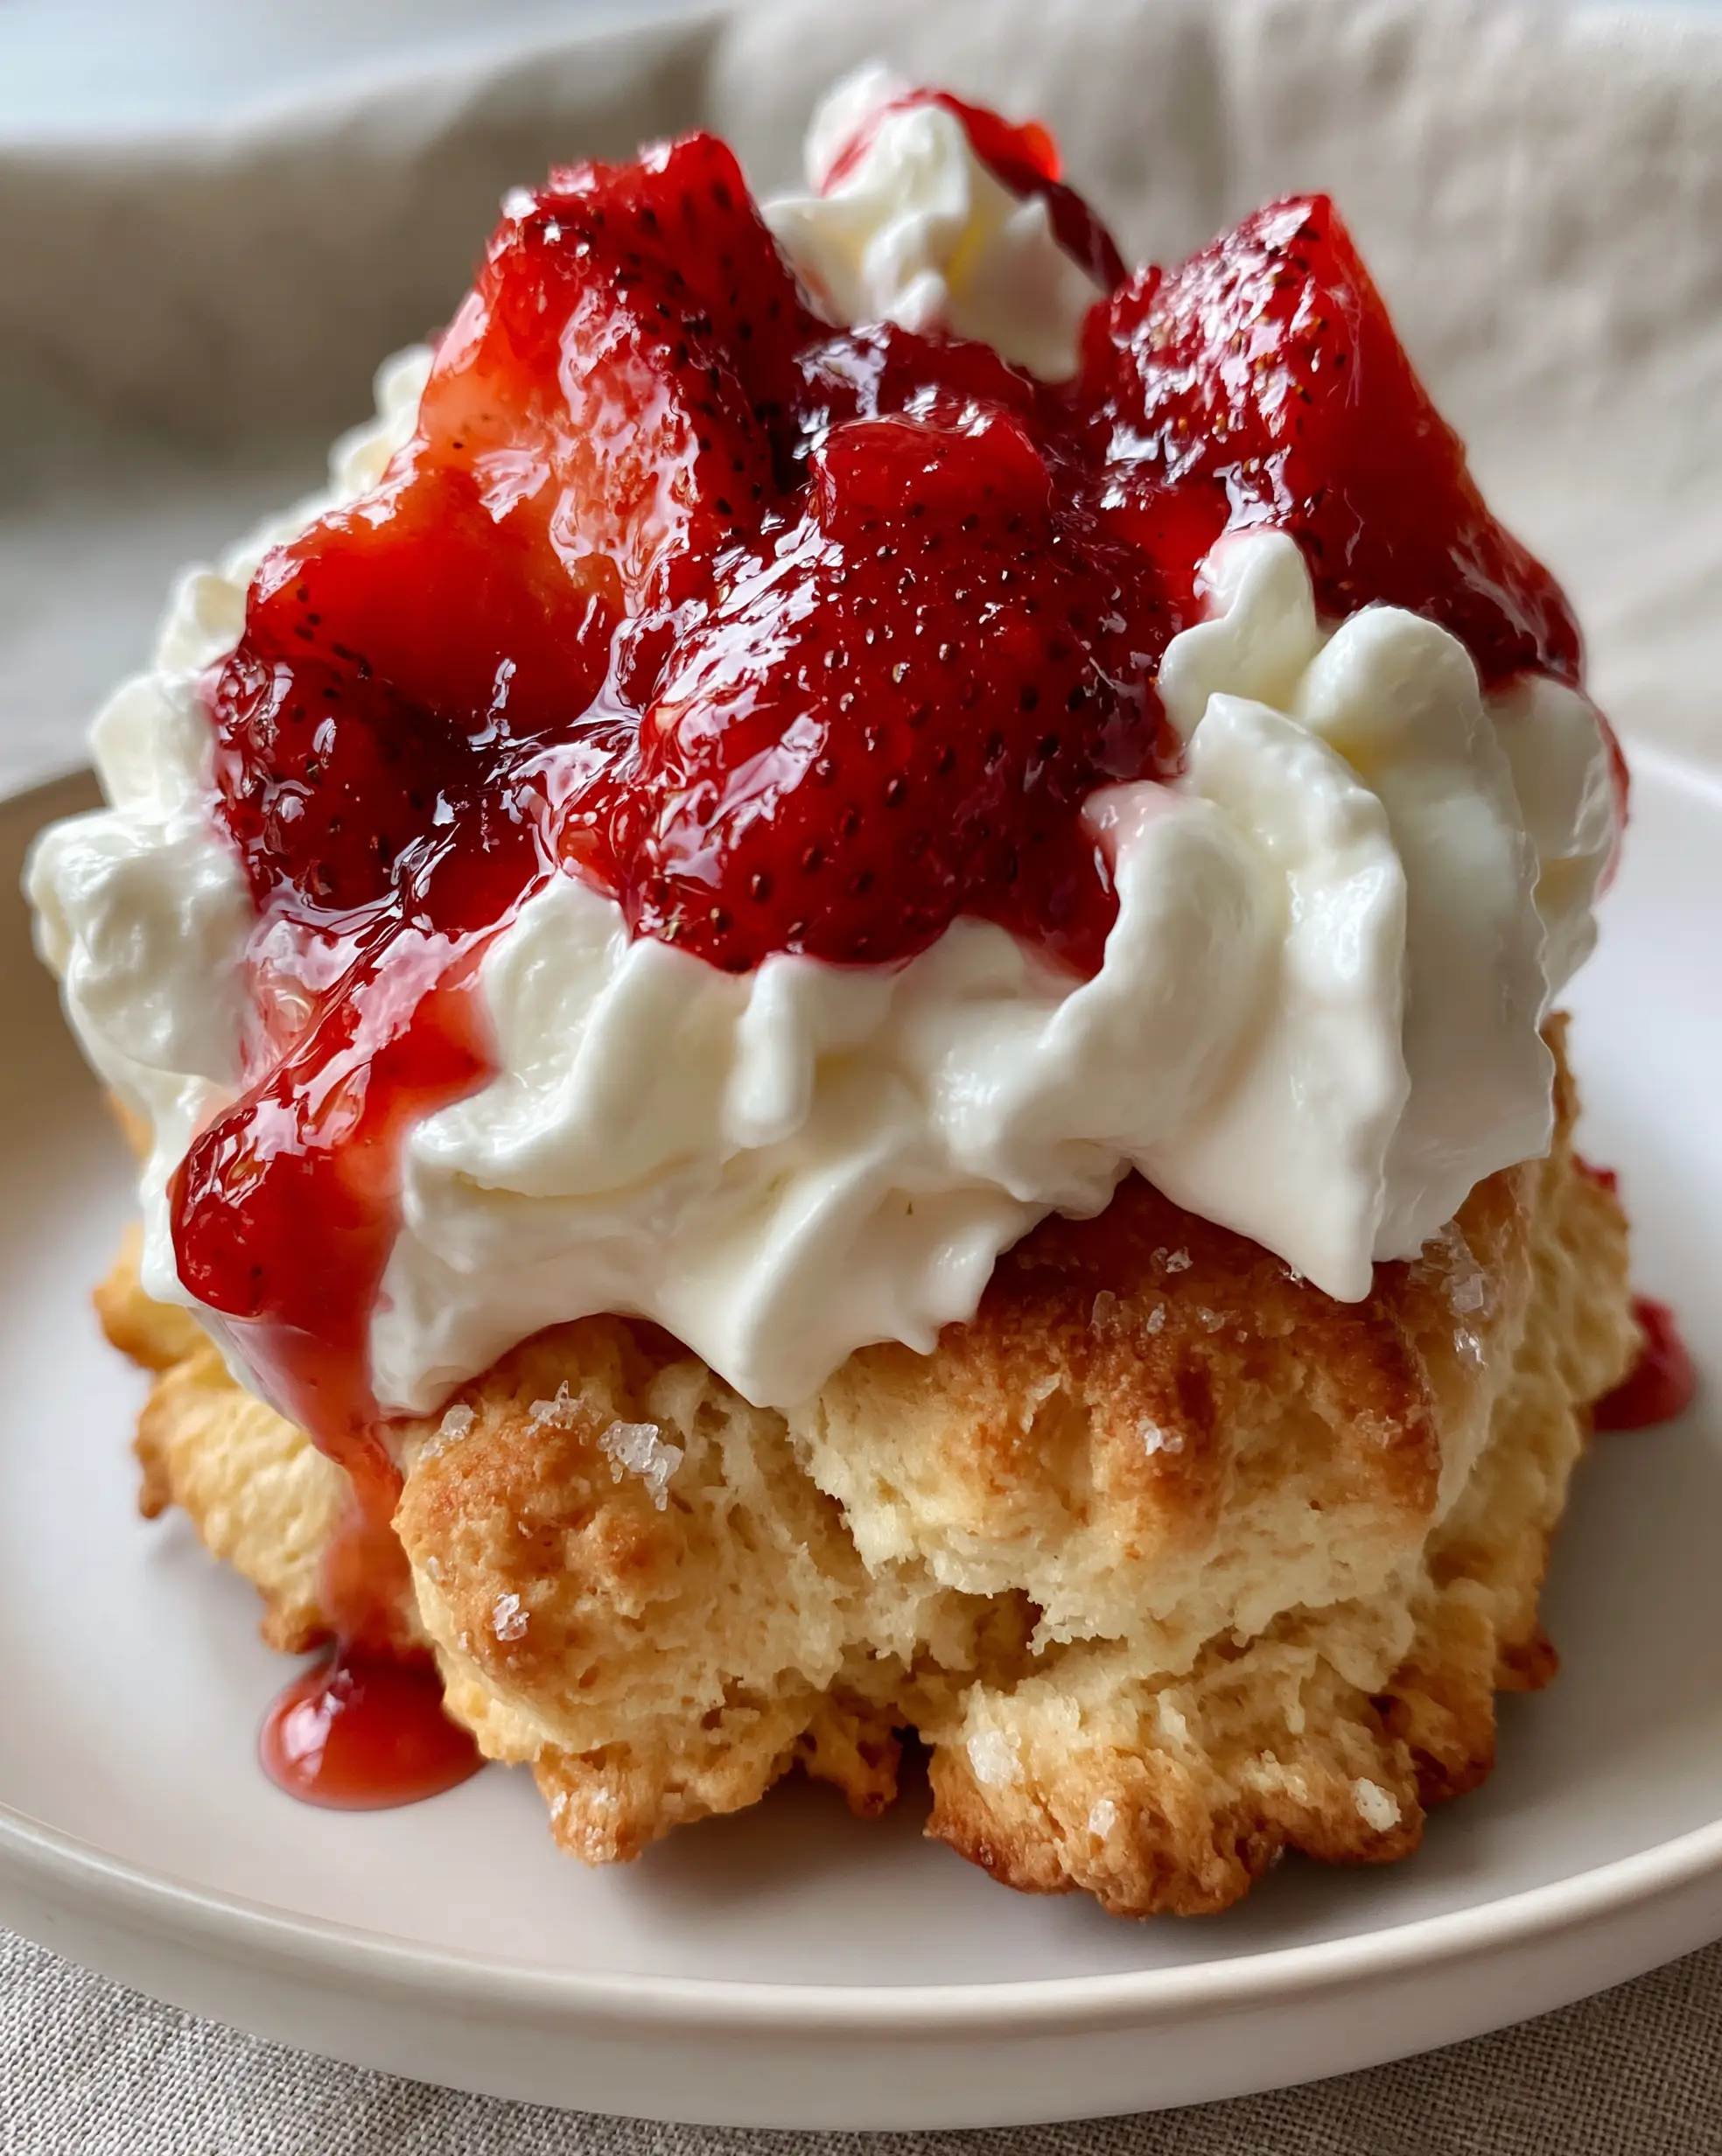
Strawberry Shortcake Recipe: The Ultimate Guide to Flaky Biscuits and Macerated Berries
Ingredients
Equipment
Method
- Toss sliced strawberries with 1/3 cup sugar and vanilla; let sit for 30 minutes until a thick ruby syrup forms.
- Whisk dry ingredients; cut in cold butter until pea-sized crumbs form. Stir in cream until a shaggy dough forms.
- Fold dough in thirds, pat to 1-inch thick, and cut with a 3-inch cutter. Brush with cream and top with coarse sugar.
- Bake at 425°F (220°C) for 15-18 minutes until golden-brown with craggy edges.
- Whip 2 cups heavy cream with sugar until stiff peaks form.
- Split warm biscuits, top with a massive cloud of cream and a generous spoonful of berries and syrup.
Notes
Avoid twisting the biscuit cutter to ensure a high vertical rise.
Closing & Call to Action
Mastering this strawberry shortcake recipe is a rite of passage for any home baker. The combination of the golden, sugar-dusted biscuit and the vibrant, syrupy berries is a timeless classic that never fails to impress. We hope this guide helps you achieve that perfect “handheld smartphone photo” look with professional-grade taste.
Did you try this recipe? We’d love to see your results! Leave a comment below or tag us in your photos. Don’t forget to save this recipe to your favorite boards on Pinterest so you can find it every strawberry season!


