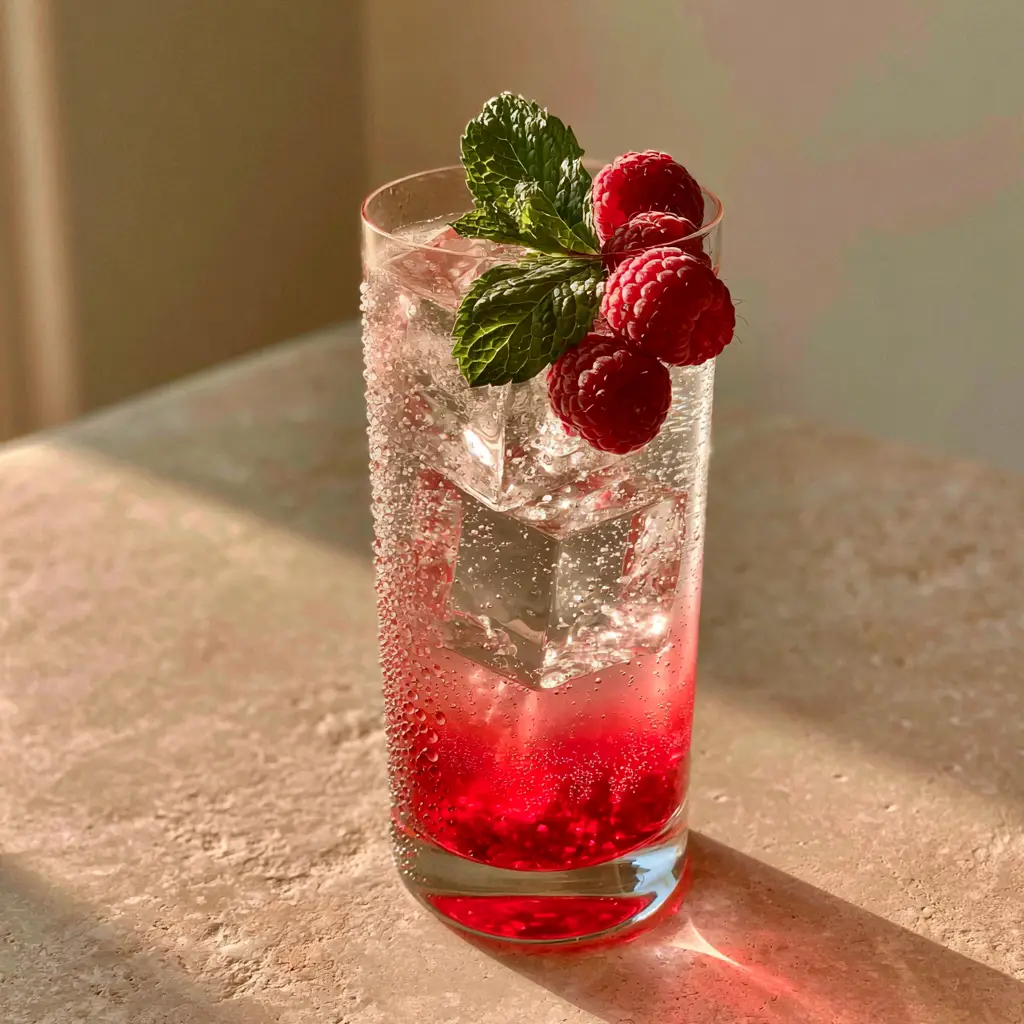
The Raspberry Mojito is more than just a drink; it is a sensory experience that combines the sharp, zesty brightness of a classic Cuban cocktail with the deep, lush sweetness of sun-ripened berries. Imagine a tall, elegant highball glass where a vibrant red-to-clear ombre gradient catches the afternoon light.
There is something inherently sophisticated about a cocktail that manages to be both rustic in flavor and pristine in presentation. This specific Raspberry Mojito recipe focuses on a seed-free, pulp-free aesthetic, ensuring every sip is as smooth as it is refreshing.
Whether you are lounging on a sun-drenched patio or hosting an upscale summer soirée, this drink stands out. It trades the messy, muddled fruit bits for a refined raspberry syrup base that settles beautifully at the bottom of the glass.
Why This Raspberry Mojito is a Visual Masterpiece
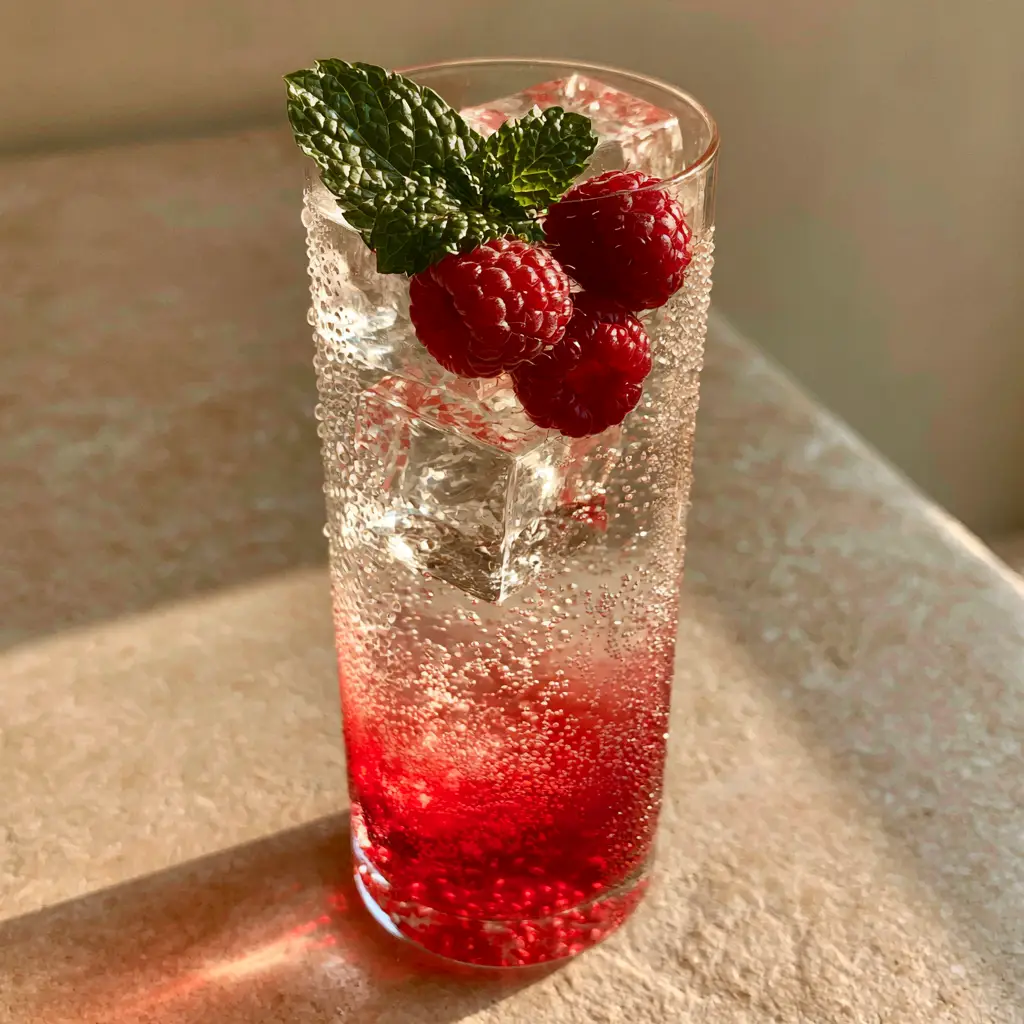
- Stunning Ombre Gradient: A dense, vibrant red raspberry syrup base slowly bleeds upward into sparkling clear soda for a sunset effect.
- Seed-Free Sophistication: By using a strained syrup, we eliminate the gritty texture of raspberry seeds often found in lesser recipes.
- Artisanal Ice Focus: Large, crystal-clear square ice cubes provide a slow melt and a high-end, professional bar aesthetic.
- Aromatic Mint Garnish: A single, unbruised sprig of mint provides an olfactory hit of freshness without cluttering the glass.
- Condensation Texture: The recipe is designed to be served ice-cold, creating delicate water droplets on the glass that signal instant refreshment.
The Secret Ingredients for a Pristine Raspberry Mojito
To achieve the visual and flavor profile described in our blueprint, we must select ingredients that offer both high pigment and clean filtration. Every component serves a specific structural and culinary purpose.
Fresh Red Raspberries: 1 cup (125g) of plump, ripe berries. These provide the natural acidity and deep red color required for our signature syrup base.
Granulated White Sugar: 1 cup (200g) of sugar. This acts as the sweetener and the thickening agent, creating the density needed for the ombre layering effect.
Filtered Water: 1 cup (240ml). Using filtered water for the syrup ensures a crystal-clear finish without any mineral cloudiness that could ruin the visual.
Fresh Lime Juice: 2 oz (60ml). This provides the essential citrus backbone that cuts through the sugar and balances the raspberry sweetness.
White Rum: 2 oz (60ml). A clean, light rum is preferred here to maintain the clarity of the top half of the drink without adding amber hues.
Sparkling Club Soda: 4 oz (120ml). High-carbonation soda creates the “bubbly” texture seen in our visual prompt and helps the gradient blend naturally.
Fresh Mint Sprigs: 1 large, pristine sprig for garnish and 5-6 leaves for the drink. Mint provides the essential aromatic oils that define a true mojito experience.
Artisanal Ice: 2-3 large square cubes. Unlike crushed ice, large cubes melt slowly and keep the ombre layers distinct for a longer period.
Essential Barware for Professional Results
To recreate the exact look of our smartphone-inspired photo, you need the right tools to handle the delicate layering and filtration required for a Raspberry Mojito.
A fine-mesh sieve is your most important tool for ensuring the drink remains seed-free. You will also need a heavy-bottomed saucepan for the syrup reduction. For the assembly, a long-handled bar spoon is required to guide the club soda over the ice, preventing the layers from mixing too quickly.
Finally, ensure you have high-quality highball glasses. The tall, narrow shape of a highball glass is critical for showcasing the vertical ombre gradient and accommodating the large artisanal ice cubes.
Mastering the Art of the Raspberry Mojito Ombre
Step 1: Crafting the Seedless Raspberry Base
In a small saucepan, combine 1 cup (125g) of fresh raspberries, 1 cup (200g) of sugar, and 1 cup (240ml) of water. Place over medium heat and bring to a gentle simmer, stirring occasionally until the sugar has completely dissolved.
Use a wooden spoon to gently press the raspberries against the side of the pot to release their juices. Simmer for 10 minutes until the liquid is a deep, vibrant red and has slightly thickened into a syrup consistency.
Remove from heat and immediately strain the mixture through a fine-mesh sieve into a glass jar. Press the solids firmly to extract every drop of pigment, then discard the seeds and pulp. Allow the syrup to cool completely in the refrigerator before use.
Step 2: Preparing the Mint and Lime Foundation
Place 5-6 fresh mint leaves and 1 oz (30ml) of fresh lime juice in the bottom of your highball glass. Use a muddler to press the mint gently—do not shred the leaves, as this releases bitter chlorophyll and creates “debris” that ruins the clear look.
Add 2 oz (60ml) of the chilled raspberry syrup to the glass. Stir gently with the mint and lime juice to create a cohesive, dense red base at the bottom of the glass.
Step 3: Engineering the Layered Pour
Carefully place 2 or 3 large, crystal-clear artisanal ice cubes into the glass. These cubes should be square and sit snugly, providing the structural support for our layers.
Pour 2 oz (60ml) of white rum over the ice. Finally, take your sparkling club soda and pour it very slowly over the back of a bar spoon. This technique breaks the fall of the liquid, allowing the clear soda to sit atop the dense raspberry syrup.
Step 4: The Final Visual Touches
Tuck a single, pristine sprig of mint into the top of the ice. Ensure the leaves are unbruised and vibrant green. Drop three whole, plump raspberries into the clear section of the drink; they should nestle gently among the ice cubes.
As the cold liquid hits the air, watch for the delicate water condensation droplets to form on the outside of the glass. Serve immediately on a light stone surface to mimic our professional visual setup.
Expert Tips for Crystal Clear Artisanal Results
- The “Slap” Technique: Instead of muddling your garnish mint, place the sprig in the palm of your hand and slap it once. This “wakes up” the aromatic oils without bruising the leaves.
- Directional Freezing: To get those perfectly clear artisanal ice cubes, use a small insulated cooler inside your freezer. This forces the ice to freeze from the top down, pushing air bubbles to the bottom.
- Syrup Density: If your layers are mixing too quickly, your syrup may be too thin. Simmer it for an extra 2-3 minutes to increase the sugar concentration and density.
- Temperature Control: Ensure all liquids—syrup, rum, and soda—are chilled before assembly. This prevents the ice from melting prematurely and blurring the ombre effect.
Storage and Make-Ahead Preparation
The raspberry syrup is the heart of this Raspberry Mojito and can be made up to two weeks in advance. Store it in an airtight glass bottle in the refrigerator. The high sugar content acts as a natural preservative, keeping the color vibrant and the flavor fresh.
While the syrup lasts, the cocktail itself must be assembled fresh. Club soda loses its effervescence quickly, and the ombre gradient will naturally begin to bleed and mix after about 15 minutes. For the best visual impact, build the drink right before serving.
What to Pair with Your Raspberry Mojito
This drink’s bright acidity and berry sweetness make it a versatile partner for summer snacks. It pairs beautifully with light, tropical flavors like a Pineapple Mojito-inspired fruit salsa or even a decadent Biscoff Rice Krispie Treat for a sweet afternoon contrast.
If you are looking for a non-alcoholic companion for the kids, this pairs perfectly alongside a refreshing Strawberry Lemonade or a tart Cherry Limeade. For those who love the berry profile, consider trying a Blueberry Mojito at your next gathering to offer a full spectrum of colors.
Frequently Asked Questions
Yes! Simply omit the white rum. The drink will still have the beautiful ombre effect and delicious berry flavor thanks to the syrup and lime juice.
Absolutely. Frozen raspberries work perfectly for making the syrup. Just ensure you simmer them long enough to release all their juice before straining.
For the specific ombre and ‘pulp-free’ look in this recipe, straining is essential. It removes seeds and solids that would otherwise float and disrupt the clear gradient.
The key is density. Pour the thick raspberry syrup first, then add large ice cubes. Finally, pour the club soda very slowly over the back of a bar spoon to prevent the layers from mixing.
Cloudiness usually comes from over-muddling the mint or using poor-quality ice. Gently press the mint to release oils rather than shredding it, and use filtered water for your ice and syrup.
The Official Seedless Raspberry Mojito Recipe
This recipe is designed to yield a single, restaurant-quality cocktail that mirrors the stunning photography of professional food stylists. Follow the measurements precisely to ensure the perfect balance of tart lime, sweet raspberry, and sparkling soda.
Raspberry Mojito: The Ultimate Seedless Ombre Summer Cocktail
Ingredients
Equipment
Method
- Combine raspberries, sugar, and water in a saucepan over medium heat. Simmer for 10 minutes until sugar dissolves and berries break down.
- Press the mixture through a fine-mesh sieve into a jar. Discard seeds and pulp. Chill the vibrant red syrup completely.
- Gently muddle mint leaves and lime juice in the highball glass. Add 2 oz of the raspberry syrup.
- Add artisanal ice cubes and rum. Slowly pour club soda over a bar spoon to create the ombre gradient.
- Tuck in a mint sprig and whole raspberries. Serve immediately as condensation forms.
Notes
Use a bar spoon to pour the soda slowly for the best ombre effect.
Closing & Call to Action
The Raspberry Mojito is a testament to how simple ingredients can be elevated through technique and presentation. By focusing on a seed-free syrup and careful layering, you transform a standard cooler into a piece of liquid art. The contrast of the deep red base against the clear soda and green mint is a visual treat that tastes even better than it looks.
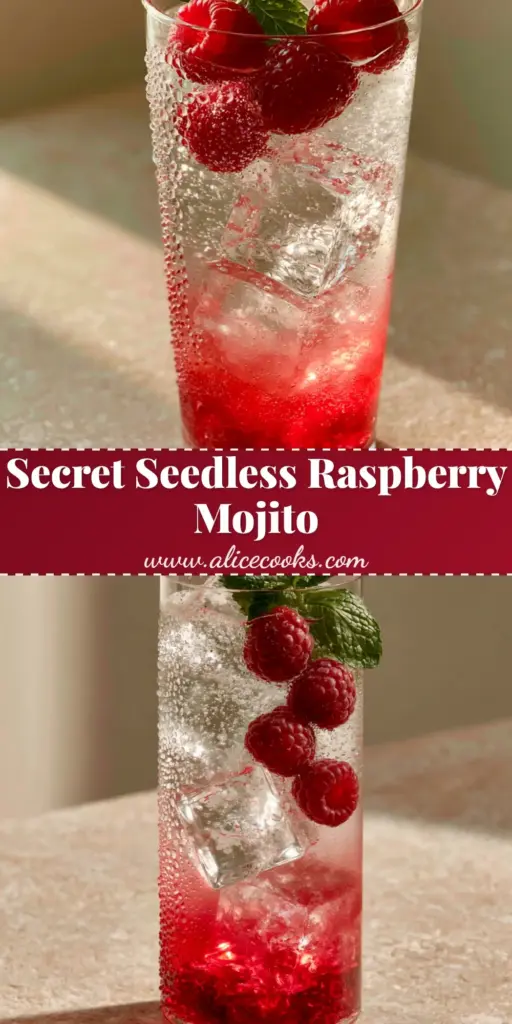
If you enjoyed crafting this visual masterpiece, please leave a comment below and let us know how your ombre layers turned out! Don’t forget to follow us and share your creations on Pinterest to inspire other home mixologists.


