This peanut butter frosting is the only recipe you will ever need to achieve that iconic, bakery-style towering swirl. If you have been searching for a peanut butter frosting that is silky, stable enough for piping, and packed with deep roasted nut flavor, you have arrived. This isn’t just a topping; it is a velvet-textured masterpiece designed to complement a moist chocolate cupcake base perfectly.
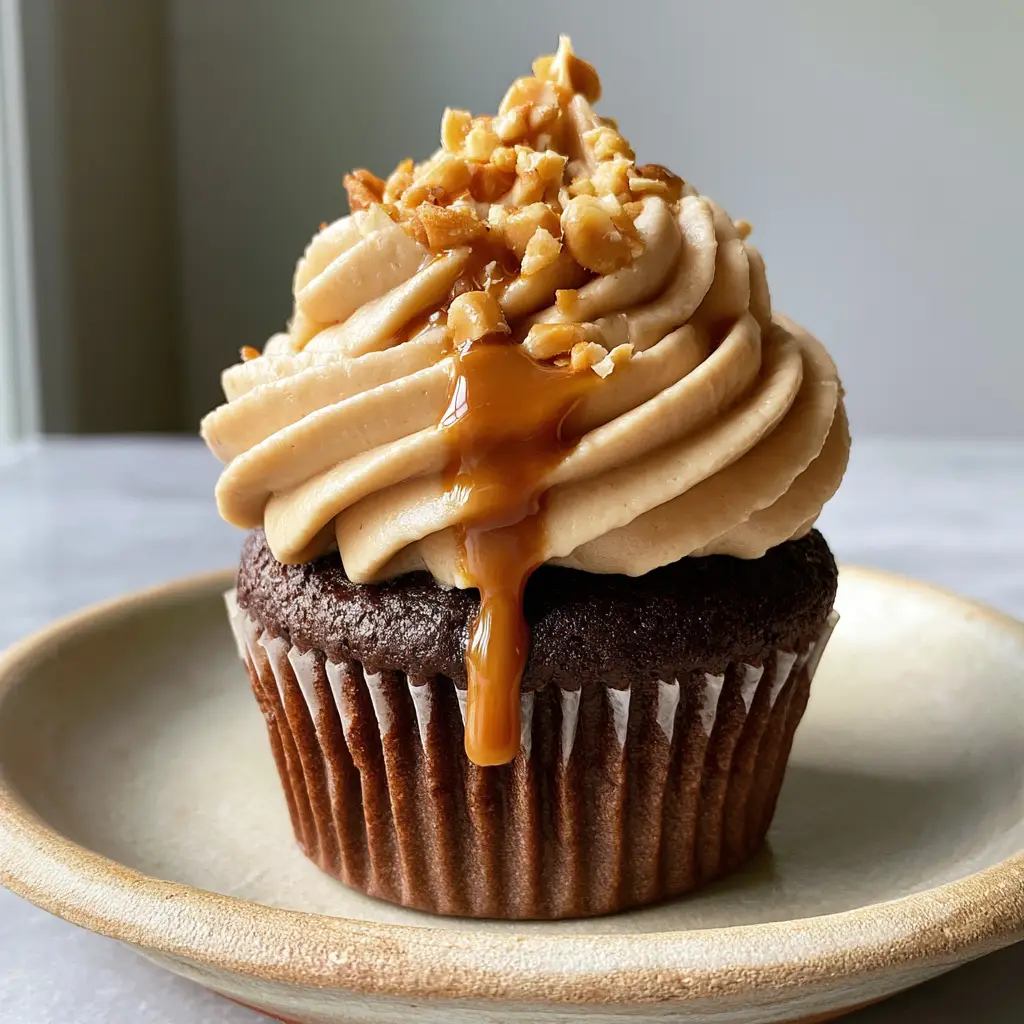
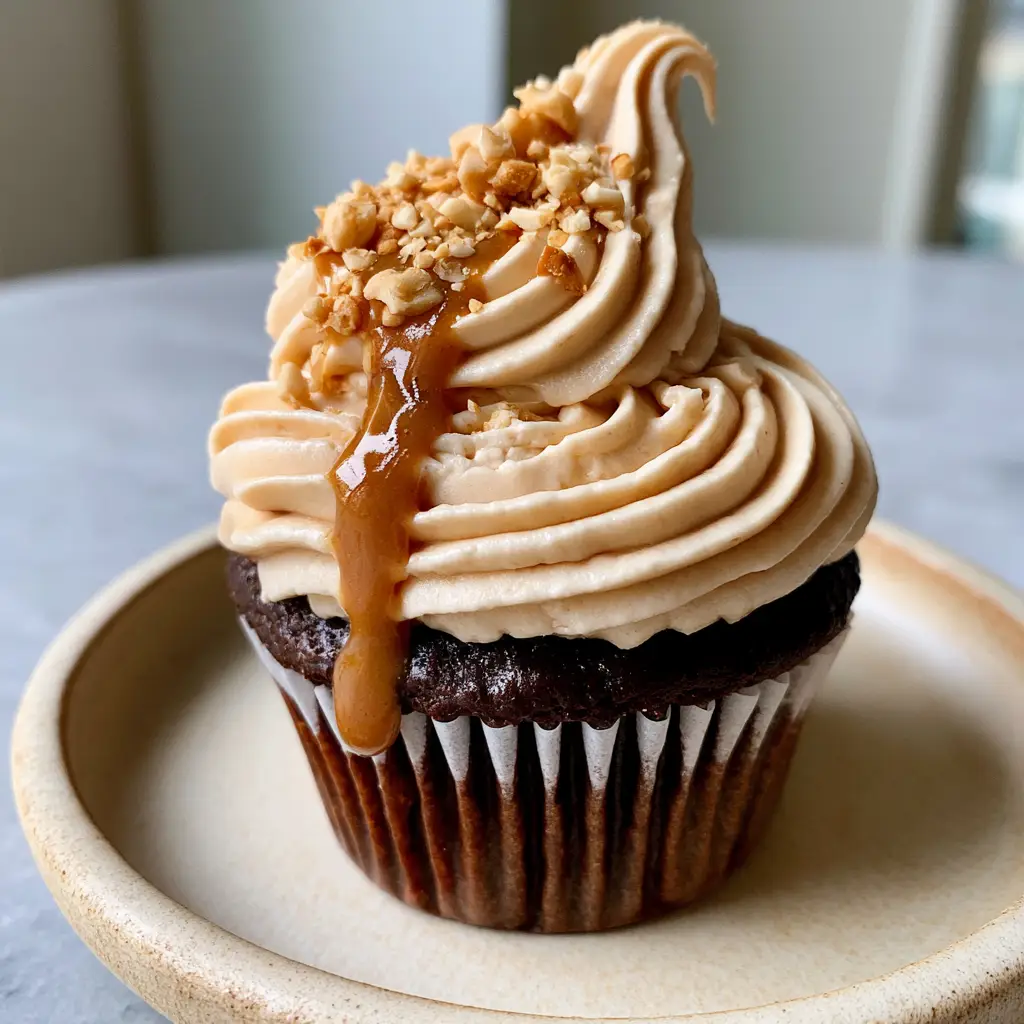
Imagine biting into a soft, cocoa-rich cake topped with a massive, towering swirl of fluffy, silky whipped peanut butter frosting. The ridges are soft and pillowy, catching the light just right. Then comes the glossy warm peanut butter drizzle that cascades down the sides, finished with a crunch of finely chopped roasted peanuts. It is a sensory experience that Pinterest dreams are made of.
Why This Whipped Peanut Butter Frosting Works
- Unmatched Aeration: We use a specific whipping technique to ensure the peanut butter frosting feels like a cloud rather than a heavy paste.
- Perfect Pipeability: This recipe holds its shape for hours, making it ideal for those high-altitude swirls seen in professional food photography.
- Balanced Sweetness: By incorporating a hint of sea salt, we cut through the sugar to let the roasted peanut flavor shine.
- Visual Contrast: The combination of the matte whipped frosting against the glossy warm peanut butter drizzle creates a professional, high-end dessert aesthetic.
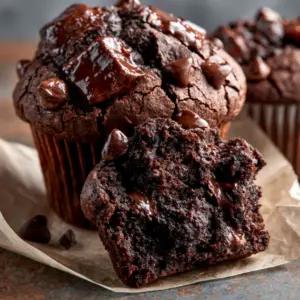
Whether you are topping a rich chocolate coffee cake or looking for the perfect filling for double chocolate muffins, this frosting delivers on every level of flavor and texture.
Essential Ingredients for the Creamiest Frosting
To achieve the specific texture seen in our Visual Recipe Blueprint, you need ingredients that provide both structure and fat content. Quality matters here, especially since peanut butter is the star of the show.
The Fat Base: Butter and Peanut Butter
1 cup (226g) Unsalted Butter: Ensure your butter is softened to exactly 65°F (18°C). This allows it to emulsify with the sugar without collapsing. It provides the backbone for our peanut butter frosting.
1 cup (250g) Creamy Peanut Butter: Avoid “natural” stir-style peanut butters for this recipe. You need the stabilized, no-stir variety (like Jif or Skippy) to ensure the frosting doesn’t separate or become oily.
The Structure: Sifted Powdered Sugar
3 ½ cups (440g) Powdered Sugar: Also known as confectioners’ sugar. Sifting is mandatory to avoid tiny white lumps in your massive, towering swirl. This provides the necessary “body” to keep those pillowy ridges standing tall.
The Flavor & Texture Enhancers
2-3 tablespoons (30-45ml) Heavy Cream: This is the secret to the “whipped” element. It lightens the density of the peanut butter, turning it into a silky mousse-like consistency.
1 teaspoon (5ml) Pure Vanilla Extract: Enhances the earthy notes of the peanuts.
¼ teaspoon (1.5g) Fine Sea Salt: A crucial invisible ingredient that balances the sugar and makes the peanut flavor “pop.”
The Visual Toppings
¼ cup (60g) Creamy Peanut Butter (for drizzle): This will be warmed slightly to create that glossy warm peanut butter drizzle.
2 tablespoons (20g) Finely Chopped Roasted Peanuts: These provide the essential textural contrast and rustic visual appeal.
How to Achieve the Perfect Peanut Butter Swirl
Step 1: The Creaming Phase
In the bowl of a stand mixer fitted with the paddle attachment, beat the softened butter and creamy peanut butter on medium-high speed. You are looking for a color change; the mixture should turn from a dark tan to a creamy light-brown color. This usually takes about 3 full minutes of vigorous beating.
Step 2: Incorporating the Sugar
Turn the mixer to low and gradually add the sifted powdered sugar one cup at a time. Once the sugar is mostly incorporated, add the vanilla and sea salt. Scrape down the sides of the bowl to ensure no butter streaks remain at the bottom.
Step 3: The High-Speed Whip
Switch to the whisk attachment if you have one. While the mixer is running on medium speed, pour in the heavy cream one tablespoon at a time. Once added, crank the speed to high and whip for 2 minutes. The peanut butter frosting should look visibly aerated, showing soft, pillowy ridges when you lift the whisk.
Step 4: The Professional Piping Technique
To get that thick, massive, towering swirl, use a large round tip or a large star tip. Start in the center of the chocolate cupcake base, spiral outward to the edge, and then build upward in three concentric circles, finishing with a graceful lift to create a soft peak.
Step 5: The Glossy Finishing Touch
Place the remaining peanut butter in a small microwave-safe bowl. Heat for 15-20 seconds until fluid. Using a small spoon, create a slow, clean drizzle that cascades down the side of the swirl. Immediately sprinkle the finely chopped roasted peanuts over the top so they adhere to the warm drizzle.
Expert Tips for Success
- Temperature Control: If your kitchen is too warm, the peanut butter frosting may become too soft to pipe. Chill the bowl for 10 minutes before the final whip if necessary.
- Avoid Over-Warming: When preparing the glossy warm peanut butter drizzle, do not let it get hot. If it is too hot, it will melt the whipped swirl beneath it.
- Stability Secret: For a sturdier frosting (great for cakes like a strawberry cake design), add an extra half-cup of sugar, but keep the heavy cream the same.
- Freshness Matters: Chop your roasted peanuts right before serving to ensure they stay crunchy and don’t absorb moisture from the frosting.
Storage, Reheating & Freezing
This peanut butter frosting stores beautifully. You can keep it in an airtight container in the refrigerator for up to 7 days. When you are ready to use it, let it come to room temperature and give it a quick whip with a hand mixer to restore the fluffy, silky whipped texture.
To freeze, place the frosting in a freezer-safe bag for up to 3 months. Thaw overnight in the fridge and re-whip before piping onto your chocolate cupcake base. Do not add the glossy warm peanut butter drizzle until the moment of serving.
What to Serve With This
While this frosting is legendary on cupcakes, it also pairs perfectly with a crock pot Reese's cake or as a decadent dip for fresh fruit. If you are hosting a party, try serving these cupcakes alongside non-alcoholic drinks like a refreshing mocktail to balance the richness of the peanut butter.
Frequently Asked Questions
Yes! You can store it in the fridge for up to a week. Just ensure you bring it back to room temperature and re-whip it to restore its silky, fluffy texture before piping.
It is not recommended. Natural peanut butter that requires stirring is often too oily and lacks the stabilizers needed to create a thick, towering swirl. For the best pipeable results, use a standard creamy peanut butter like Jif or Skippy.
Only warm the peanut butter until it is just fluid, not hot. If it’s too hot, it will melt the frosting. Use a small spoon or a squeeze bottle for a controlled, clean cascade.
The key is the whipping time. After adding the heavy cream, switch to a whisk attachment and whip on high speed for at least 2 minutes. This incorporates air and creates those soft, pillowy ridges.
This usually happens if the butter was too warm or your kitchen is hot. Try chilling the frosting in the refrigerator for 15-20 minutes, then give it a quick whip before filling your piping bag.
The Ultimate Whipped Peanut Butter Frosting Recipe
Follow the steps below to recreate this viral-worthy dessert topper. Perfect for cupcakes, layer cakes, or even brownies!
Peanut Butter Frosting: The Ultimate Fluffy Whipped Recipe
Ingredients
Equipment
Method
- Beat butter and 1 cup of peanut butter on medium-high for 3 minutes until light and creamy.
- Reduce speed to low and gradually add sifted powdered sugar, vanilla, and salt.
- Add heavy cream and whip on high speed for 2 minutes until fluffy with pillowy ridges.
- Pipe a massive towering swirl onto chocolate cupcakes.
- Warm the remaining peanut butter and drizzle over the swirls.
- Sprinkle with chopped roasted peanuts.
Notes
Ensure powdered sugar is sifted to prevent clogging the piping tip.
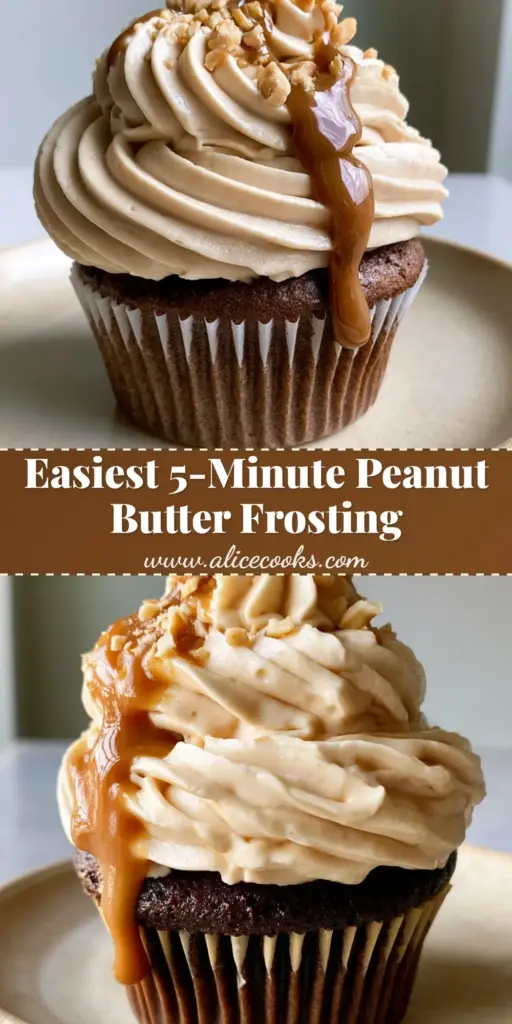
Save This Recipe to Pinterest!
If you love this recipe, please save it to your favorite Pinterest board by clicking the “Save” button on the image above. Don’t forget to follow alicecooks_official for more bakery-style secrets!
Did you make these? Share a photo of your towering swirls in the comments below and leave a 5-star rating to help other home cooks find this recipe. Happy baking!