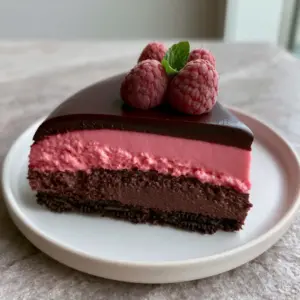
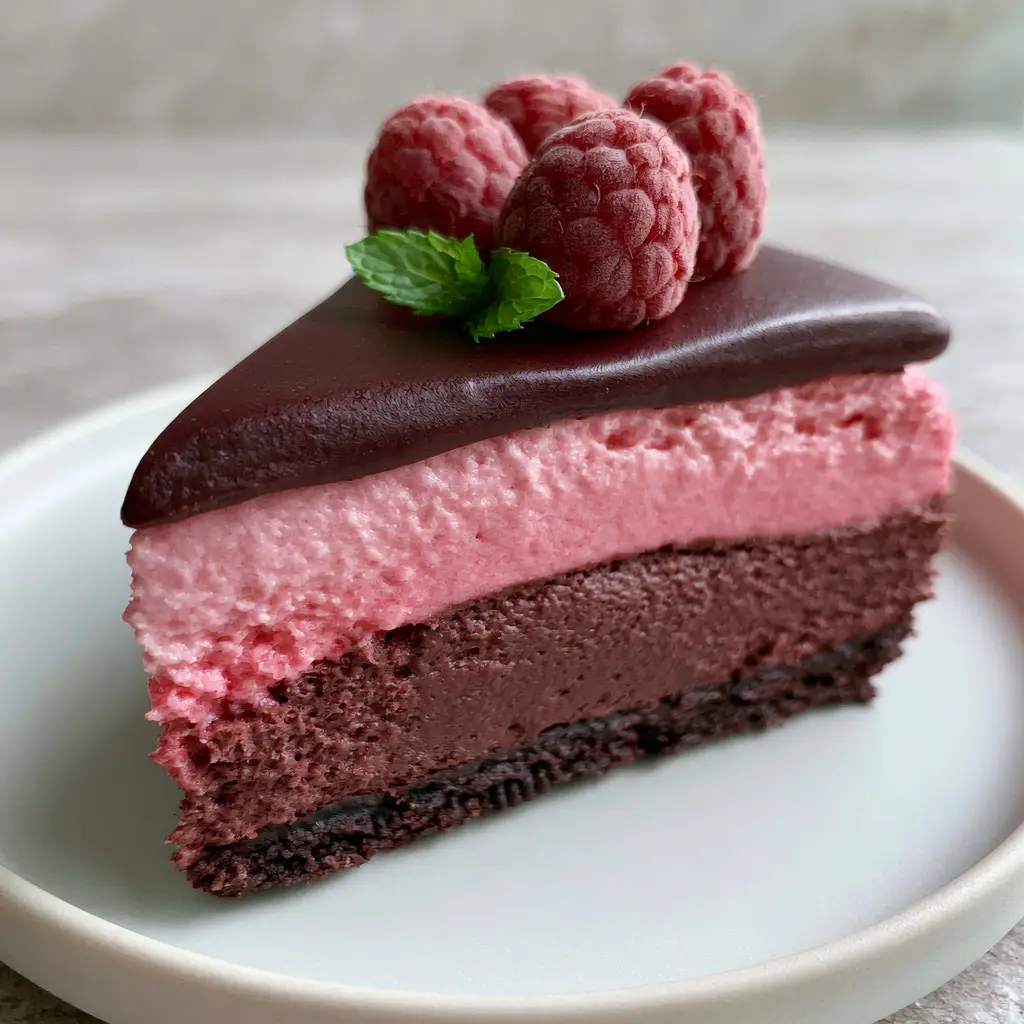
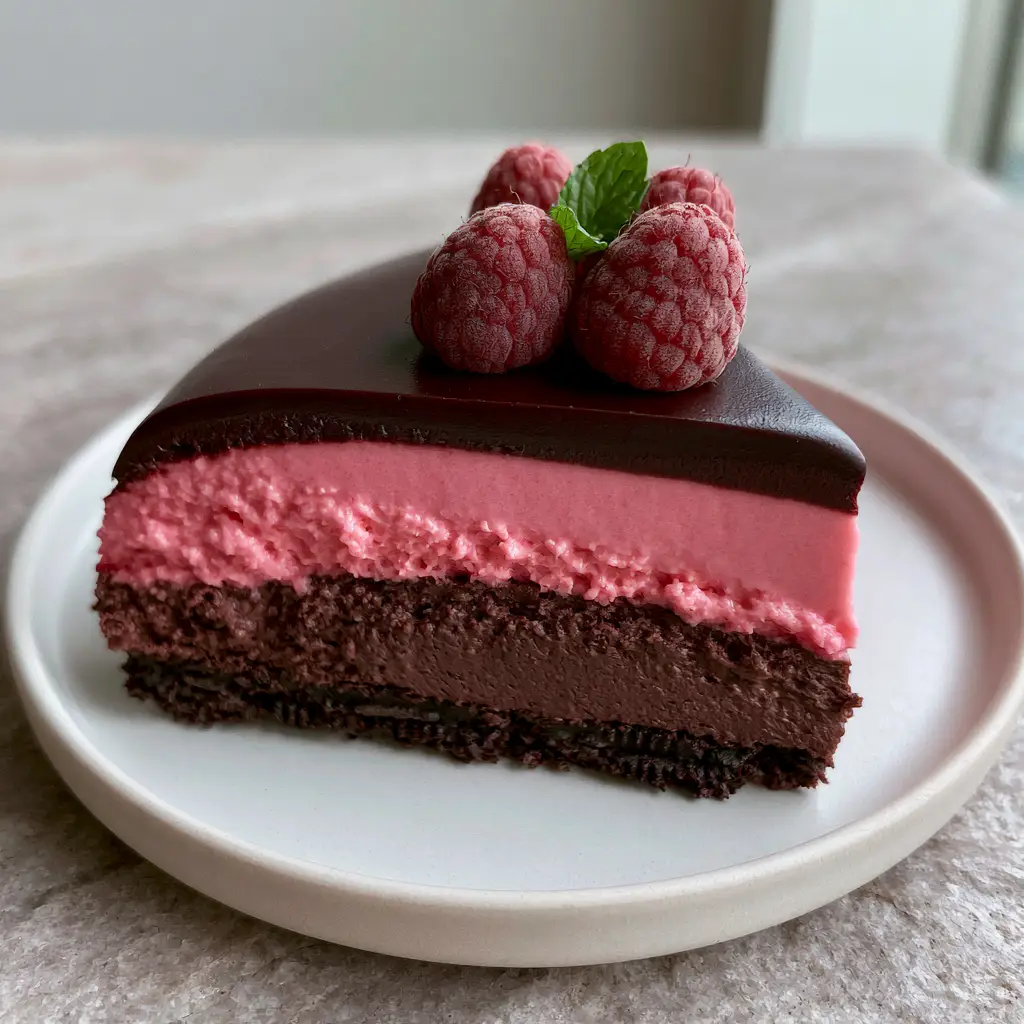
This Chocolate Raspberry Mousse Cake is the crown jewel of no-bake desserts. If you are looking for a show-stopping centerpiece that looks like it came from a high-end French patisserie but requires zero time in the oven, you have found it. This decadent treat features four distinct, perfectly defined layers: a crunchy dark chocolate cookie crust, a rich dark chocolate mousse, a velvety pastel-pink raspberry mousse, and a mirror-like glossy ganache. It is a visual and culinary masterpiece that will have your Pinterest followers hitting “save” instantly.
The beauty of a Chocolate Raspberry Mousse Cake lies in the contrast. You get the deep, earthy notes of dark chocolate paired with the bright, tart zing of fresh raspberries. Every bite is a balance of textures, from the snap of the cookie base to the cloud-like lightness of the double mousse layers. Whether you are hosting a summer garden party or a sophisticated holiday dinner, this cake is designed to impress both the eyes and the palate.
Why This No-Bake Layered Masterpiece Works
- Forensic Layer Definition: Unlike other recipes where layers bleed together, our technique ensures four distinct, sharp lines for that professional “clean-cut” look.
- No-Bake Ease: Skip the oven entirely; this recipe relies on chilled stabilization, making it perfect for hot weather or busy kitchens.
- Visual Texture Contrast: The combination of the dark chocolate Oreo cookie crust foundation and the velvety pastel-pink raspberry mousse creates a stunning color palette.
- Professional Gloss: The glossy dark chocolate ganache glaze on top provides a mirror finish that screams luxury.
- Natural Garnishes: Using fresh plump raspberries and a tiny fresh green mint leaf adds a pop of organic color and freshness.
Essential Components for the Perfect Mousse Layers
To achieve the architectural integrity of this Chocolate Raspberry Mousse Cake, high-quality ingredients are non-negotiable. Because there is no baking involved, the flavor of your chocolate and the freshness of your fruit will be front and center.
The Crunchy Foundation
Dark Chocolate Sandwich Cookies: You will need 24-28 standard dark chocolate cookies (like Oreos). These provide the structural base and a deep cocoa flavor that anchors the lighter mousses above. If you love chocolate bases, you might also enjoy the texture of these chocolate chip cookie bars.
Unsalted Butter: 1/2 cup (113g) of melted butter acts as the glue. It ensures the crust is compact and doesn’t crumble when you slice into it.
The Dark Chocolate Mousse Layer
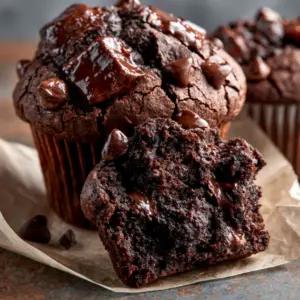
Semi-Sweet or Dark Chocolate: Use 8 oz (225g) of high-quality baking chocolate (60% cacao is ideal). This provides the “dense” middle layer described in our visual blueprint. For more deep chocolate inspiration, check out these double chocolate muffins.
Heavy Whipping Cream: 2 cups (480ml) total, divided. We use some to melt the chocolate and the rest is whipped to stiff peaks to provide that signature airy lift.
Gelatin Powder: 1 teaspoon (5g) dissolved in water. This is the “secret” to the non-bleeding layers, ensuring the chocolate mousse stays firm under the weight of the raspberry layer.
The Pink Raspberry Mousse Layer
Fresh Raspberries: 1.5 cups (180g) of fresh berries, blended and strained to remove seeds. This creates the bright, velvety pastel-pink color. This vibrant fruit profile reminds us of the aesthetic in a strawberry cake design.
Powdered Sugar: 1/2 cup (60g) to sweeten the tartness of the berries without adding graininess.
Gelatin Powder: 1.5 teaspoons (7.5g). Fruit mousses are naturally softer than chocolate ones, so a slightly higher gelatin content ensures the pink layer remains “perfectly defined.”
The Glossy Ganache & Garnish
Dark Chocolate & Heavy Cream: A simple 1:1 ratio creates that smooth, glossy dark chocolate ganache glaze. It pours over the chilled cake to create a professional finish.
Fresh Garnish: Three fresh, plump, dusty red raspberries and a tiny fresh green mint leaf per slice. This matches the exact visual requirement for a high-engagement Pinterest photo.
Step-by-Step Architecture: Building the Layers
Phase 1: The Dark Cookie Foundation
Begin by pulsing your dark chocolate cookies in a food processor until they reach a fine, sandy crumb. Pour in the 1/2 cup (113g) of melted butter and pulse until the mixture looks like wet sand. Press this firmly into the bottom of a 9-inch (23cm) springform pan. Pro Tip: Use the bottom of a flat measuring cup to pack the crumbs tightly. Chill in the freezer for 15 minutes while you prepare the next step.
Phase 2: The Dense Dark Chocolate Mousse
Bloom your gelatin in 2 tablespoons (30ml) of cold water. Melt your 8 oz (225g) chocolate with 1/2 cup (120ml) of heavy cream until smooth. Stir in the bloomed gelatin while the mixture is still warm. In a separate bowl, whip 1.5 cups (360ml) of heavy cream to stiff peaks. Gently fold the chocolate into the whipped cream. Visual Cue: The mixture should be a uniform, deep brown. Pour this over the crust and smooth the top with an offset spatula. Chill for at least 45 minutes.
Phase 3: The Pastel-Pink Raspberry Mousse
Puree your raspberries and strain through a fine-mesh sieve to remove all seeds. You want a smooth, concentrated liquid. Bloom 1.5 teaspoons (7.5g) of gelatin. Heat a small portion of the raspberry puree, stir in the gelatin and sugar until dissolved, then mix back into the remaining puree. Whip 1 cup (240ml) of heavy cream to stiff peaks and fold in the raspberry mixture. Visual Cue: You are looking for a bright, velvety pastel-pink. Pour this over the set chocolate layer. Chill for 2 hours.
Phase 4: The Mirror Ganache Finish
Once the raspberry layer is firm to the touch, melt 4 oz (113g) chocolate with 1/2 cup (120ml) heavy cream. Let it cool slightly so it is pourable but not hot enough to melt the mousse. Pour over the cake, tilting the pan to cover the entire surface. Chill for a final 4 hours or overnight.
Expert Tips for a Clean Pinterest Slice
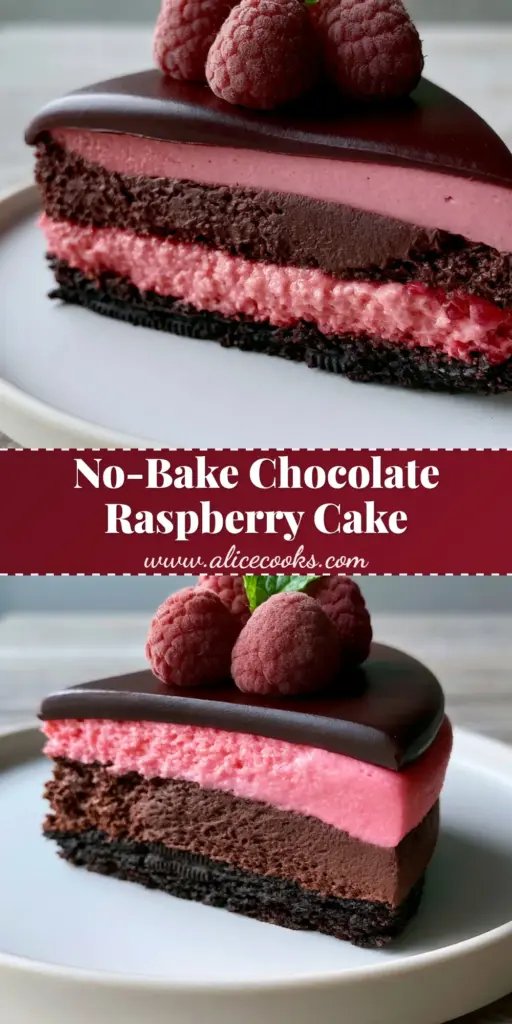
- The Hot Knife Trick: To get those cleanly cut, non-bleeding layers, dip a sharp knife in boiling water and wipe it dry between EVERY single cut.
- Temperature Control: Ensure each layer is sufficiently set before adding the next. If the chocolate mousse is too soft, the pink raspberry layer will sink into it, ruining the visual blueprint.
- Seedless Puree: Always strain your raspberries. Seeds will break the “velvety” texture and make the cake look less professional in close-up photos.
- Avoid Over-Whipping: If you whip your cream into butter, your mousse will be grainy rather than smooth and glossy.
Storage & Make-Ahead Instructions
This Chocolate Raspberry Mousse Cake is the ultimate make-ahead dessert. It actually improves after 24 hours in the fridge as the flavors meld and the gelatin fully sets. You can store leftovers in an airtight container for up to 4 days. While you can freeze this cake, the texture of the mousse may change slightly upon thawing, so we recommend enjoying it fresh from the refrigerator for the best experience. If you enjoy chilled treats, you should also try a classic New York cheesecake recipe.
What to Serve with Mousse Cake
Since this cake is incredibly rich, it pairs beautifully with light, acidic accompaniments. A tall glass of cold milk or a strong espresso is a classic choice. For a themed brunch, consider serving it alongside a fresh pancake recipe or some non-alcoholic drinks like a strawberry lemon mocktail to cut through the decadence of the dark chocolate.
Frequently Asked Questions
Gelatin is necessary for the structural integrity of the high layers. Without it, the weight of the top layers may cause the bottom mousse to collapse or bleed.
Yes, you can use frozen raspberries. Thaw them completely and drain any excess water before pureeing and straining to ensure the mousse isn’t too runny.
The secret is using a small amount of gelatin in each mousse layer and allowing each layer to chill and set completely (about 45-60 minutes) before adding the next one.
For the best ‘clean-cut’ results, the cake should chill in the refrigerator for at least 6 hours, though overnight is preferred for perfect stabilization.
A glossy ganache requires a 1:1 ratio of chocolate to cream. Avoid overheating the chocolate, and stir gently to prevent air bubbles from forming.
The Official Chocolate Raspberry Mousse Cake Recipe
Chocolate Raspberry Mousse Cake: The Ultimate No-Bake Showstopper
Ingredients
Equipment
Method
- Pulse cookies in a processor until fine. Mix with melted butter (113g).
- Press firmly into a 9-inch pan. Freeze for 15 minutes.
- Melt 8oz (225g) chocolate with 1/2 cup (120ml) cream and bloomed gelatin.
- Fold into 1.5 cups (360ml) whipped cream. Pour over crust; chill 45 mins.
- Puree and strain 1.5 cups (180g) raspberries. Heat slightly with sugar and bloomed gelatin.
- Fold raspberry mixture into 1 cup (240ml) whipped cream. Pour over dark layer; chill 2 hours.
- Melt ganache ingredients; pour over chilled cake. Chill 4 hours. Garnish with raspberries and mint before serving.
Notes
Always strain raspberry seeds for a velvety texture.
Share Your Masterpiece!
Did you recreate this stunning Chocolate Raspberry Mousse Cake? We want to see your layers! Follow @alicecooks_official on Pinterest for more high-definition dessert inspiration. Please leave a 5-star rating in the recipe card above and upload a photo of your slice in the comments below. Nothing makes us happier than seeing your “clean-cut” success!