There is something inherently magical about the combination of a thick, buttery crust and a velvety, sprinkle-laden filling. This Birthday Cheesecake represents the pinnacle of no-bake desserts, offering a sophisticated twist on the nostalgic flavors of a childhood funfetti cake.
Whether you are celebrating a milestone or simply craving a decadent treat, this recipe delivers a professional-grade result without ever turning on the oven. We have designed this guide to help you achieve that elusive pale ivory cheesecake texture, punctuated by vibrant bursts of color and topped with elegant gold stars.
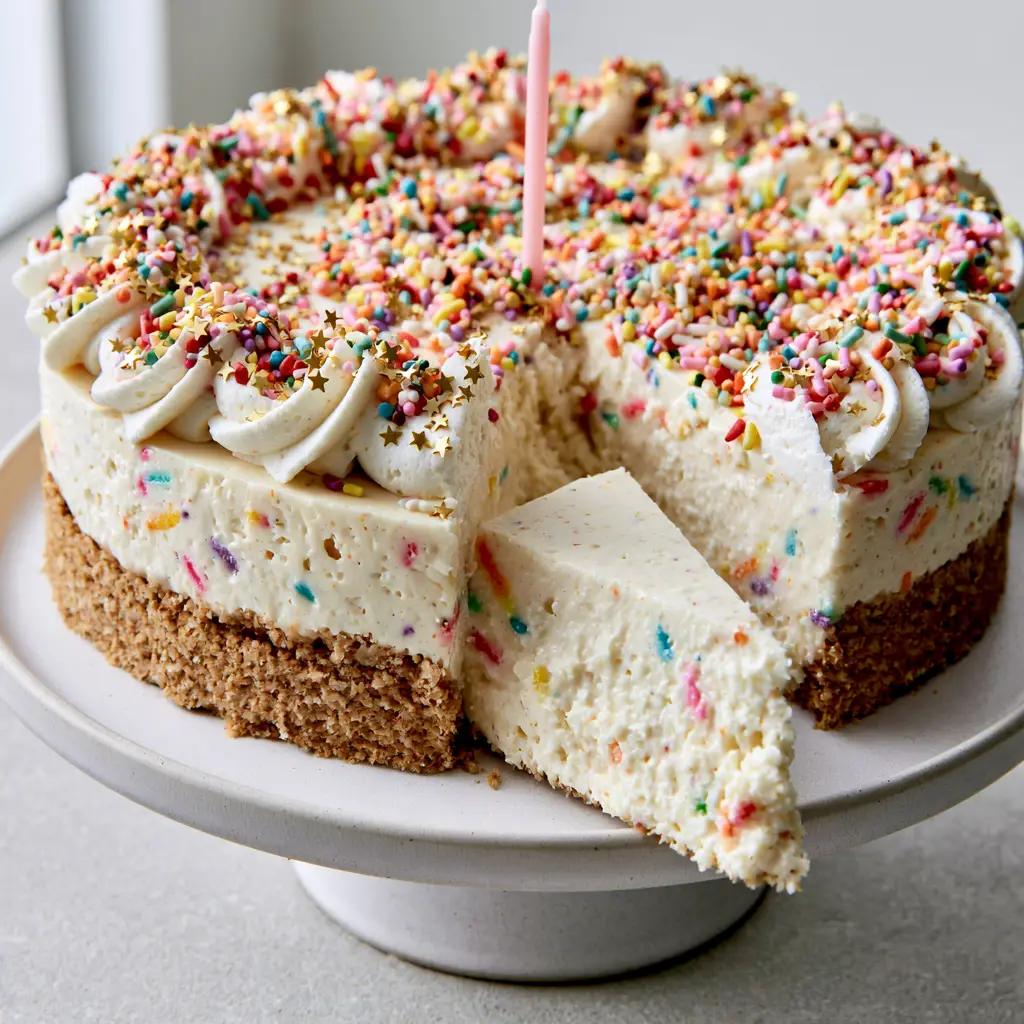
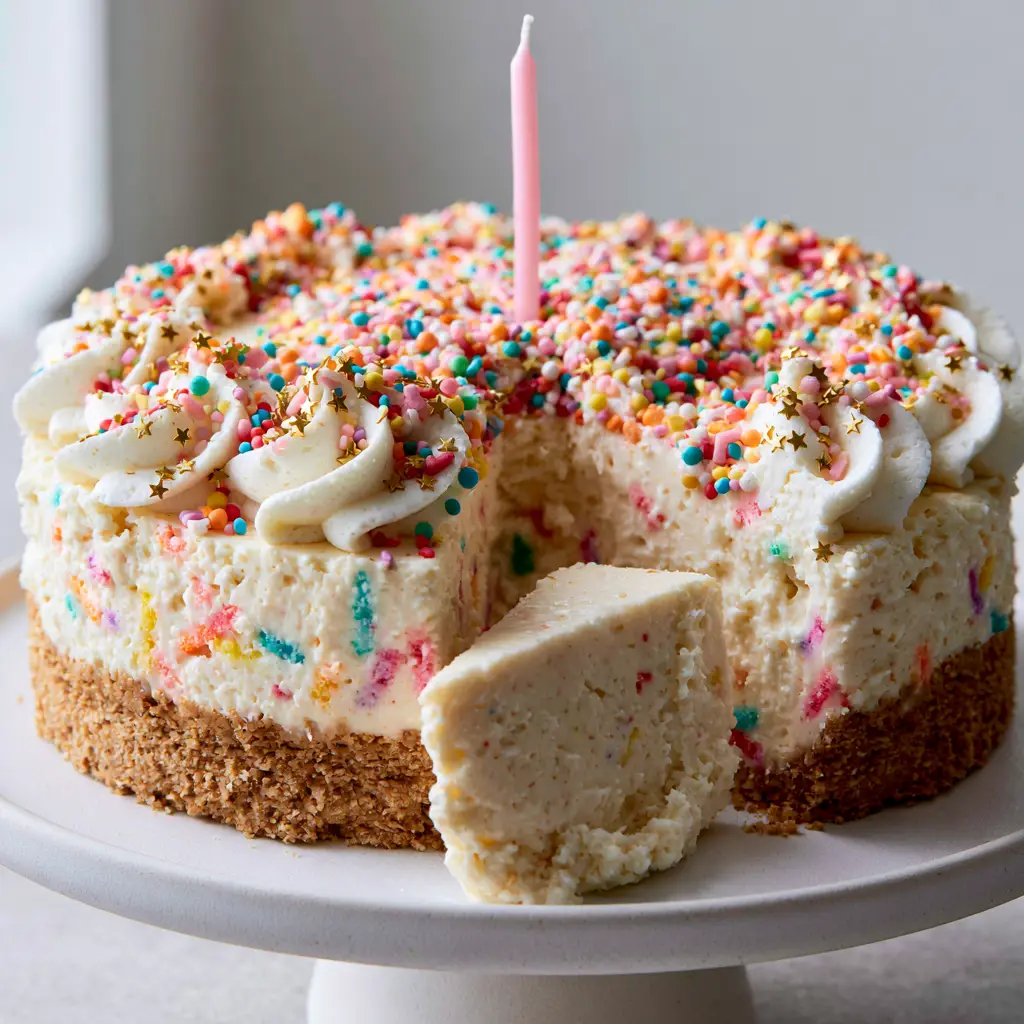
Imagine a dessert that looks like it stepped out of a high-end boutique bakery: a golden-brown graham cracker base, a smooth-as-silk interior, and perfectly piped whipped cream dollops. This is not just a cake; it is a centerpiece designed to be the star of your next celebration.
Why This Celebration Cheesecake Wins Every Time
- Structural Integrity: Unlike many no-bake recipes that turn into a puddle at room temperature, our method ensures a clean, stable slice every time.
- Visual Forensics: We utilize a specific blend of rainbow sprinkles and gold star confetti to match the luxury aesthetic of a professional pastry chef.
- Texture Contrast: The crunch of the golden-brown graham cracker crust perfectly offsets the ultra-creamy, pale ivory cake batter filling.
- Effortless Elegance: With a single pink candle and piped whipped cream, you achieve a minimalist yet festive look that is perfect for social media sharing.
If you love the creamy texture of this recipe, you might also enjoy exploring our velvety blackberry cheesecake for a fruity variation. For those who prefer bite-sized portions, our chocolate chip cookie cheesecake cups are always a crowd-pleaser.
The Science of the Perfect Pale Ivory Filling
To achieve the specific pale ivory color described in our visual blueprint, we rely on high-quality full-fat cream cheese and a touch of pure vanilla extract. Using imitation vanilla can sometimes add an unwanted brownish tint, whereas pure extract keeps the base bright and clean.
The “cake batter” flavor profile is achieved through a precise balance of almond and vanilla extracts. This creates that nostalgic, sweet aroma that defines a classic birthday celebration, making this Birthday Cheesecake stand out from a standard vanilla version.
Aeration is the secret to the velvety interior. By folding in stiff-peaked heavy cream rather than just mixing it in, we incorporate millions of tiny air bubbles. This results in a texture that feels light on the tongue but looks incredibly dense and smooth in the photo.
Essential Ingredients for a Festive Masterpiece
Full-Fat Cream Cheese (900g / 32oz): This provides the structural foundation and the rich, tangy flavor necessary for a stable no-bake result. Ensure it is completely at room temperature to avoid lumps.
Graham Cracker Crumbs (300g / 2.5 cups): These form our golden-brown crust. For the best flavor, look for honey-kissed crackers and grind them into a fine, sandy texture.
Unsalted Butter (170g / 3/4 cup): Melted butter acts as the glue for our crust. Using unsalted allows us to control the seasoning perfectly with a separate pinch of salt.
Powdered Sugar (240g / 2 cups): We use powdered sugar instead of granulated to ensure the filling remains perfectly smooth without any grit. It also contains a tiny amount of cornstarch, which helps stabilize the no-bake filling.
Heavy Whipping Cream (480ml / 2 cups): This must be very cold before whipping. It provides the lift and the “dollop” potential for the top decoration.
Rainbow Sprinkles (90g / 1/2 cup): These are folded into the batter. Use “jimmies” (the long ones) rather than nonpareils to prevent the colors from bleeding into the ivory batter.
Gold Star Confetti & Pink Wax Candle: These are our visual anchors. The gold stars add a touch of luxury, while the pink candle provides a focal point for the final presentation.
Must-Have Tools for Professional Results
To achieve the “clean slice” look shown in our Midjourney-inspired photography, you will need a 9-inch (23cm) springform pan. This allows you to remove the sides without damaging the delicate edges of the cheesecake.
A piping bag fitted with a large open-star tip is essential for those signature whipped cream dollops. For the smoothest filling possible, a stand mixer or a powerful hand mixer is highly recommended to ensure the cream cheese is fully aerated.
Finally, a sharp, thin-bladed knife dipped in hot water and wiped dry between every cut is the professional secret to that “clean slice pulled forward” visual. This prevents the filling from sticking to the blade and dragging through the crust.
Step-by-Step Path to the Ultimate Birthday Cheesecake
1. Constructing the Golden-Brown Foundation
In a large bowl, combine the fine graham cracker crumbs, melted butter, and a pinch of salt. Stir until the mixture resembles wet sand. Press the mixture firmly into the bottom of your springform pan, using the bottom of a measuring cup to create a flat, even surface. Chill this in the freezer for 20 minutes to set the structure while you prepare the filling.
2. Creaming the Pale Ivory Base
In your mixer, beat the room-temperature cream cheese and powdered sugar until the mixture is completely smooth and looks like silk. This usually takes about 3-4 minutes on medium speed. Add the vanilla and almond extracts, ensuring they are fully incorporated. The mixture should be a beautiful pale ivory color at this stage.
3. Achieving the Velvety Texture
In a separate chilled bowl, whip the heavy cream until stiff peaks form. This means when you lift the whisk, the cream stands straight up without drooping. Gently fold one-third of the whipped cream into the cream cheese mixture to lighten it, then fold in the remaining cream along with the rainbow sprinkles. Do this slowly to maintain the aeration.
4. The Long Chill
Pour the filling over the chilled crust and smooth the top with an offset spatula. Cover with plastic wrap and refrigerate for at least 6 hours, though overnight is preferred for the best stability. This time allows the fats to solidify, creating that smooth, velvety interior texture that is easy to slice.
5. Final Decoration and Garnish
Once set, remove the sides of the springform pan. Pipe white whipped cream dollops around the entire edge of the cake. Generously garnish the top with extra rainbow sprinkles and the gold star confetti. Place the single pink candle in the center and light it just before serving to capture that authentic celebration glow.
Expert Tips for Visual and Culinary Success
- Avoid Color Bleeding: Never over-mix once the sprinkles are added. The more you stir, the more the dye from the sprinkles will leak, turning your pale ivory cake into a muddy gray.
- Room Temp is Key: If your cream cheese is even slightly cold, you will have tiny white lumps in your filling. Let it sit out for at least 2 hours before starting.
- The “Hot Knife” Technique: For that perfect slice seen in the photo, run your knife under hot water, wipe it dry, and make one clean cut. Repeat for the second cut to release the slice.
- Stabilize Your Whipped Cream: If you plan on leaving the cake out for a party, add a teaspoon of instant pudding mix or gelatin to your whipped cream to keep the dollops from wilting.
Serving Suggestions and Pairings
This Birthday Cheesecake is a powerhouse dessert that pairs beautifully with festive beverages. For a children’s party, serve it alongside a bright superhero drink or a sweet raspberry lemonade.
If you are hosting an adult celebration, consider offering a variety of non-alcoholic party drinks to keep the mood light and inclusive. For a cohesive dessert table, you could also serve these alongside some white chocolate blondies to provide a chewy textural contrast to the creamy cheesecake.
Storage, Reheating, and Freezing Advice
Since this is a no-bake recipe, it must remain refrigerated until about 15-20 minutes before serving. It will stay fresh in an airtight container for up to 5 days. For the best flavor, keep the candle and gold stars off until you are ready to present the cake.
If you wish to freeze the cheesecake, do so without the whipped cream topping. Wrap the entire cake (or individual slices) tightly in plastic wrap and then foil. It will last for up to 3 months. Thaw in the refrigerator overnight before decorating and serving.
Frequently Asked Questions
Yes! It is actually better made 24 hours in advance. Just wait to add the whipped cream dollops, gold stars, and candle until right before serving for maximum visual appeal.
While you can, a homemade crust is highly recommended. It allows you to achieve the thick, golden-brown base and buttery flavor that perfectly balances the rich cream cheese filling.
No, this recipe relies on the high fat content of full-fat cream cheese and properly whipped heavy cream for structure. It is stable enough to slice cleanly without gelatin.
Use ‘jimmies’ (long sprinkles) rather than nonpareils (tiny balls), and fold them in gently at the very last second. Over-mixing will cause the dye to run.
The most common reason is not whipping the heavy cream to stiff peaks before folding it in, or not allowing the full 6-hour refrigeration time for the fats to solidify.
The Perfect Birthday Cheesecake Recipe
Birthday Cheesecake Recipe: The Ultimate No-Bake Funfetti Celebration
Ingredients
Equipment
Method
- Combine graham cracker crumbs, melted butter, and salt until it looks like wet sand.
- Press into the bottom of a 9-inch springform pan and freeze for 20 minutes to set.
- Beat cream cheese and powdered sugar until smooth and pale ivory. Add extracts.
- Whip heavy cream to stiff peaks. Fold gently into the cream cheese with rainbow sprinkles.
- Pour over crust, smooth the top, and refrigerate for at least 6 hours or overnight.
- Pipe whipped cream dollops around the edge and garnish with extra sprinkles and gold stars.
- Insert the pink candle, light it, and use a hot knife to cut one clean slice pulled forward.
Notes
Use a hot, clean knife for the most professional slices.
Closing and Call to Action
Creating this Birthday Cheesecake is more than just making a dessert; it’s about crafting a memory. The combination of the golden-brown crust, the pale ivory filling, and those whimsical gold stars makes for a truly unforgettable celebration piece. We hope this recipe brings a little extra spark to your next special day!
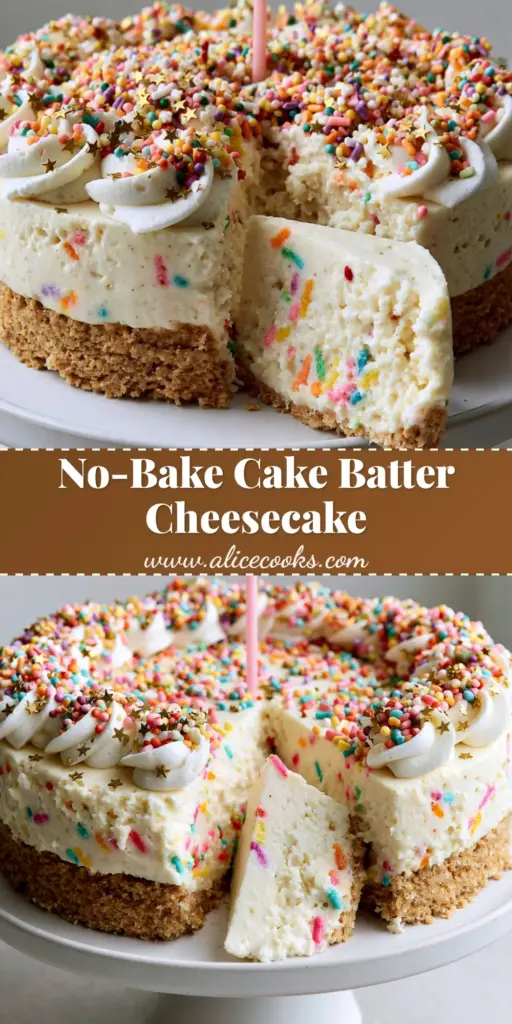
If you made this recipe, please leave a comment below and let us know how it turned out! We love seeing your creations. Don’t forget to follow us on Pinterest and save this pin to your favorite dessert boards for later!