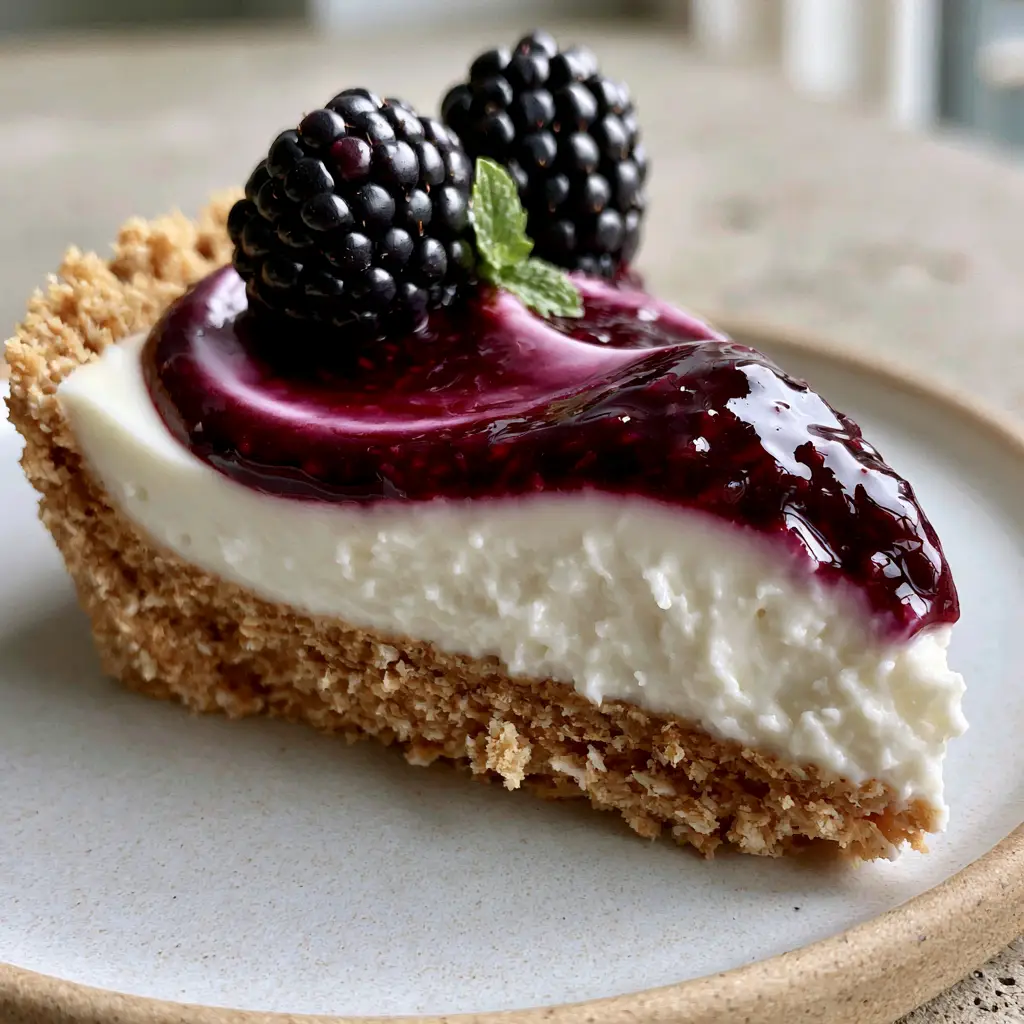
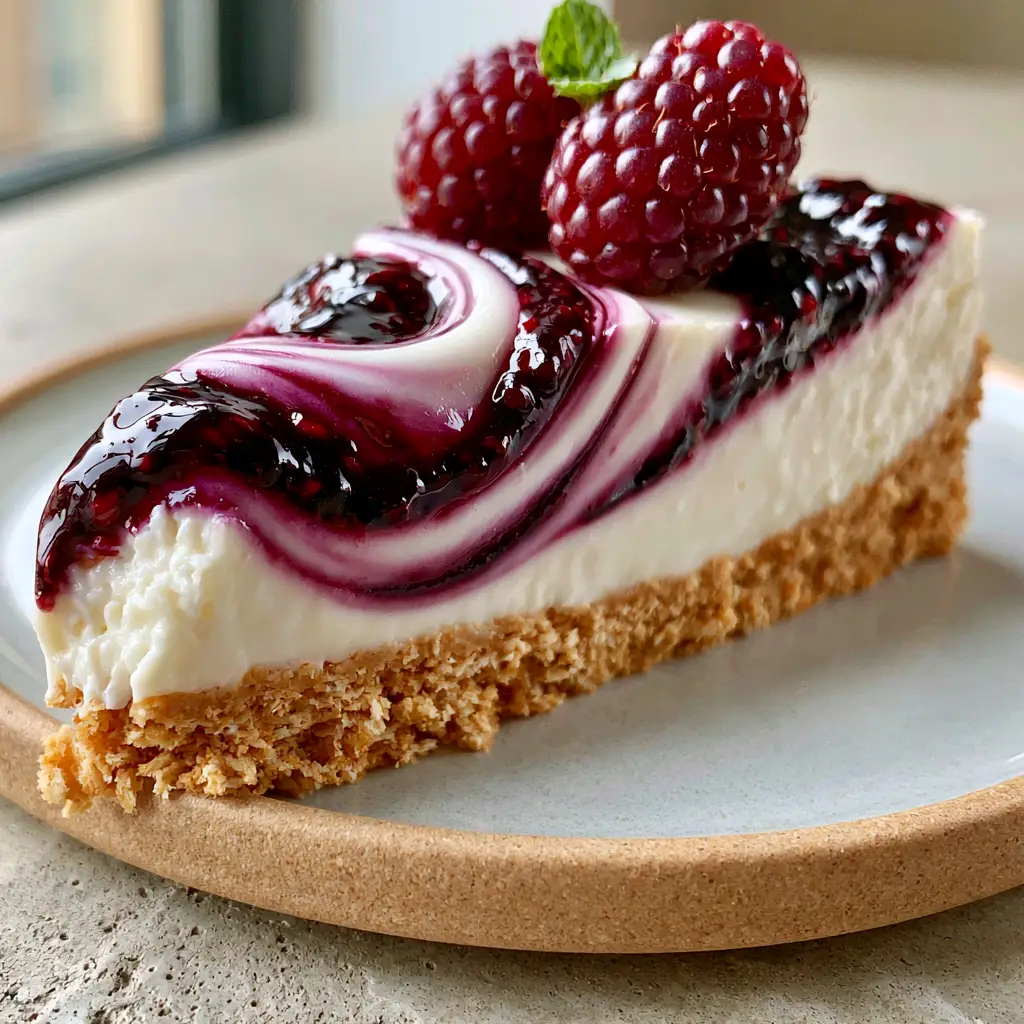
There is something inherently magical about a perfectly executed Blackberry Cheesecake. As you gaze at a slice resting on a minimalist ceramic plate, the first thing that strikes you is the contrast—the deep, glossy purple blackberry swirl dancing across a velvety white cream cheese canvas. It is a visual masterpiece that promises a symphony of textures, from the thick, crumbly golden-brown graham cracker crust to the two plump fresh blackberries and a tiny green mint leaf perched delicately on top.
This recipe isn’t just about mixing ingredients; it’s about capturing the essence of soft, natural morning daylight in a dessert. Whether you are hosting a summer garden party or simply craving a sophisticated treat, this no-bake wonder delivers professional-grade results without ever turning on the oven. We have engineered this guide to ensure your crust is structurally sound and your filling is impossibly smooth, mirroring the high-detail texture seen in the finest handheld smartphone food photography.
Why This No-Bake Blackberry Cheesecake Works
- Textural Harmony: The crunch of the golden graham cracker base provides the perfect structural foundation for the cloud-like cream cheese layer.
- Visual Forensics: We use a concentrated blackberry reduction to achieve that specific “glossy deep-purple” aesthetic that mimics professional food styling.
- No-Bake Ease: By utilizing specific chilling techniques, we achieve a velvety-smooth finish that rivals traditional baked versions like a white chocolate raspberry dream cake.
- Natural Vibrancy: The garnish of fresh berries and mint provides a pop of color that signals freshness and high-quality ingredients.
The Anatomy of Ingredients for a Flawless Result
To achieve the visual and structural goals of this Blackberry Cheesecake, every ingredient must serve a specific culinary purpose. We are looking for high fat content and natural stabilizers to ensure the slice stands tall on your plate.
For the Signature Graham Cracker Crust:
2 cups (200g) Graham Cracker Crumbs: These provide the “crumbly golden” texture required for the base. Ensure they are finely ground to allow the butter to bind them effectively.
1/2 cup (115g) Unsalted Butter, Melted: This is your “invisible” binder. As it chills, it solidifies, turning loose crumbs into a thick, sturdy foundation.
1/4 cup (50g) Granulated Sugar: Adds a slight crystalline crunch and reinforces the golden-brown color during the chilling process.
1/4 tsp (1.5g) Fine Sea Salt: A professional secret to balancing the sweetness of the velvety filling.
For the Velvety White Filling:
24 oz (680g) Full-Fat Cream Cheese, softened: This must be room temperature to achieve the “velvety-smooth” texture described in the prompt. Avoid low-fat versions, as they lack the structural integrity for a no-bake slice.
1 cup (120g) Powdered Sugar: Dissolves instantly into the cheese, ensuring there is no grittiness in your velvety white layer.
1 1/2 cups (360ml) Heavy Whipping Cream, cold: When whipped to stiff peaks and folded in, this provides the aeration needed for a light, mousse-like consistency.
1 tbsp (15ml) Lemon Juice: The acid acts as a natural setting agent and brightens the flavor profile.
1 tsp (5ml) Pure Vanilla Extract: Provides the aromatic backbone that distinguishes a premium cheesecake from a standard one.
For the Glossy Purple Blackberry Swirl:
2 cups (300g) Fresh Blackberries: These will be macerated and strained to create the deep-purple base. You can also use these in other fruity bakes like lemon blueberry cupcakes.
1/4 cup (50g) Granulated Sugar: Draws out the juices from the berries and helps create the glossy sheen.
1 tsp (5g) Cornstarch: A foundational ingredient that thickens the puree, ensuring the swirl stays on top rather than sinking.
For the Final Presentation:
Fresh Blackberries and Mint Leaves: These are the exact garnishes specified in our visual blueprint to add height and organic color contrast.
Essential Tools for Precision Plating
To mimic the high-detail texture of our visual prompt, you will need a 9-inch (23cm) springform pan. This tool is non-negotiable for achieving those clean, sharp edges on your Blackberry Cheesecake slice. A flat-bottomed measuring cup will help you press the crust into a uniform, thick layer. Finally, a wooden skewer or a toothpick is essential for creating the artistic swirl in the glossy puree.
Step-by-Step Evolution of a Blackberry Cheesecake
1. Constructing the Golden Graham Foundation
In a medium bowl, combine the graham cracker crumbs, sugar, and sea salt. Pour the melted butter over the mixture and stir until it resembles wet sand. Press this mixture firmly into the bottom of your springform pan, using a flat-bottomed tool to ensure the crust is even and thick. Chill this in the freezer for 15 minutes to set the butter bond.
2. Crafting the Glossy Blackberry Reduction
Place 2 cups (300g) of blackberries and 1/4 cup (50g) of sugar in a small saucepan over medium heat. Mash the berries as they heat up, releasing their deep purple pigments. Once boiling, whisk in a slurry of cornstarch and a teaspoon of water. Simmer for 2 minutes until the mixture is glossy and thick. Strain through a fine-mesh sieve to remove seeds, then let it cool completely. This is the key to that “glossy purple” visual.
3. Whipping the Velvety Cream Cheese Filling
In a large bowl, beat the softened cream cheese and powdered sugar until completely smooth. Add the lemon juice and vanilla. In a separate chilled bowl, whip the heavy cream until stiff peaks form. Gently fold the whipped cream into the cream cheese mixture using a spatula. You are looking for a uniform, velvety white appearance with no lumps.
4. The Art of the Deep-Purple Swirl
Pour the white filling over the chilled crust and smooth the top with an offset spatula. Drop small spoonfuls of the cooled blackberry puree onto the surface. Using a skewer, gently drag the puree through the white filling in a figure-eight motion to create the swirl. Be careful not to over-mix; you want distinct lines of purple against the white background.
5. The Final Set and Garnish
Cover the pan and refrigerate for at least 8 hours, though overnight is preferred for the cleanest slices. Just before serving, carefully remove the springform ring. Place two plump fresh blackberries and a tiny green mint leaf on each slice to match the visual blueprint exactly. Serve on a minimalist ceramic plate to let the textures shine.
Expert Tips for a Professional Finish
- Temperature Control: Never try to whip cold cream cheese. It will result in tiny white lumps that ruin the “velvety-smooth” aesthetic.
- Sieve the Puree: Straining the blackberry reduction is the difference between a rustic jam and a “glossy deep-purple” professional swirl.
- The Hot Knife Trick: For a slice that looks like it belongs in a magazine, dip your knife in hot water and wipe it dry between every single cut. This prevents the filling from sticking and preserves the layers.
- Stabilization: If you are serving this in a warm climate, consider adding 1 tsp (5g) of gelatin to the filling for extra insurance, much like you would for a strawberry cream cake.
Pairing and Presentation Ideas
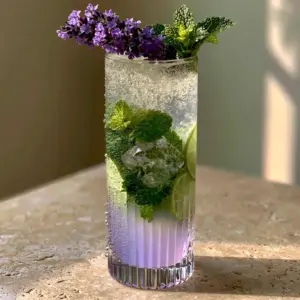
The tartness of the Blackberry Cheesecake pairs beautifully with botanical drinks. Consider serving it alongside a lavender mojito mocktail to complement the floral notes of the berries. If you are serving this for a brunch occasion, a glass of hibiscus tea strawberry lemonade offers a refreshing acidic counterpoint to the rich cream cheese filling.
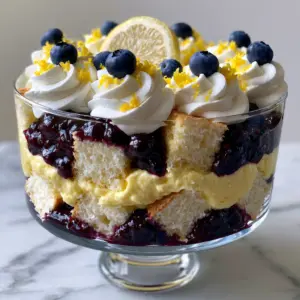
For those who enjoy a bit of decadence, this cheesecake sits perfectly on a dessert table next to chocolate chip cookie dough brownies, providing a fruit-forward alternative to chocolate-heavy treats. If you want to keep the berry theme going, a side of lemon blueberry trifle creates a stunning spread.
Frequently Asked Questions
Absolutely! It actually tastes better after 24 hours in the fridge, making it an ideal make-ahead dessert for parties.
Yes, frozen blackberries work perfectly for the reduction. Just ensure you simmer them long enough to evaporate excess moisture before adding cornstarch.
The secret is adding a small amount of cornstarch to the blackberry reduction and straining the seeds, which creates a smooth, light-reflective surface.
Ensure you use full-fat brick cream cheese and whip your heavy cream to very stiff peaks. Chilling for a full 8-12 hours is crucial for the structure.
This usually happens if there isn’t enough melted butter to bind the crumbs or if the crumbs weren’t pressed firmly enough into the pan.
The Definitive Blackberry Cheesecake Recipe Card
Blackberry Cheesecake: The Ultimate No-Bake Summer Dessert Guide
Ingredients
Equipment
Method
- Mix graham crumbs, melted butter, sugar, and salt. Press firmly into the bottom of a 9-inch springform pan. Freeze for 15 minutes.
- Simmer blackberries and sugar until soft. Add cornstarch slurry and thicken. Strain seeds and cool completely to achieve a glossy finish.
- Beat softened cream cheese and powdered sugar until velvety. Fold in whipped heavy cream, lemon juice, and vanilla.
- Spread filling over crust. Drop dots of puree and swirl with a skewer. Refrigerate for at least 8 hours.
- Top with whole blackberries and a fresh mint leaf before slicing with a hot, clean knife.
Notes
Chill the puree completely before swirling to prevent bleeding into the white filling.
Final Thoughts on This Summer Classic
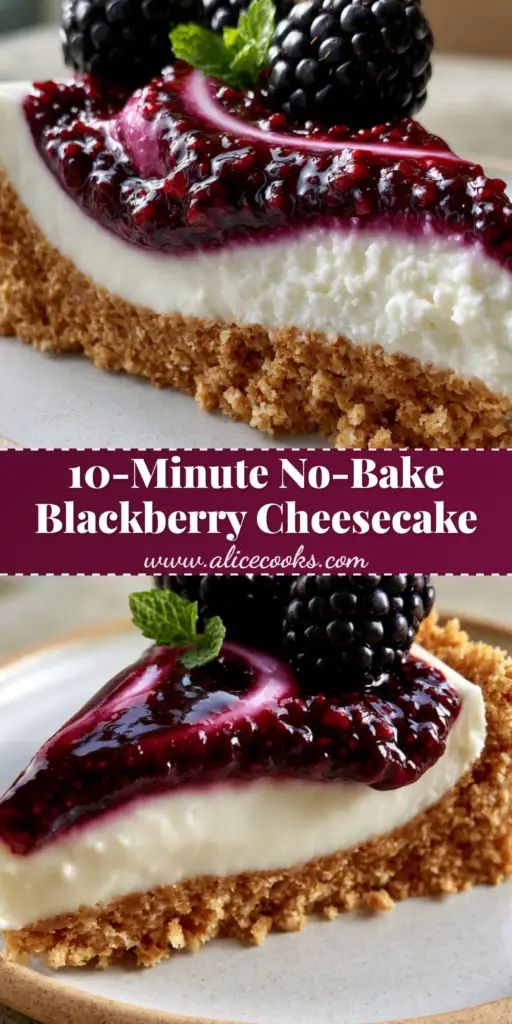
Mastering the Blackberry Cheesecake is a rite of passage for any home cook looking to elevate their dessert game. The combination of the crumbly golden crust and the glossy purple swirl is not just delicious—it is a conversation starter. We hope this guide helps you achieve that perfect, high-detail texture seen in our visual blueprint.
If you enjoyed this recipe, please leave a comment below and share your results! Don’t forget to follow alicecooks_official on Pinterest for more culinary inspiration and high-quality recipe guides.