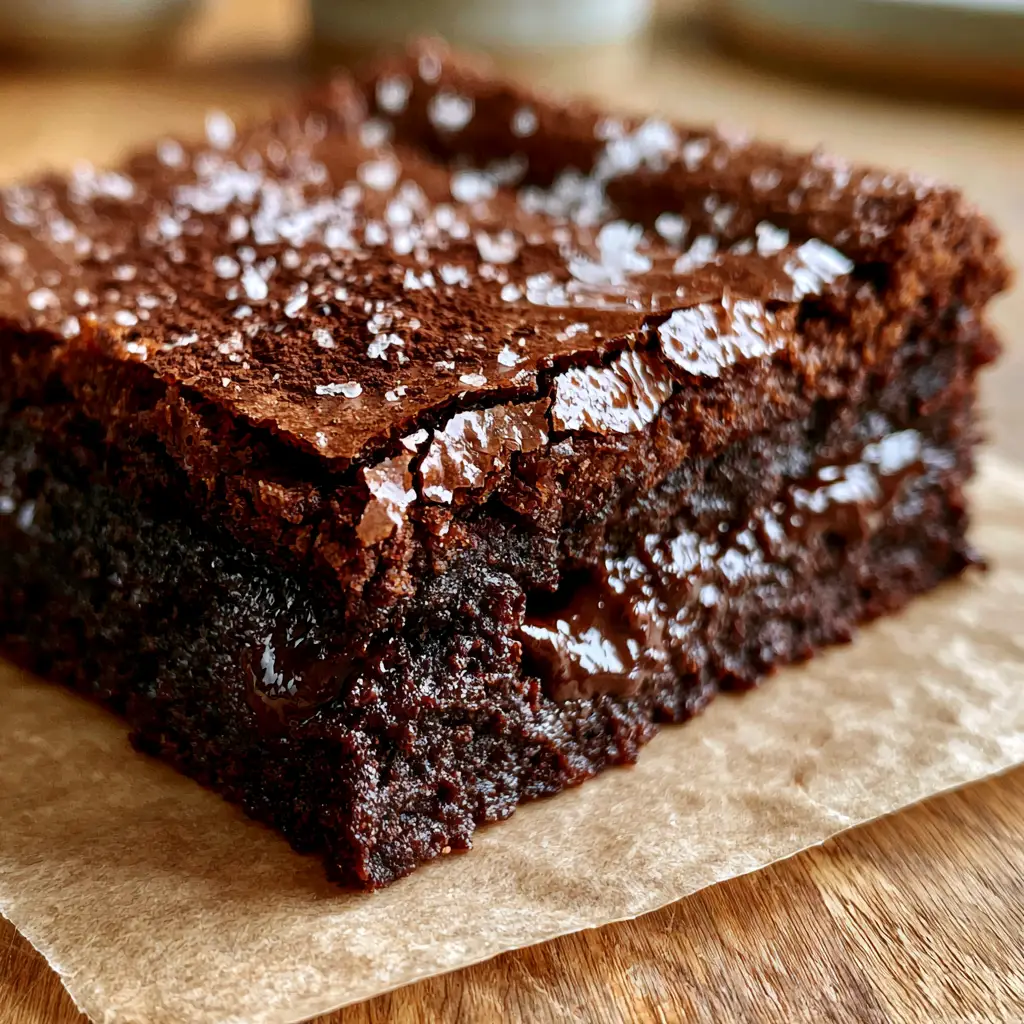
These Coffee Brownies are the ultimate indulgence for anyone who believes that chocolate and caffeine are a match made in heaven. Imagine biting into a thick, ultra-fudgy square where the deep, roasted notes of espresso elevate the richness of dark chocolate to new heights. The texture is a masterclass in contrasts: a paper-thin, glossy, shattered crinkle crust gives way to a dense foundation punctuated by molten chocolate pools. Whether you are an enthusiast baker or just a lover of bold flavors, these brownies deliver a sensory experience that looks exactly like a professional macro photograph.
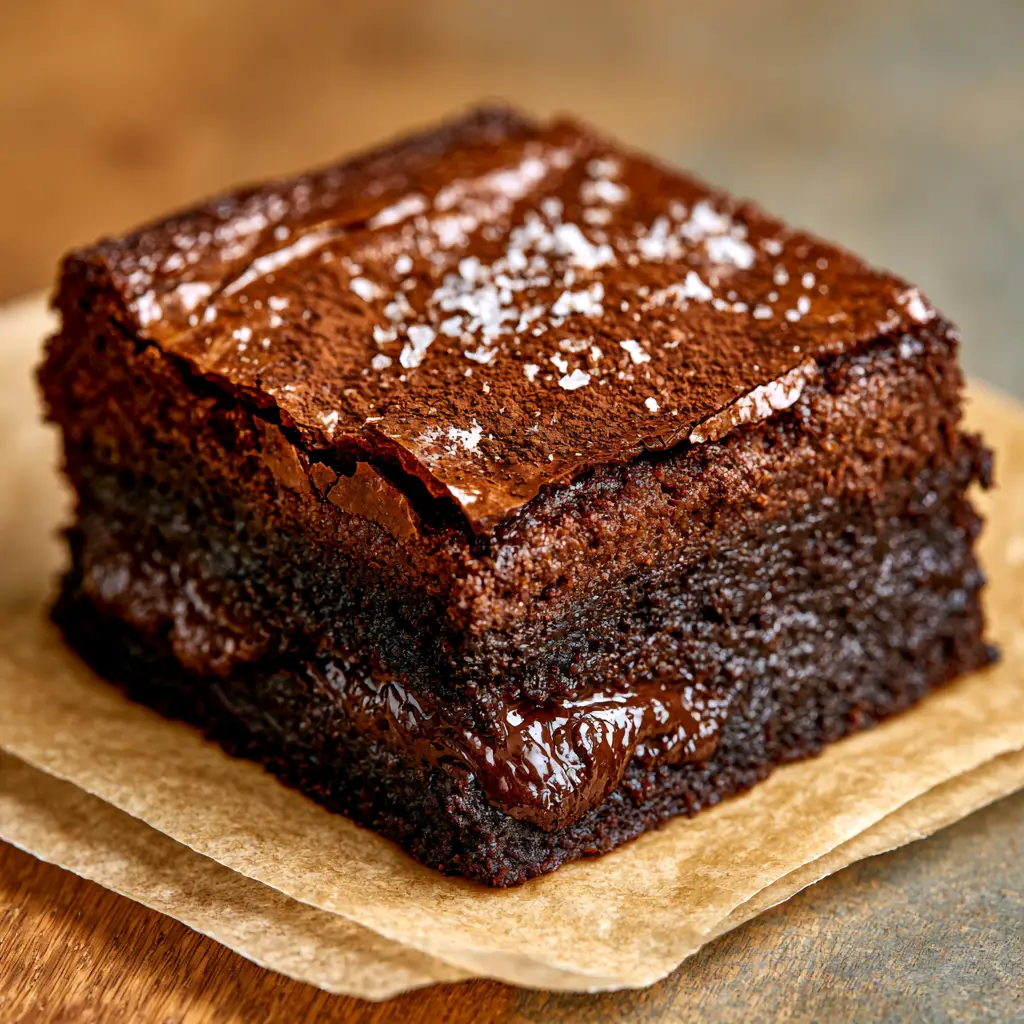
When you pull these Coffee Brownies out of the oven, the smell of toasted cocoa and fresh espresso will fill your kitchen. The visual appeal is undeniable, especially when plated on rustic parchment paper with a fine espresso powder dusting and a sprinkle of flaky sea salt. If you’ve ever struggled to get that perfect “hairline fracture” on your brownie tops, this guide will walk you through the precise culinary science required to achieve it every single time.
Why You Will Crave These Fudgy Espresso Brownies
- The Crinkle Crust: We use a specific egg-whipping technique to ensure a glossy, paper-thin crust that shatters with every bite.
- Intense Coffee Flavor: By blooming the espresso powder in hot butter, we extract the maximum aromatic intensity for these Coffee Brownies.
- Molten Textures: Instead of standard chips, we use chopped chocolate bars to create molten chocolate pools throughout the crumb.
- Perfect Balance: The addition of flaky sea salt cuts through the richness, making it impossible to stop at just one square.
If you love this deep flavor profile, you might also enjoy my rich chocolate coffee cake or even a batch of double chocolate muffins for a decadent breakfast option.
Essential Ingredients for the Ultimate Coffee Brownies
Success starts with high-quality ingredients. Each component in these Coffee Brownies serves a specific structural or flavor-driven purpose.
The Fat and The Flavor Bloom
Unsalted Butter (1 cup / 225g): We melt the butter to ensure a fudgy, rather than cakey, texture. Using unsalted butter allows us to control the seasoning perfectly.
Espresso Powder (2 tablespoons / 12g): This is the soul of our Coffee Brownies. We bloom this in the hot butter to wake up the coffee oils and intensify the chocolate’s natural profile.
The Sweetness and The Crust
Granulated Sugar (1 cup / 200g) & Brown Sugar (1 cup / 200g): The granulated sugar is essential for the crinkle crust, while the brown sugar adds moisture and a hint of molasses chewiness.
Large Eggs (4): These provide the structure. Beating them thoroughly with the sugar is the “secret” to the meringue-like top layer.
The Chocolate Foundation
Dutch-Processed Cocoa Powder (3/4 cup / 75g): This provides a deep, dark color and a smooth, mellow chocolate flavor that doesn’t compete with the espresso.
70% Dark Chocolate Bar (6 oz / 170g): Roughly chopped. Large chunks ensure you get those molten chocolate pools rather than small, hard dots of chocolate.
How to Make Coffee Brownies Step-by-Step
1. The Espresso Butter Bloom
Start by melting your butter in a small saucepan over medium heat. Once melted and bubbling slightly, whisk in the espresso powder.
Visual Cue: The butter should turn a deep mahogany color. Let it sit for 5 minutes; this “blooming” process is vital for the Coffee Brownies‘ signature aroma.
2. Whipping the Sugar and Eggs
In a large bowl, combine the granulated sugar, brown sugar, and eggs. Use a stand mixer or hand mixer on high speed for at least 5-7 minutes.
Visual Cue: You are looking for the “ribbon stage.” The mixture should be pale, thick, and fall off the whisk in slow, distinct ribbons. This creates the glossy crinkle crust.
3. Incorporating the Dark Chocolate Base
Slowly stream the espresso-infused butter into the egg mixture while whisking constantly. Then, gently fold in your sifted dry ingredients: flour, cocoa powder, and a pinch of salt.
Before the flour is fully incorporated, toss in the chopped dark chocolate. This prevents the chocolate from sinking to the bottom of your Coffee Brownies.
4. The Bake and the “Shatter” Technique
Pour the batter into a pan lined with rustic parchment paper. Smooth the top and bake at 350°F (175°C) for 25-30 minutes.
Visual Cue: The edges should be set, but the center should still have a slight jiggle. As the brownies cool, the top will contract, creating those beautiful hairline fractures in the crust.
Expert Tips for the Perfect Fudgy Texture
- Do Not Overbake: Brownies continue to cook in the pan after they are removed. Pull them when a toothpick comes out with moist crumbs, not clean.
- Quality Matters: Since Coffee Brownies rely on simple ingredients, use the best espresso powder and chocolate bars you can find.
- The Paper-Thin Crust: If your crust isn’t shiny, you likely didn’t beat the eggs and sugar long enough. The sugar must be partially dissolved into the egg proteins to form that meringue layer.
- Room Temperature Eggs: This helps the eggs emulsify better with the sugars, leading to a more uniform crumb.
For more baking tips, check out my guide on the classic New York cheesecake or learn how to make a strawberry crunch topping for your next dessert project.
How to Store and Freeze Coffee Brownies
To Store: Keep your Coffee Brownies in an airtight container at room temperature for up to 4 days. The espresso flavor actually intensifies on day two!
To Freeze: Wrap individual squares in plastic wrap and then foil. Store in a freezer bag for up to 3 months. Thaw at room temperature for a decadent treat anytime.
Pro Tip: If you want to recreate the molten chocolate pools, microwave a refrigerated brownie for 10-15 seconds before serving.
What to Serve with Espresso Brownies
These rich squares are intense, so they pair perfectly with a cold glass of milk or a scoop of vanilla bean ice cream. For a sophisticated dessert platter, serve them alongside some refreshing non-alcoholic drinks or a light strawberry cake. The bitterness of the coffee also pairs exceptionally well with a salty peanut butter frosting if you want to turn these into a layered dessert.
Frequently Asked Questions
Absolutely! You can substitute the espresso powder with a high-quality decaf espresso powder or simply omit it, though they will then be standard fudge brownies.
Yes, you can use instant coffee granules, but espresso powder is more concentrated. If using instant coffee, increase the amount to 3 tablespoons for the same flavor intensity.
The secret is whipping your eggs and sugar together for at least 5-7 minutes until they reach the ‘ribbon stage.’ This creates a thin layer of meringue that rises to the top during baking.
70% dark chocolate is recommended. It provides a sophisticated bitterness that balances the sugar and complements the espresso, and it melts beautifully into molten pools.
Cakey brownies are usually the result of too much flour or over-beating the batter once the flour is added. Ensure you measure your flour accurately and only fold it in until just combined.
The Ultimate Coffee Brownies Recipe Card
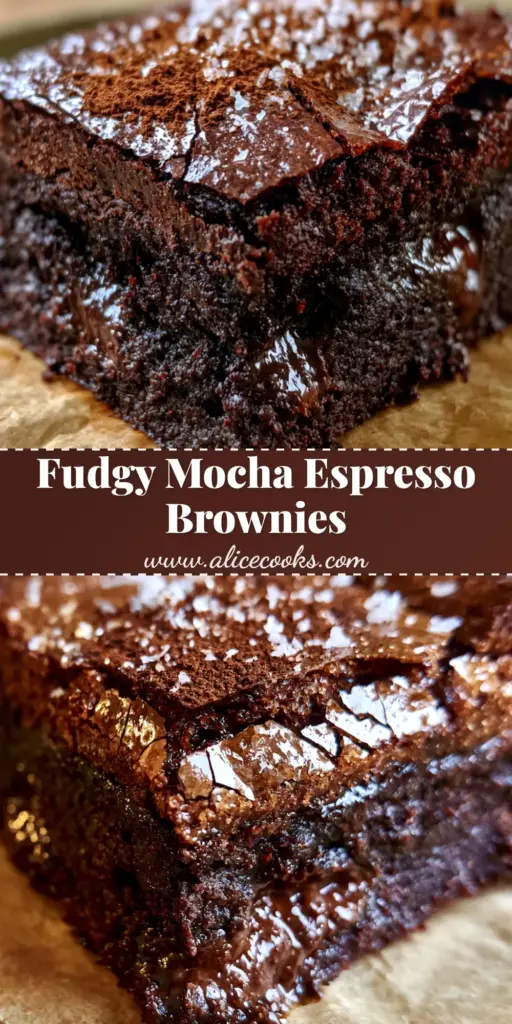
Coffee Brownies with Fudgy Espresso Centers and a Crinkle Crust
Ingredients
Equipment
Method
- Preheat your oven to 350°F (175°C). Line an 8x8 inch baking pan with rustic parchment paper, leaving an overhang for easy removal.
- Melt the butter in a microwave or saucepan. Whisk in the espresso powder and let it sit for 5 minutes to bloom the coffee flavor.
- In a large bowl, beat the eggs, granulated sugar, and brown sugar on high speed for 5-7 minutes until the mixture is thick, pale, and reaches the ribbon stage.
- Slowly pour the espresso-butter mixture into the eggs while whisking gently. Sift in the flour, cocoa powder, and salt. Fold gently until just combined.
- Gently fold in the chopped dark chocolate chunks to ensure molten chocolate pools throughout the baked brownie.
- Pour into the prepared pan. Bake for 25-30 minutes. The top should be a glossy crinkle crust with hairline fractures, while the center remains slightly soft.
- Immediately dust with extra espresso powder and sprinkle with flaky sea salt. Allow to cool completely in the pan for the cleanest slices.
Notes
Use chopped chocolate bars instead of chips for better melting and 'pools'.
Share Your Coffee Brownie Success!
We want to see your Coffee Brownies! Did you achieve that perfect glossy crinkle crust? Did you find the molten chocolate pools as satisfying as we do?
Please Save this recipe to your Pinterest board so you never lose it! If you made these, leave a 5-star rating in the recipe card above and upload a photo in the comments below. Following @alicecooks_official on Pinterest ensures you never miss a decadent chocolate update!