Chocolate peanut butter rice krispie cups are the ultimate elevated no-bake dessert that bridges the gap between childhood nostalgia and sophisticated pastry techniques. If you have been searching for a treat that combines a dense, crunchy foundation with a velvety smooth finish, these cups are designed specifically for your cravings.
There is something inherently magical about the combination of toasted puffed rice cereal and rich creamy peanut butter. When topped with a glossy melted dark chocolate ganache and a final dusting of flaky Maldon sea salt, you transform a simple snack into a gourmet experience. This recipe focuses on texture, visual contrast, and the perfect salt-to-sugar ratio.
Why You Will Crave These Dual-Layered Treats
- The Ultimate Crunch: We don’t just use cereal; we toast the puffed rice to ensure every bite stays crispy even after being bound with peanut butter.
- Glossy Ganache Finish: Unlike hard chocolate shells that crack when you bite them, our ganache stays velvety smooth and glossy for a professional look.
- Perfect Salt Balance: The addition of Maldon sea salt crystals cuts through the richness of the dark chocolate and peanut butter perfectly.
- No-Bake Ease: You get a bakery-quality dessert without ever having to turn on your oven (except for a quick cereal toast!).
The Anatomy of a Perfect Chocolate Peanut Butter Rice Krispie Cup
To achieve the look seen in the alicecooks_official kitchen, every ingredient serves a specific culinary purpose. We aren’t just mixing things together; we are building layers of flavor.
Toasted Puffed Rice Cereal: 3 cups (approx. 90g). Toasting the cereal for 5 minutes at 350°F (175°C) adds a nutty depth and prevents the cereal from getting soggy once the binder is added.
Creamy Peanut Butter: 1 cup (250g). Use a high-quality, creamy variety. If you love this flavor profile, you might also enjoy our creamy peanut butter frosting for other bakes.
Honey or Maple Syrup: 1/2 cup (120ml). This acts as the secondary binder and sweetener, providing a chewy texture that holds the chocolate peanut butter rice krispie cups together.
Dark Chocolate (60-70% Cacao): 1.5 cups (255g). We use high-quality bars or chips for the top layer to ensure a glossy, velvety smooth finish.
Heavy Cream: 1/4 cup (60ml). This is the secret to the ganache texture. It ensures the chocolate doesn’t become too brittle to bite through.
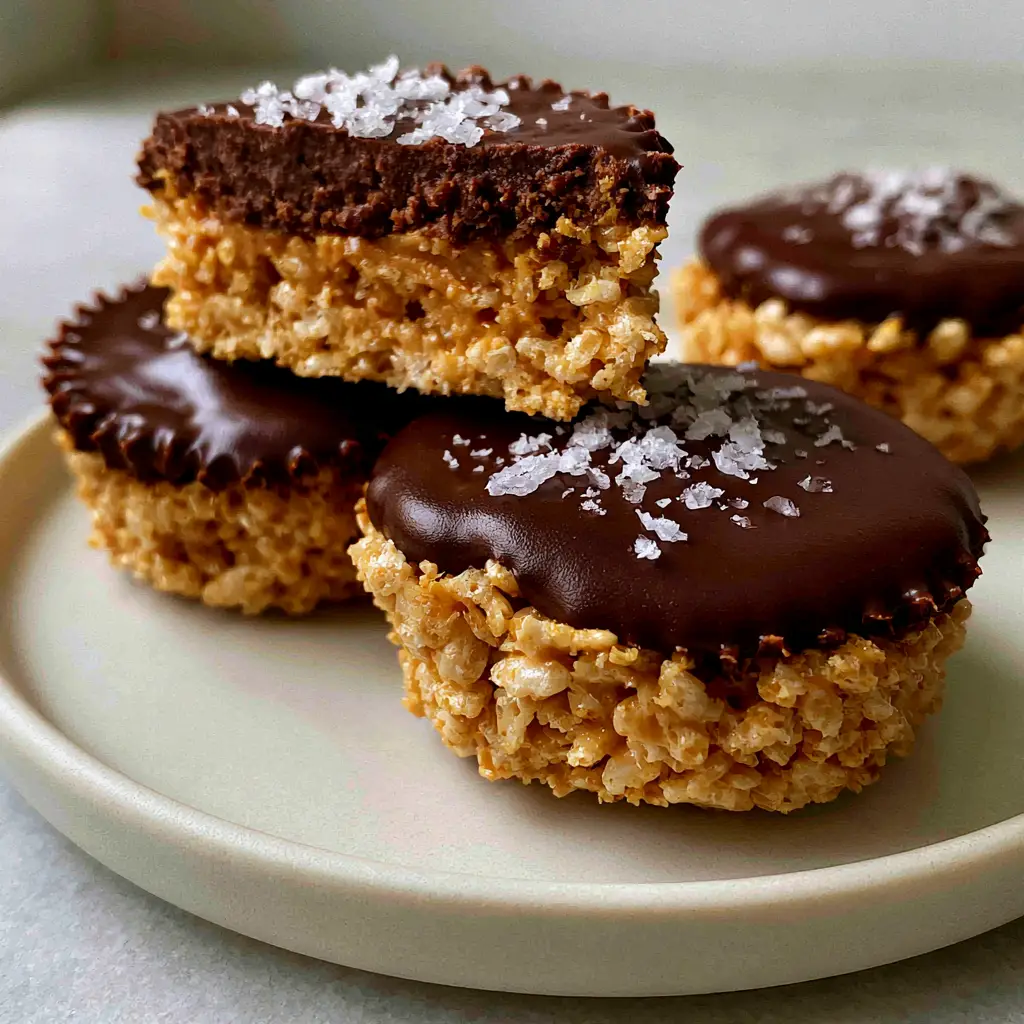
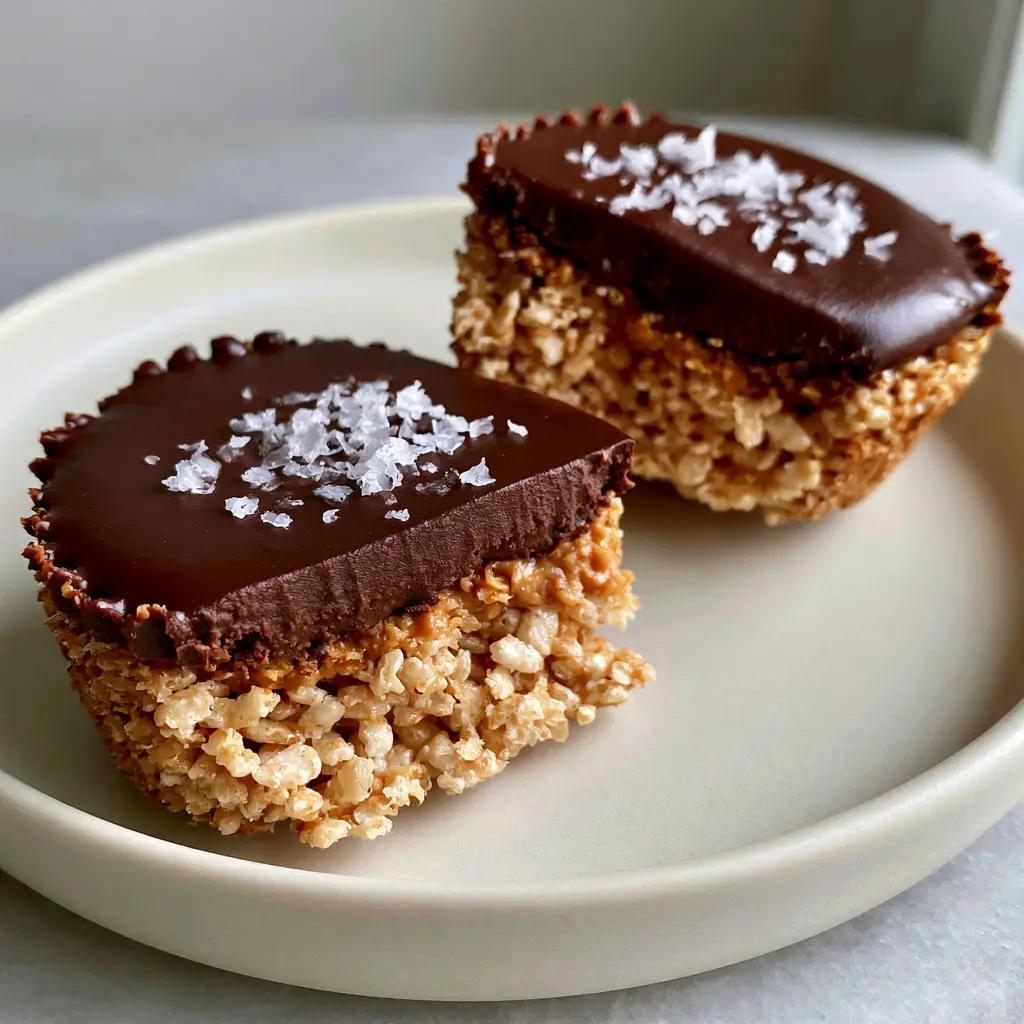
Maldon Sea Salt: For garnishing. These large, flat crystals provide the “Visual Recipe Blueprint” finish that makes the colors pop on a matte off-white ceramic plate.
Mastering the Toasted Cereal Foundation
Step 1: The Essential Toasting Process
Preheat your oven to 350°F (175°C). Spread your 3 cups (90g) of puffed rice cereal on a baking sheet. Toast for 5-7 minutes until the cereal smells slightly nutty and looks golden. This step is non-negotiable for maximum crunch.
Step 2: Melting the Peanut Butter Binder
In a medium saucepan over low heat, combine the 1 cup (250g) of creamy peanut butter, 1/2 cup (120ml) honey, and a pinch of salt. Stir constantly until the mixture is completely fluid and bubbling slightly. If you are a fan of these textures, you should check out our Cookie Monster rice krispie treats.
Step 3: Creating the Base Layer
Pour the warm peanut butter mixture over the toasted cereal in a large bowl. Use a rubber spatula to fold until every grain of rice is glistening. Press this mixture firmly into a lined muffin tin or silicone molds. You want a dense, crunchy foundation.
Achieving the Glossy Dark Chocolate Ganache
Step 4: The Gentle Melt
Place your dark chocolate and heavy cream in a microwave-safe bowl. Heat in 30-second intervals, stirring in between, until the mixture is glossy and velvety smooth. Do not overheat, or the chocolate will lose its shine.
Step 5: The Pour and Set
Spoon roughly 1-2 tablespoons of the ganache over each peanut butter rice krispie base. Tilt the tray slightly to ensure the chocolate reaches the edges for a clean, dual-layer look. For another chocolate-heavy delight, try our banana chocolate muffins.
Step 6: The Finishing Touch
While the chocolate is still tacky, sprinkle a few Maldon sea salt crystals over the top. This provides the forensic visual accuracy required for a Pinterest-viral photo. Let the cups set in the refrigerator for at least 60 minutes.
Expert Tips for Pinterest-Perfect Results
- Use a Warm Knife: To get that clean cut showing the distinct dual layers, dip your knife in hot water and wipe it dry before slicing through the cup.
- Don’t Skip the Cream: Using only melted chocolate results in a top that cracks. The heavy cream creates a true ganache that stays soft enough to bite.
- Natural Light Photography: To mimic the Midjourney Prompt, photograph your chocolate peanut butter rice krispie cups near a window with diffused morning light on a matte ceramic plate.
- Avoid “Oily” Peanut Butter: While natural PB is great, the kind that requires heavy stirring can sometimes separate. A stabilized creamy peanut butter works best for the binder.
Storage, Reheating & Freezing
These chocolate peanut butter rice krispie cups should be stored in an airtight container in the refrigerator for up to 7 days. The ganache stays best when kept cool.
You can also freeze these treats! Wrap them individually in parchment paper and place them in a freezer bag. They will stay fresh for up to 3 months. Simply thaw for 10 minutes at room temperature before serving.
What to Serve With These Treats
These rich, salty-sweet cups pair beautifully with a cold glass of milk or a hot espresso. If you’re hosting a brunch, they complement a refreshing Sea Breeze cocktail surprisingly well by acting as a decadent palate cleanser.
Frequently Asked Questions
You can, but ensure it is well-stirred. Stabilized creamy peanut butter works best to prevent the base from becoming too oily or crumbly.
Yes! Toasting the puffed rice for 5 minutes adds a depth of flavor and creates a structural crunch that withstands the moisture of the peanut butter binder.
The secret is making a ganache by adding heavy cream to the melted chocolate. This prevents the chocolate from becoming brittle and provides that professional glossy finish.
This usually happens if the peanut butter and honey binder wasn’t heated enough to fully emulsify, or if the cereal wasn’t pressed firmly enough into the molds. Ensure the base is packed down tightly.
The Official Chocolate Peanut Butter Rice Krispie Cups Recipe
Chocolate Peanut Butter Rice Krispie Cups with Dark Chocolate Ganache
Ingredients
Equipment
Method
- Preheat oven to 350°F (175°C). Spread puffed rice on a baking sheet and toast for 5-7 minutes until golden and fragrant.
- In a saucepan over low heat, combine peanut butter and honey. Stir until bubbling slightly and completely smooth.
- Fold the toasted cereal into the peanut butter mixture. Press firmly into a lined muffin tin to create a dense foundation.
- Microwave dark chocolate and heavy cream in 30-second bursts until glossy and velvety smooth.
- Pour the ganache over the rice krispie base. Sprinkle with Maldon sea salt while the chocolate is still wet.
- Refrigerate for at least 60 minutes. Use a warm knife to cut clean slices showing the dual layers.
Notes
Use a hot knife for those perfectly clean, Pinterest-worthy cross-section cuts.
Save This Recipe to Pinterest!
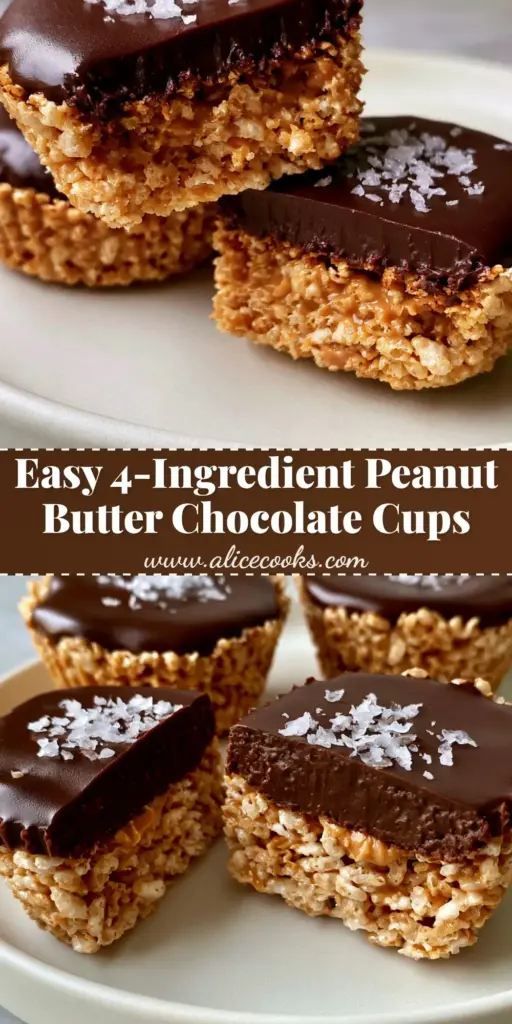
Did you love these chocolate peanut butter rice krispie cups? Make sure to save this recipe to your “No-Bake Desserts” board on Pinterest! Follow alicecooks_official for more high-RPM recipe inspiration.
If you made these, please upload a photo in the comments below and leave a 5-star rating. Seeing your clean dual-layers and glossy ganache makes our day!