There is a specific kind of culinary magic that happens when two iconic desserts collide, and these Peanut Butter Cup Stuffed Brookies are the absolute pinnacle of that synergy. Imagine holding a warm, heavy square where the bottom is a buttery, soft-baked chocolate chip cookie and the top is a sophisticated, dark chocolate fudgy brownie. But the real secret lies hidden in the center: a whole, molten peanut butter cup that oozes with creamy nut butter the moment you take a bite.
Capturing the perfect “handheld smartphone photo” of this treat requires more than just good lighting; it requires a recipe engineered for visual and textural drama. From the paper-thin crackly brownie top to the glossy peanut butter drizzle that catches the light, every element of these Peanut Butter Cup Stuffed Brookies has been calibrated for maximum indulgence. Whether you are baking for a crowd or just satisfying a deep-seated chocolate craving, this layered masterpiece delivers a professional-grade result every single time.
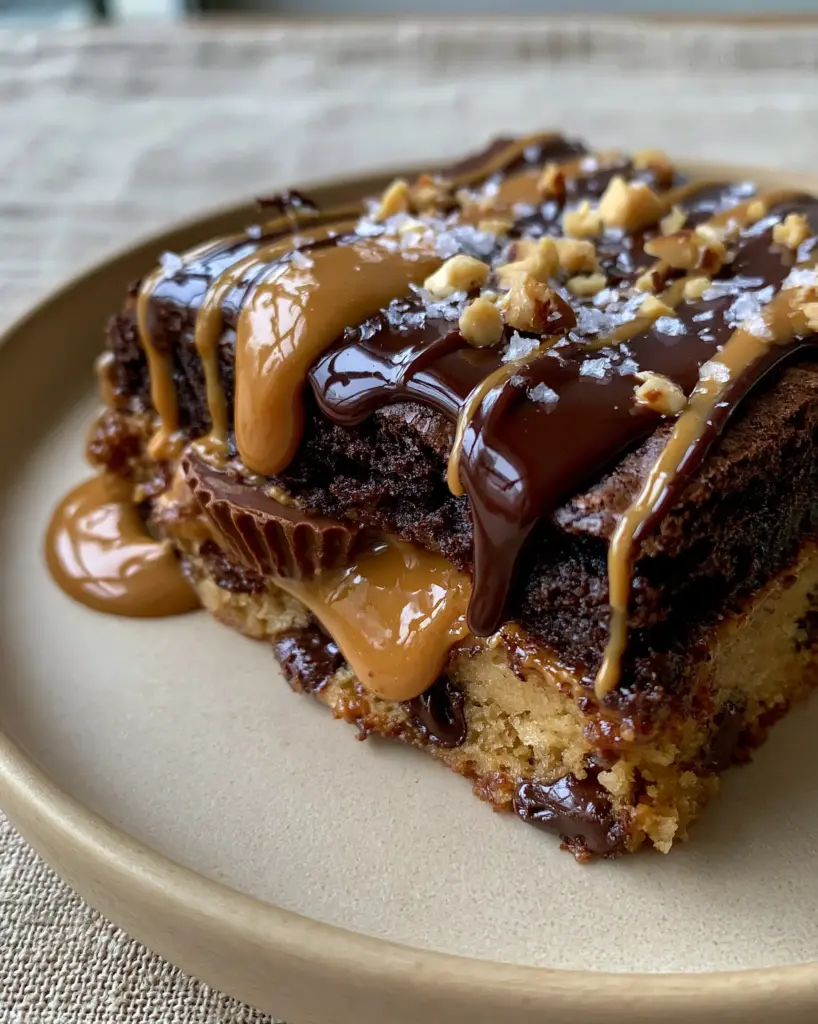
Why These Layered Peanut Butter Cup Stuffed Brookies Are a Total Game Changer
- The Ultimate Texture Contrast: You get the chewy, golden crumb of a classic cookie, the velvet-smooth melt of a peanut butter cup, and the dense, fudgy bite of a dark chocolate brownie all in one mouthful.
- Visually Stunning Presentation: With a shiny peanut butter drizzle, melted chocolate glaze, and a sprinkle of flaky sea salt, these look like they walked straight out of a high-end artisanal bakery.
- Scientifically Engineered Layers: We use specific ratios of fats and sugars to ensure the layers stay distinct rather than merging into a messy blob during the baking process.
- The “Ooze” Factor: By nesting full-sized peanut butter cups in the center, we create a warm peanut butter core that remains liquid and inviting long after the brookies leave the oven.
Essential Components for the Perfect Multi-Layer Crumb
To achieve the specific visual results seen in our Peanut Butter Cup Stuffed Brookies, we must select ingredients that perform under heat. Here is the breakdown of what you will need for this forensic-level bake.
The Golden Chocolate Chip Cookie Foundation
Unsalted Butter (1/2 cup / 115g): We melt the butter slightly to encourage a denser, chewier cookie base that can support the weight of the layers above. It provides that essential buttery aroma that defines a great chocolate chip cookie.
Brown Sugar (1/2 cup / 100g) & Granulated Sugar (1/4 cup / 50g): The higher ratio of brown sugar is non-negotiable for achieving that “soft-baked” texture and deep golden hue mentioned in our visual blueprint.
All-Purpose Flour (1 1/4 cups / 155g): This provides the structural integrity needed to hold the peanut butter cups in place without the base becoming too cakey or dry.
Semi-Sweet Chocolate Chips (3/4 cup / 130g): These will create those pockets of melting chocolate chips visible in the bottom layer of your sliced brookie.
The Molten Peanut Butter Core
Standard Peanut Butter Cups (16-20 units): Using full-sized or large miniature cups ensures a significant “oozing warm peanut butter center” when sliced. Do not use chopped pieces; the whole cup is the key to the visual impact.
The Fudgy Dark Chocolate Brownie Canopy
Dark Cocoa Powder (1/2 cup / 45g): Specifically using Dutch-processed dark cocoa ensures the top layer has that “rich, fudgy dark chocolate” appearance that contrasts beautifully with the golden base.
Large Eggs (2 units): Beating the eggs with the sugar is the scientific secret to creating that “paper-thin crackly top” that shimmers under natural side lighting.
Melted Dark Chocolate (1/2 cup / 90g): This adds fat and intensity, ensuring the brownie layer is dense rather than light and airy.
The Artisanal Finishing Touches
Creamy Peanut Butter (1/4 cup / 65g): When gently warmed, this creates the “thick, glossy peanut butter sauce” that defines the top of the dish. It adds a pop of color against the dark brownie.
Flaky Sea Salt: A crucial garnish that cuts through the intense sweetness and adds a professional, sparkling finish to the dark chocolate glaze.
Crushed Peanuts (2 tbsp / 15g): These provide a necessary textural crunch and signal the flavor profile of the hidden center to anyone looking at the dish.
Professional Gear for a Precision Bake
To ensure your Peanut Butter Cup Stuffed Brookies come out looking exactly like the blueprint, you need the right tools. A standard 8×8 inch (20x20cm) square baking pan is preferred over a larger 9×13 to ensure the layers have significant vertical height.
Line your pan with high-quality parchment paper, leaving an overhang on the sides. This “sling” method allows you to lift the entire block of brookies out once cooled, which is essential for getting those clean, handheld-style slices. You will also want a sharp, non-serrated knife. For the cleanest cuts, wipe the blade with a warm, damp cloth between every single slice to keep the layers distinct and prevent the “oozing peanut butter center” from smearing across the dark chocolate brownie.
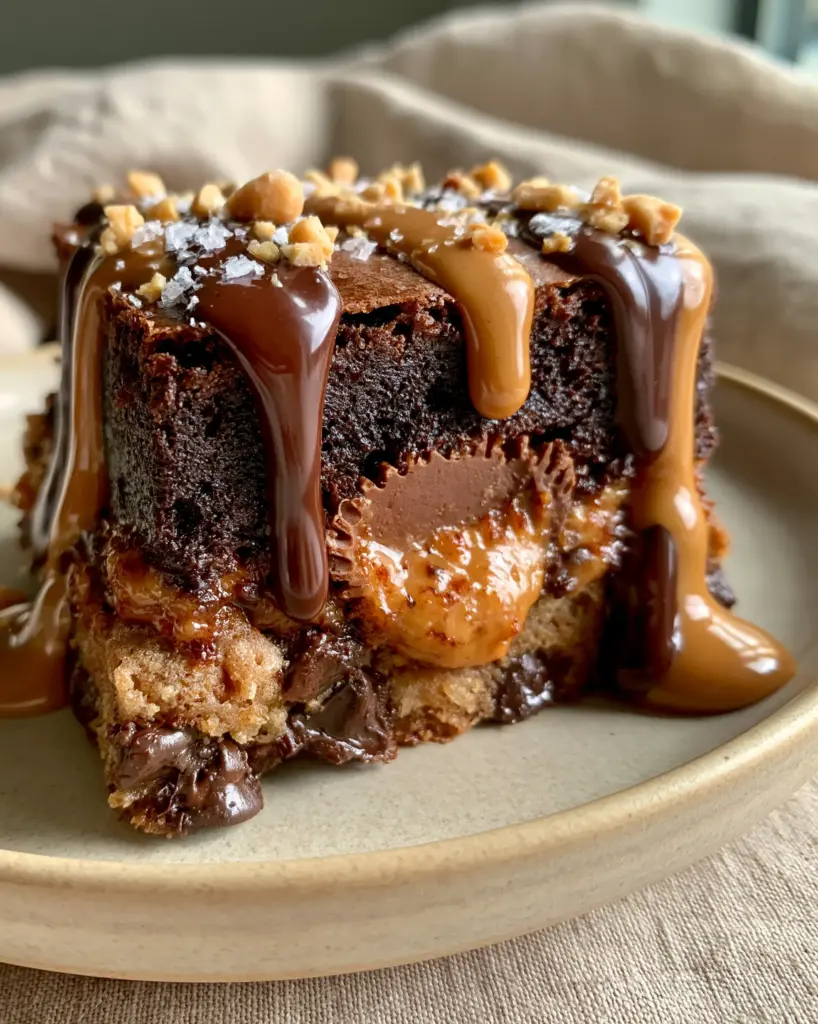
Step-by-Step Architecture: Building the Layers
Creating Peanut Butter Cup Stuffed Brookies is a process of construction. Follow these steps to ensure the science of the bake supports the visual aesthetic.
Constructing the Cookie Base
Begin by creaming your butter and sugars until they are just combined. Avoid over-aerating the dough; we want a dense foundation, not a fluffy cake. Fold in your flour, salt, and baking soda, then toss in the chocolate chips. Press this dough firmly into the bottom of your lined pan. Use the back of a measuring cup to ensure the layer is perfectly level, as this will prevent the peanut butter cups from tilting during the bake.
Setting the Molten Hidden Layer
Take your peanut butter cups and press them into the raw cookie dough layer. You want to space them evenly so that every square slice will eventually have a whole cup in the middle. Press them down just enough so they are anchored, but not so deep that they touch the bottom of the pan. This ensures the “melting chocolate chips” of the base remain separate from the peanut butter core.
Folding the Fudgy Brownie Top
In a separate bowl, whisk your eggs and sugar vigorously for 2-3 minutes. This aeration is what creates the “paper-thin crackly top.” Fold in your melted dark chocolate and cocoa powder, followed by the flour. Pour this thick, dark batter over the peanut butter cups. Use an offset spatula to spread it to the edges, ensuring all the cups are completely submerged. The brownie layer should look smooth and dark before it enters the oven.
Baking for Texture and Visual Cues
Bake at 350°F (175°C) for 30-35 minutes. You are looking for a specific sensory cue: the edges should be set and slightly pulled away from the parchment, while the center should still have a very slight jiggle. The top must be shiny and show those characteristic micro-cracks. Do not overbake, or you will lose the “gooey, half-melted peanut butter cup” texture that makes this recipe famous.
Expert Tips for Visual and Culinary Success
- The Temperature Trick: If you want the peanut butter cups to stay perfectly intact but soft, chill them in the freezer for 20 minutes before pressing them into the dough. This prevents them from fully disintegrating into the brownie batter.
- The Glossy Drizzle: To get that “thick, glossy peanut butter sauce,” microwave your peanut butter for 15 seconds, then whisk in a teaspoon of coconut oil. This keeps the drizzle shiny and prevents it from dulling as it cools.
- Wait for the Set: While the prompt shows a “warm” brookie, you must let the pan sit for at least 45 minutes before slicing. This allows the fudgy dark chocolate brownie to set its structure while keeping the peanut butter center in a molten state.
- Salt Timing: Apply the flaky sea salt immediately after the chocolate glaze is applied but before it sets. This ensures the salt crystals adhere to the surface rather than rolling off.
Storage, Reheating, and the Perfect Serving Temp
These Peanut Butter Cup Stuffed Brookies are best enjoyed within 24 hours of baking for that peak “oozing” experience. However, they can be stored in an airtight container at room temperature for up to 4 days. If the peanut butter center has firmed up, a quick 10-15 second burst in the microwave will restore that handheld smartphone photo-ready melt.
For long-term storage, you can freeze individual squares. Wrap them tightly in plastic wrap and then foil. When you’re ready for a treat, thaw at room temperature and reheat briefly. The dark chocolate brownie layer actually becomes even fudgier after a stint in the freezer!
What to Serve With Your Layered Brookies
Because these brookies are incredibly rich and decadent, they pair beautifully with lighter or fruit-forward accompaniments. If you are hosting a dessert party, consider serving them alongside a fresh fruit platter drizzled with strawberry sauce to provide a tart contrast to the heavy chocolate.
For a truly indulgent experience, a cold glass of milk is traditional, but a banana oatmeal peanut butter smoothie can turn a leftover square into a high-protein (albeit very sweet) breakfast treat. If you enjoy the combination of salt and sweet, try pairing a brookie with a drink inspired by the 7-brew drink menu, perhaps something with a strong espresso base to cut through the dark cocoa intensity. If you have extra peanut butter on hand, you might even consider making a batch of marshmallow peanut butter brownies for a full-scale bake sale!
Frequently Asked Questions About Brookies
Yes, you can use large miniatures, but for the best ‘oozing’ visual effect, whole standard-sized cups are recommended. If using minis, ensure you pack them densely so every bite has a peanut butter core.
The secret to the paper-thin crackly top is whisking the eggs and sugar together vigorously for at least 2 minutes before adding the other ingredients. This creates a meringue-like structure that rises to the surface during baking.
Wait until the brookies are mostly cooled. Use a sharp, thin-bladed knife and wipe it clean with a hot, damp cloth between every slice. This ensures the dark brownie doesn’t streak into the golden cookie layer.
Layers often merge if the cookie dough is too soft or if the brownie batter is too thin. Ensure your butter isn’t hot when mixing and follow the cooling times for the cookie base before adding the brownie layer.
The Ultimate Peanut Butter Cup Stuffed Brookies Recipe
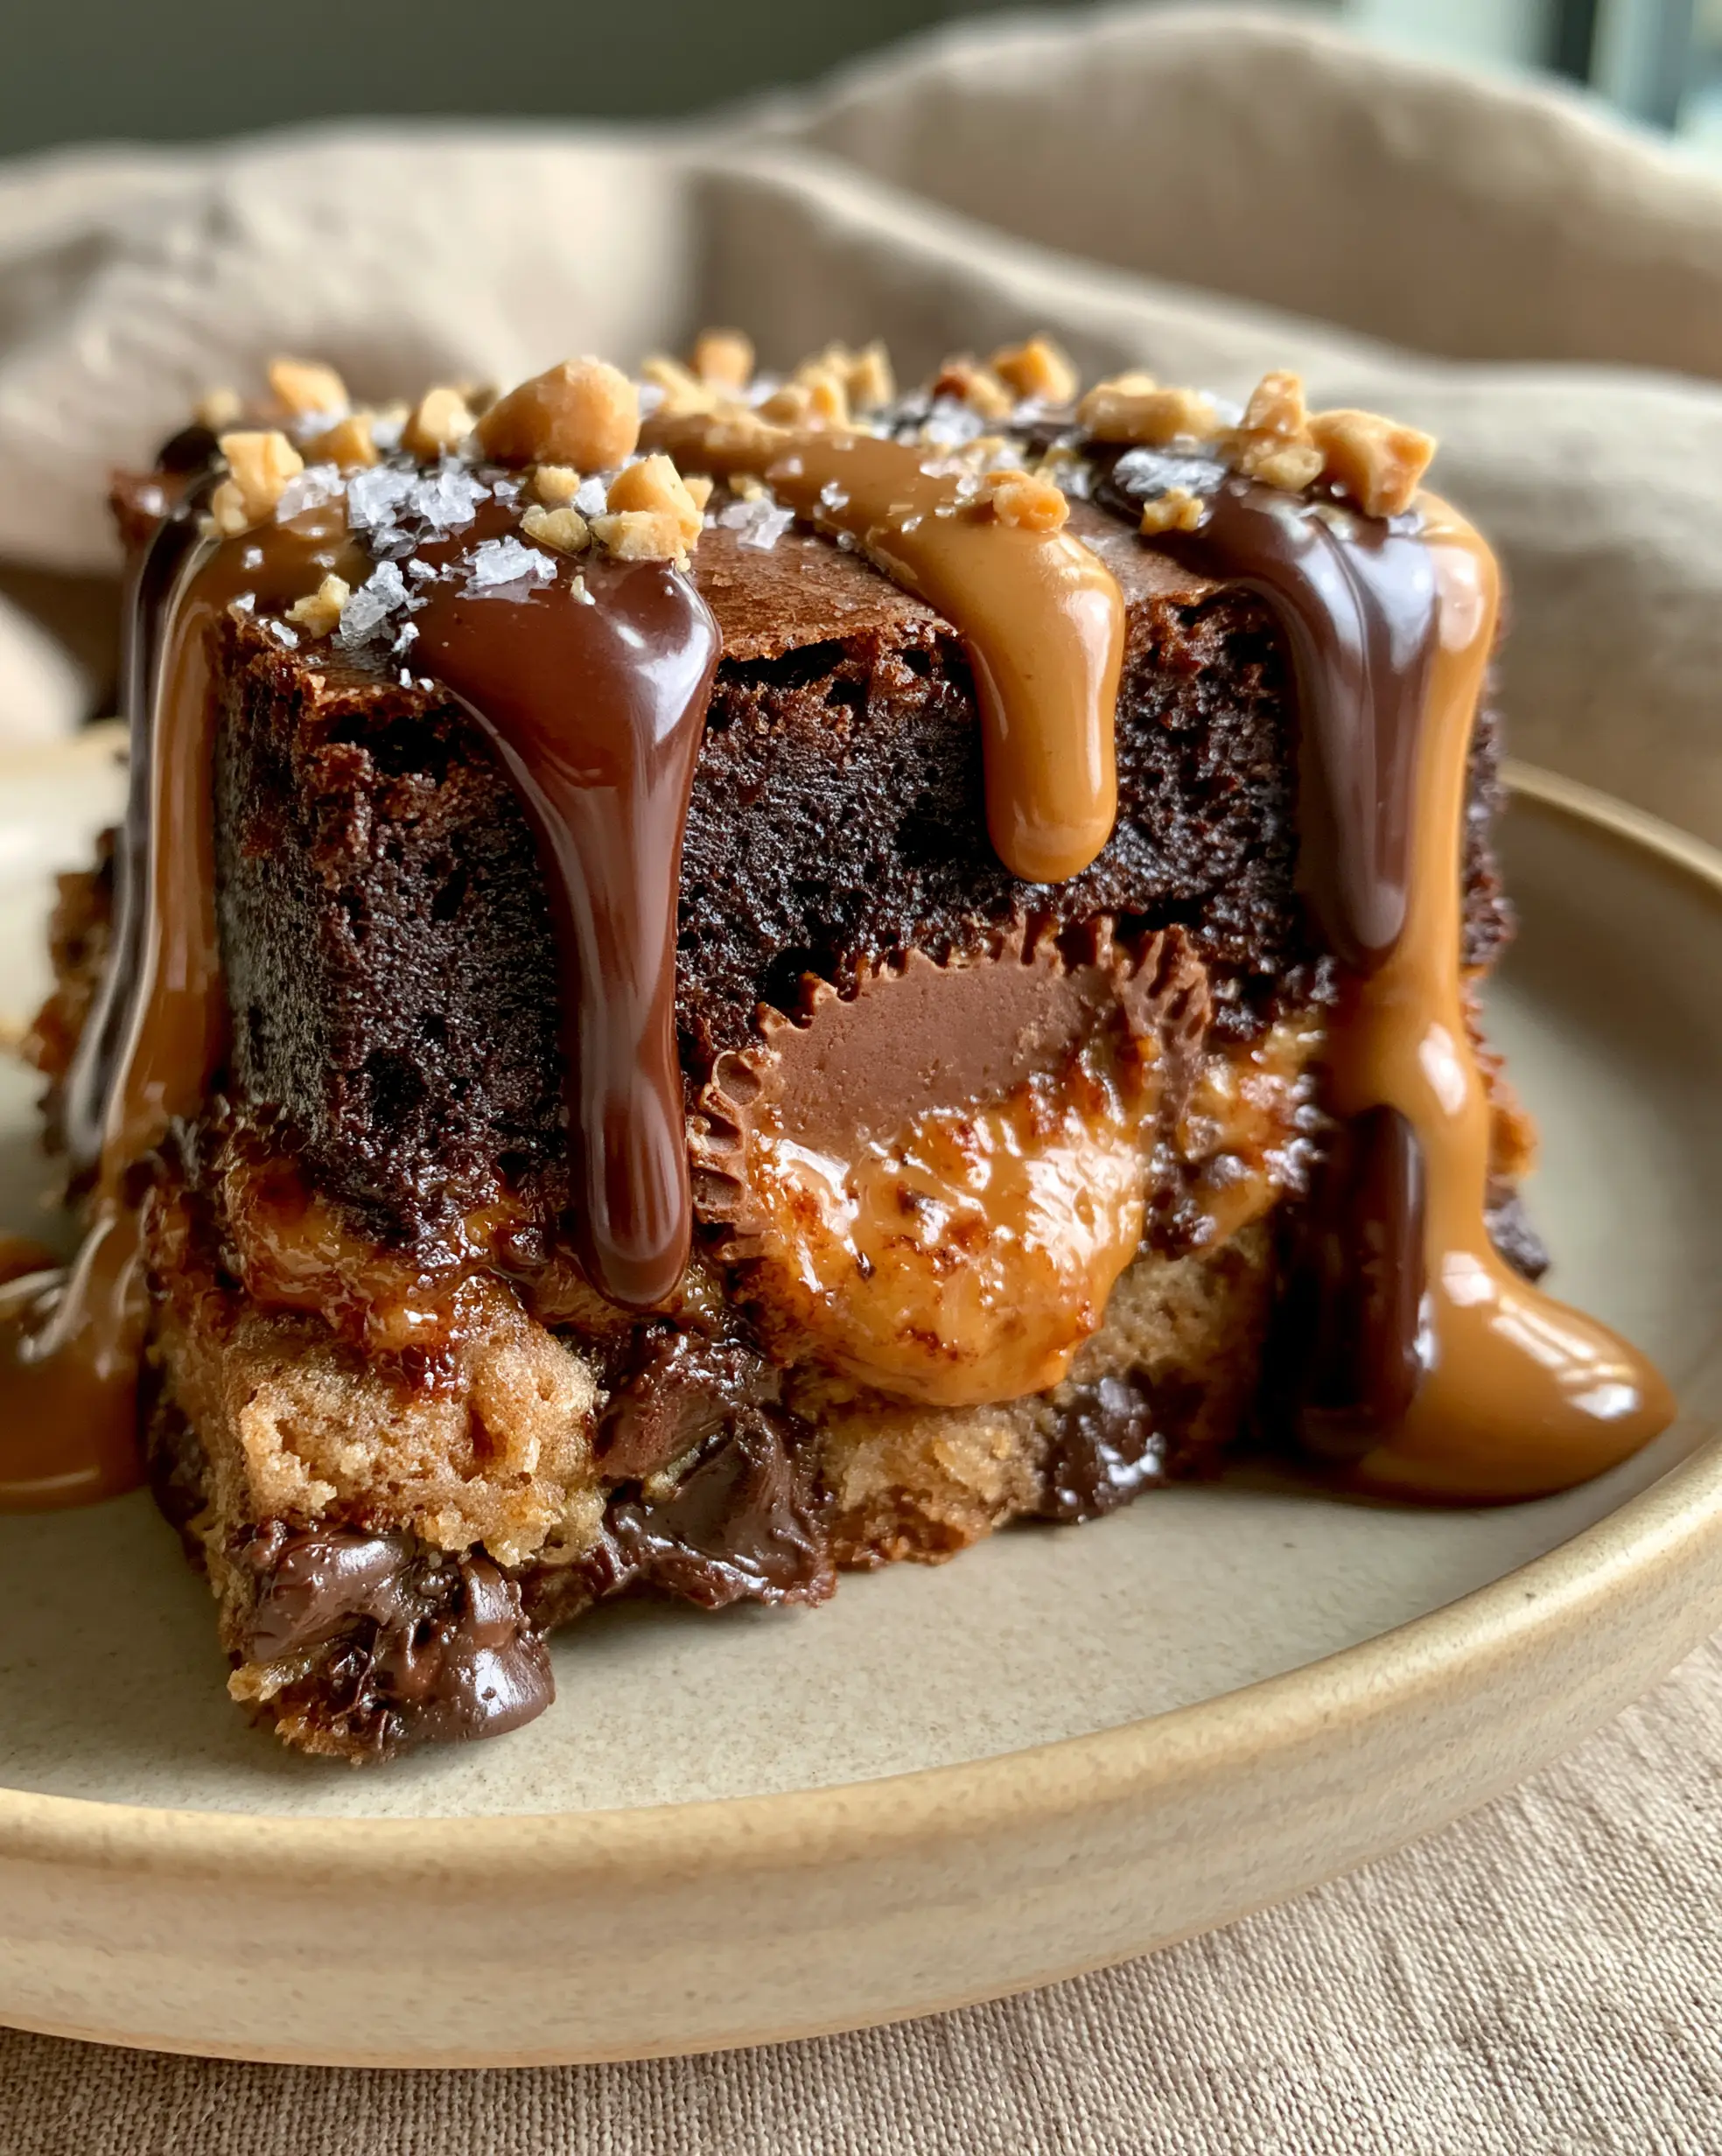
Peanut Butter Cup Stuffed Brookies: The Ultimate Triple-Layer Dessert Guide
Ingredients
Equipment
Method
- Preheat your oven to 350°F (175°C) and line an 8x8 inch baking pan with parchment paper, ensuring an overhang on at least two sides.
- In a medium bowl, cream together melted butter, brown sugar, and granulated sugar. Add the egg and vanilla, mixing until smooth. Fold in flour and 3/4 cup chocolate chips. Press firmly into the bottom of the pan.
- Place 16 peanut butter cups in a 4x4 grid on top of the raw cookie dough, pressing them down slightly so they stay in place.
- In another bowl, whisk the 2 eggs and 1 cup sugar vigorously for 2 minutes. Stir in melted butter, dark cocoa powder, and melted chocolate. Fold in the flour until just combined. Spread evenly over the peanut butter cups.
- Bake for 30-35 minutes until the top is crackly and shiny. Let cool in the pan for 45 minutes to set.
- Drizzle with warmed creamy peanut butter and melted chocolate sauce. Sprinkle with crushed peanuts and flaky sea salt before slicing into squares.
Notes
Use a warm knife for the cleanest cuts through the fudgy layers.
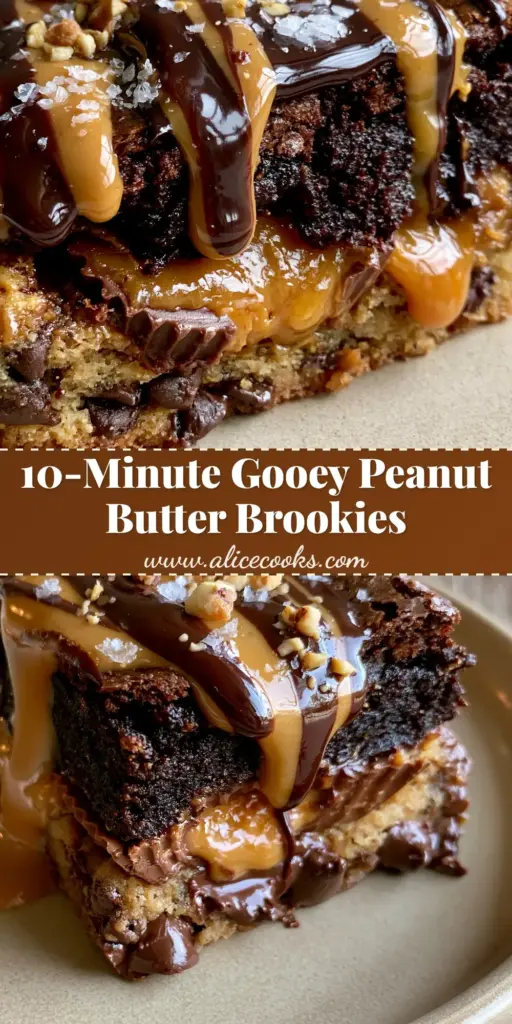
Master the Art of the Stuffed Brookie
The Peanut Butter Cup Stuffed Brookies represent the pinnacle of home baking—a dish that is as visually arresting as it is delicious. By mastering the layers of golden cookie, melted chocolate, and fudgy brownie, you are creating more than just a dessert; you are creating an experience. The contrast of the glossy peanut butter drizzle against the dark, crackly top is a testament to your skill as a baker.
If you enjoyed this recipe, please leave a comment below and let us know how your layers turned out! We love seeing your recreations, so don’t forget to share your photos and follow us on Pinterest for more decadent dessert inspiration and forensic-level recipe guides. Happy baking!


