There is something inherently nostalgic about the combination of toasted marshmallow, melted chocolate, and crunchy graham crackers. This s’mores cheesecake takes those classic campfire flavors and elevates them into a sophisticated, multi-textured dessert bar that requires zero time in the oven.
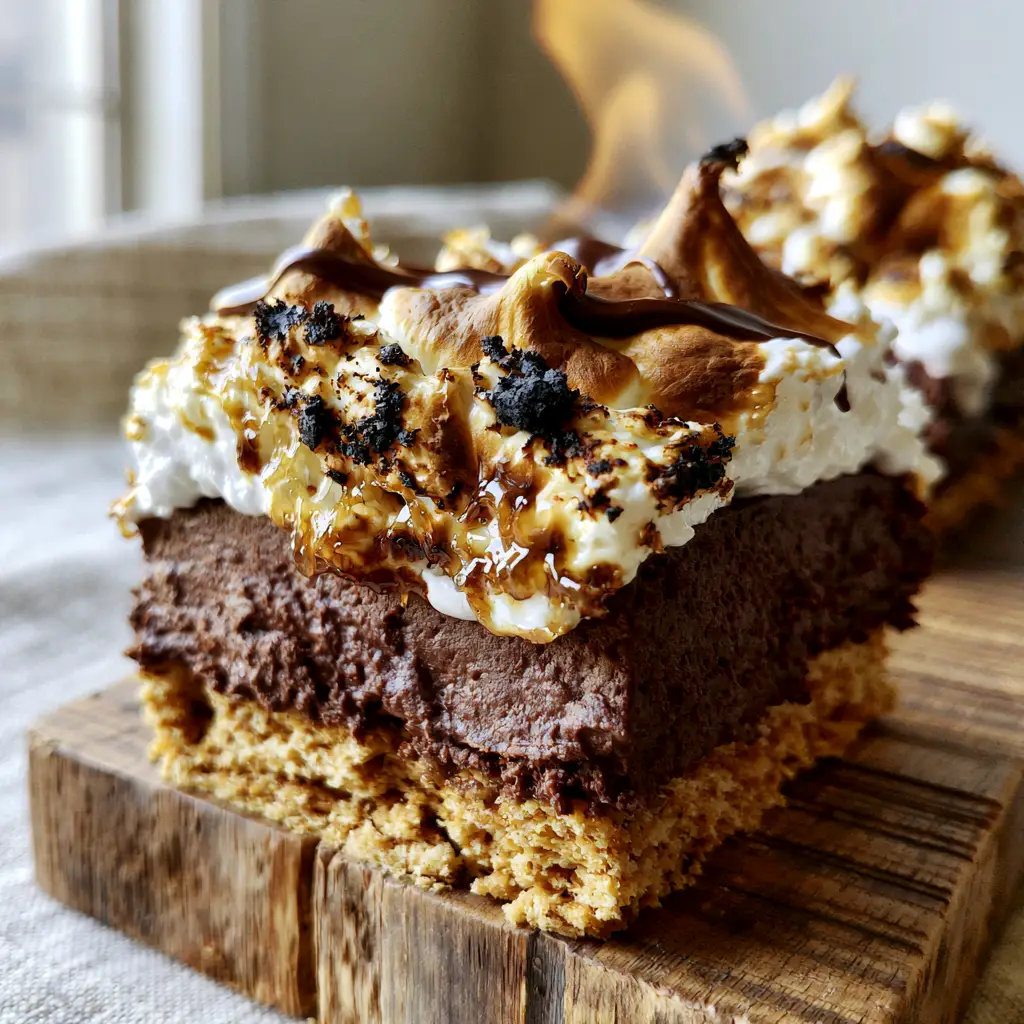
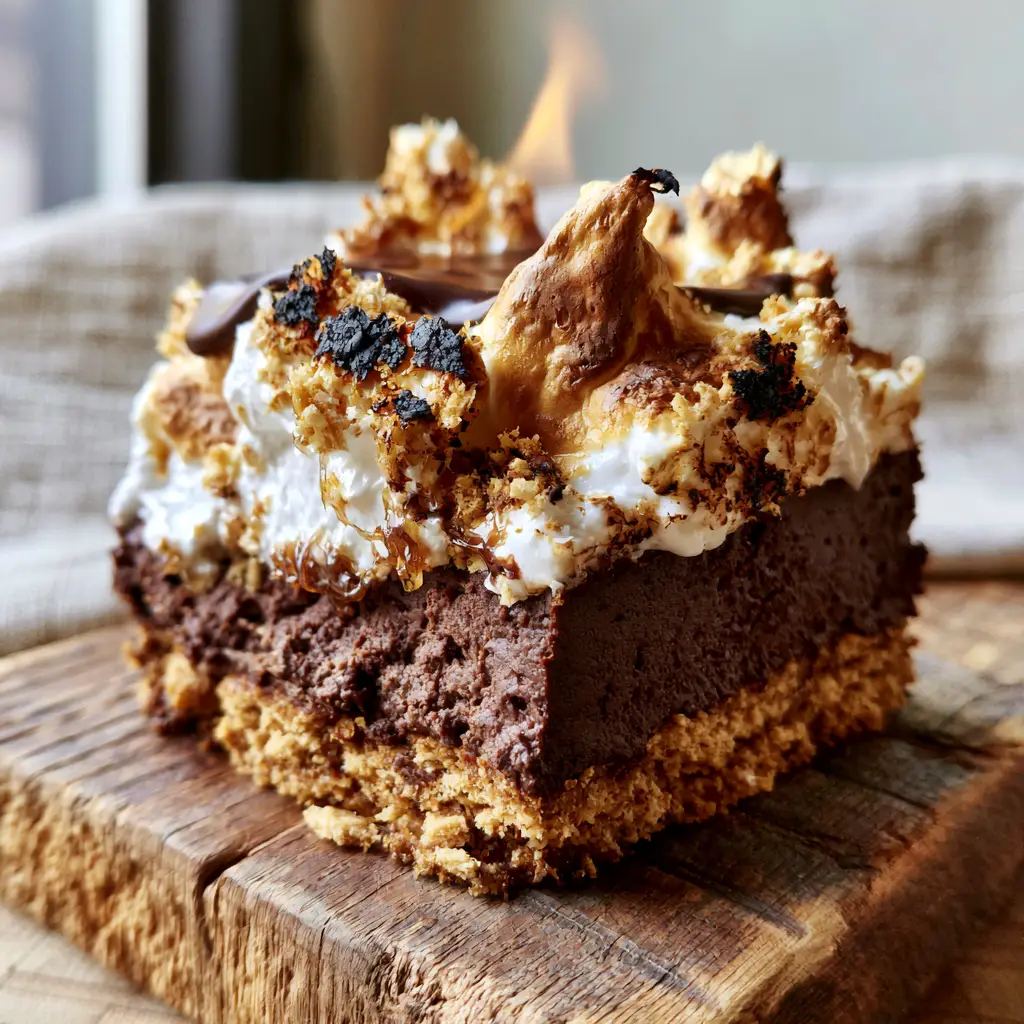
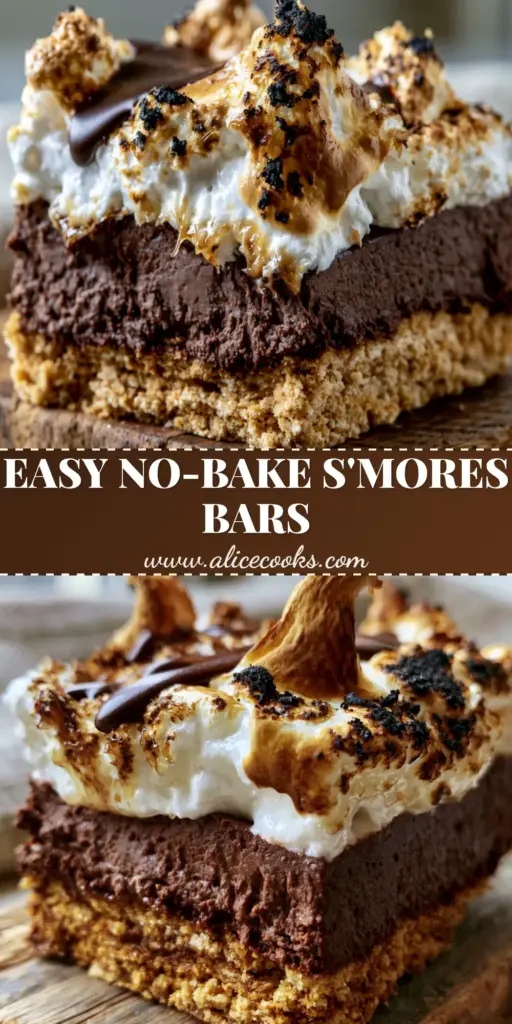
Imagine biting into a thick, compacted foundation of golden-brown buttery graham cracker crumbs. Follow that with a middle layer of dense, velvety dark chocolate cheesecake that melts on the tongue like silk. Finally, the experience is crowned with mountainous, gooey peaks of marshmallow fluff, charred to perfection with deep golden-brown ridges and signature black spots.
Whether you are hosting a summer backyard bash or looking for a show-stopping holiday treat, this s’mores cheesecake delivers the “wow” factor through both flavor and forensic visual accuracy. Let’s dive into how you can recreate this handheld masterpiece in your own kitchen.
Why This No-Bake S’mores Cheesecake Works Every Single Time
- No-Bake Convenience: Skip the water bath and the fear of cracks; this cheesecake sets perfectly in the refrigerator using high-quality dark chocolate as a natural stabilizer.
- The Perfect Texture Contrast: You get the crunch of the pressed graham cracker crust, the density of the fudge-like filling, and the ethereal stickiness of the toasted marshmallow fluff.
- Gourmet Visuals: With the glossy dark chocolate ganache drizzle and scattered graham cracker dust, this looks like it came straight from a high-end bakery.
- Handheld Versatility: Unlike a traditional round cake, these bars are sturdy enough to be lifted from a rustic board, making them ideal for parties.
Essential Components for the Ultimate Chocolate S’mores Experience
To achieve the professional results seen in our visual blueprint, every ingredient serves a specific culinary purpose. We aren’t just making a dessert; we are building layers of flavor and structure.
Graham Cracker Crumbs (3 cups / 255g): These provide the thick, compacted foundation. Use honey-flavored crackers for that authentic “campfire” sweetness and sandy texture.
Unsalted Butter (3/4 cup / 170g): When melted and mixed with crumbs, butter acts as the “glue.” It ensures your crust is visible and textured without crumbling apart when lifted.
Full-Fat Cream Cheese (16 oz / 450g): Ensure this is at room temperature. It provides the tangy base and structural integrity required for a dense, velvety middle layer.
Dark Chocolate 60-70% Cacao (10 oz / 280g): This is the most important ingredient for the filling. It provides the “dense dark chocolate” visual and a rich, adult sweetness that balances the marshmallow.
Heavy Whipping Cream (1 cup / 240ml): Beaten to stiff peaks and folded in, this creates the “velvety” texture described in our Midjourney prompt. It lightens the dense chocolate without making it runny.
Marshmallow Fluff (1 jar / 7 oz / 198g): This creates the mountainous peaks. It holds its shape better than melted marshmallows and provides that gooey, sticky texture we love.
Dark Chocolate Chips & Heavy Cream (For Ganache): This creates the thin, glossy dark chocolate ganache that catches the light in your final photos.
Must-Have Tools for Professional Results
Achieving those charred marshmallow edges and the perfectly pressed crust requires a few specific kitchen essentials. You cannot get that “mountainous” look without the right gear.
- 9×9 inch Square Baking Pan: Lining this with parchment paper is non-negotiable for lifting the bars out cleanly.
- Kitchen Torch: This is the secret to the “charred black spots” and golden-brown peaks. An oven broiler works in a pinch, but a torch offers forensic precision.
- Offset Spatula: Essential for smoothing the dark chocolate cheesecake layer and swirling the marshmallow fluff into “peaks.”
- Food Processor: To achieve that fine “graham cracker dust” scattered over the top.
Step-By-Step Guide to Crafting the Perfect S’mores Cheesecake
Constructing the Sandy Graham Cracker Foundation
Start by pulsing your graham crackers into fine crumbs. Mix with melted butter and a pinch of salt until the mixture resembles wet sand. Press this firmly into your lined pan. Use the bottom of a flat measuring cup to ensure it is a “thick, compacted foundation.” Chill this in the freezer for 15 minutes to lock it in place.
Mixing the Velvety Dark Chocolate Filling
Melt your dark chocolate in 30-second intervals in the microwave until glossy. In a separate bowl, beat the cream cheese and powdered sugar until smooth. Gradually stream in the melted chocolate, scraping the sides of the bowl. Fold in your whipped heavy cream gently; you are looking for a uniform, deep mahogany color with no white streaks.
Setting the Bars for Structural Integrity
Spread the chocolate mixture over the chilled crust. Use your offset spatula to create an even, flat surface. This needs to refrigerate for at least 4-6 hours (or overnight) to reach the “dense” state required for clean slicing. If it’s too soft, the bars won’t hold up when you lift them for that handheld smartphone photo look.
Creating Mountainous Marshmallow Peaks
Once the cheesecake is set, dollop the marshmallow fluff across the top. Use a spoon to “pull” the fluff upward, creating those tall, irregular peaks. Now, take your kitchen torch. Pass the flame quickly over the peaks until they turn golden brown, then linger slightly on the tips to create “charred black spots.” This adds a bitter, smoky note that cuts through the sugar.
The Final Glossy Ganache Drizzle
Heat equal parts chocolate chips and cream until smooth. Drizzle this over the toasted marshmallow in thin, artistic lines. Finally, sprinkle a small amount of “scattered graham cracker dust” over the top to tie the visual elements together. The ganache should catch the light, providing that “glossy” finish mentioned in our blueprint.
Expert Tips for a Flawless S’mores Cheesecake
- Temperature Control: Never add hot melted chocolate directly to cold cream cheese. It will seize and create grainy bits rather than a velvety filling.
- Clean Slicing: For those perfect bakery-style edges, dip your knife in hot water and wipe it dry between every single cut.
- The Torch Technique: Keep the torch moving! You want “charred edges,” not a house fire. The sugar in the fluff burns quickly.
- Parchment Slings: Leave an overhang of parchment paper on two sides of the pan. This allows you to lift the entire block of cheesecake out before slicing into bars.
How to Store Your S’mores Masterpiece
Because this is a dairy-based dessert, it must be kept refrigerated. However, the marshmallow fluff can become quite sticky over time. Store the bars in an airtight container for up to 4 days. If you are preparing this in advance, wait to toast the marshmallow fluff and add the ganache until the day of serving to maintain the best texture.
We do not recommend freezing these bars once the marshmallow fluff has been added, as the fluff can weep and lose its “mountainous” structure during the thawing process.
What to Serve with S’mores Cheesecake Bars
These bars are rich and decadent, so pairing them with the right beverage or side dish is key. For a nostalgic summer vibe, try serving these alongside some chilled nostalgic summer drinks. The acidity of a fruit-forward drink can help cleanse the palate between bites of dark chocolate.
If you are creating a full dessert spread, these bars look stunning next to a classic layered strawberry pretzel salad or a tray of colorful funfetti cake pops. If you want to lean further into the chocolate theme, a decadent brownie refrigerator cake makes an excellent companion on a dessert board. For a refreshing contrast, a glass of vibrant blue lemonade provides a beautiful color pop against the dark chocolate and charred marshmallow.
Frequently Asked Questions About No-Bake Cheesecakes
Yes, you can use your oven’s broiler setting. Place the chilled cheesecake in the oven for 1-2 minutes, watching very closely, as the marshmallow fluff can burn or melt quickly.
Absolutely. Just ensure you measure by weight (255g) or volume (3 cups) to maintain the correct ratio of butter for a sturdy, compacted foundation.
The secret is using a sharp knife dipped in hot water and wiped clean between every cut. The heat helps glide through the sticky marshmallow and dense chocolate.
Because it contains cream cheese and heavy cream, it should not sit out for more than 2 hours. Keep it refrigerated until ready to serve for the best texture.
This usually happens if the cream cheese was too warm or if the chocolate used didn’t have a high enough cacao percentage. Ensure you use full-fat cream cheese and chill for at least 6 hours.
The Definitive No-Bake S’mores Cheesecake Recipe
S’mores Cheesecake Bars: The Ultimate No-Bake Dark Chocolate Dessert
Ingredients
Equipment
Method
- Mix graham cracker crumbs and melted butter. Press firmly into a 9x9 inch lined pan. Chill for 15 minutes.
- Beat cream cheese and sugar, then mix in melted chocolate. Fold in whipped cream. Spread over crust and refrigerate for 6 hours. Top with marshmallow fluff, torch until charred, and drizzle with ganache.
Notes
Use a hot knife for the cleanest slices.
Closing & Call to Action
Mastering the s’mores cheesecake is about more than just following steps; it is about capturing the essence of a summer night in a single, velvety bite. The contrast between the charred marshmallow and the dense dark chocolate is a culinary experience you won’t soon forget. If you enjoyed this recipe, please leave a comment below and share your photos with me!
Don’t forget to follow me on Pinterest for more visually stunning dessert inspiration and save this recipe to your favorite boards for your next gathering.