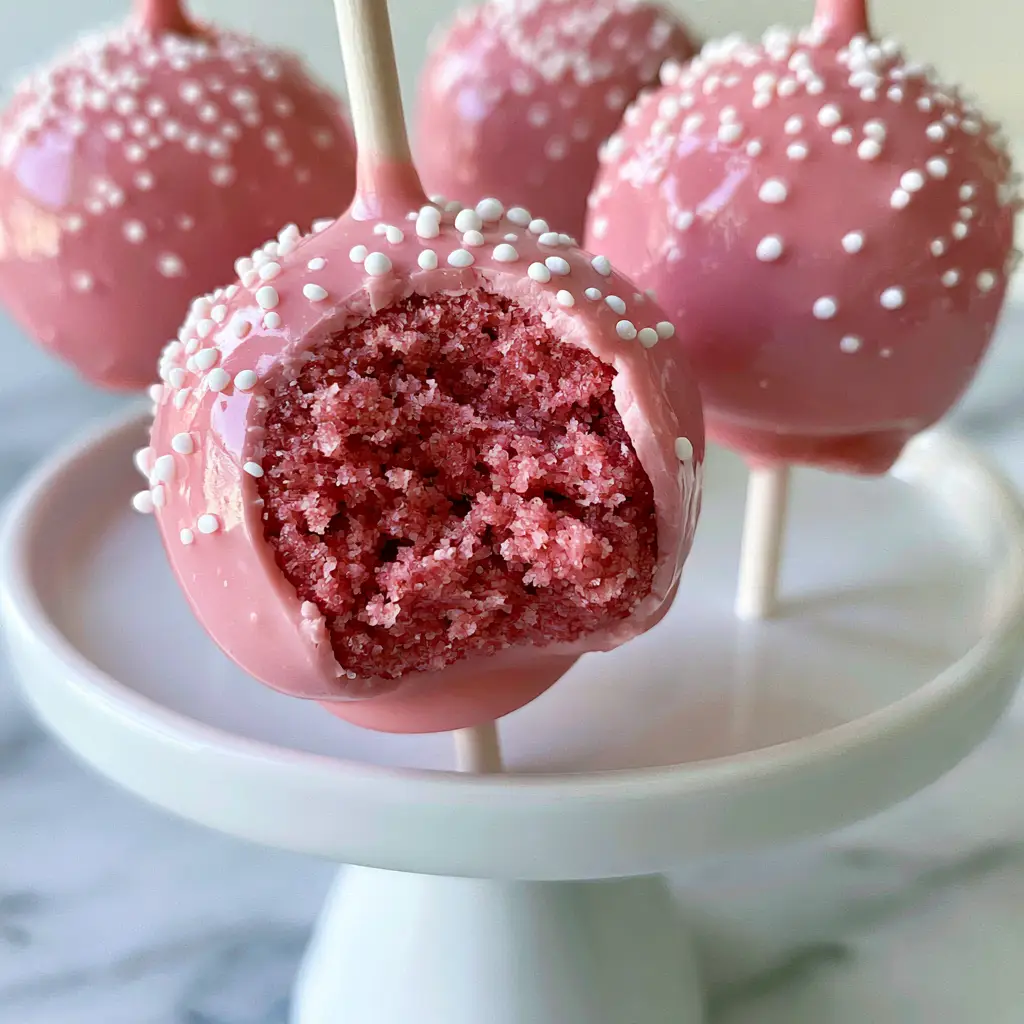
Learning how to make cake pops is a culinary rite of passage for any home baker looking to recreate that iconic coffeehouse magic. There is something deeply satisfying about the contrast between a flawless, thick, glossy pink candy coating and the dense, ultra-moist crumb waiting inside.
The visual appeal of a perfectly executed cake pop is undeniable, especially when it mimics the legendary Starbucks aesthetic. Imagine a bright pink center that is moist enough to hold its shape but light enough to melt on your tongue, all perched atop a clean white paper lollipop stick.
Whether you are prepping for a birthday party or simply want to master the art of the “clean bite” reveal, this guide will walk you through the science and technique required. We are focusing on every forensic detail—from the specific crumb texture to the shimmering white candy nonpareil sprinkles that provide that signature crunch.
The Signature Appeal of This Starbucks-Style Treat
- Ultra-Moist Crumb: Unlike dry, crumbly versions, this recipe uses a specific binder ratio to ensure a dense, fudgy interior that looks stunning when bitten into.
- High-Gloss Finish: We use a specific thinning technique to achieve a smooth glossy pink candy coating that reflects light like a professional confection.
- Structural Integrity: Using foundational invisible ingredients ensures your cake pops stay firmly on their white paper lollipop sticks without sliding.
- Nostalgic Flavor: A perfect balance of classic vanilla with a hint of concentrated strawberry or vanilla bean to match that “pink” flavor profile.
The Essential Ingredients for Perfect Pink Cake Pops
To achieve the visual and textural results seen in professional bakeries, you need more than just cake and frosting. Every ingredient plays a structural role in the final handheld masterpiece.
1. Moist Vanilla Cake Base: You will need 1 box (432g) of high-quality white or vanilla cake mix, prepared with an extra egg to increase the density of the crumb. This provides the “bright pink cake crumb center” described in our visual blueprint.
2. Pink Gel Food Coloring: Use a high-potency gel rather than liquid to achieve that vibrant hue without altering the moisture content of the batter. A small amount (1/4 tsp (1.25ml)) goes a long way in creating that “ultra-moist, bright pink” look.
3. Creamy Vanilla Frosting: You will need 1/2 cup (120g) of stiff vanilla buttercream to act as the “glue.” This is the foundational invisible ingredient that transforms crumbs into a moldable dough.
4. Pink Candy Melts: Use 12 oz (340g) of premium pink candy wafers for the exterior. This specific ingredient ensures a “flawless, thick, glossy pink candy coating” that sets quickly and stays smooth.
5. Coconut Oil or Paramount Crystals: 1 tbsp (15ml) of oil is essential for thinning the coating. This is the secret to achieving that “smooth glossy” finish rather than a chunky, matte surface.
6. White Candy Nonpareil Sprinkles: These tiny “white candy nonpareils” are the crowning glory. Their small size ensures they don’t overwhelm the delicate curve of the pop.
7. White Paper Lollipop Sticks: 6-inch (15cm) sticks provide the necessary leverage and aesthetic contrast against the pink coating. If you’ve mastered these, you’ll love the presentation of our strawberry poke cake.
Tools for a Professional Confectionary Setup
To get that minimalist, high-end look, you need the right equipment. A handheld smartphone photo of your finished product looks best when the pops are uniform and sleek.
You will need a large mixing bowl for crumbing the cake by hand, a baking sheet lined with parchment paper for the initial chill, and a deep, narrow microwave-safe glass or bowl for dipping. A deep vessel allows for a single, clean plunge, which is the key to a “flawless” exterior.
Finally, a minimalist white ceramic stand or even a block of styrofoam is necessary to hold the pops upright while they set. This prevents the “flat-head” look and ensures the coating dries in a perfect sphere.
Step-by-Step Instructions: Mastering the Cake Pop
Phase 1: Creating the Ultra-Moist Pink Crumb
Bake your vanilla cake according to the package instructions, but substitute the water for whole milk (240ml) and add an extra egg. This increases the fat content, leading to the “dense, ultra-moist” texture we are aiming for.
Once the cake is fully cooled—this is vital—remove the browned edges with a serrated knife. You only want the soft, pink interior. Crumble the cake into a large bowl until it resembles fine, colorful sand.
Add your vanilla frosting one tablespoon at a time. Mix by hand until the dough feels like slightly damp clay. You should be able to roll a ball that doesn’t crack; if it cracks, it’s too dry. If it feels greasy, you’ve added too much frosting.
Phase 2: Shaping and Anchoring the Pops
Scoop approximately 1 tbsp (20g) of the mixture and roll it between your palms into a tight, smooth sphere. Place these on a parchment-lined tray and chill in the freezer for exactly 15 minutes. Chilling “sets” the fats so the pops don’t fall apart during dipping.
Melt a small handful of pink candy melts in the microwave. Dip the tip of each white paper lollipop stick about 1/2 inch (1.25cm) into the melted candy, then insert it halfway into a chilled cake ball. This “candy weld” is the foundational step that keeps your pop from sliding down the stick.
Phase 3: Achieving the Smooth Glossy Pink Coating
Melt the remaining pink candy melts in 30-second intervals, stirring vigorously between each. Once melted, stir in the coconut oil (15ml). Watch for the sensory cue: the candy should flow off your spoon in a continuous, glossy ribbon without breaking into clumps.
Hold a cake pop by the stick and plunge it straight down into the coating until the cake is fully submerged and the coating just touches the stick. Pull it straight out—do not stir or swirl, as this introduces air bubbles.
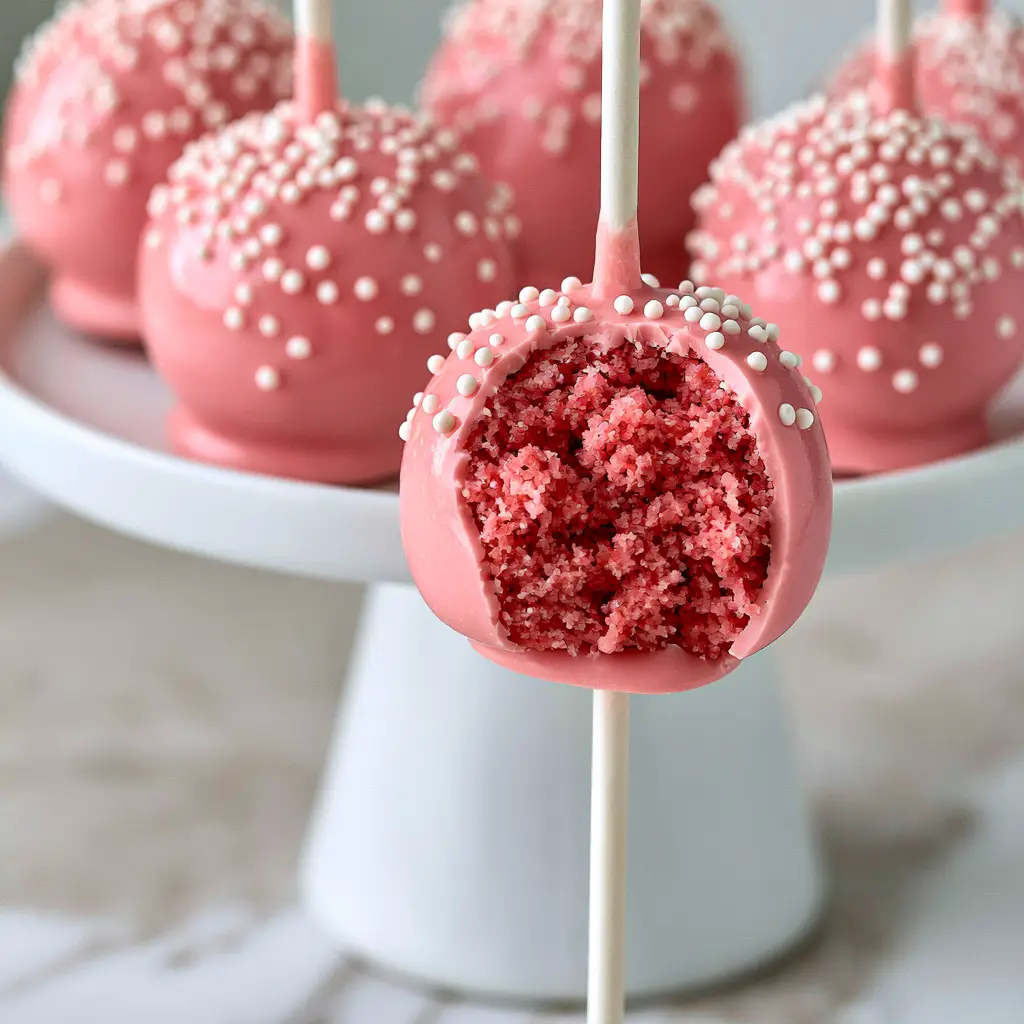
Gently tap your wrist (not the stick!) to let the excess coating drip back into the bowl. While the coating is still wet, immediately dust the top with “white candy nonpareil sprinkles.” If you wait too long, the “smooth glossy” surface will set, and the sprinkles won’t stick.
Expert Tips for Bakery-Quality Results
- Temperature Control: Never dip a frozen cake pop into hot candy. The extreme temperature difference will cause the coating to crack as it cools. Aim for “cool-to-the-touch” pops and “warm-to-the-touch” candy.
- The “Tap” Technique: When removing excess candy, tap your hand, not the stick. This creates a gentle vibration that smooths the surface without dislodging the cake ball.
- Avoid Over-Mixing: When combining crumbs and frosting, mix just until the dough holds. Over-working the dough can make the interior “gummy” rather than “dense and moist.”
- Thin is In: If your coating is too thick, it will pull the cake ball right off the stick. Always use oil or paramount crystals to achieve a fluid consistency. This is a common trick used in our standard cake pop recipe tutorials.
Storage and Freshness Guide
Because the candy coating acts as a hermetic seal, cake pops stay moist for a surprisingly long time. You can keep them at room temperature in a cool, dry place for up to 3 days.
For longer storage, place them in an airtight container in the refrigerator for up to a week. If you notice “sweating” (condensation) on the glossy pink surface, let them come to room temperature slowly before serving.
You can also freeze these for up to 6 weeks. To do so, wrap each pop individually in plastic wrap and place them in a freezer-safe bag. This makes them a great make-ahead treat, much like our no-bake cheesecake bars.
What to Serve with Your Pink Cake Pops
These pops are a standout dessert on their own, but they also pair beautifully with other themed treats. For a pink-themed dessert spread, consider serving them alongside a chilled strawberry cream cheese pie.
If you are hosting a summer party, the sweetness of the candy coating is perfectly balanced by the tartness of a strawberry kiwi lemonade. The visual synergy between the pink pops and a bright red or pink beverage is a photographer’s dream.
For a more decadent pairing, try serving these after a meal that ends with a slice of white chocolate raspberry poke cake. The contrasting textures of the soft cake and the “flawless, thick” coating of the pops will delight your guests.
Frequently Asked Questions
Yes! Store-bought vanilla cake mix and canned frosting work perfectly. Just be sure to add an extra egg to the cake mix for a denser, more professional crumb texture.
The secret is adding a thinning agent like coconut oil or paramount crystals to your pink candy melts. This reduces the viscosity, allowing excess candy to drip off smoothly without leaving lumps.
Nonpareils are tiny, spherical sugar sprinkles. You can find white candy nonpareils in the baking aisle of most grocery stores or craft shops to achieve that classic Starbucks look.
This usually happens because the cake ball is too heavy, the coating is too thick, or you skipped the ‘candy weld’ step. Ensure you dip the stick in melted candy before inserting it into the cake ball.
Cracking is caused by extreme temperature changes. If your cake balls are too cold (frozen) when you dip them into warm candy, the expanding and contracting will crack the shell.
The Ultimate Starbucks Copycat Cake Pop Recipe
How to Make Cake Pops: The Ultimate Starbucks Copycat Recipe
Ingredients
Equipment
Method
- Bake vanilla cake with pink gel coloring and an extra egg for density. Allow to cool completely at room temperature.
- Remove browned edges. Crumble the bright pink interior into fine grains in a large mixing bowl.
- Add vanilla frosting to the crumbs and mix by hand until a dough forms that holds its shape without cracking.
- Roll 1 tbsp (20g) portions into smooth spheres. Place on parchment and freeze for 15 minutes to set.
- Dip white paper sticks into melted candy and insert halfway into the cake balls. Chill for another 10 minutes.
- Submerge chilled pop into smooth glossy pink candy coating mixed with coconut oil. Pull straight out.
- Tap off excess and immediately top with white candy nonpareils. Place in stand to set.
Notes
Thin the candy coating until it flows like warm honey for the glossiest finish.
Share the Pink Perfection!
Mastering how to make cake pops is all about patience and the right visual cues. Once you see that glossy pink shell and taste the ultra-moist center, you’ll never go back to store-bought versions. The “clean bite” reveal is not just a photo op—it’s a testament to your baking skill!
Did you try this recipe? We want to see your “flawless” results! Leave a comment below with your tips, or share your photos on social media. Don’t forget to follow and pin this recipe to your favorite dessert boards on Pinterest so you can find it for your next celebration.


