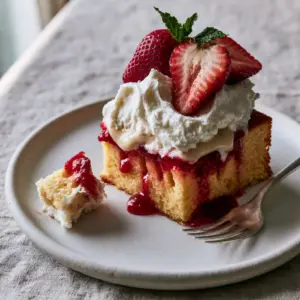
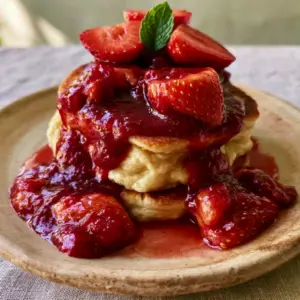
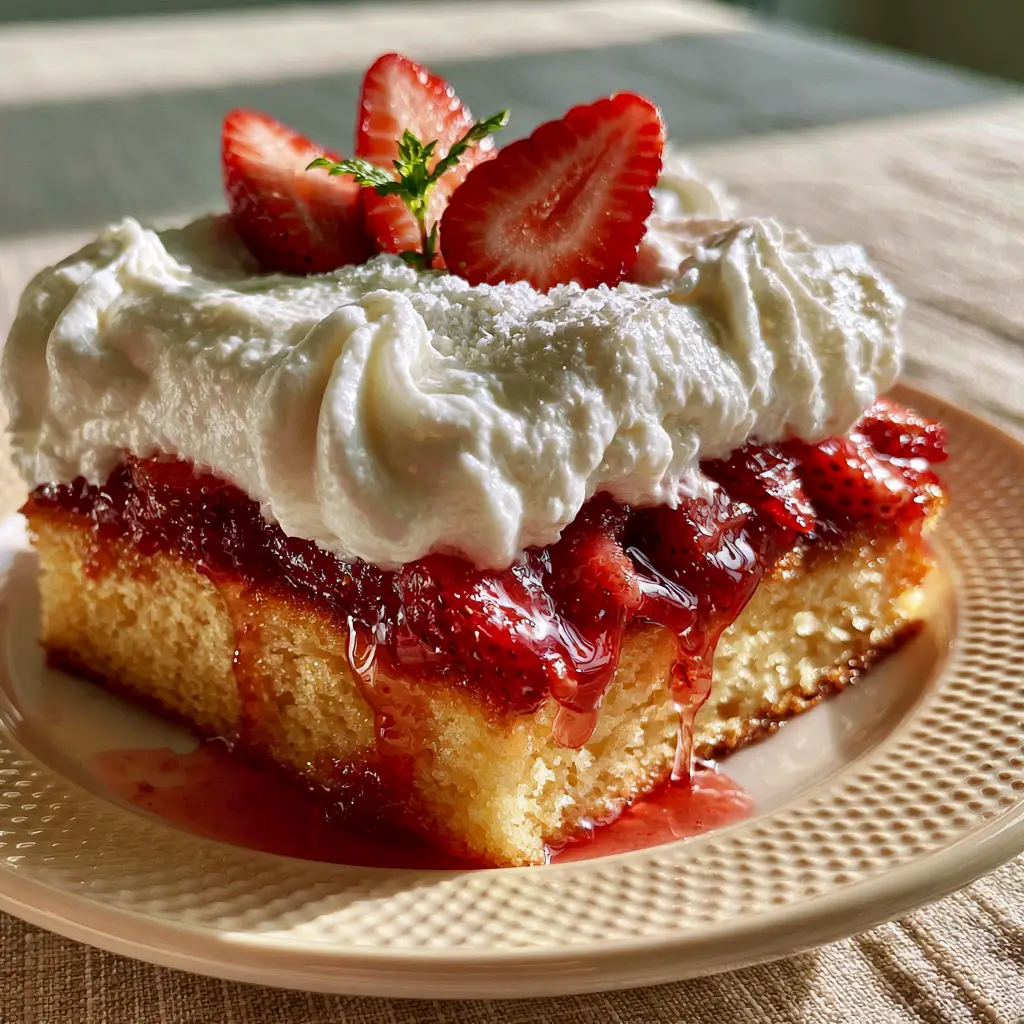
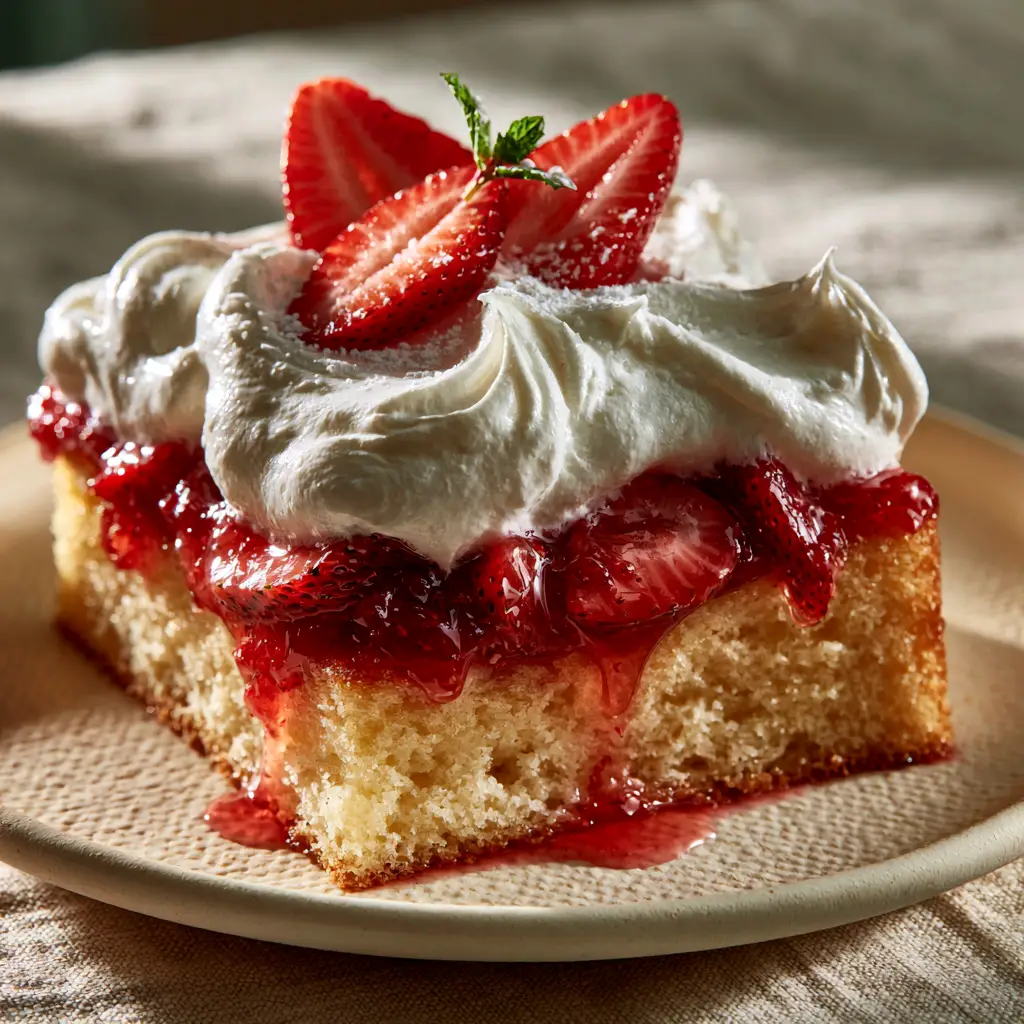
There is nothing quite like the sight of a Strawberry Shortcake Sheet Cake glowing under the soft, warm light of a golden hour afternoon. This isn’t just a dessert; it is a visual and sensory masterpiece designed to bring the nostalgic flavors of summer to a crowd-friendly format. Imagine a generous square slice, its foundation a moist, golden-brown vanilla sponge cake with a visible light crumb that practically begs to soak up every drop of fruit nectar.
In this recipe, we move beyond the dry biscuits of the past. We are layering glistening, ruby-red macerated strawberry slices over that tender sponge, allowing the translucent red fruit syrup to drip down the sides. To finish, we crown the cake with a massive, billowy layer of cloud-like, stabilized white whipped cream, featuring those iconic hand-swirled peaks seen in the finest bakeries. It’s a showstopper that tastes even better than it looks.
Why This Sheet Cake Version Trumps the Traditional Biscuit
- Unmatched Moisture: Unlike traditional shortcake, this golden vanilla sponge is designed to remain soft and plush, even after absorbing the glossy strawberry syrup.
- Crowd-Ready Convenience: No more individual biscuit assembly; this sheet pan method serves a dozen or more with ease and elegance.
- Textural Harmony: The contrast between the dense, macerated berries and the airy, stabilized whipped cream creates a professional-level mouthfeel.
- Stunning Visuals: With its hand-swirled peaks and vibrant red fruit, this cake is a centerpiece for any sun-drenched linen tabletop.
The Foundation: Essential Ingredients for the Golden Vanilla Sponge
To achieve the visual recipe blueprint of a moist, golden-brown cake with a visible light crumb, we must use high-quality, foundational ingredients. Each component serves a specific scientific purpose in the structural integrity of your Strawberry Shortcake Sheet Cake.
Unsalted Butter (225g / 1 cup): Ensure your butter is softened to room temperature (about 65°F / 18°C) to allow for proper aeration during the creaming process. This creates the “light crumb” described in our visual prompt.
Granulated Sugar (300g / 1 ½ cups): Sugar does more than sweeten; it tenderizes the gluten and helps achieve that characteristic golden-brown crust on the sponge’s surface.
Large Eggs (4 total): Room temperature eggs emulsify more easily into the batter, ensuring the cake rises evenly without large, unsightly air pockets.
All-Purpose Flour (315g / 2 ½ cups): This provides the necessary structure to support the heavy layer of macerated strawberries and whipped cream without collapsing.
Baking Powder (2 tsp / 10g): The chemical leavener responsible for the “cloud-like” lift of the sponge base.
Whole Milk (240ml / 1 cup): Milk adds fat and moisture, ensuring the sponge remains moist even if you make it a day in advance.
Vanilla Bean Paste (2 tsp / 10ml): While extract works, paste provides those beautiful tiny black flecks that signal a premium, homemade dessert.
The Fruit Layer: Creating the Glistening Macerated Strawberry Topping
The “glossy red strawberry syrup” mentioned in the blueprint isn’t something you buy; it’s a natural byproduct of a process called maceration. By drawing out the moisture from the fruit, we create a translucent syrup that naturally soaks into the cake base.
Fresh Strawberries (900g / 2 lbs): You will need a mix of sliced strawberries for the layer and “three perfectly sliced fresh strawberry halves” for each serving’s garnish. If you love fruit-forward desserts, you might also enjoy a strawberry banana cheesecake salad during the summer months.
Granulated Sugar (100g / ½ cup): This is the osmotic agent that pulls the juice from the berries to create that “ruby-red” syrup.
Lemon Juice (15ml / 1 tbsp): A touch of acidity balances the sweetness and keeps the syrup looking bright and translucent rather than dull.
The Topping: Secrets to Billowy Stabilized Whipped Cream
To achieve those “soft, hand-swirled peaks” that don’t wilt in the heat, we use a stabilized whipped cream. This is superior to standard whipped cream because it maintains its “cloud-like” volume for hours.
Heavy Whipping Cream (480ml / 2 cups): It must be very cold, straight from the refrigerator, to trap the maximum amount of air. For a different twist on cream-based treats, check out our strawberry dole whip recipe.
Powdered Sugar (60g / ½ cup): This provides sweetness and contains a small amount of cornstarch, which aids in stabilization.
Mascarpone Cheese or Unflavored Gelatin (115g / ½ cup or 1 tsp): This is the secret “invisible” ingredient. It provides the structural scaffolding required for those deep, billowy swirls.
Critical Equipment for Professional Results
To match the macro shot’s perfection, you’ll need the right tools. A 9×13 inch (23×33 cm) metal baking pan is preferred over glass for sharper edges and even browning. An offset spatula is non-negotiable for creating the “hand-swirled peaks” in the cream. Finally, a fine-mesh sieve is required for that “faint dusting of powdered sugar” garnish.
Step-By-Step Guide to the Ultimate Strawberry Sheet Cake
1. Preparing the Golden Vanilla Sponge
Preheat your oven to 350°F (175°C). Grease your baking pan and line it with parchment paper for easy removal. In a large bowl, cream the butter and sugar for a full 5 minutes until the mixture is pale and voluminous. Add eggs one at a time, followed by the vanilla.
Sensory Cue: The batter should look like pale yellow silk. If it looks curdled, your eggs were likely too cold.
Alternately add the dry ingredients and milk, mixing until just combined. Pour into the pan and bake for 25-30 minutes. Look for the edges to pull away slightly from the sides and the top to reach a perfect “golden-brown” hue.
2. The Maceration Process
While the cake cools, hull and slice 1.5 lbs (680g) of the strawberries. Toss them with the sugar and lemon juice in a glass bowl. Let them sit at room temperature for at least 30 minutes. You will see a “glossy red strawberry syrup” begin to pool at the bottom. This syrup is liquid gold—do not discard it!
3. Whipping the Stabilized Peaks
In a chilled bowl, beat the heavy cream, powdered sugar, and your stabilizer (mascarpone or prepared gelatin) until stiff peaks form. Visual Cue: The cream should hold its shape firmly when you lift the whisk, resembling “cloud-like” billows.
4. The Final Assembly
Once the cake is completely cool, use a skewer to poke a few holes across the surface (similar to a strawberry shortcake poke cake). Pour the macerated berries and all that glistening syrup over the top, letting it soak into the crumb. Spread the whipped cream over the berries, using your spatula to create artistic, hand-swirled peaks.
Expert Tips for a Picture-Perfect Finish
- The Temperature Rule: Never apply whipped cream to a warm cake. It will melt and turn your “cloud-like” topping into a puddle.
- The Slicing Secret: For those clean, “generous square slices” seen in the macro shot, wipe your knife with a warm, damp cloth between every single cut.
- Garnish Timing: Add the fresh strawberry halves, the “delicate sprig of mint,” and the “powdered sugar dust” only right before serving to prevent wilting or dissolving.
- Syrup Control: If your berries are exceptionally juicy, you can simmer half of the macerated liquid for 5 minutes to create a thicker, more “translucent red fruit syrup” before pouring it over the sponge. For more sauce ideas, see our homemade strawberry sauce.
Storing and Prepping Ahead
This Strawberry Shortcake Sheet Cake is best enjoyed within 4 hours of assembly for maximum “billowy” texture. However, the sponge itself can be baked 24 hours in advance and stored at room temperature. Once the cream is applied, the cake must be refrigerated. Leftovers will keep for 2 days, though the sponge will continue to soften as it absorbs more syrup.
What to Serve With Your Summer Sheet Cake
This dessert is a star on its own, but it pairs beautifully with refreshing beverages. Try serving it alongside a triple berry lemonade or a tart frozen limeade to cut through the richness of the whipped cream. If you’re hosting a nostalgic summer gathering, these classic summer drinks are the perfect accompaniment.
Frequently Asked Questions
You can bake the sponge a day early. However, for the best texture, add the macerated strawberries and whipped cream no more than 4 hours before serving to prevent the cake from becoming overly soggy.
While frozen berries work for the macerated layer and syrup, they will be too soft for the garnish. For the best visual results matching our ‘ruby-red’ blueprint, fresh strawberries are highly recommended.
This happens naturally through maceration. Stirring the sliced strawberries with sugar and a bit of lemon juice draws out the juices, creating a translucent, glistening syrup that looks beautiful on the golden sponge.
The key is stabilization. By adding mascarpone cheese or a small amount of gelatin to the cream, you create a structure that holds up at room temperature. Also, always ensure the cake is completely cool before frosting.
Density usually comes from under-creaming the butter and sugar or using cold eggs. Cream the butter and sugar for at least 5 minutes to incorporate air, and ensure all ingredients are at room temperature.
The Official Strawberry Shortcake Sheet Cake Recipe
Strawberry Shortcake Sheet Cake with Macerated Berries and Stabilized Whipped Cream
Ingredients
Equipment
Method
- Cream butter and 1.5 cups sugar for 5 mins until light and fluffy. Add eggs one at a time, then vanilla.
- Fold in dry ingredients and milk. Bake at 350°F (175°C) for 25-30 mins until golden-brown.
- Toss sliced berries with 0.5 cup sugar and lemon juice. Let sit for 30 mins until ruby-red syrup forms.
- Beat cold cream, powdered sugar, and mascarpone until stiff, hand-swirled peaks form.
- Spread berries and syrup over cooled cake. Top with billowy whipped cream and garnish with strawberry halves, mint, and powdered sugar.
Notes
Use cold mascarpone for the best stabilization of the whipped peaks.
Final Thoughts on This Summer Classic
Creating this Strawberry Shortcake Sheet Cake is about capturing the essence of a sun-drenched afternoon in a single bite. From the “moist golden-brown vanilla sponge” to the “cloud-like” whipped cream, every element is designed for maximum flavor and visual impact. Whether you are serving this at a backyard BBQ or a formal garden party, it is guaranteed to be the highlight of the menu.
If you enjoyed this recipe, please leave a comment below and let us know how your hand-swirled peaks turned out! Don’t forget to share your photos and pin this recipe to your dessert boards on Pinterest so you can find it all summer long.