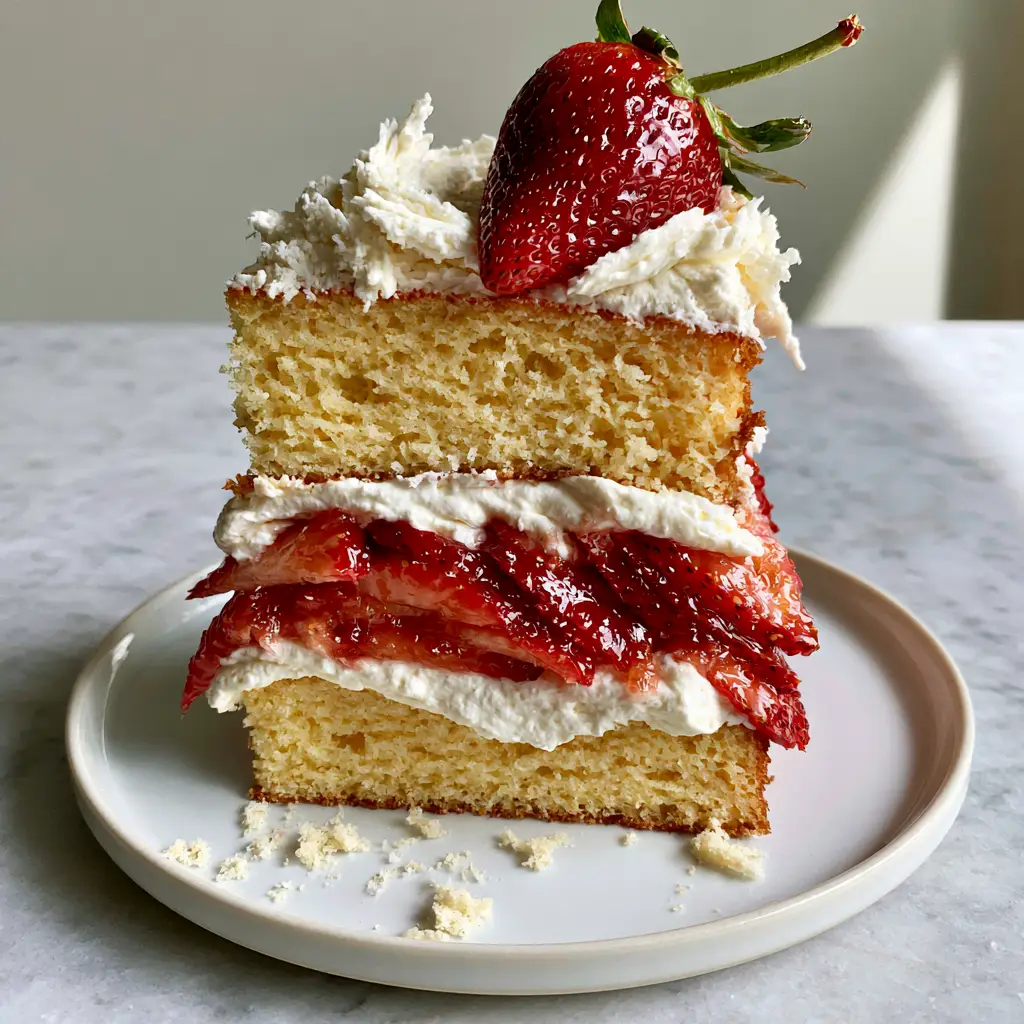
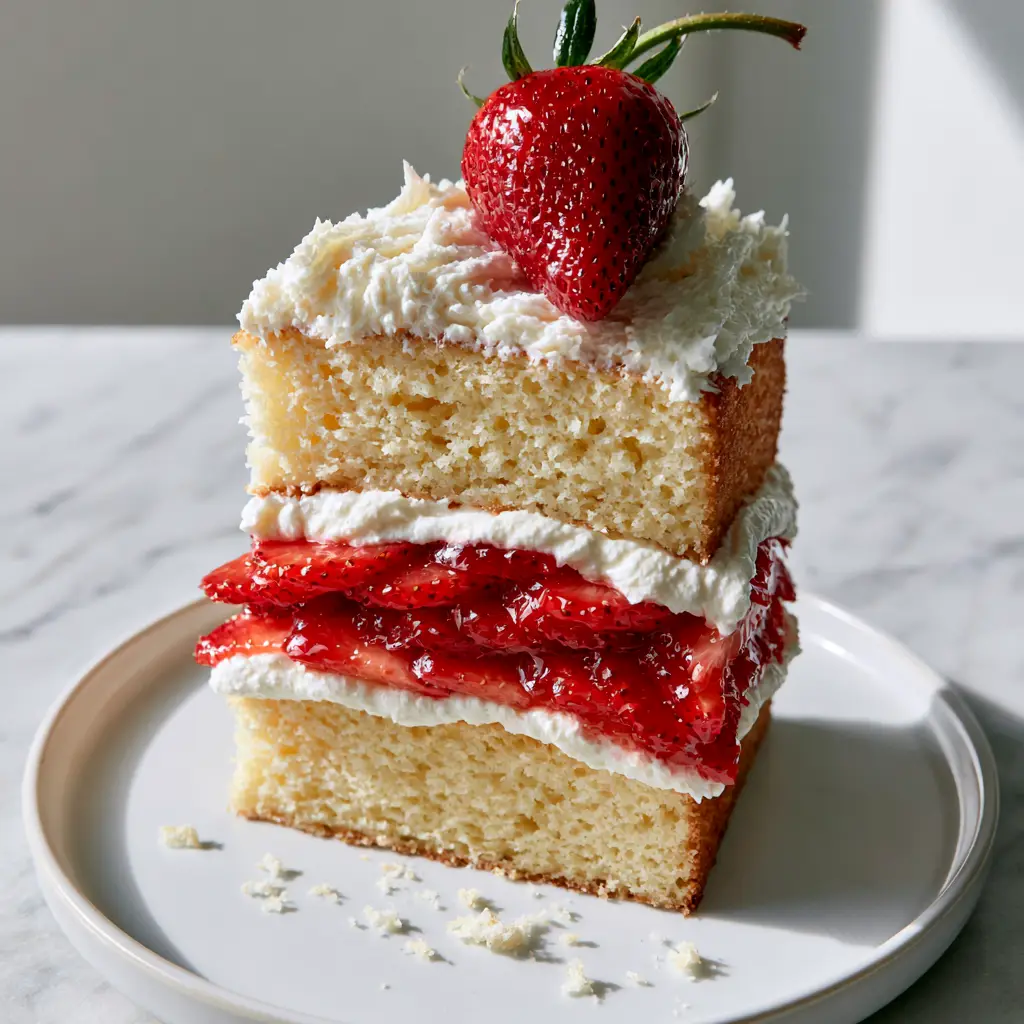
This strawberry shortcake layer cake is the ultimate celebration of summer fruit, combining the nostalgic flavors of a classic shortcake with the elegant structure of a tall, professional layer cake. Featuring moist, golden-yellow vanilla sponge layers and thick ribbons of stable whipped cream, this dessert is designed to stand tall on your plate without sliding. If you have been searching for a strawberry shortcake layer cake that tastes as incredible as it looks on Pinterest, this scientifically-tested recipe delivers a fine crumb and glistening glazed berries in every single bite.
Why This Strawberry Shortcake Layer Cake Wins Every Time
- Ultra-Stable Construction: Unlike traditional shortcakes that crumble, this strawberry shortcake layer cake uses 1-inch ribbons of stabilized cream to hold dense layers of shingled strawberries perfectly in place.
- Golden-Yellow Fine Crumb: The sponge is specifically engineered to be airy yet sturdy enough to support the moisture of the glazed fruit.
- High-Gloss Visuals: We use a simple glazing technique to ensure the strawberries glisten under natural light, just like a professional bakery display.
- Perfect Texture Contrast: You get the crunch of fine cake crumbs against the snow-white, silky smooth frosting.
If you enjoy the bright, berry-forward flavors in this recipe, you should also explore my moist strawberry cake or these delightful strawberry shortcake cookies for your next baking session.
Essential Ingredients for a Professional Layer Cake
To achieve the specific “Visual Recipe Blueprint” of this strawberry shortcake layer cake, each ingredient serves a precise culinary purpose.
The Golden-Yellow Sponge Layers
- 2 ½ cups (315g) All-Purpose Flour: Provides the structural foundation for the fine crumb.
- 1 ½ cups (300g) Granulated Sugar: Sweetens and aids in the browning for that golden-yellow hue.
- 1 tablespoon (15g) Baking Powder: Ensures the “moist, airy” lift required for a tall slice.
- ½ teaspoon (3g) Fine Sea Salt: Balances the sweetness and enhances the vanilla notes.
- ¾ cup (170g) Unsalted Butter, softened: Creates a rich, tender mouthfeel.
- 1 cup (240ml) Whole Milk: Provides moisture and fat for a silky texture.
- 4 Large Eggs: The proteins provide structure, while the yolks contribute to the golden color.
- 2 teaspoons (10ml) Pure Vanilla Extract: The primary flavor profile that complements the fresh berries.
The Glazed Strawberry Filling
- 2 lbs (900g) Fresh Strawberries: You will need thin slices for the “shingled” look and whole berries for the garnish.
- ¼ cup (50g) Granulated Sugar: To macerate the berries and draw out their natural juices.
- 1 tablespoon (15ml) Lemon Juice: Brightens the fruit flavor and prevents oxidation.
- 1 tablespoon (12g) Apricot Jam (Optional): The secret to the “glistening” glaze seen in the visual blueprint.
The 1-Inch Stable Whipped Cream Ribbons
- 3 cups (720ml) Heavy Whipping Cream, cold: Must be at least 36% fat for maximum volume.
- 8 oz (225g) Mascarpone Cheese: The secret “invisible” ingredient that ensures the cream stays “stable and snow-white” without leaking.
- ½ cup (60g) Powdered Sugar: For sweetness and stability.
Step-by-Step Instructions for the Perfect Slice
Step 1: Preparing the Fine Crumb Sponge
Preheat your oven to 350°F (175°C). Grease and flour three 8-inch round cake pans. In a large bowl, cream the softened butter and granulated sugar until pale and fluffy. This aeration is critical for the “airy” texture described in our blueprint.
Add the eggs one at a time, followed by the vanilla. Gradually alternate adding the dry ingredients and the whole milk. Mix until just combined; overmixing will destroy the fine crumb and make the cake tough.
Divide the batter equally between the pans. Bake for 25-30 minutes. Visual Cue: The cakes should be a beautiful golden-yellow and a toothpick should come out clean. Let them cool completely before trimming the tops. Pro Tip: Save the trimmings to create the fine cake crumbs for the final plate garnish.
Step 2: Macerating and Glazing the Strawberries
Wash and hull the strawberries. Slice them into thin, uniform pieces. Toss the slices with sugar and lemon juice. Let them sit for 15 minutes. This creates the “bright red” intensity needed for the visual contrast.
Drain the excess liquid. For that extra “glistening” look, gently toss the slices with a warmed tablespoon of apricot jam. This ensures they look “bright red and glazed” on the plate, showing no signs of moisture leakage.
Step 3: Whipping the Stable Cream Ribbons
In a chilled bowl, beat the heavy cream, mascarpone, and powdered sugar until stiff peaks form. The mascarpone is essential for creating those 1-inch ribbons of frosting that won’t bulge under the weight of the sponge layers. It should look like “snow-white” velvet.
Step 4: Assembling the Tall Vertical Slice
Place the first sponge layer on a white ceramic plate or cake stand. Pipe a thick border of cream around the edge to act as a dam. Fill the center with a dense layer of shingled strawberry slices. They should overlap like roof shingles to prevent the cake from tilting.
Top with a generous 1-inch layer of cream, smoothing it to the edges. Repeat with the second and third layers. Visual Cue: Ensure the cake remains “perfectly vertical” during assembly. Finish the top with a rustic swirl of whipped cream.
Step 5: The Final Garnish
Place a single, large fresh strawberry with its green stem intact right in the center of the top swirl. Scatter the reserved fine cake crumbs naturally around the base of the cake on the white plate. This adds a “handheld smartphone photo” authenticity to the presentation.
Expert Tips for Success
- Temperature is Everything: Ensure your cream and mascarpone are ice-cold. This is the only way to achieve the “stable, snow-white” 1-inch ribbons.
- The Shingle Technique: Don’t just dump the berries in the middle. Layering them like shingles ensures a “perfectly vertical” slice that doesn’t slide.
- Room Temp Eggs: For the finest sponge crumb, make sure your eggs are at room temperature so they emulsify perfectly with the butter.
- Natural Lighting: To capture the “soft, diffused daylight” highlights on your cream, photograph your cake near a north-facing window.
For more fruit-filled desserts that impress, try my white chocolate raspberry cake or a classic strawberry shortcake recipe.
Storage, Reheating & Freezing
Storage: Because of the fresh cream and berries, this strawberry shortcake layer cake must be kept in the refrigerator. Use a cake dome to prevent the sponge from absorbing fridge odors. It is best enjoyed within 24-48 hours.
Freezing: We do not recommend freezing the fully assembled cake, as the glazed strawberries will release too much moisture upon thawing, ruining the stable cream layers. However, the sponge layers can be frozen (wrapped tightly in plastic) for up to 3 months.
What to Serve With This Cake
This cake is a showstopper on its own, but it pairs beautifully with a glass of dry sparkling rosé or a cold glass of milk. If you’re hosting a brunch, consider serving it alongside my strawberry shortcake muffins for a full berry-themed spread.
Frequently Asked Questions
You can bake the sponges a day early. However, for the best visual appeal and ‘1-inch ribbons’, assemble the cake no more than 4-6 hours before serving.
The secret is two-fold: Use mascarpone to stabilize the whipped cream and layer your strawberry slices like ‘shingles’ rather than stacking them, which creates a flatter, more stable surface.
Usually, this is caused by overbaking or overmixing the batter. Ensure you mix just until the flour disappears to maintain that airy, moist fine crumb.
A light glaze of warmed apricot jam seals the moisture inside the fruit, preventing the juice from leaking into the cream while providing a professional, glistening shine.
The Ultimate Strawberry Shortcake Layer Cake Recipe
Strawberry Shortcake Layer Cake with Glazed Strawberries
Ingredients
Equipment
Method
- Cream butter and sugar, add eggs and vanilla. Alternate dry ingredients and milk until a fine crumb batter forms.
- Bake in three 8-inch pans at 350°F (175°C) for 25-30 mins until golden-yellow.
- Macerate sliced strawberries with sugar; whip heavy cream and mascarpone into stiff 1-inch ribbons.
- Layer sponge, shingled strawberries, and cream. Top with a rustic swirl, a whole strawberry, and fine cake crumbs.
Notes
Use the shingle technique for the berries to prevent the vertical slice from sliding.
Share Your Masterpiece!
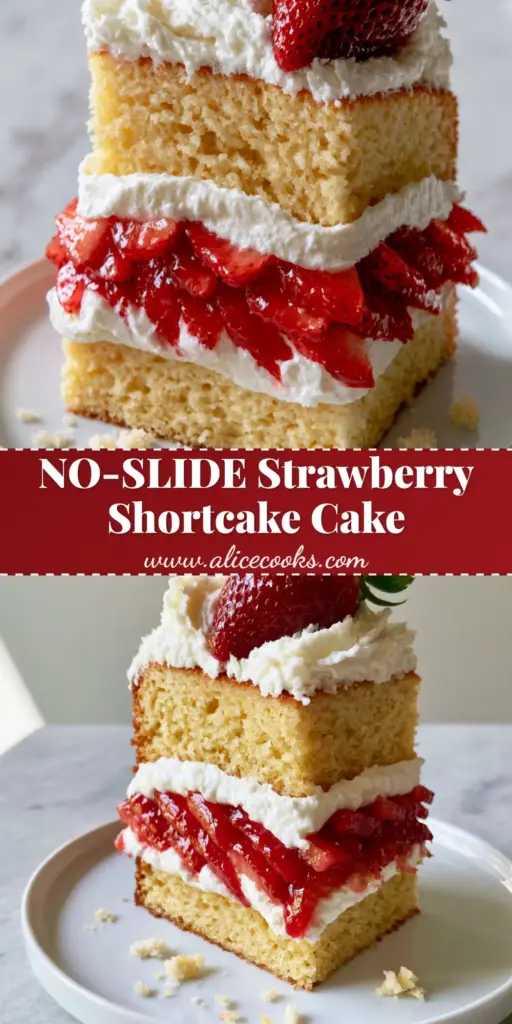
Did you make this strawberry shortcake layer cake? I want to see your “tall, perfectly vertical” slices! Please save this recipe to your Pinterest boards so you never lose it. Follow alicecooks_official for more authentic food blog aesthetics and professional baking tips.
Leave a 5-star rating in the comments below and upload a photo of your glistening glazed berries. Your feedback helps our community of home cooks thrive!