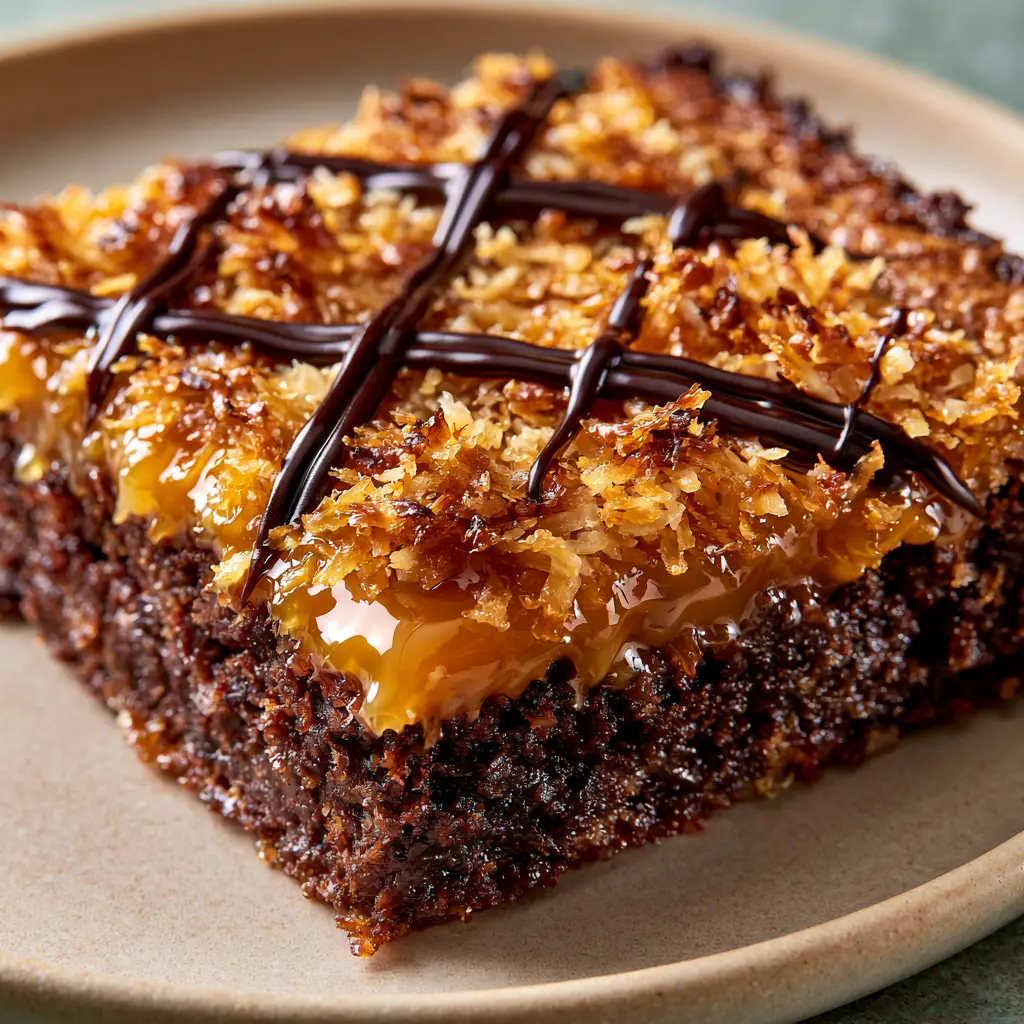
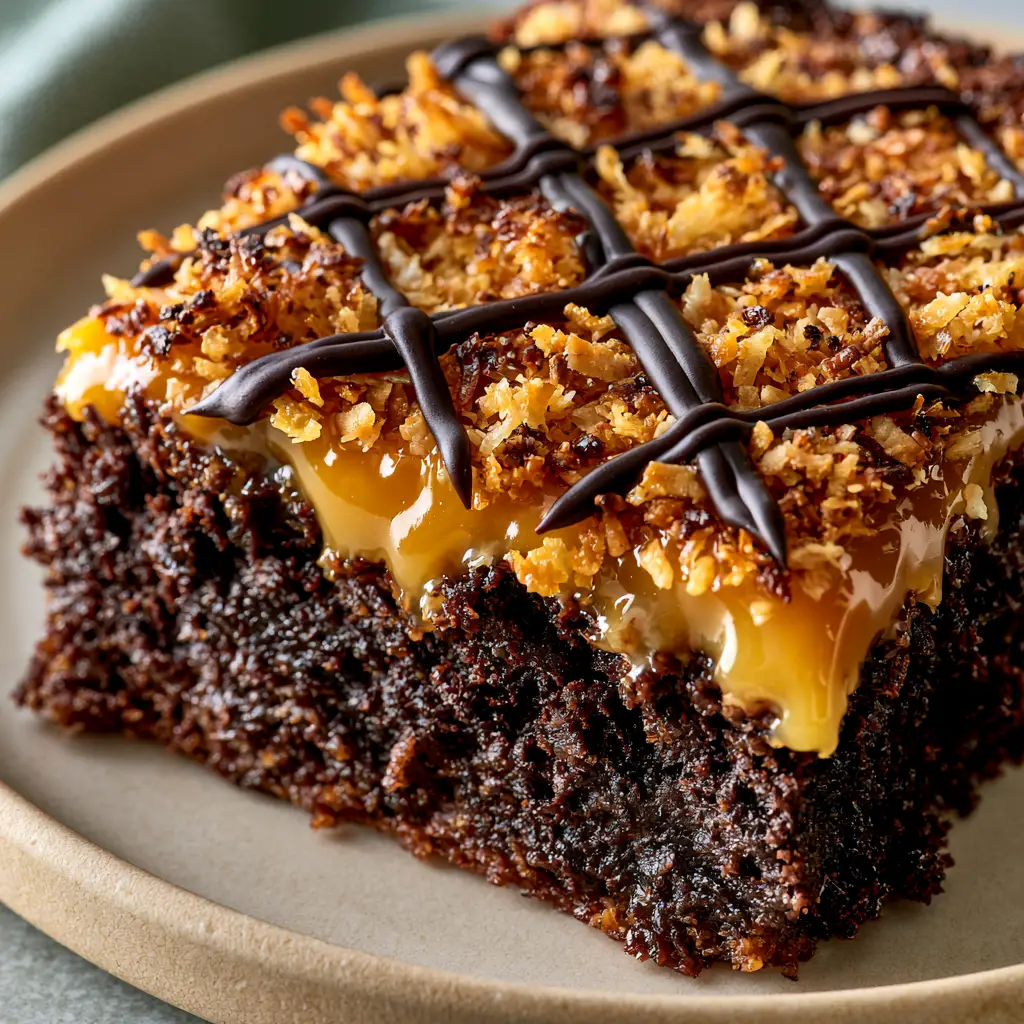
Samoa Brownies are the decadent, multi-layered answer to every dessert lover’s wildest dreams. Imagine a thick, ultra-fudgy chocolate base topped with a sea of glossy, golden-amber caramel, then finished with a heavy layer of toasted golden-brown coconut flakes and an elegant dark chocolate crisscross drizzle. This recipe captures the iconic flavors of the beloved Girl Scout cookie but elevates them into a professional-grade brownie bar that looks just as good as it tastes.
When you take your first bite, you will experience a symphony of textures: the initial snap of the dark chocolate drizzle, the crunch of the toasted coconut, the gooey pull of the caramel, and the dense, chewy chocolate foundation. By following this forensic culinary guide, you will achieve the exact visual results seen in a high-end food photograph—specifically that handheld, natural-light aesthetic that makes these treats look utterly irresistible on a neutral ceramic plate.
The Anatomy of a Perfect Samoa-Inspired Dessert Bar
To recreate the visual and sensory profile of these Samoa Brownies, we must focus on four distinct layers. Each layer serves a structural and flavor purpose, ensuring the final result isn’t just a sugar bomb, but a balanced culinary masterpiece.
- The Ultra-Fudgy Base: A dense, dark brown chocolate brownie that provides a sturdy yet chewy foundation for the heavy toppings.
- The Amber Caramel Waterfall: A rich, glossy caramel layer that acts as the “glue” for our coconut, providing that signature golden glow.
- Golden-Brown Toasted Coconut: Shredded coconut toasted to a specific degree of golden-brown to provide nutty depth and a satisfying crunch.
- Dark Chocolate Drizzle: A refined, crisscross pattern of melted dark chocolate that adds a touch of bitterness to cut through the sweet caramel.
Essential Ingredients for the Ultimate Fudge Foundation
Unsalted Butter (1 cup / 227g): Melted butter is the key to a fudgy texture rather than a cakey one. It provides the necessary fat to create a moist crumb that holds up under the weight of the caramel.
Granulated Sugar (2 cups / 400g): Sugar does more than sweeten; it liquefies during baking to create that classic crackly top. When combined with the eggs, it builds the structure of our fudgy brownie base.
Large Eggs (4 total): Eggs provide the lift and binding power for the dough. Using room temperature eggs ensures they emulsify perfectly with the melted butter and chocolate.
Dutch-Processed Cocoa Powder (3/4 cup / 75g): This specific cocoa is treated with alkali to neutralize acidity, resulting in a darker color and a smoother, more mellow chocolate flavor that matches our visual prompt.
All-Purpose Flour (1 cup / 125g): We keep the flour ratio low to ensure the brownies remain dense and chewy. This isn’t a cake; it’s a rich, dark brown slab of pure chocolate indulgence.
Fine Sea Salt (1/2 tsp / 3g): Salt is a flavor enhancer that balances the sweetness of the caramel. It is an invisible but scientifically required ingredient for any high-end dessert.
The Caramel and Coconut Crowning Layers
Sweetened Shredded Coconut (3 cups / 285g): This is the star of the show. We will toast this until it reaches a specific golden-brown hue to provide the nutty flavor profile synonymous with Samoas.
Soft Caramel Candies (11 oz / 312g): Using high-quality caramels ensures a consistent melt. We want that “gooey, glossy golden-amber” look described in our visual blueprint.
Heavy Cream (2 tbsp / 30ml): A splash of cream thins the melted caramel just enough so it remains soft and biteable at room temperature, preventing it from becoming too hard or sticky.
Dark Chocolate Chips (1/2 cup / 90g): Melted down for the final drizzle. Dark chocolate is preferred here to provide a visual and flavor contrast to the amber caramel, much like in our coconut chocolate bars.
Must-Have Tools for Professional Results
To achieve the “extreme close-up” quality of this dish, you need the right gear. A 9×9 inch (23x23cm) square baking pan is essential for achieving that specific thickness in the brownie base. You will also need parchment paper with a slight overhang; this allows you to lift the entire block out for those perfectly clean, sliced edges.
A heavy-bottomed skillet is best for toasting the coconut, as it provides even heat distribution to prevent burning. Finally, a disposable piping bag or a simple fork can be used to create the “elegantly finished crisscross drizzle” of dark chocolate that defines the Samoa aesthetic.
Mastering the Golden-Brown Toasted Coconut
Achieving the Perfect Toast
Place your shredded coconut in a large, dry skillet over medium heat. Stir constantly with a heat-resistant spatula, watching for the flakes to transition from bright white to a warm, golden brown. You will smell a nutty, tropical aroma; this is the signal that the natural oils are surfacing and the Maillard reaction is occurring.
Preventing the Burn
Coconut can go from perfectly toasted to burnt in a matter of seconds. As soon as most of the flakes are golden, remove the skillet from the heat immediately. Transfer the coconut to a cool bowl to stop the cooking process, ensuring you keep that bright, golden-brown visual profile.
Building the Fudgy Brownie Base
Creaming and Combining
Whisk the melted butter and sugar in a large bowl until well combined. Add the eggs one at a time, whisking vigorously after each addition. This process incorporates just enough air to give the brownies a slight lift without making them airy or cake-like.
Folding the Dry Ingredients
Sift in the cocoa powder, flour, and salt. Use a spatula to gently fold the ingredients together until no streaks of white remain. The batter should be thick, dark, and glossy. Pour this into your prepared pan and bake at 350°F (175°C) for 25-30 minutes, or until a toothpick inserted comes out with a few moist crumbs attached.
The Caramel and Coconut Assembly
Melting the Amber Caramel
In a microwave-safe bowl, combine the caramel candies and heavy cream. Heat in 30-second bursts, stirring in between, until the mixture is completely smooth and glossy. The color should be a rich, transparent amber. If you enjoy this flavor profile, you might also love our stuffed brownies for a different kind of gooey center.
Applying the Toppings
While the caramel is still warm and fluid, fold in about two-thirds of the toasted coconut. Spread this thick, gooey mixture evenly over the cooled brownie base. Sprinkle the remaining toasted coconut on top, pressing down gently so it adheres to the surface, creating that “heavily sprinkled” texture from the prompt.
The Final Dark Chocolate Crisscross Drizzle
Melt your dark chocolate in a small bowl. For the most professional look, transfer the chocolate to a small ziptop bag and snip off a tiny corner. Move your hand in a steady, diagonal motion across the pan to create thin, even lines. Repeat in the opposite direction to achieve the classic crisscross pattern.
Allow the chocolate to set completely at room temperature or in the fridge for 20 minutes before slicing. This ensures the “sliced, chewy fudge brownie” look is maintained with sharp, clean edges, perfectly mimicking the handheld smartphone food photo aesthetic.
Expert Tips for Success
- The Clean Cut: For those perfectly sliced edges seen in the photos, wipe your knife clean with a warm, damp cloth between every single cut.
- Don’t Overbake: The brownies will continue to set as they cool. If the center still looks slightly wobbly when you pull them out, they are perfect.
- Temperature Matters: Ensure your brownies are completely cool before adding the caramel layer, otherwise the heat will melt the base and ruin the distinct layers.
- Caramel Consistency: If your caramel feels too stiff, add an extra teaspoon of cream. It should be “gooey and glossy,” not hard like a candy.
Storage, Reheating & Freezing
Samoa Brownies are best stored in an airtight container at room temperature for up to 4 days. The caramel stays soft and the coconut remains crunchy at this temperature. If you prefer a firmer texture, you can refrigerate them for up to a week.
For long-term storage, these brownies freeze beautifully. Wrap individual squares in plastic wrap and place them in a freezer bag for up to 3 months. Thaw at room temperature for an hour before serving to regain that signature gooey caramel pull.
What to Serve With These Decadent Bars
These rich Samoa Brownies pair perfectly with a cold glass of milk or a strong cup of coffee. If you are hosting a party and want to offer a variety of handheld treats, consider serving them alongside brownie cheesecake cups or perhaps some cookie dough frosted brownies for a true chocolate extravaganza.
For a lighter, fruity contrast to the deep chocolate and caramel, a strawberry brownie trifle can be a wonderful companion on a dessert table. The acidity of the berries cuts through the richness of the Samoa layers beautifully.
Frequently Asked Questions
Yes, you can substitute the all-purpose flour for a high-quality 1:1 gluten-free baking flour. The texture will remain very similar due to the high fat and sugar content in the recipe.
You can, but the brownies will be lighter in color and have a slightly more acidic flavor. Dutch-processed cocoa gives that deep, dark brown ‘fudge’ appearance characteristic of Samoa Brownies.
Yes, cooling the brownies completely is vital. If you add warm caramel to warm brownies, the layers will bleed together, and you won’t get the distinct visual separation seen in professional food photos.
Use a dry skillet over medium heat and stir constantly. As soon as the flakes turn golden-brown, remove them from the hot pan immediately, as the residual heat can cause them to burn quickly.
If the caramel is too hard, it usually means it was overcooked or didn’t have enough fat added. Adding 2 tablespoons of heavy cream to the melted caramels ensures the layer stays soft and gooey at room temperature.
The Ultimate Samoa Brownies Recipe Card
Samoa Brownies: The Ultimate Chewy Fudge and Salted Caramel Delight
Ingredients
Equipment
Method
- In a dry skillet over medium heat, toast the shredded coconut, stirring constantly until golden-brown and fragrant. Remove from heat immediately.
- Preheat oven to 350°F (175°C). Line a 9x9 inch pan with parchment paper, leaving an overhang.
- Whisk melted butter and sugar. Add eggs one at a time. Fold in cocoa powder, flour, and salt until just combined.
- Pour batter into pan and bake for 25-30 minutes. Let cool completely before topping.
- Microwave caramels and cream in 30-second bursts until smooth and glossy amber. Fold in 2 cups of toasted coconut.
- Spread caramel mixture over brownies. Sprinkle remaining coconut on top.
- Melt dark chocolate and drizzle in a crisscross pattern over the top. Let set before slicing.
Notes
Use a warm knife for the smoothest edges in the caramel layer.
Share Your Samoa Brownie Success!
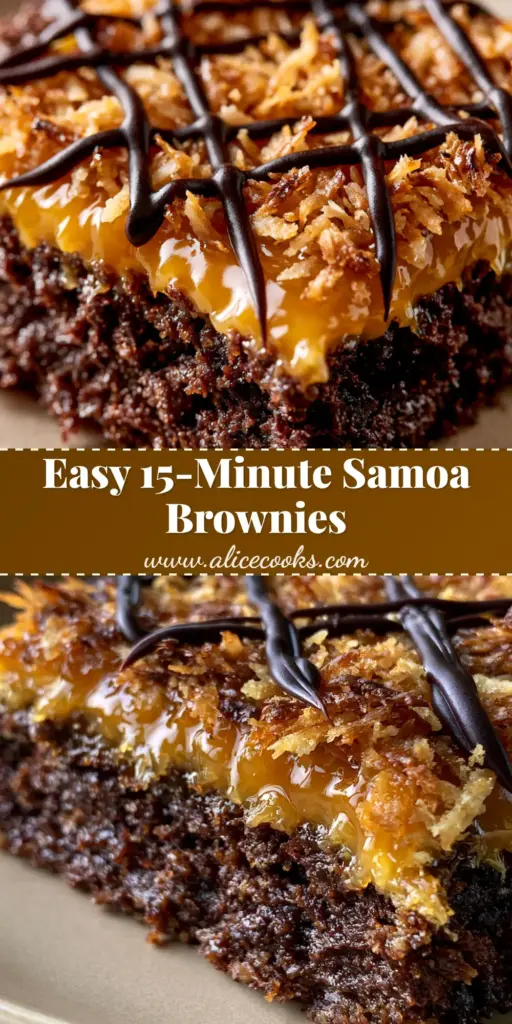
We hope you love these Samoa Brownies as much as we do! With their perfect layers of fudge, amber caramel, and toasted coconut, they are guaranteed to be the star of your next gathering. Don’t forget to take a photo of your creation—maybe even try that handheld smartphone style under some natural window light!
If you enjoyed this recipe, please leave a comment below and let us know how it turned out. Be sure to follow us and save this recipe to your favorite boards on Pinterest so you always have it on hand when a chocolate craving strikes!