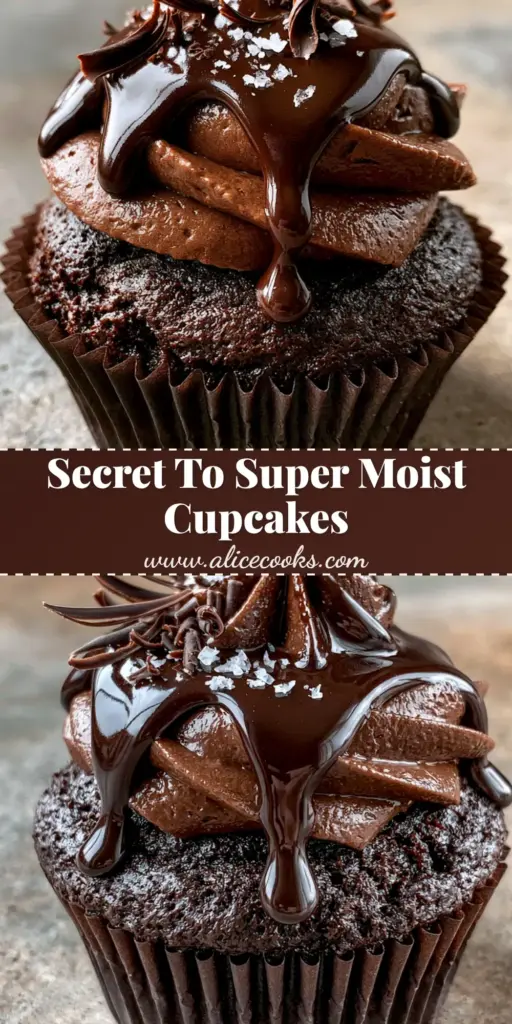
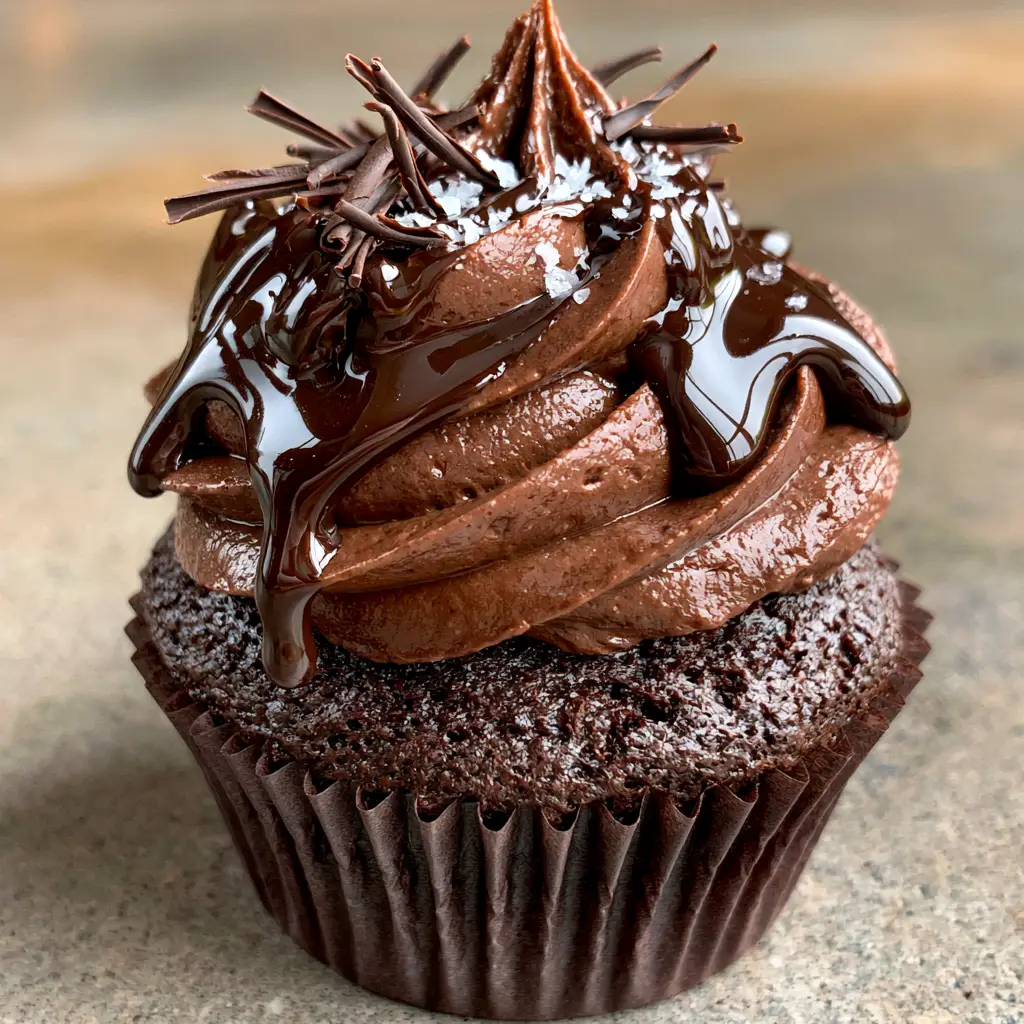
Moist chocolate cupcakes are the holy grail of home baking, and this specific recipe is designed to stop the Pinterest scroll dead in its tracks. Imagine an intensely rich, dark cocoa cupcake base that is so springy and tender it practically melts in your mouth. Whether you are a seasoned baker or just starting your journey, this recipe delivers bakery-style results every single time.
There is a specific science to achieving that perfect crumb, and it starts with high-quality Dutch-processed cocoa powder. By the time you finish this article, you will know exactly how to recreate the high-contrast highlights of glossy frosting and the delicate crunch of dark chocolate curls. This is the ultimate treat for true chocolate lovers.
Why These Are The Best Moist Chocolate Cupcakes You Will Ever Make
- Intense Dark Cocoa Base: We use a blooming technique to extract every ounce of flavor from the dark cocoa.
- Triple Chocolate Texture: A combination of whipped buttercream, glossy ganache, and shaved chocolate curls creates a multi-sensory experience.
- The Salty-Sweet Balance: A final pinch of flaky sea salt cuts through the richness, making every bite addictive.
- High-Altitude Tested: This recipe is stable, springy, and perfectly domed for that professional bakery look.
If you love these deep flavors, you might also want to explore our vegan chocolate cupcakes or perhaps a decadent batch of snickers cupcakes.
The Essential Ingredients for Bakery-Style Success
Creating professional moist chocolate cupcakes requires understanding what each ingredient brings to the table. We don’t just add items for bulk; every component has a structural or flavor-based purpose.
The Dry Components
All-Purpose Flour (1 ½ cups / 190g): This provides the necessary structure. Ensure you measure using a scale for the most accurate results.
Dutch-Processed Cocoa Powder (¾ cup / 75g): This gives the cupcakes their signature dark, intensely rich color and a smooth chocolate flavor profile.
Granulated Sugar (1 ½ cups / 300g): Sugar isn’t just for sweetness; it binds with water to keep the cupcakes moist for days.
Baking Soda (1 ½ tsp) & Baking Powder (1 tsp): These leavening agents work with the acidity in the buttermilk to create a perfectly domed top.
The Moisture & Fat Profile
Buttermilk (¾ cup / 180ml): The acidity in buttermilk breaks down gluten, resulting in a tender, springy crumb that is never tough.
Vegetable Oil (½ cup / 120ml): While butter adds flavor, oil stays liquid at room temperature, ensuring your moist chocolate cupcakes stay soft even after refrigeration.
Hot Coffee (¾ cup / 180ml): You won’t taste the coffee! The heat “blooms” the cocoa powder, releasing deep flavor notes that water alone cannot unlock.
Step-By-Step: Engineering the Perfect Cupcake Crumble
Follow these steps closely to ensure your cupcakes look exactly like the ones on your Pinterest feed. We are aiming for a dark brown parchment-wrapped masterpiece.
1. The Blooming Technique
Start by whisking your dark cocoa powder into the hot coffee. Watch as the cocoa dissolves into a thick, aromatic liquid. This is the secret to that “intensely rich” flavor profile mentioned in our visual blueprint.
2. Combining the Aerated Dry Ingredients
Sift your flour, sugar, baking soda, and salt into a large bowl. Sifting is non-negotiable here; it prevents cocoa clumps and ensures the moist chocolate cupcakes have a uniform, light crumb.
3. Emulsifying the Wet Ingredients
In a separate vessel, whisk the eggs, buttermilk, oil, and vanilla. Slow-pour this into the dry ingredients while whisking. The batter will be thin—this is exactly what we want for a moist result.
4. The Precision Bake
Fill your dark brown parchment liners only 2/3 full. Bake at 350°F (175°C) for 18-22 minutes. You are looking for a perfectly domed, springy crumb that bounces back when lightly touched.
Crafting the Ultra-Creamy Dark Chocolate Buttercream
The frosting is where the “visual recipe blueprint” really comes to life. We need a thick, ultra-creamy texture that can support the weight of the ganache drizzle.
Start with room temperature unsalted butter. Beat it for at least 5 minutes until it turns pale. This aeration is what makes the buttercream “whipped.” Add your sifted cocoa and powdered sugar slowly to avoid a sugar cloud. If you want to try a different base, our velvety chocolate frosting is another excellent choice.
For those who enjoy a bit of variety, you can also use this base for oreo cupcakes by folding in crushed cookies, though today we are focusing on the pure dark chocolate aesthetic.
The Finishing Touches: Ganache, Curls, and Salt
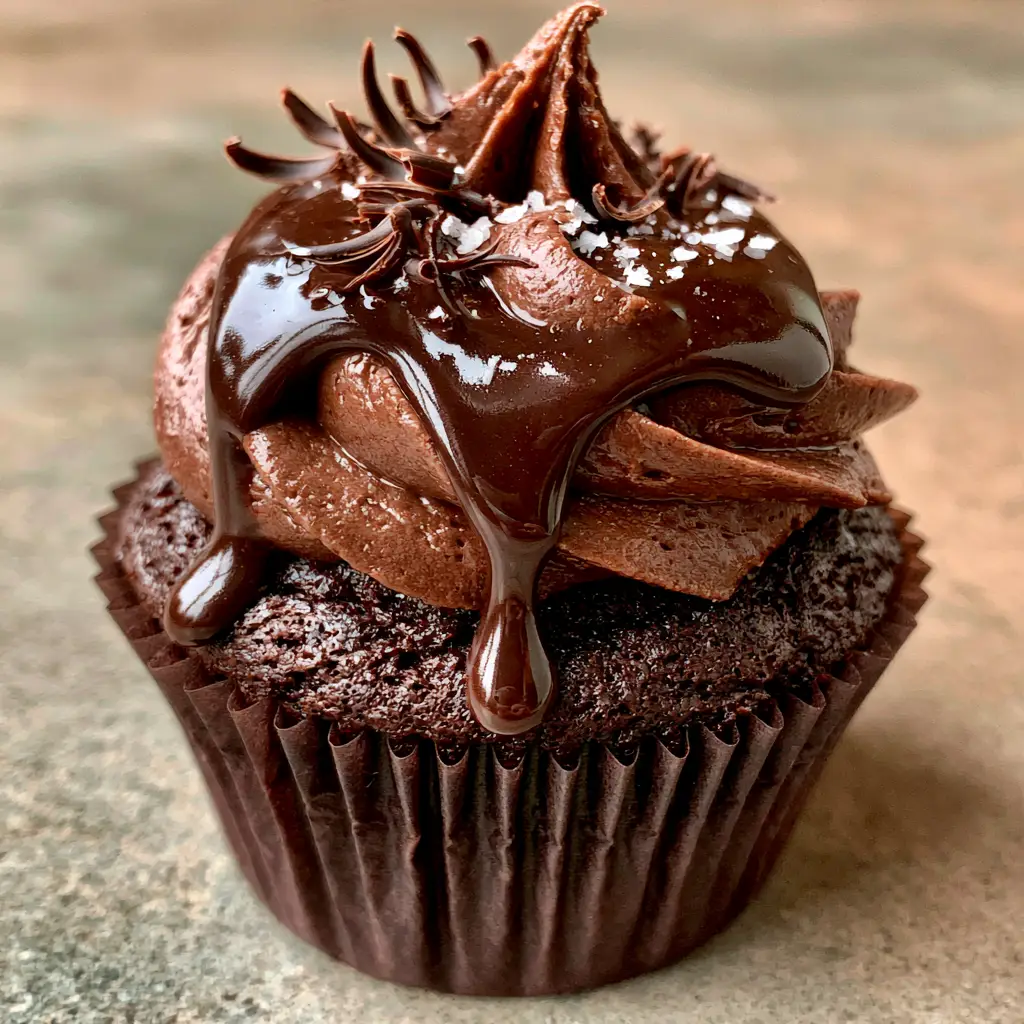
To achieve the glossy, slow-dripping semi-sweet chocolate ganache, you must use a 1:1 ratio of chocolate to heavy cream. Heat the cream until simmering, pour over chocolate chips, let sit for 5 minutes, and whisk until it shines.
Pro Tip: Use a spoon to create a small well in the center of your buttercream swirl. Pour the ganache there so it drips naturally down the sides. Garnish immediately with delicate, fine dark chocolate curls and a generous pinch of flaky sea salt. The salt is the “bridge” that elevates this from a simple dessert to a gourmet experience.
Expert Tips for Pinterest-Perfect Results
- Temperature Matters: Ensure your eggs and buttermilk are at room temperature to prevent the batter from curdling.
- Don’t Overmix: Stop whisking as soon as the last streak of flour disappears. Overmixing develops gluten, which leads to dry, tough cupcakes.
- The Ganache Temperature: Let your ganache cool until it is slightly thicker than room temperature honey. If it’s too hot, it will melt your buttercream.
- Natural Lighting: To capture the “high-contrast highlights” for your own photos, place your cupcakes near a window with soft, side daylight.
Storage, Reheating, and Freezing
Storage: These moist chocolate cupcakes can be kept in an airtight container at room temperature for up to 2 days. For longer storage, refrigerate for up to 5 days.
Freezing: You can freeze the unfrosted cupcakes for up to 3 months. Wrap them tightly in plastic wrap and place them in a freezer bag. Thaw at room temperature before frosting.
What To Serve With These Decadent Cupcakes
While these are a meal in themselves, they pair beautifully with a cold glass of milk or a stiff espresso. If you are hosting a dessert party, consider serving them alongside something fruity like our key lime pie cheesecake to provide a zesty contrast to the deep chocolate.
Frequently Asked Questions
Yes, you can make a DIY version by adding 1 tablespoon of lemon juice or white vinegar to 1 cup of milk and letting it sit for 5 minutes, though real buttermilk provides the best tender crumb.
While not required for structure, the glossy ganache adds a professional visual appeal and a second layer of chocolate texture that makes these cupcakes stand out.
Avoid over-filling the liners (2/3 full is best) and ensure your baking soda and powder are fresh. Also, do not open the oven door during the first 15 minutes of baking.
Dutch-processed or ‘Special Dark’ cocoa powder is best. It has a lower acidity and a darker color, resulting in that classic, rich bakery-style appearance.
The hot coffee ‘blooms’ the cocoa powder, which means it dissolves the solids and releases a much deeper, more intense chocolate flavor that cold liquids simply cannot achieve.
The Ultimate Moist Chocolate Cupcakes Recipe
Moist Chocolate Cupcakes with Dark Chocolate Ganache and Sea Salt
Ingredients
Equipment
Method
- Whisk dark cocoa powder into hot coffee until smooth. Let cool slightly.
- Sift flour, sugar, baking soda, powder, and salt into a large bowl.
- Add eggs, buttermilk, and oil to the dry ingredients, then stir in the cocoa mixture until just combined.
- Fill liners 2/3 full and bake at 350°F for 18-22 minutes.
- Whip butter and sugar into a fluffy buttercream. Pipe high swirls onto cooled cupcakes.
- Make ganache by melting cream and chocolate. Drizzle over frosting and top with curls and sea salt.
Notes
Don't skip the sea salt; it perfectly balances the dark chocolate.
Save This Recipe To Pinterest!
If you enjoyed these moist chocolate cupcakes, please help us grow by pinning this recipe to your Favorite Desserts board on Pinterest! Be sure to follow alicecooks_official (coming soon) for more bakery-style inspiration.
Did you make these? We want to see your results! Upload a photo in the comments below and leave a 5-star rating to let other bakers know how they turned out. Your feedback helps our community thrive!