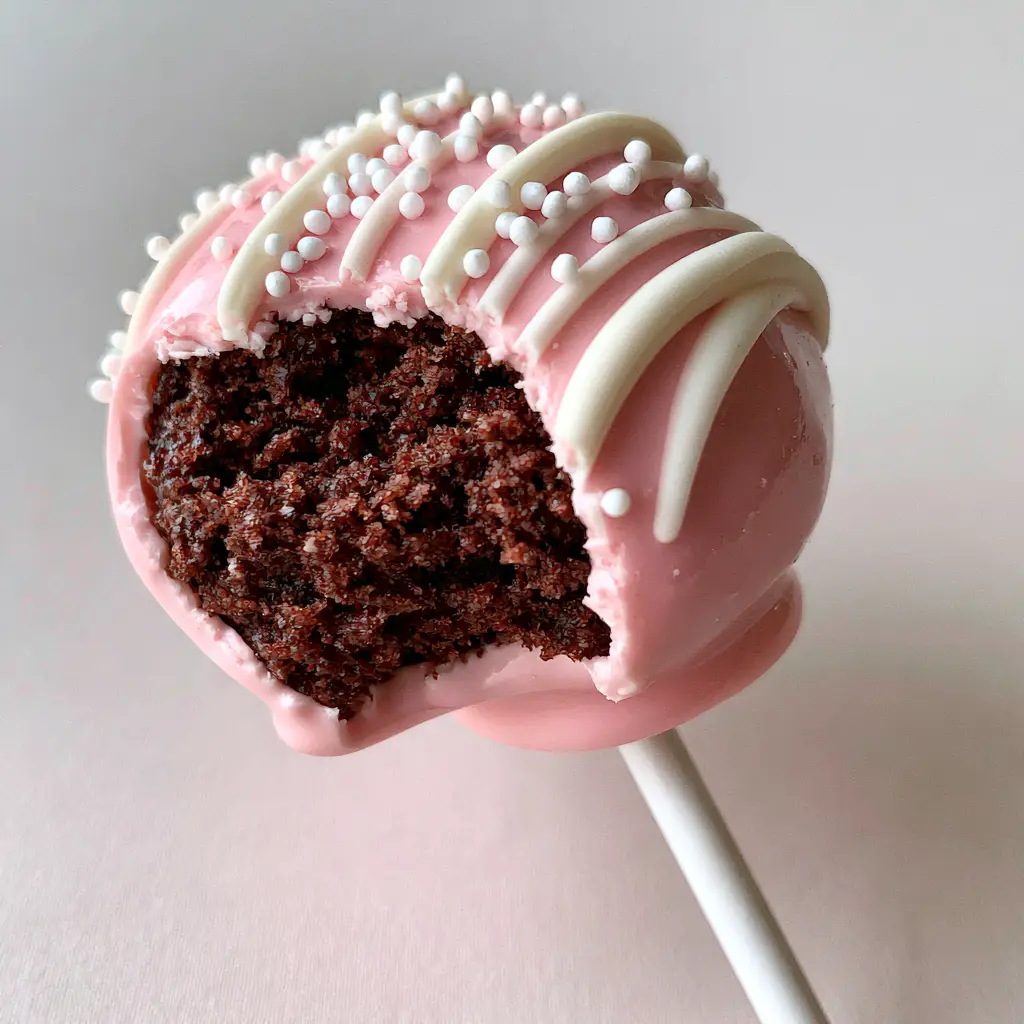
Easy Cake Pops are the holy grail of bite-sized desserts, combining a fudgy, rich chocolate center with a professional, snap-able candy exterior. If you have ever scrolled through Pinterest and wondered how to achieve that perfectly smooth, glossy baby-pink finish without the frustration of cracking or falling sticks, you are in the right place. This recipe focuses on moist chocolate cake crumbs blended into a decadent truffle-like consistency, then dipped in a vibrant coating and finished with an elegant white chocolate drizzle and white nonpareil sprinkles. Whether you are a fan of Starbucks cake pops or looking for a more personalized treat, this guide ensures bakery-quality results every single time.
Why These Are The Absolute Best Easy Cake Pops
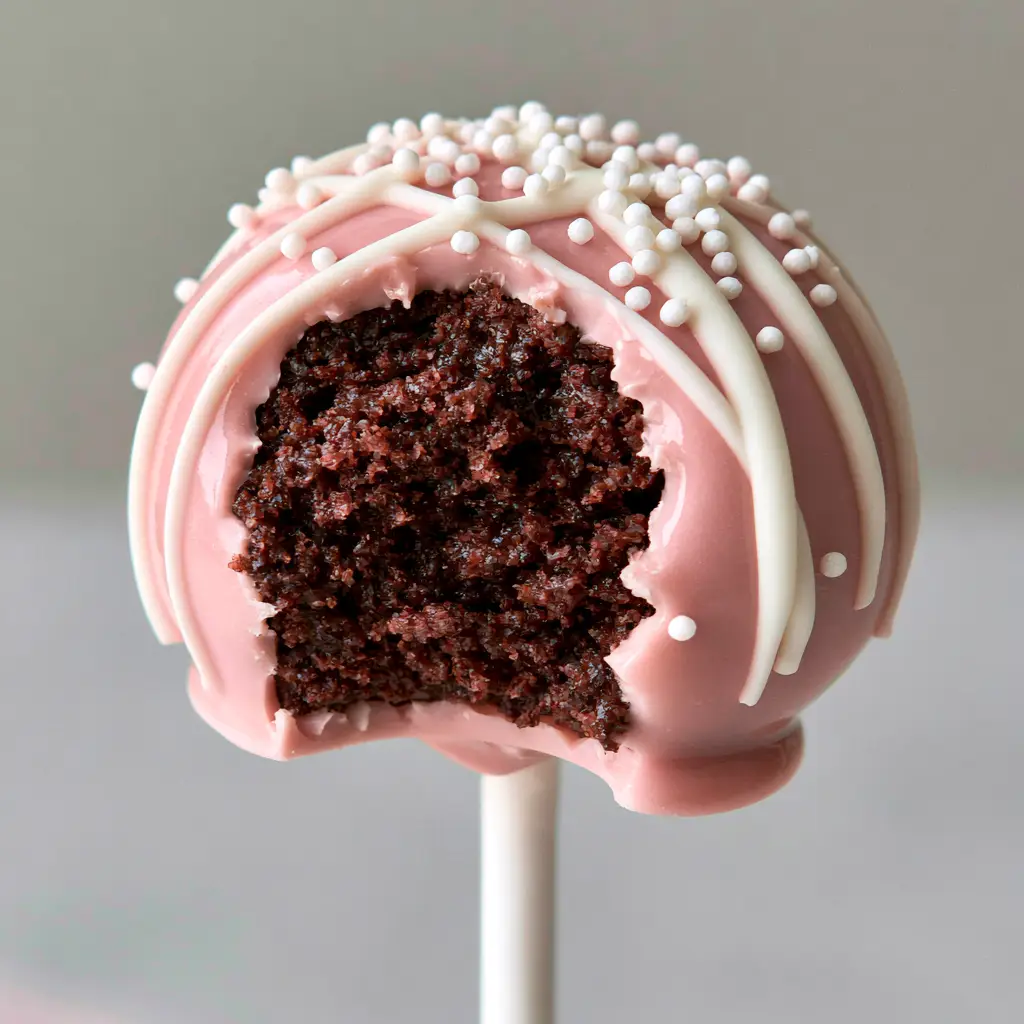
- Shatter-Crisp Candy Shell: We use a specific tempering technique to ensure the glossy baby-pink candy coating has that satisfying professional snap.
- Ultra-Moist Chocolate Interior: Unlike dry, crumbly versions, our ratio of cake to frosting creates a rich chocolate cake crumb texture that mimics a truffle.
- Pinterest-Perfect Aesthetic: The combination of the white chocolate drizzle and white nonpareil sprinkles on a white lollipop stick creates a high-contrast, viral-ready look.
- Foolproof Stability: Our chilling method prevents the dreaded “sliding cake pop” syndrome, ensuring they stay secured firmly on a clean white stick.
Essential Ingredients for Success
Creating professional Easy Cake Pops requires high-quality components. Here is what you will need to gather for your kitchen counter:
- Chocolate Cake: You will need 1 baked 9×13 inch (23×33 cm) chocolate cake. For the best results, use my fudgy brownie recipe style of richness, or a standard moist devil’s food cake.
- Chocolate Frosting: 1/2 cup (120g) to 3/4 cup (180g) of creamy frosting. This acts as the “glue” for your moist chocolate cake crumbs.
- Pink Candy Melts: 16 oz (450g) of high-quality bright pink or baby-pink vanilla-flavored candy wafers.
- White Chocolate: 2 oz (55g) for the elegant white chocolate drizzle.
- White Nonpareil Sprinkles: For that classic, tiny beaded texture and visual pop.
- Paramount Crystals or Coconut Oil: 1-2 teaspoons (5-10ml) to thin the coating for a smooth, thick, glossy finish.
- White Lollipop Sticks: 6-inch (15cm) standard treat sticks.
Phase 1: Preparing the Rich Chocolate Core
Crumbling the Foundation
Start by removing any browned edges from your cooled chocolate cake. We want only the soft, dark interior to ensure the rich chocolate cake crumb is uniform. Break the cake into small pieces into a large bowl. Using your hands or a stand mixer with the paddle attachment, process the cake until it looks like fine, sandy crumbs.
The Perfect Binder Ratio
Add 1/2 cup (120g) of frosting to the crumbs. Mix on low speed until the dough holds together when squeezed. It should feel like slightly damp playdough. If it is too crumbly, add more frosting one tablespoon at a time. Be careful; too much frosting will make the Easy Cake Pops too heavy and they will fall off the sticks. This texture is similar to the center of my cookie dough brownie bites.
Phase 2: Rolling and Structural Chilling
Precision Portioning
Use a small cookie scoop to portion out 1 tablespoon (15ml) of the mixture. Roll the dough between your palms until it forms a perfectly smooth, spherical ball about 1.25 inches (3cm) in diameter. Place these on a parchment-lined baking sheet.
The Anchor Technique
Melt a small handful of pink candy melts. Dip the tip of a white lollipop stick about 1/2 inch (1cm) into the melted candy, then insert it halfway into the cake ball. This acts as a “weld” to keep the cake secured. Chill the pops in the refrigerator for at least 30 minutes. Do not freeze them; a frozen cake pop will cause the warm candy coating to crack as the cake expands while thawing.
Phase 3: The Glossy Baby-Pink Coating
Achieving the Fluid Drip
Melt the remaining pink candy melts in a deep, narrow microwave-safe glass. Add 1 teaspoon of coconut oil to ensure the coating is glossy and smooth. The narrow glass allows for a deep submergence, which is key for Easy Cake Pops.
The Professional Dip
Hold the stick and submerge the cake ball entirely in the pink coating in one fluid motion. Pull it straight out. Do not stir the pop in the liquid. Gently tap your wrist (not the stick) to allow excess coating to drip off. This creates that smooth, thick, glossy baby-pink candy shell seen in the photos.
Phase 4: Drizzle and Decorative Finishing
The White Chocolate Contrast
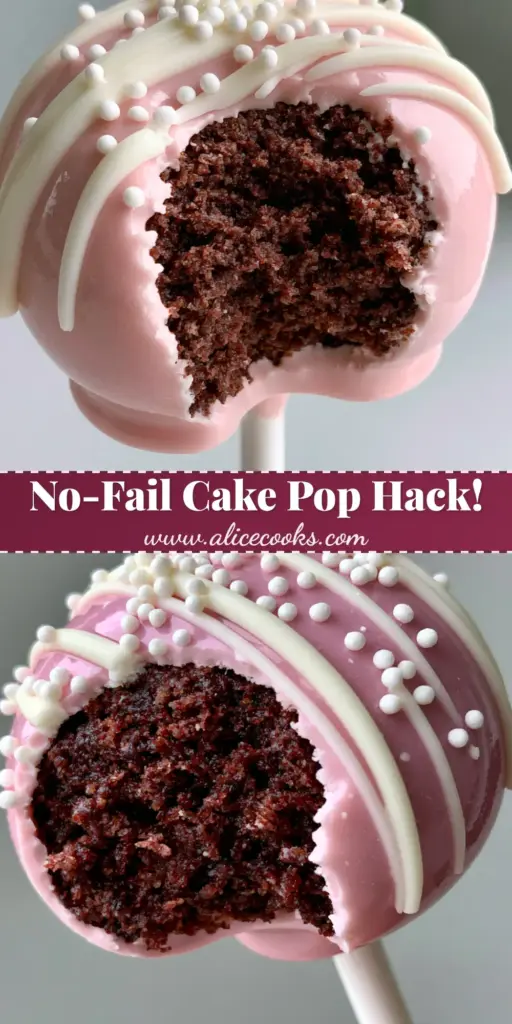
Once the pink shell has set (about 2-3 minutes), melt your white chocolate. Transfer it to a small piping bag with a tiny corner snipped off. Move your hand in a swift, back-and-forth motion to create an elegant white chocolate drizzle across the top third of the pop.
The Final Flourish
While the drizzle is still wet, immediately shake a few white nonpareil sprinkles over the top. The contrast of the white beads against the glossy baby-pink candy coating is what makes these Easy Cake Pops truly viral-worthy. If you love this color palette, you should also check out my strawberry cake recipe.
Expert Tips for Pinterest-Perfect Results
- Temperature Control: Ensure your candy coating is not boiling hot. Let it sit for 2 minutes after melting to reach a “warm but not hot” state to prevent the cake from softening.
- The Wrist Tap: Never shake the cake pop to remove excess coating. Tapping your wrist provides a gentle vibration that smooths the surface without dislodging the cake.
- Drying Station: Use a styrofoam block or a cardboard box with holes poked in it to stand the Easy Cake Pops upright while they dry. This prevents flat spots.
- Avoid Condensation: If you see “sweat” on your pops, they were likely too cold when dipped. Aim for room temperature cake balls that have just been briefly chilled to set the stick.
Storage, Reheating & Freezing
Easy Cake Pops are incredibly durable, making them perfect for parties. You can store them in an airtight container at room temperature for up to 2 days. For longer storage, keep them in the refrigerator for up to 7 days. If you need to freeze them, wrap them individually in plastic wrap and place them in a freezer-safe bag for up to 6 weeks. Thaw them slowly in the fridge to prevent the candy shell from cracking.
What to Serve With This
These pops are a fantastic addition to a dessert table. Pair them with other finger foods like salted caramel bars or a refreshing glass of summer punch. They also look beautiful served alongside a slice of white chocolate raspberry cake for a pink-themed celebration.
Frequently Asked Questions
Absolutely! You can use a store-bought chocolate cake or even leftover cupcakes. Just crumble them up and follow the same ratio of frosting to cake crumbs.
While they can sit at room temperature for a couple of days, they stay fresh longer in the fridge. If your kitchen is warm, refrigeration prevents the candy shell from softening.
Add 1-2 teaspoons of coconut oil or paramount crystals to your melted candy wafers. This thins the consistency, making it easier to dip and creating a glossier finish.
Cracking is usually caused by a temperature extreme. If the cake balls were frozen or too cold, they expand as they warm up, cracking the hardened candy shell. Only refrigerate them briefly before dipping.
This happens if the cake mixture is too heavy (too much frosting) or if you didn’t ‘weld’ the stick. Always dip the stick in melted candy before inserting it into the cake ball and let it set.
The Ultimate Easy Cake Pops Recipe
Easy Cake Pops: The Ultimate Moist Chocolate & Pink Candy Shell Recipe
Ingredients
Equipment
Method
- Crumble the cooled chocolate cake into fine crumbs in a large bowl.
- Add frosting and mix until a dough forms. Roll into 1.25-inch balls.
- Dip sticks in melted candy, insert into balls, and chill for 30 minutes.
- Dip chilled pops into melted pink candy coating, tapping off excess.
- Drizzle with melted white chocolate and top with white nonpareils.
Notes
Use a deep microwave-safe glass for easier dipping.
Save, Share, and Rate!
If you loved making these Easy Cake Pops, please save this recipe to your Pinterest Dessert Board so you can find it later! Following alicecooks_official helps me bring you more professional baking guides. I would love to see your creations—upload a photo of your cake pops in the comments below and don’t forget to leave a 5-star rating if you found these tips helpful. Happy dipping!