This coffee pie recipe is the ultimate indulgence for anyone who lives for that first morning sip of caffeine but wants it served in a decadent, dessert format. Imagine a dark chocolate cookie crust so rich it rivals a brownie, filled with a dense, mocha-colored espresso cream that melts the moment it hits your tongue. Whether you are hosting a dinner party or just craving a high-end bakery treat at home, this no-bake masterpiece delivers professional results with minimal effort.
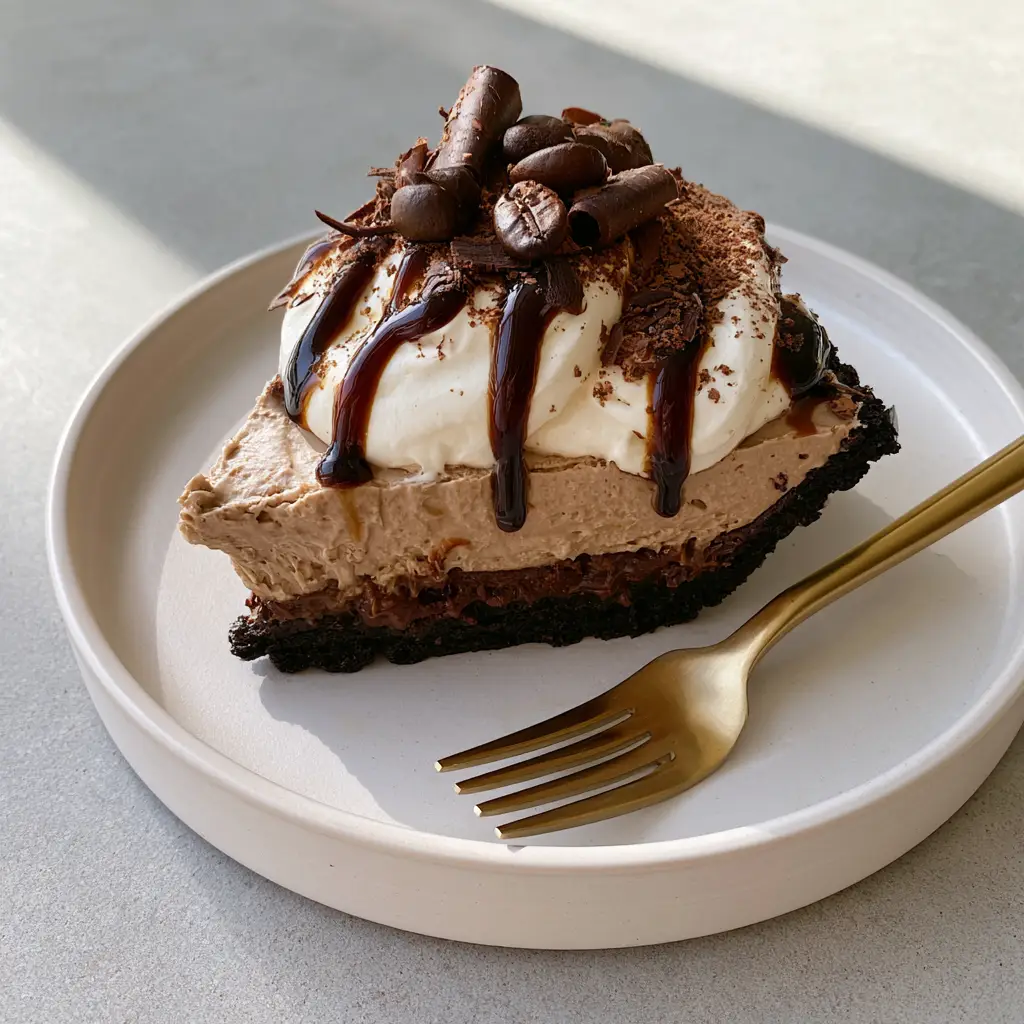
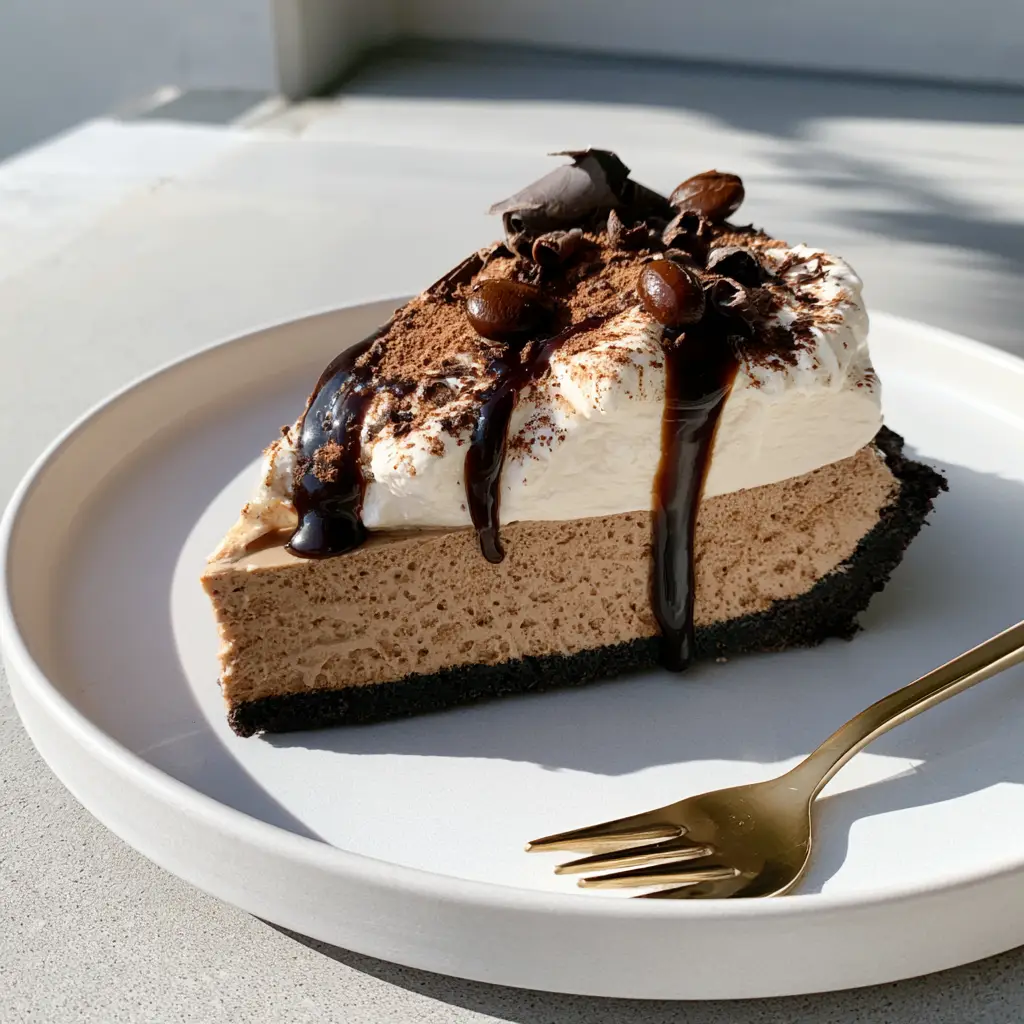
When you look at a perfect slice of this pie, the visual layers tell a story of texture. The thick espresso cream filling provides a sturdy yet silky base that supports a massive, pillowy cloud of whipped vanilla cream. Topped with a glossy espresso-caramel drizzle and a sophisticated dusting of cocoa powder, this is the recipe that will make your Pinterest feed stop scrolling immediately.
Why This No-Bake Coffee Pie Recipe Works
- Textural Contrast: The crunch of the chocolate cookie crumb meets the velvet-smooth espresso mousse.
- Balanced Bitterness: The natural acidity of high-quality coffee cuts through the sugar, preventing the pie from being “cloyingly sweet.”
- No-Bake Ease: No need to turn on the oven; this recipe relies on proper aeration and chilling for its structural integrity.
- Visual Showstopper: With chocolate curls and roasted coffee beans as a garnish, it looks like it stepped out of a professional pastry kitchen.
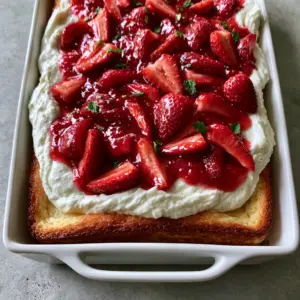
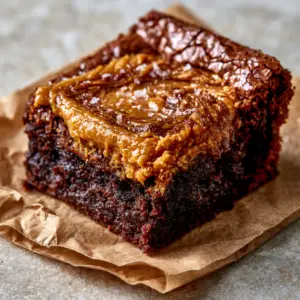
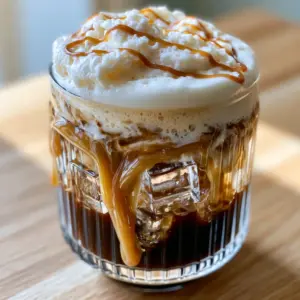
If you love the flavor profile of a deep, dark roast, you might also enjoy our caramel iced coffee for a midday pick-me-up or our decadent chocolate frosting for your next cake project.
The Essential Components for a Perfect Espresso Pie
To achieve that signature “smartphone-photo-ready” look, every ingredient must serve a specific culinary purpose. Here is what you will need for this coffee pie recipe.
The Dark Chocolate Cookie Base
- 2 cups (200g) Dark Chocolate Cookie Crumbs: Use chocolate wafers or Oreos (filling removed) for a deep, almost black aesthetic.
- 6 tbsp (85g) Unsalted Butter, melted: This acts as the glue, ensuring your dark chocolate cookie crust stays firmly packed and doesn’t crumble when sliced.
- 1/4 tsp (1.5g) Sea Salt: A tiny amount of salt enhances the chocolate flavor exponentially.
The Mocha Espresso Cream Filling
- 16 oz (450g) Full-Fat Cream Cheese: Softened to room temperature to ensure a silky mocha-colored filling without lumps.
- 1.5 cups (360ml) Heavy Whipping Cream: Must be cold! This provides the “lift” and volume.
- 3 tbsp (18g) Instant Espresso Powder: Dissolved in a tiny splash of hot water to release the oils and aroma.
- 1 cup (120g) Powdered Sugar: To sweeten and help stabilize the cream cheese mixture.
- 1 tsp (5ml) Pure Vanilla Extract: To round out the sharp notes of the coffee.
The Vanilla Topping and Drizzle
- 1 cup (240ml) Heavy Whipping Cream: For the pillowy layer of whipped vanilla cream.
- 1/4 cup (30g) Powdered Sugar: Just enough to sweeten the topping.
- Espresso-Caramel Drizzle: A blend of store-bought caramel sauce whisked with a half-teaspoon of espresso powder for that glossy dark espresso-caramel sauce.
- Garnishes: Cocoa powder for dusting, chocolate curls, and shiny whole roasted coffee beans.
Step-by-Step Instructions for the Perfect Slice
Step 1: Construct the Dark Chocolate Foundation
Start by pulsing your cookies in a food processor until they resemble fine sand. Mix in the melted butter and salt until the mixture looks like wet sand. Press this firmly into a 9-inch (23cm) pie dish. Pro Tip: Use the bottom of a flat measuring cup to pack the bottom and sides tightly. This ensures a firmly packed dark chocolate cookie crumb crust that holds up under the weight of the filling. Chill in the freezer for 15 minutes while you prep the filling.
Step 2: Whipping the Espresso Silk Filling
In a large bowl, beat the softened cream cheese and powdered sugar until completely smooth. In a separate chilled bowl, whip your heavy cream and dissolved espresso powder until stiff peaks form. Gently fold the espresso whipped cream into the cream cheese mixture. You are looking for a uniform, mocha-colored espresso cream filling. Pour this into your chilled crust and smooth the top with a spatula. Chill for at least 6 hours, or ideally overnight, to set.
While your pie sets, you might find yourself craving more coffee-inspired treats. Our banana cream pie cookies offer a similar creamy satisfaction, or you can try the viral dirty soda recipe for a fun beverage pairing.
Step 3: Creating the Vanilla Crown
Once the pie is firm, whip the remaining heavy cream, powdered sugar, and vanilla until soft, pillowy peaks form. Spread this generous pillowy layer of whipped vanilla cream over the espresso layer. Do not smooth it out perfectly—swirls and peaks look better for the camera!
Step 4: The Art of the Garnish
Now for the visual magic. Drizzle the glossy dark espresso-caramel sauce in a zig-zag pattern across the top. Lightly sift a dusting of fine cocoa powder over the cream. Finally, scatter your chocolate curls and a few shiny whole roasted coffee beans across the surface. The contrast of the white cream and dark beans is what makes this coffee pie recipe a viral sensation.
Expert Tips for Success
- Cold Tools: Chill your metal whisk and glass bowl before whipping the cream to get maximum volume.
- Quality Matters: Since coffee is the star, use a high-quality espresso powder rather than standard instant coffee granules for a deeper flavor.
- Clean Slices: Dip a sharp knife in hot water and wipe it dry between every single cut. This ensures the layers stay distinct and the espresso cream filling remains pristine on the plate.
- Stabilization: If you need the pie to sit out at a party, add a teaspoon of cornstarch or “Whip It” stabilizer to the whipped cream layers.
Storage, Reheating & Freezing
This coffee pie recipe is best served cold directly from the refrigerator. You can store leftovers in an airtight container for up to 3 days. While the crust may soften slightly over time, the flavor actually deepens by day two!
Freezing: You can freeze the espresso filling and crust (without the whipped cream topping) for up to 1 month. Thaw in the fridge for 4 hours before adding the fresh vanilla topping and espresso-caramel drizzle.
What to Serve With This Coffee Pie
Because this dessert is so rich, it pairs beautifully with something light and fruity. Consider serving a side of fresh berries or a glass of cold milk. If you’re looking for more fruity inspirations, check out our strawberry cake or these strawberry muffins for a lighter contrast to the heavy mocha flavors.
Frequently Asked Questions
Absolutely. You can prepare the dark chocolate cookie crust up to 2 days in advance. Just keep it covered in the freezer until you are ready to fill it.
Yes, but espresso powder is more concentrated. If using instant coffee, triple the amount and dissolve it in as little water as possible to avoid thinning the filling.
For a clean slice, it needs at least 6 hours in the refrigerator. Overnight is best for the flavors to fully meld and the espresso cream to stabilize.
Yes, simply substitute the instant espresso powder with a high-quality decaffeinated instant coffee or decaf espresso powder.
The Final Coffee Pie Recipe Card
Ready to make the best dessert of your life? Follow the detailed measurements below to recreate this viral Pinterest sensation in your own kitchen.
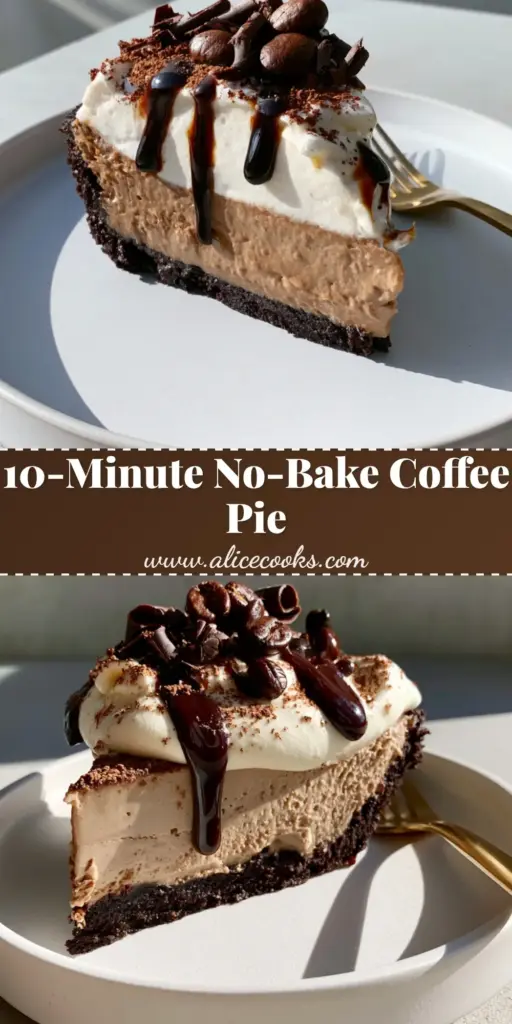
Coffee Pie Recipe: The Ultimate No-Bake Silk Espresso Dream
Ingredients
Equipment
Method
- Combine dark chocolate cookie crumbs, melted butter, and salt. Press firmly into a 9-inch pie dish.
- Freeze the crust for 15 minutes to set the butter.
- Beat cream cheese and powdered sugar until smooth.
- In a separate bowl, whip heavy cream and espresso to stiff peaks. Fold into the cream cheese mixture.
- Pour into crust and refrigerate for 6 hours.
Notes
Ensure cream cheese is fully softened to avoid lumps in the espresso filling.
Share Your Espresso Creation!
If you made this coffee pie recipe, we want to see it! Head over to Pinterest and follow alicecooks_official for more dessert inspiration. Did your espresso-caramel drizzle come out perfectly glossy? Take a photo, upload it to the comments below, and don’t forget to leave a 5-star rating! Your feedback helps our community of home cooks thrive.