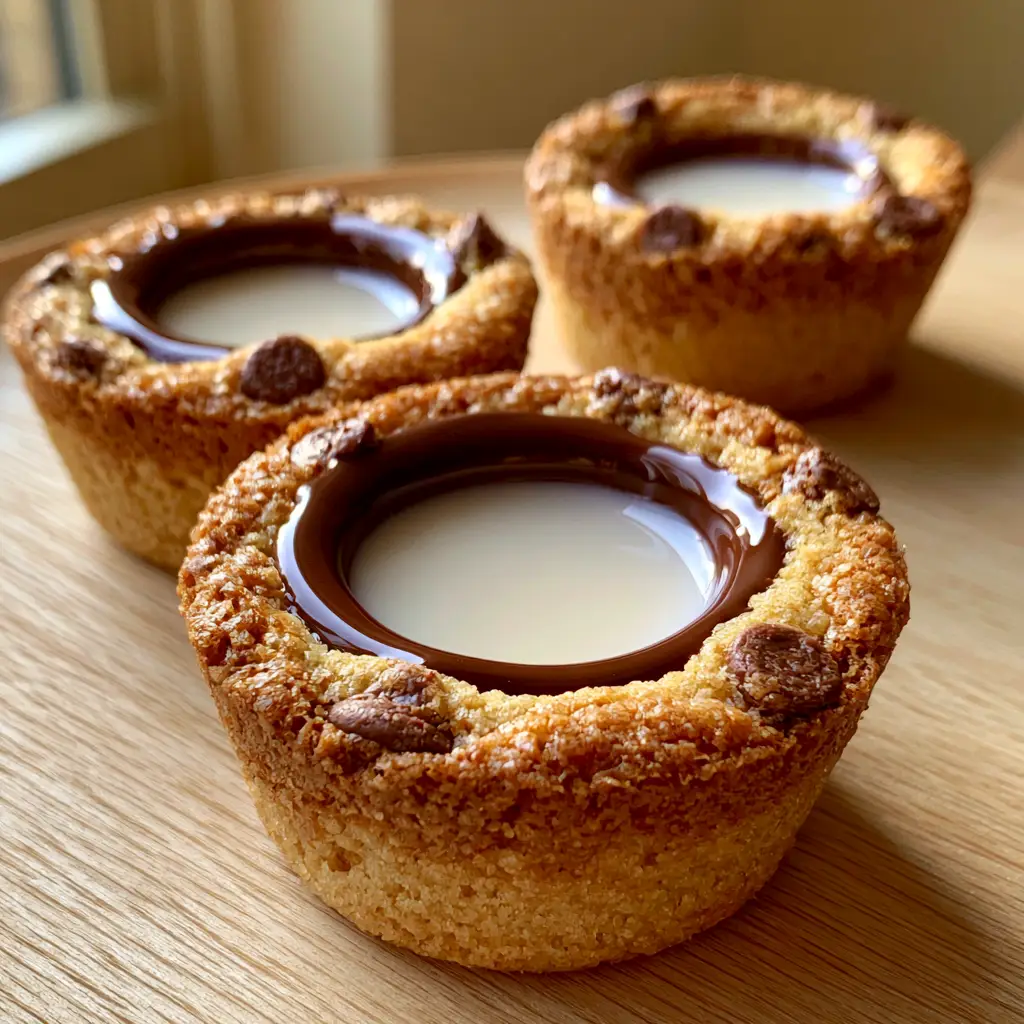
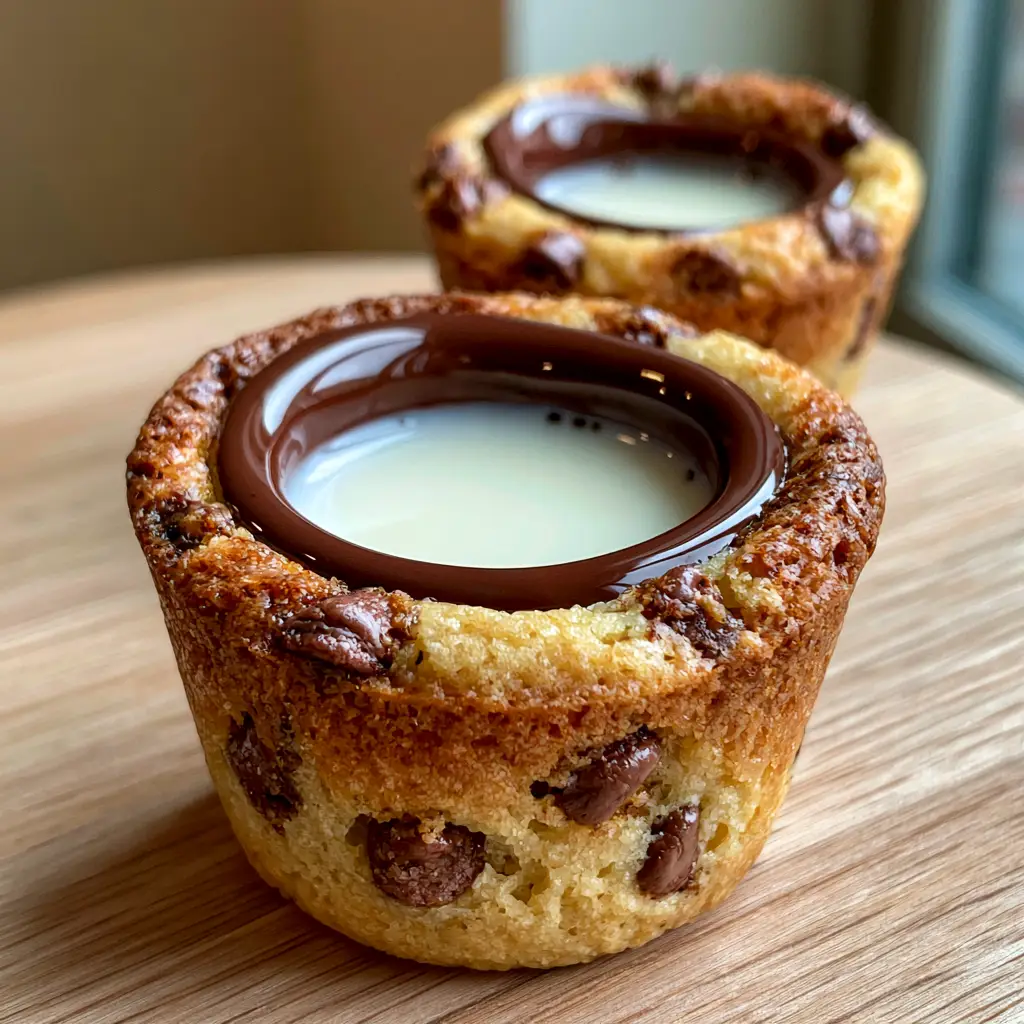
Chocolate chip cookie shots are the ultimate fusion of a classic childhood snack and a sophisticated dessert vessel. If you have been searching for a way to serve milk and cookies that will leave your guests speechless, these edible cookie glasses are the answer. By combining a crispy, caramelized cookie texture with a thick, waterproof layer of dark chocolate, we have created a handheld treat that holds cold milk without leaking a single drop.
I first saw a version of these chocolate chip cookie shots at a boutique bakery in New York, and I knew I had to master the science at home. The key to a successful cookie shot isn’t just the flavor—it is the structural integrity of the dough. We are moving beyond the standard soft-baked cookie and entering the world of “cookie architecture.” This recipe ensures a golden-brown chocolate chip cookie dough shell that is sturdy enough to hold liquid but tender enough to bite into.
Why You Will Love These Edible Cookie Shot Glasses
- Leak-Proof Technology: The interior is lined with a thick, glossy layer of dark chocolate, creating a professional-grade seal.
- Textural Perfection: You get a crispy, caramelized outer texture that contrasts beautifully with the creamy milk inside.
- Pinterest-Ready Aesthetic: These look like they came straight from a professional food stylist’s studio, especially when served on a light wooden table.
- Customizable Fun: While we use cold whole milk, you can easily swap in coffee, Baileys, or even chocolate mousse.
Essential Ingredients for Structural Cookie Success
To create the perfect chocolate chip cookie shots, you need ingredients that provide stability. Unlike a standard sourdough chocolate chip cookie which focuses on lift and tang, these require a dense, reliable crumb.
- Unsalted Butter (226g / 1 cup): We use softened butter to create a sturdy emulsion. This provides the fat needed for that golden-brown finish.
- Brown Sugar (150g / 3/4 cup): High molasses content is essential for achieving the caramelized cookie texture we see in the visual blueprint.
- Granulated Sugar (100g / 1/2 cup): This helps the edges crisp up, ensuring the shot glass doesn’t collapse under the weight of the milk.
- Egg Yolk (1 large): Using just the yolk adds richness without the extra moisture from the white, which can make cookies too cakey.
- All-Purpose Flour (360g / 3 cups): A higher flour-to-fat ratio is the “secret” to a dough that holds its shape in the mold.
- Semi-Sweet Chocolate Chips (170g / 1 cup): Mini chips work best here so they don’t disrupt the walls of the shot glass.
- Dark Chocolate Melting Wafers (200g / 1.2 cups): This is for the glossy melted dark chocolate lining. High-quality dark chocolate ensures a snap when you bite in.
- Cold Whole Milk: The classic pairing. The milk must be ice-cold to contrast with the rich chocolate.
How to Make the Perfect Chocolate Chip Cookie Shots
Preparing the Specialized Cookie Dough
Start by creaming your butter and sugars together until just combined. Unlike making chocolate chip cookie bars, we do not want to whip too much air into this dough. Air bubbles lead to “puffing,” which will ruin the shot glass shape. Incorporate the egg yolk and vanilla, then slowly fold in your flour and salt. The dough should feel like heavy sculpting clay.
Molding the Edible Vessels
To get that golden-brown chocolate chip cookie dough shell, you need a silicone shot glass mold or a specialized popover tin. Press roughly 2 tablespoons (30ml) of dough into each cavity. Use your thumb to press the dough firmly against the sides and bottom. You want the walls to be about 1/4 inch (6mm) thick. If the walls are too thin, the milk will break through; too thick, and there won’t be room for the drink!
The Chilling Phase (Do Not Skip!)
Place your filled molds in the freezer for at least 30 minutes. This is a non-negotiable step. Chilling the fats ensures the chocolate chip cookie shots maintain their sharp, vertical edges during the baking process. If you skip this, you’ll end up with a slumped pile of cookie dough rather than a glass.
Baking for Caramelization
Bake at 350°F (175°C) for 18-22 minutes. You are looking for a deep, golden-brown hue. This indicates the sugars have undergone the Maillard reaction, giving you that caramelized cookie texture. Once removed from the oven, the centers may have puffed slightly. Use a small dowel or the back of a spoon to gently press the centers back down while they are still warm.
Creating the Glossy Dark Chocolate Lining
Once the cookies are completely cool, melt your dark chocolate. Pour a tablespoon of chocolate into each cookie cup, swirl it around to coat the entire interior up to the brim, and pour the excess back into the bowl. This creates a thick, glossy layer of dark chocolate that acts as a waterproof sealant. Let them set in the refrigerator for 20 minutes until the lining is hard and shiny.
Expert Tips for Pinterest-Worthy Cookie Shots
- The “Tap” Test: Before filling with milk, gently tap the bottom of the cookie. It should sound hollow and firm.
- Miniature Chips are King: Using regular-sized chips can create “weak spots” in the walls. Mini chips ensure a uniform distribution.
- Seal the Rim: Dip the rim of the cookie shot into the melted chocolate and then into crushed cookies or sprinkles for an extra flair. This mimics the style of mini chocolate chip cookies garnishing a dessert.
- Temperature Contrast: Always serve with cold whole milk. The cold liquid against the room-temperature chocolate lining is a sensory delight.
Storage and Make-Ahead Instructions
You can bake these chocolate chip cookie shots up to two days in advance. Keep the unlined shells in an airtight container at room temperature. Once you add the glossy melted dark chocolate lining, store them in a cool, dry place. Do not refrigerate the finished shells for long periods, as the cookie can become soft. For long-term storage, the unlined shells freeze beautifully for up to three months.
What to Serve with Cookie Shots
While milk is the gold standard, these are incredible when served alongside a chocolate coffee cake brunch spread. You can also fill them with chocolate mousse for a double-chocolate experience or even a small scoop of softened vanilla bean ice cream to create a “cookie shot sundae.”
Frequently Asked Questions
It is not recommended. Hot liquids will melt the glossy dark chocolate lining immediately, causing the cookie to disintegrate. Stick to cold or room-temperature liquids.
Standard cookie dough is often too soft and contains too much leavening. This recipe uses a higher flour-to-fat ratio and fewer leavening agents to ensure the walls remain upright and sturdy.
While a specific cookie shot mold is easiest, you can use a popover tin or even a standard muffin tin by using a rolled-up piece of foil in the center to create the cavity.
If using silicone molds, wait until the cookies are completely cool, then gently peel the silicone away. For metal molds, ensure they are well-greased and use a gentle twisting motion once cooled.
Leaking usually happens because the chocolate lining is too thin or wasn’t allowed to set completely. Ensure you coat the interior twice if necessary, especially near the bottom seams.
The Official Chocolate Chip Cookie Shots Recipe
Chocolate Chip Cookie Shots with Glossy Dark Chocolate Lining
Ingredients
Equipment
Method
- Cream softened butter with brown and granulated sugars until smooth. Stir in egg yolk and vanilla.
- Slowly add flour and salt, mixing until a stiff dough forms. Fold in mini chocolate chips.
- Press dough into shot glass molds, ensuring walls are 1/4 inch thick. Freeze for 30 minutes.
- Bake at 350°F (175°C) for 18-22 minutes until golden-brown and caramelized. Let cool completely.
- Melt dark chocolate. Pour into each cup, swirl to coat, and pour out excess. Chill to set.
- Fill the chocolate-lined cookie shots with cold whole milk just before serving.
Notes
Use high-quality dark chocolate for the lining to ensure it sets firmly and provides a waterproof seal.
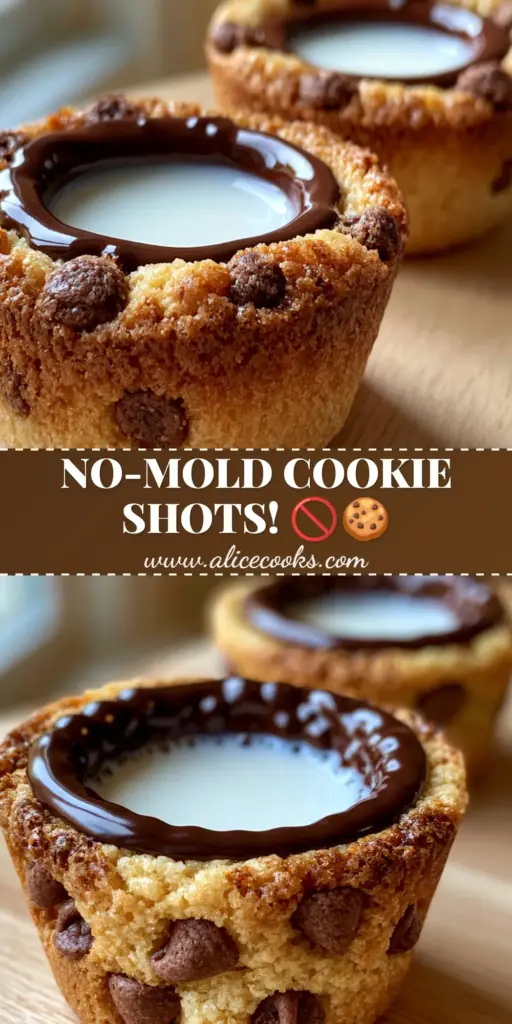
Save This Recipe to Pinterest!
Did you love these chocolate chip cookie shots? If you’re planning a party or just want a weekend project, make sure to save this recipe to your Dessert Board on Pinterest! Follow alicecooks_official for more viral dessert inspiration. If you make these, please upload a photo in the comments below and leave a 5-star rating—it helps other bakers find my recipes! Happy baking!