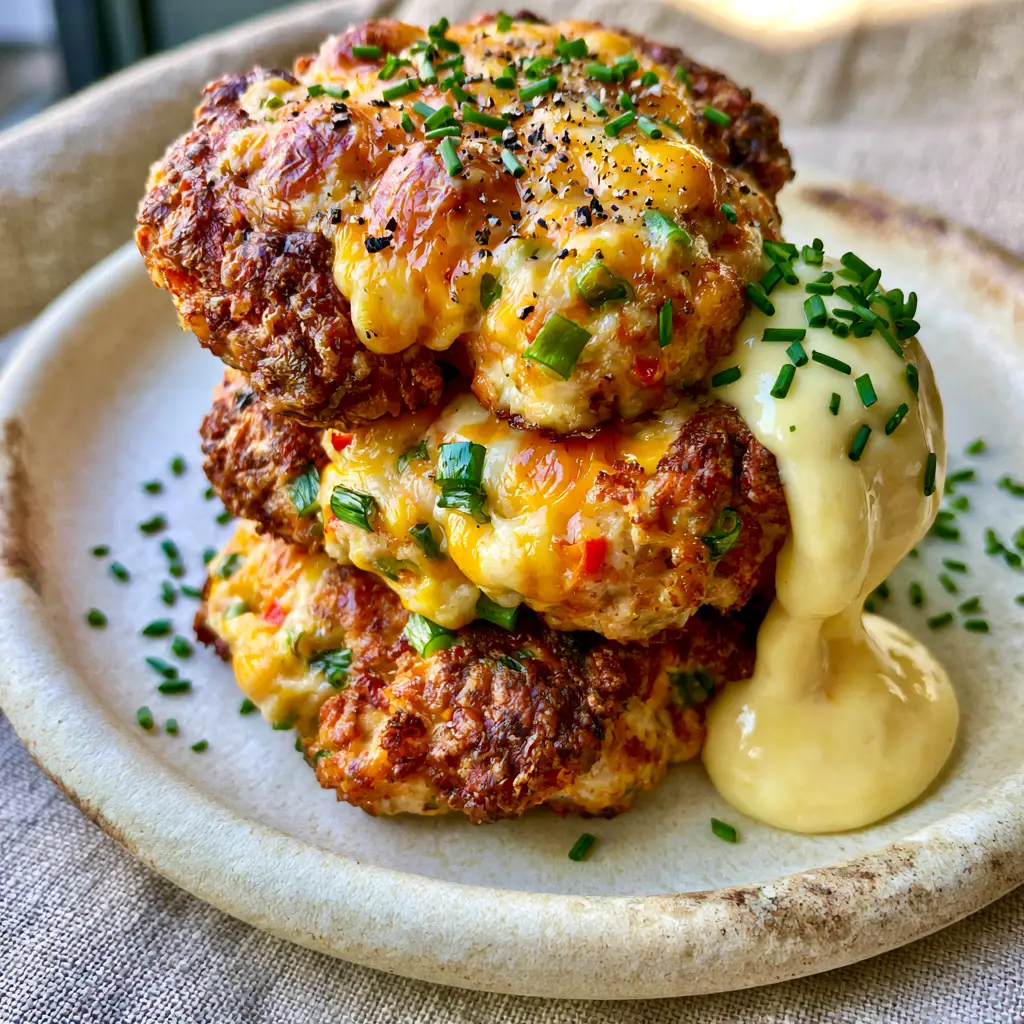
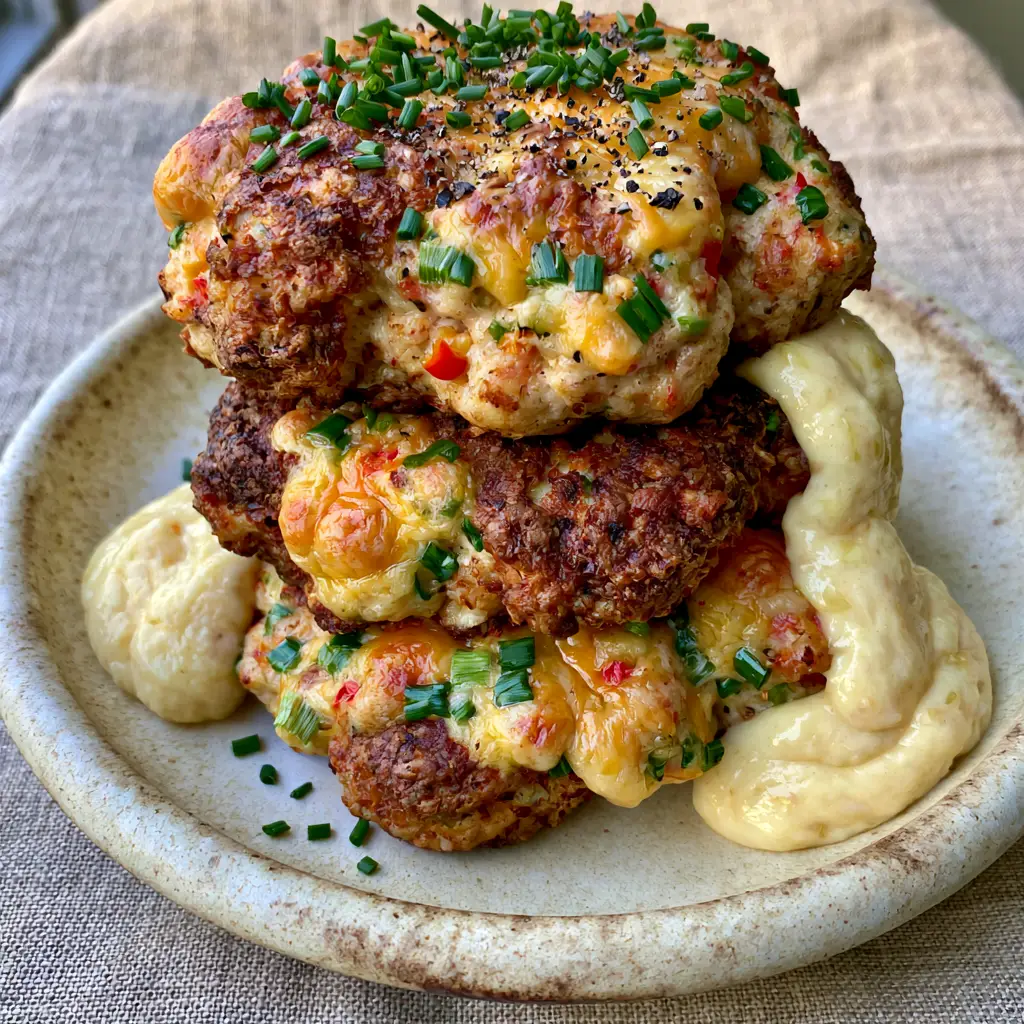
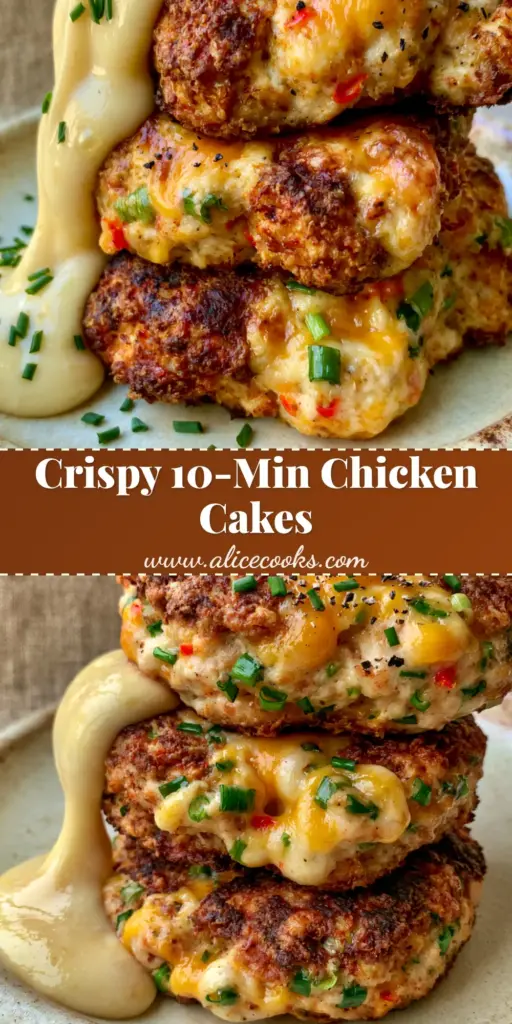
There is something inherently satisfying about the perfect crunch of a golden-brown crust giving way to a tender, savory center. This chicken cake recipe isn’t just another appetizer; it is a masterclass in texture and flavor balance, designed to look as good on your plate as it does in a high-end food editorial. Imagine three thick, succulent cakes stacked high on a rustic ceramic plate, each one boasting a crown of bubbling melted cheddar and vibrant flecks of red and green.
Achieving that specific “handheld smartphone photo” aesthetic requires more than just good lighting; it requires culinary precision. We are focusing on the contrast between the ultra-crispy panko exterior and the moisture-rich interior packed with minced scallions and sweet red bell peppers. Whether you are hosting a weekend brunch or looking for a sophisticated weeknight dinner, these air-fried delights deliver a gourmet experience with minimal effort.
Every bite offers a symphony of sensations, from the sharp bite of cracked black pepper to the cooling, velvety cascade of a pale yellow garlic aioli. This dish is designed to be the star of your table, reflecting the natural daylight of a cozy kitchen setting. By the time you finish this guide, you will be able to recreate that exact visual blueprint of bubbling cheese and perfectly blistered crust every single time.
Why You Will Crave These Crispy Air-Fried Chicken Patties
- Unmatched Texture: The dual-action of the air fryer and the panko coating creates a shatteringly crisp shell that rivals deep-frying without the excess oil.
- Visual Pop: The inclusion of finely minced red bell peppers and scallions ensures every cross-section is a colorful mosaic of fresh ingredients.
- Gourmet Drizzle: The thick, pale yellow garlic aioli provides a luxurious mouthfeel that perfectly complements the savory chicken.
- Effortless Elegance: Despite their sophisticated appearance, these cakes come together quickly, making them perfect for “foodie” photography and enthusiast cooking alike.
The Essential Components for the Ultimate Chicken Cake
To achieve the structural integrity and flavor profile seen in our visual blueprint, each ingredient serves a specific forensic purpose. We don’t just want flavor; we want a cake that stands thick and proud without crumbling.
Ground Chicken (1 lb / 450g): Choose ground chicken that includes a mix of breast and thigh meat. The fat content in the thigh meat is crucial for keeping the cakes juicy during the high-heat air frying process.
Panko Breadcrumbs (1.5 cups / 90g): Japanese-style panko is essential for that ultra-crispy crust. Its larger, flakey surface area catches the air currents in the fryer to create an uneven, crunchy topography.
Sharp Cheddar Cheese (1/2 cup / 60g, shredded): We use sharp cheddar for its high oil content and flavor. As it melts, it creates those signature bubbling golden spots on the surface of the cake.
Red Bell Pepper (1/4 cup / 40g, finely minced): These provide “tiny red bits” of sweetness and color. Mincing them finely ensures they integrate into the chicken without causing the cakes to break apart.
Scallions (3 large stalks, finely sliced): Using both the white and green parts provides a mild onion bite and the vibrant green flecks visible in the final stack.
Mayonnaise (2 tbsp / 30g): This is an “invisible” foundational ingredient. It acts as a binder and provides internal fat, ensuring the chicken remains succulent even at high temperatures.
Large Egg (1 unit): The primary protein binder that sets the structure of the cake, allowing you to stack them three-high without them compressing or sliding.
Garlic Aioli Drizzle: A combination of mayonnaise, fresh grated garlic, and lemon juice. This creates the thick, pale yellow cascade that adds the final touch of decadence.
Fresh Chives and Cracked Black Pepper: These are your final visual garnishes. The chives add a delicate herbal note, while the coarse black pepper provides a rustic, textured finish.
Must-Have Tools for the Modern Home Chef
To replicate the thick, uniform look of our chicken cake, you need the right tools for the job. Precision in shaping and temperature control is the difference between a flat patty and a gourmet cake.
An Air Fryer is non-negotiable for this recipe. The rapid air circulation is what dries out the panko quickly enough to brown it before the chicken inside overcooks. You will also want a Matte Ceramic Plate for serving, as the non-reflective surface makes the colors of the scallions and peppers pop.
A 3-inch (7.5cm) Ring Mold or a large ice cream scoop is highly recommended. This helps you achieve the “thick” profile seen in the blueprint. Finally, a Microplane is essential for grating the garlic into the aioli to ensure a smooth, drizzlable consistency without any chunky bits.
Step-by-Step Guide to the Perfect Golden Crunch
Phase 1: Preparing the Aromatic Base
Begin by finely mincing your red bell peppers and scallions. You want the pieces to be roughly the size of a grain of rice. This forensic attention to size ensures that the vegetables are distributed evenly throughout the chicken cake, providing flavor in every bite without compromising the structural integrity of the panko crust.
In a large mixing bowl, combine the ground chicken, minced peppers, half of the scallions, the egg, and the two tablespoons of mayonnaise. Season generously with salt and a half-teaspoon of cracked black pepper. Mix gently with your hands or a spatula—do not overwork the meat, or the cakes will become dense and rubbery.
Phase 2: The Art of the Panko Crust
Place your panko breadcrumbs in a shallow dish. Divide the chicken mixture into four equal portions. Using your ring mold or hands, shape each portion into a thick disc, approximately 1 inch (2.5cm) deep. Carefully press each side of the cake into the panko, ensuring the edges are also well-coated. The panko should look like a thick, shaggy coat around the meat.
Lightly spray the air fryer basket with a high-smoke-point oil like avocado or grapeseed oil. Place the cakes in the basket, leaving space between them for air to circulate. Spray the tops of the cakes lightly with oil as well; this is the secret to achieving that deep golden-brown color in an air fryer.
Phase 3: The Air-Frying Process and Melting
Set your air fryer to 375°F (190°C). Cook the cakes for 10 minutes. At this point, the crust should be starting to firm up and turn a light blonde. Carefully flip the cakes and cook for another 4-5 minutes. During the last 2 minutes of cooking, top each cake with a generous pinch of the shredded cheddar cheese.
Watch for the visual cue: the cheese should be bubbling and starting to brown at the edges, exactly as described in the midjourney prompt. The panko should now be a rich, mahogany gold. Internal temperature should reach 165°F (74°C) to ensure the chicken is fully cooked through while remaining juicy.
Phase 4: The Garlic Aioli Cascade
While the cakes are finishing, whisk together your pale yellow aioli. Combine 1/4 cup (60g) of mayonnaise with one clove of finely grated garlic and a teaspoon of fresh lemon juice. The consistency should be thick but pourable. If it’s too thick, add a few drops of water until it reaches that perfect cascading texture.
Expert Tips for Visual and Culinary Success
- Cold Ingredients: Keep your ground chicken cold until the moment you are ready to mix. This helps the fat stay solid, which results in a lighter, fluffier cake.
- The Pressing Technique: When applying panko, press firmly but don’t squeeze the cake. You want the crumbs to adhere to the surface, creating a protective barrier that locks in moisture.
- Don’t Crowd the Basket: If you stack the cakes in the air fryer, they will steam instead of crisp. Cook in batches if necessary to ensure that “ultra-crispy” result.
- Resting Period: Let the chicken cake rest for 2-3 minutes after removing them from the air fryer. This allows the juices to redistribute and the melted cheese to set slightly, making them easier to stack.
Storage, Reheating, and Meal Prep Advice
These cakes are best enjoyed fresh to maintain the integrity of the crispy panko. However, if you have leftovers, they can be stored in an airtight container in the refrigerator for up to 3 days. To reheat, avoid the microwave, as it will make the crust soggy. Instead, pop them back into the air fryer at 350°F (175°C) for 3-5 minutes until the cheese begins to bubble again.
For long-term storage, you can freeze the uncooked, breaded patties. Place them on a parchment-lined tray to freeze solid before transferring them to a freezer bag. They can be air-fried straight from frozen—just add 4-6 minutes to the total cooking time.
Pairing Suggestions for a Complete Meal
To balance the savory richness of the chicken cake, consider serving it alongside a light, acidic side dish. A crisp arugula salad with a lemon vinaigrette works wonders. If you are looking to round out a full brunch spread, these cakes pair beautifully with a chilled hibiscus tea strawberry lemonade.
For those with a sweet tooth, following a savory meal with a fruit-forward dessert is a classic move. You might enjoy a slice of blackberry cheesecake or perhaps some light and airy lemon blueberry cupcakes. If you’re looking for a refreshing midday pick-me-up, a blueberry kiwi frappuccino is the perfect companion to the zesty garlic aioli.
Frequently Asked Questions
You can, though they won’t be quite as crispy. Bake at 400°F (200°C) on a wire rack over a baking sheet for 18-20 minutes, flipping halfway through.
Yes, ground turkey is an excellent substitute for chicken cake. However, since turkey is leaner, ensure you don’t skip the mayonnaise in the mixture to maintain moisture.
The secret is a light spray of oil. Panko requires a small amount of fat to brown evenly in the high-speed air of the fryer. Without it, the crust may remain pale and dry.
Use a sharp chef’s knife to cut the pepper into very thin matchsticks, then rotate and cut crosswise. The smaller the bits, the better they stay integrated into the chicken.
This usually happens if the cakes are moved before the egg and panko have set. Ensure you cook them for at least 10 minutes on the first side before attempting to flip.
The Ultimate Air-Fried Chicken Cake Recipe
Chicken Cake with Crispy Panko and Zesty Garlic Aioli
Ingredients
Equipment
Method
- Finely mince the red bell pepper and scallions. In a bowl, combine chicken, peppers, half the scallions, egg, and 2 tbsp mayo.
- Form the mixture into 4 thick cakes using a mold. Dredge each cake in panko breadcrumbs until fully coated on all sides.
- Place cakes in the air fryer at 375°F (190°C) for 10 minutes. Spray tops with oil for golden color.
- Flip cakes, cook for 3 minutes. Top with cheddar and cook for final 2 minutes until cheese is bubbling.
- Whisk aioli ingredients. Drizzle over stacked cakes. Garnish with remaining scallions, chives, and cracked black pepper.
Notes
Ensure the chicken reaches an internal temperature of 165°F (74°C).
Closing & Call to Action
Mastering the chicken cake is a rite of passage for any home cook looking to blend technical skill with beautiful presentation. The combination of the bubbling cheddar, the crunch of the panko, and the bite of the fresh chives creates a dish that is truly greater than the sum of its parts. I invite you to try this recipe and see how the air fryer transforms humble ingredients into a gourmet centerpiece.
If you enjoyed this recipe, please leave a comment below and let me know how yours turned out! Don’t forget to share your creations on social media and follow me on Pinterest for more culinary inspiration. Your support helps me continue to develop these forensic-level recipes for our community of enthusiastic home cooks!