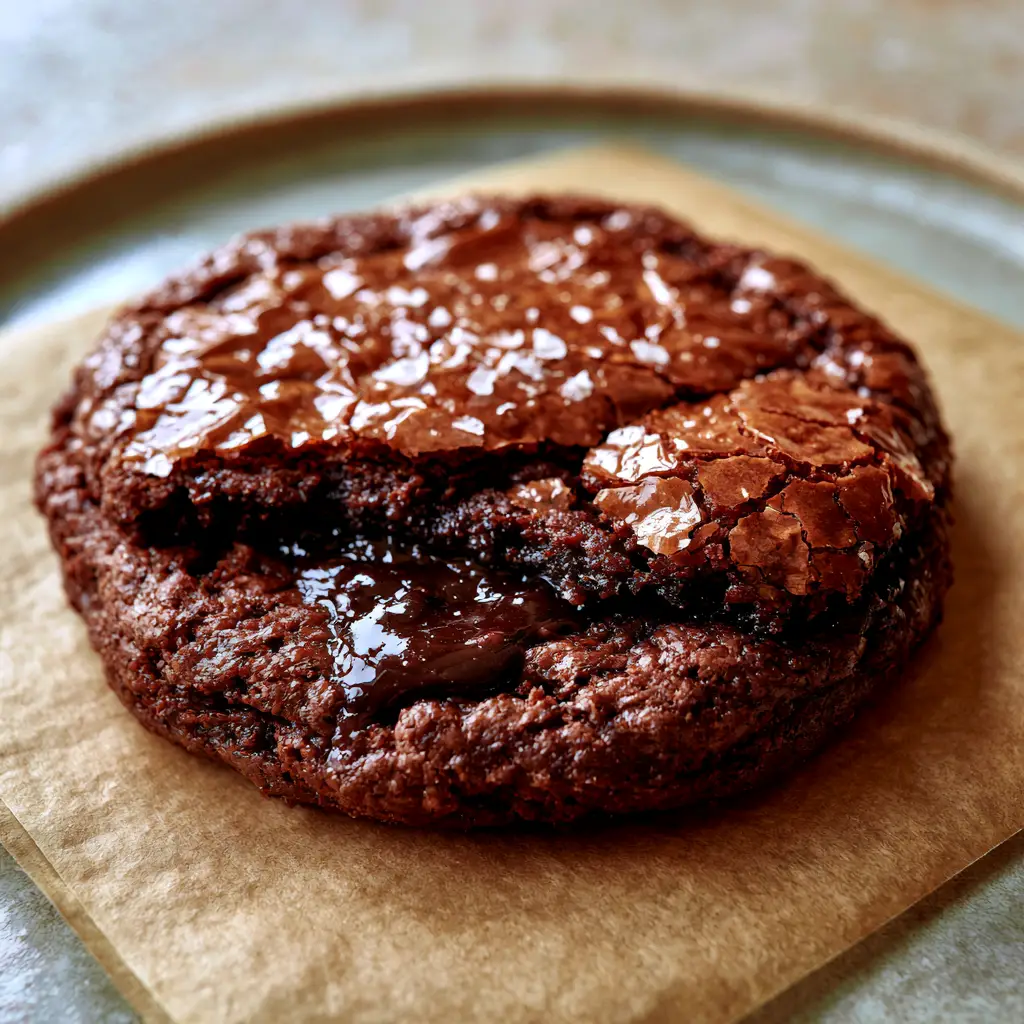
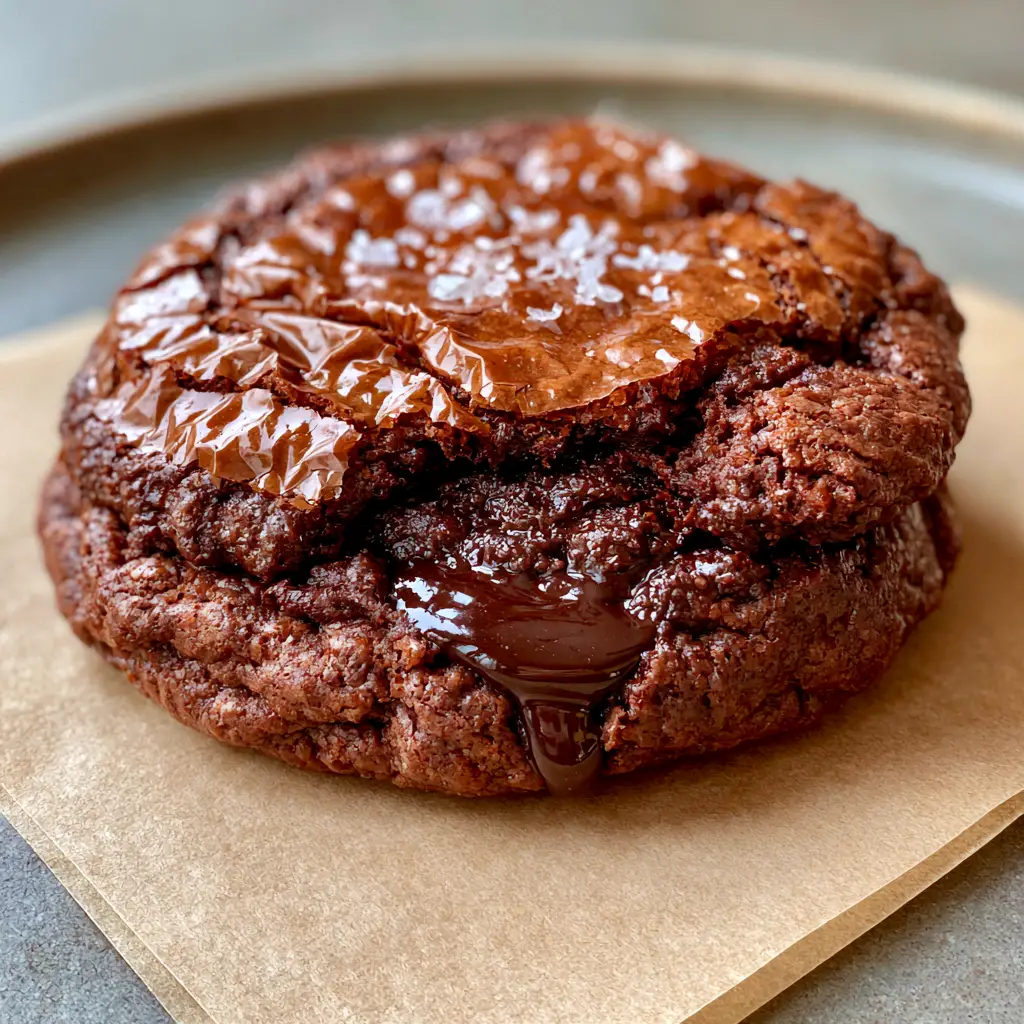
There is a specific kind of magic that happens when a classic fudge brownie transforms into a portable, handheld treat. These galletas de brownie are not your average chocolate cookies; they represent the pinnacle of culinary texture engineering. Imagine a surface so delicate it shatters like tissue paper at the touch, revealing a center that is dense, dark, and impossibly fudgy.
Achieving that iconic “crackle” isn’t a matter of luck; it is a matter of chemistry. Most bakers struggle with cookies that turn out cakey or dull, but today we are diving deep into the science of the meringue-like top. By focusing on the aeration of eggs and the specific temperature of your fats, you will create a cookie that looks like it belongs in a professional pastry case.
Whether you are preparing a spread for an event or just craving a late-night indulgence, these galletas de brownie provide a sensory experience that rivals even the most decadent brownie cheesecake cups. Every bite offers a contrast between the salt-flaked exterior and a hidden, molten dark chocolate pocket that oozes with every snap of the crust.
What Defines the Ultimate Fudgy Brownie Cookie?
- The Signature Crust: A shiny, paper-thin crinkled chocolate crust that provides a delicate crunch before giving way to the soft center.
- Ultra-Fudgy Core: A dense, brownie-like interior that stays moist for days, avoiding the dry crumb of standard cookies.
- The Molten Surprise: A concentrated pocket of melted dark chocolate tucked inside the dough for a professional “ooze” factor.
- Flavor Balance: A heavy hit of Dutch-processed cocoa balanced by delicate flakes of sea salt to enhance the dark chocolate notes.
Essential Components for Chocolate Perfection
To achieve the specific visual and structural results of these galletas de brownie, every ingredient serves a dual purpose. We aren’t just looking for flavor; we are looking for the chemical reactions that create that crackled top and molten center.
Dark Chocolate (70% Cacao): 8 ounces (225g) of high-quality bars are better than chips. The cocoa butter content in bar chocolate is essential for the fat emulsion that creates the shiny skin.
Unsalted Butter: 1/2 cup (115g) of butter provides the fat base. When melted with the chocolate, it creates the glossy foundation for the entire cookie structure.
Granulated Sugar: 3/4 cup (150g) is non-negotiable for the crust. As the sugar dissolves into the eggs, it creates a thin meringue layer that rises and cracks during baking.
Light Brown Sugar: 1/2 cup (100g) packed sugar adds moisture and chew. The molasses content ensures the center remains dense rather than airy.
Large Eggs: 2 eggs at room temperature are the leavening powerhouse. Beating these vigorously is what traps the air needed for the paper-thin crust to form.
Dutch-Processed Cocoa Powder: 1/4 cup (25g) provides a deep, dark color and a smooth chocolate flavor. It reacts differently than natural cocoa, ensuring the cookies don’t become too acidic.
All-Purpose Flour: 1 cup (125g) provides just enough structure to hold the cookie together. We keep the flour low to ensure the texture stays closer to fudge than cake.
Baking Powder: 1/2 tsp (2.5g) gives the cookies a slight lift. This lift is what stretches the drying surface of the cookie, creating those beautiful crinkles.
Sea Salt Crystals: 1/2 tsp (3g) inside the dough and extra for garnish. Flaky sea salt is the bridge between the bitterness of the dark chocolate and the sweetness of the sugars.
Dark Chocolate Chunks (The Pocket): 1/2 cup (85g) of large chunks. These are tucked into the center of each dough ball to create the molten pocket seen in the visual blueprint.
Tools for Professional Results
To replicate the handheld smartphone photo quality of these cookies, you need the right gear. A stand mixer or a powerful electric hand mixer is essential for the 5-minute egg-beating process that creates the crust.
You will also need heavy-duty baking sheets and high-quality parchment paper. The parchment paper, as seen in the rustic minimalist background of our guide, ensures the cookies don’t stick and allows for even heat distribution across the bottom of the galletas de brownie.
A standard 2-tablespoon cookie scoop helps maintain uniformity. Consistency in size ensures that every cookie develops its molten center at exactly the same time, preventing some from drying out while others remain raw.
The Step-by-Step Path to the Perfect Crinkle
Melting the Chocolate Foundation
Begin by combining your 8 ounces (225g) of dark chocolate and 1/2 cup (115g) of butter in a heat-proof bowl. Use a double boiler or 30-second microwave bursts to melt them together until the mixture is glossy and smooth.
Set this mixture aside to cool slightly. If the chocolate is too hot when added to the eggs, it will scramble them; if it is too cold, it won’t incorporate properly into the meringue structure.
The Secret Meringue Technique
This is the most critical step for your galletas de brownie. Place the 2 eggs, 3/4 cup (150g) granulated sugar, and 1/2 cup (100g) brown sugar into your mixer bowl.
Whip on high speed for at least 5 to 7 minutes. You are looking for the “ribbon stage,” where the mixture is pale, thick, and falls off the whisk in slow, distinct folds. This aeration is what creates the paper-thin, crackled top.
Folding and Incorporating
Slowly pour the slightly cooled chocolate-butter mixture into the whipped eggs while the mixer is on low. Once combined, stop the mixer and use a spatula to fold in the flour, cocoa powder, baking powder, and salt.
Fold gently until no streaks of white remain. The batter should be thick, glossy, and look like a very heavy brownie batter rather than a traditional stiff cookie dough.
Creating the Molten Dark Chocolate Pocket
Scoop a rounded tablespoon of dough onto your parchment-lined sheet. Take a large chunk of dark chocolate and press it firmly into the center of the scoop.
Place another half-tablespoon of dough over the chocolate chunk and gently roll it into a ball. This ensures the chocolate is insulated, allowing it to become a molten pocket rather than just a burnt chip on the surface.
Baking for Visual Accuracy
Bake at 350°F (175°C) for exactly 10-12 minutes. Watch through the oven window; you will see the cookies rise, and suddenly, the shiny surface will begin to split and crinkle.
Remove the cookies when the edges are set but the center still looks slightly soft. Immediately sprinkle with flaky sea salt while the surface is still warm enough for the crystals to adhere.
Expert Tips for Success
- Don’t Wait to Bake: Unlike chocolate chip cookies, this dough should not be chilled. Bake immediately while the egg foam is at its strongest to ensure the best crinkle.
- Sugar Ratio Matters: Do not reduce the sugar. The high sugar content is what migrates to the surface to create that shiny, paper-thin crust.
- Use a Bar, Not Chips: Chocolate chips contain stabilizers that prevent them from melting into a “molten pocket.” Use a chopped chocolate bar for the best ooze.
- The Pan Bang: For extra crinkles, tap the baking sheet firmly on the oven rack halfway through baking. This collapses the air bubbles and forces the crust to shatter.
Storage, Reheating, and Texture Preservation
These galletas de brownie are best enjoyed within the first 4 hours when the center is at its most molten. However, you can store them in an airtight container at room temperature for up to 3 days.
To revive the molten dark chocolate pocket, microwave a single cookie for 10-15 seconds. This will soften the center and bring back that freshly-baked, gooey experience described in our visual blueprint.
You can also freeze these cookies for up to 2 months. Thaw them at room temperature and give them a quick flash in a 300°F (150°C) oven to restore the crispness of the crinkled crust.
Pairing Your Cookies for a Dessert Feast
While these cookies are a masterpiece on their own, they fit perfectly into a larger dessert spread. If you love the combination of fruit and chocolate, try serving these alongside a strawberry brownie trifle for a mix of textures.
For those who enjoy creamy pairings, the deep cocoa notes of the galletas de brownie complement the rich flavors found in cookie butter cheesecake cups. If you are hosting a summer gathering, a cold glass of raspberry lemonade provides a sharp, acidic contrast to the heavy dark chocolate.
If you find yourself wanting to experiment further with chocolate bases, consider trying a classic blondies recipe to see how the absence of cocoa powder changes the crumb structure while keeping that chewy center.
Frequently Asked Questions
For the batter, yes, but for the ‘molten pocket,’ chocolate bars are superior because they lack the stabilizers found in chips that prevent melting.
The center is most liquid right out of the oven. To get that ‘ooze’ later, a quick 10-second zap in the microwave will remelt the internal chocolate pocket.
Dutch-processed cocoa powder is best. It provides a deeper, darker color and a smoother flavor profile that perfectly complements the dark chocolate chunks.
The shiny crust is essentially a thin layer of meringue. If your cookies are dull, you likely didn’t beat the eggs and sugar long enough, or your sugar didn’t fully dissolve.
This dough is naturally thinner than standard cookie dough. If it’s impossible to handle, let it sit at room temperature for 5-10 minutes to firm up as the chocolate cools, but do not chill it in the fridge.
The Ultimate Galletas de Brownie Recipe
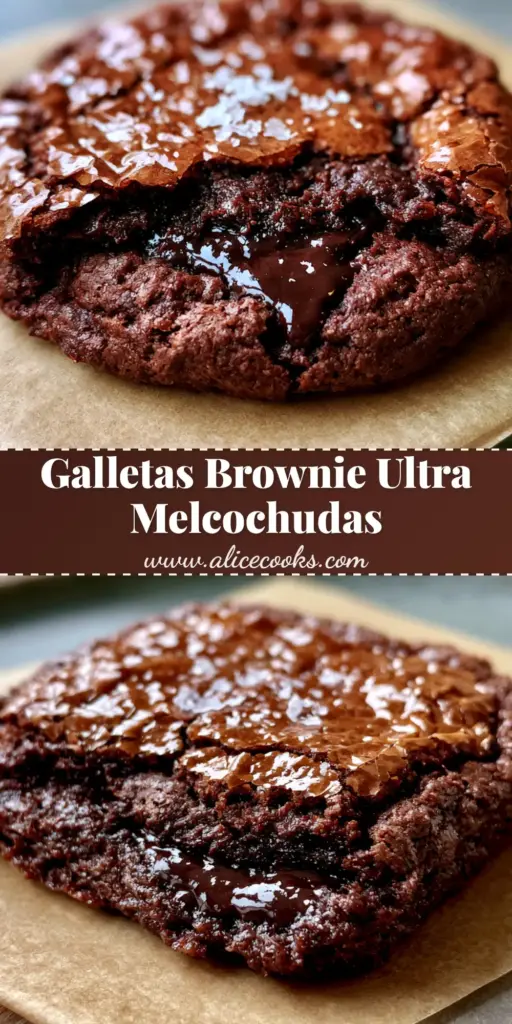
Galletas de Brownie: The Secret to a Shiny Paper-Thin Crinkled Crust
Ingredients
Equipment
Method
- Melt the 8oz (225g) dark chocolate and 1/2 cup (115g) butter together until glossy. Let cool slightly.
- Beat 2 eggs with granulated and brown sugars on high for 5-7 minutes until the ribbon stage is reached.
- Fold the chocolate mixture into the eggs, then gently fold in flour, cocoa, baking powder, and fine salt.
- Scoop dough, press a large dark chocolate chunk into the center, and cover with a little more dough.
- Bake at 350°F (175°C) for 10-12 minutes until the shiny paper-thin crust crinkles.
- Immediately sprinkle with flaky sea salt while warm.
Notes
Ensure eggs are at room temperature to achieve maximum volume during whipping.
Join the Alice Cooks Community!
Mastering the galletas de brownie is a milestone for any home baker. The combination of the shiny paper-thin crust and the molten dark chocolate pocket makes this recipe a guaranteed crowd-pleaser. If you enjoyed this deep dive into chocolate chemistry, please leave a comment below and tell us how your crinkles turned out!
Don’t forget to take a photo of your fudgy creations and tag us! For more visual inspiration and behind-the-scenes tips, follow us on Pinterest. Happy baking!