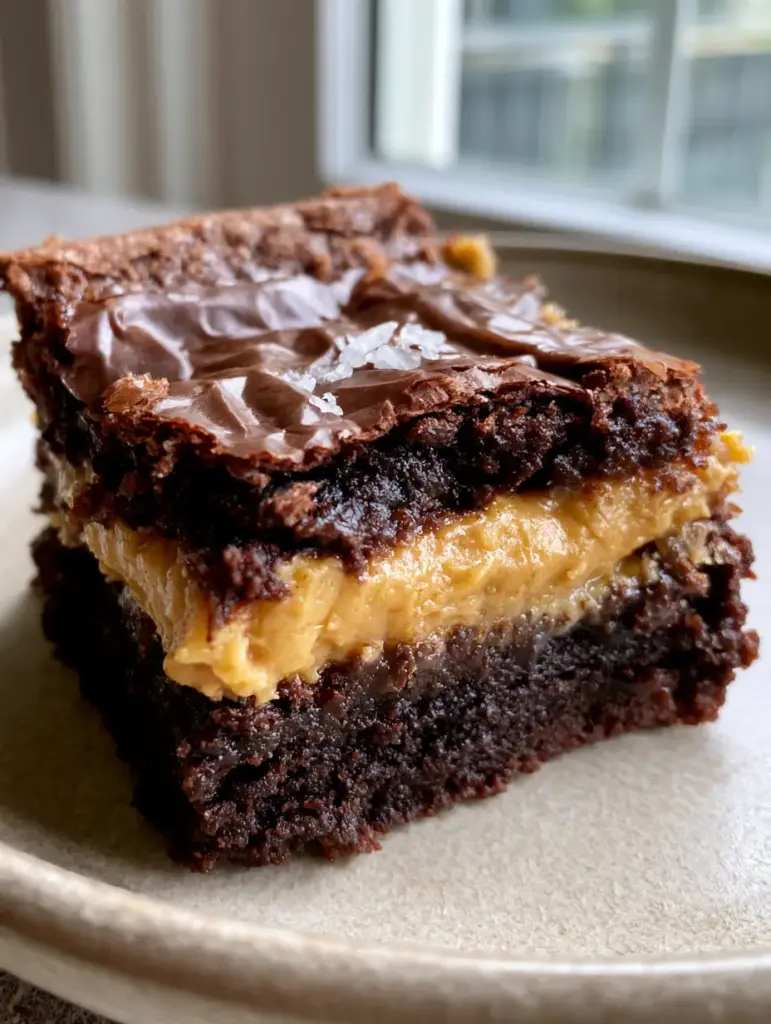
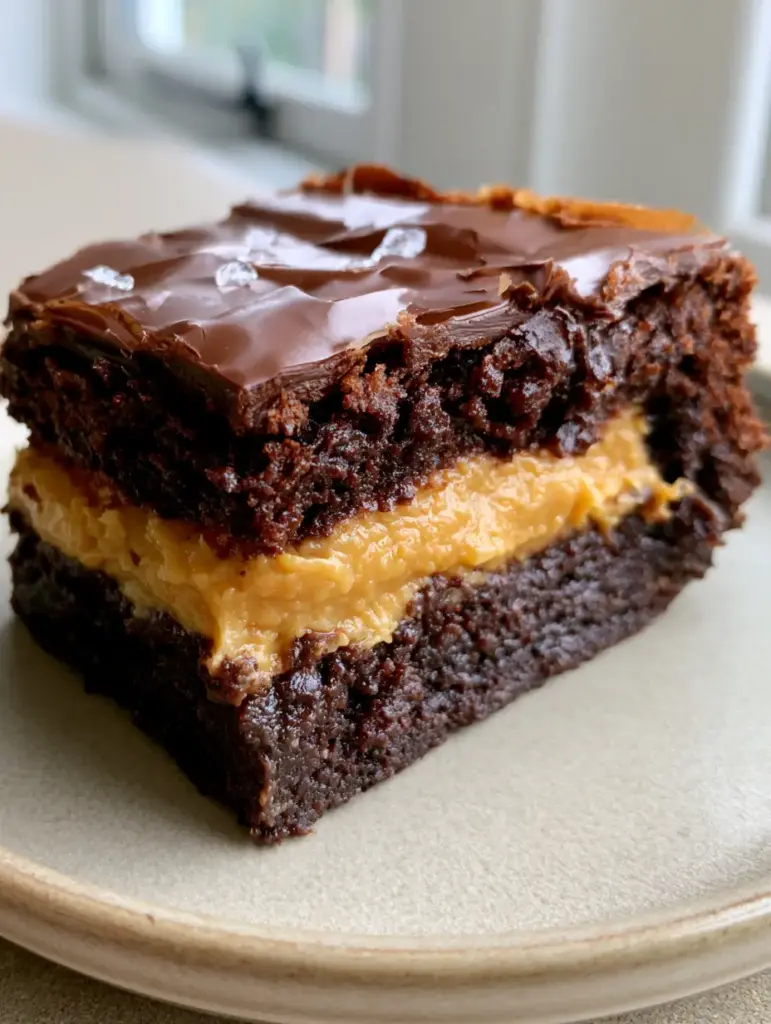
When you bite into these peanut butter stuffed brownies, the first thing you notice is the audible snap of a paper-thin, shiny crinkled crust. This isn’t just any chocolate dessert; it is a masterclass in texture, contrasting a dense, ultra-fudgy dark chocolate base with a distinct, creamy golden-yellow peanut butter filling that stays perfectly in its lane. The final touch of flaky sea salt elevates the cocoa notes, creating a gourmet experience right in your own kitchen.
Achieving the perfect layered brownie requires more than just a good recipe; it requires an understanding of sugar saturation and fat ratios. This handheld delight, served on a simple ceramic plate, looks just as good as it tastes. Whether you are a fan of traditional fudgy brownie base recipes or you are looking for something more structurally impressive, this stuffed version delivers on every promise of decadence.
Why These Fudgy Stuffed Brownies are a Dessert Game-Changer
- The Triple-Layer Reveal: A thick, visible middle layer of creamy peanut butter stays separate from the dark chocolate crumb for a professional, bakery-style look.
- Iconic Crinkle Top: We utilize a specific whisking technique to ensure that shiny, meringue-like crust that every brownie lover dreams of.
- The Fudge Factor: By using Dutch-processed cocoa and melted butter, we achieve a moist, dense texture that avoids the “cakey” pitfall of lesser recipes.
- Salty-Sweet Balance: A deliberate sprinkle of flaky sea salt cuts through the richness of the dark chocolate and the nutty sweetness of the filling.
Essential Ingredients for the Darkest Chocolate Crumb
Unsalted Butter (1 cup / 225g): We melt the butter to ensure a dense, fudgy texture rather than a light, airy one. Using high-quality butter provides the foundational fat that carries the chocolate flavor across your palate.
Granulated Sugar (1 ½ cups / 300g): Sugar does more than sweeten; when whisked vigorously with eggs, it creates the structural integrity needed for the crinkle crust. It also helps the brownie stay moist for days.
Large Eggs (3 total): Room temperature eggs are vital for proper emulsification. They act as the binder that holds the heavy dark chocolate layers together while providing a slight lift.
Dutch-Processed Cocoa Powder (¾ cup / 75g): This is the secret to the “ultra-fudgy dark chocolate” look. Dutch-processing reduces acidity, resulting in a deeper, darker color and a smoother chocolate profile.
All-Purpose Flour (1 cup / 125g): We use a relatively small amount of flour to keep the gluten structure minimal. This ensures the brownie remains “moist and dense” rather than bread-like.
Creamy Peanut Butter (1 cup / 250g): For the middle layer, choose a standard creamy brand. Natural oils in some varieties can separate, so a stabilized creamy peanut butter yields the most “distinct golden-yellow filling.”
Powdered Sugar (½ cup / 60g): Mixing this into the peanut butter creates a stable, fudge-like consistency. This prevents the filling from melting into the batter during the bake.
Flaky Sea Salt (1 tsp / 5g): These large crystals are meant for finishing. They provide a visual pop against the dark crust and a sensory burst that balances the peanut butter.
Pro-Level Tools for Clean Brownie Slices
To achieve the “perfect layers” shown in our visual blueprint, you will need an 8×8 inch (20×20 cm) square baking pan. Lining this with parchment paper with an overhang (a “sling”) is non-negotiable for removing the brownies without breaking the delicate crust. A heavy-duty whisk is essential for the sugar-egg aeration, and a sharp chef’s knife—dipped in hot water and wiped clean between each cut—is the secret to those flawless, unedited smartphone-photo-worthy slices.
The Secret to Achieving That Iconic Paper-Thin Crinkly Crust
The first step in these peanut butter stuffed brownies is all about the sugar. You must whisk the melted butter and granulated sugar together while the butter is still warm, then add your eggs one at a time. Whisking for a full 3–5 minutes until the mixture turns pale and fluffy is the only way to ensure the sugar is fully dissolved, which is what migrates to the top to form that shiny crust.
Once your egg and sugar base is ready, gently fold in the sifted cocoa powder and flour. Over-mixing at this stage will develop too much gluten, so stop as soon as no dry streaks remain. The batter should be thick, glossy, and dark—almost like a heavy ganache.
Crafting the Perfect Golden Peanut Butter Center
While your chocolate batter rests, prepare the “thick, distinct” filling. In a small bowl, combine the creamy peanut butter and powdered sugar. Stir until smooth; the mixture should be thick enough to hold its shape but soft enough to spread. This step is crucial because it transforms the peanut butter into a stable “middle layer” that won’t get lost in the chocolate during the heat of the oven.
Assembling the Layers for a Bakery-Style Reveal
Start by spreading exactly half of your dark chocolate batter into the prepared pan. Use an offset spatula to push it into the corners. Next, dollop the peanut butter mixture over the base. Gently spread it into an even layer, leaving a tiny ¼-inch (0.5 cm) border around the edges if you want the chocolate to “seal” the sides.
Finally, drop the remaining chocolate batter in large spoonfuls over the peanut butter. Spread it carefully to cover the filling entirely. This creates the “base layer” and “top layer” distinction mentioned in the visual blueprint. Finish with a generous sprinkle of flaky sea salt across the top of the raw batter.
Baking Cues for the Gooeyest Center
Bake at 350°F (175°C) for 25–30 minutes. You are looking for specific sensory cues: the edges should be firm and slightly puffed, while the center should still have a slight jiggle. The “shiny, paper-thin crinkly chocolate crust” will form and crack slightly as it cools. Do not overbake! A toothpick inserted into the center should come out with moist crumbs attached, not clean.
The most difficult part of this recipe is the wait. You must let these brownies cool completely in the pan for at least 2 hours, or even better, chill them in the fridge. This sets the peanut butter layer, ensuring that when you slice into them, you see that “smooth peanut butter” contrast against the “dense, moist” crumb.
Culinary Secrets for the Fudgiest Results
- Temperature Control: Ensure your eggs are truly at room temperature. Cold eggs will seize the melted butter, resulting in a grainy texture.
- Sift the Cocoa: Dutch-process cocoa is notorious for clumping. Sifting ensures a smooth, streak-free dark chocolate batter.
- The Hot Knife Trick: For the clean edges seen in the photos, use a hot knife. The heat melts through the chocolate crust and peanut butter filling like butter.
- Bloom the Cocoa: For an even deeper flavor, whisk your cocoa powder into the hot melted butter before adding the sugar. This “blooms” the chocolate notes.
Preserving That Perfect Fudgy Texture
These brownies stay incredibly moist thanks to the peanut butter core. Store them in an airtight container at room temperature for up to 4 days. If you prefer a more “fudge-like” bite, keep them in the refrigerator. They also freeze beautifully; wrap individual squares in plastic wrap and store in a freezer bag for up to 3 months. Simply thaw at room temperature for 30 minutes before enjoying.
Gourmet Pairings to Elevate Your Dessert Table
These peanut butter stuffed brownies are rich, so they pair best with beverages that offer a bit of contrast. A cold glass of milk is classic, but for a sophisticated twist, try serving them alongside a creamy banana pudding latte. The fruitiness of the banana complements the nuttiness of the peanut butter perfectly.
If you are hosting a larger gathering, these brownies make an excellent addition to a dessert spread featuring various dessert cups or even a decadent strawberry brownie trifle using any leftover edges. For those looking for more chocolate-peanut combinations, these brownies are a more sophisticated cousin to cookie butter cheesecake treats.
Frequently Asked Questions
It is not recommended. Natural peanut butter often separates, which can make the brownies oily. A standard creamy stabilized peanut butter works best for this recipe.
Chill the brownies thoroughly first. Use a large, sharp chef’s knife, dip it in hot water, wipe it dry, and make one clean slice. Repeat the cleaning/heating process for every cut.
The secret to the crinkle top is dissolving the sugar completely by whisking it vigorously with room-temperature eggs for 3-5 minutes until the mixture is pale and thick.
Dutch-processed cocoa powder is best. It has a lower acidity and a darker color, providing that ultra-fudgy dark chocolate appearance and a smooth, rich flavor.
Plain peanut butter can melt and swirl into the batter. By mixing it with powdered sugar first, you create a stable filling that maintains a distinct, thick layer during baking.
The Ultimate Recipe for Peanut Butter Stuffed Brownies
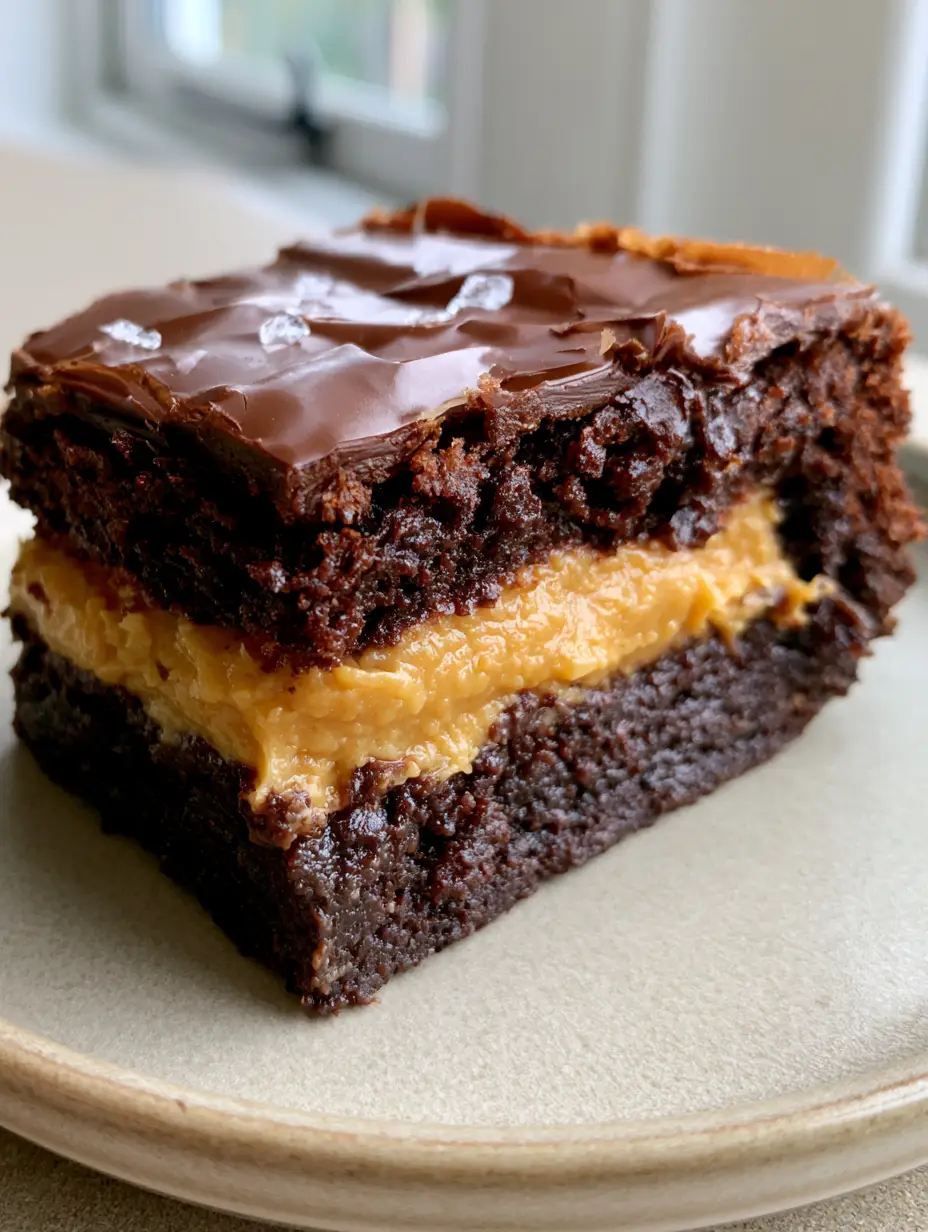
Peanut Butter Stuffed Brownies with a Fudgy Dark Chocolate Crumb
Ingredients
Equipment
Method
- In a large bowl, whisk melted butter and granulated sugar for 1-2 minutes until combined.
- Add eggs and vanilla, whisking vigorously for 3-5 minutes until the batter is pale and a shiny film forms on top.
- Sift in cocoa powder, flour, and kosher salt. Fold gently until no dry streaks remain.
- In a separate bowl, stir together peanut butter and powdered sugar until a thick paste forms.
- Spread half the chocolate batter into a parchment-lined 8x8 pan.
- Spread the peanut butter mixture evenly over the first chocolate layer.
- Cover with the remaining chocolate batter and sprinkle with flaky sea salt.
- Bake at 350°F (175°C) for 25-30 minutes until the top is crinkled and shiny.
- Cool completely in the pan for at least 2 hours before slicing to allow the peanut butter layer to set.
Notes
Chilling the brownies makes slicing much easier and results in cleaner layers.
Closing & Call to Action
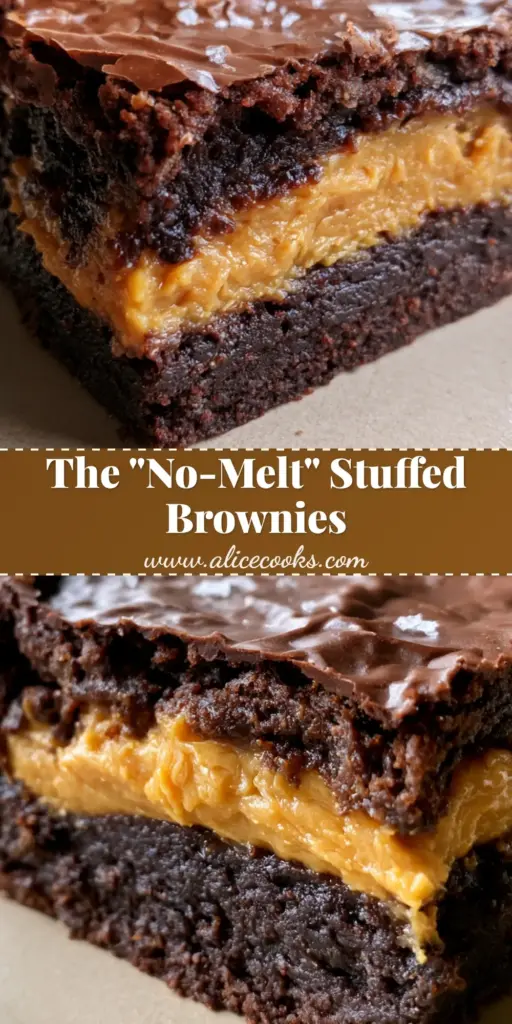
There is nothing quite like the combination of dark, bitter cocoa and salty, creamy peanut butter. These peanut butter stuffed brownies deliver that nostalgic flavor profile in a modern, visually stunning package. If you make these, I want to see your “perfect layers!” Tag me in your photos and be sure to follow alicecooks_official on Pinterest for more decadent baking inspiration. Don’t forget to leave a comment below with your favorite way to enjoy a brownie!