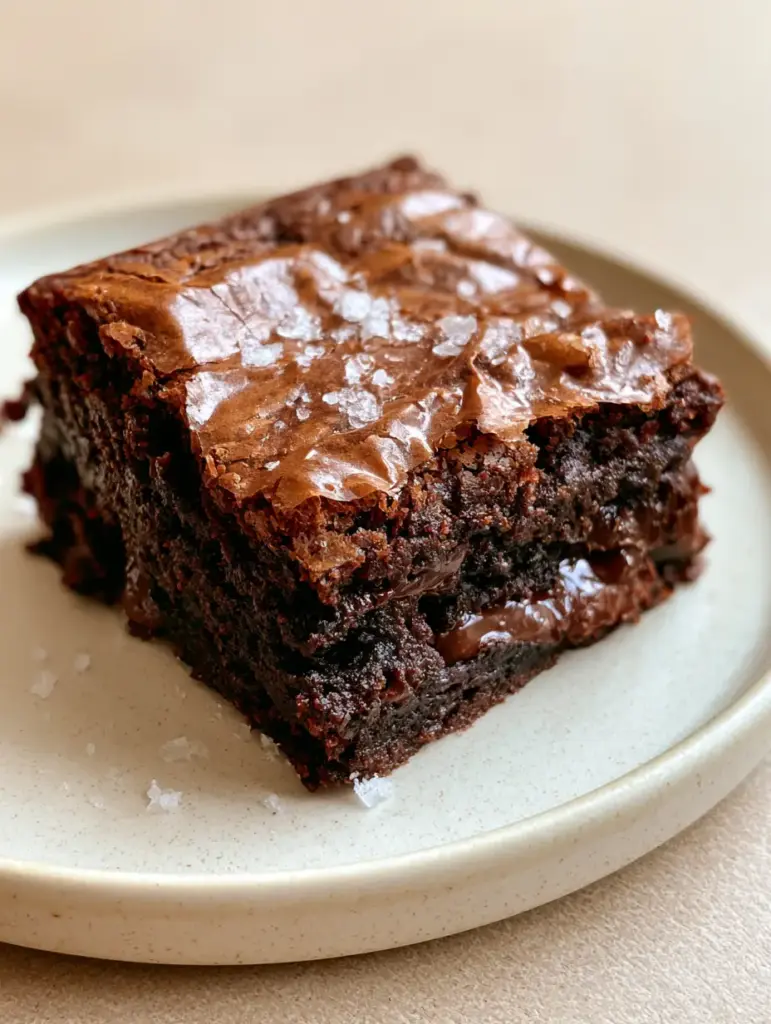
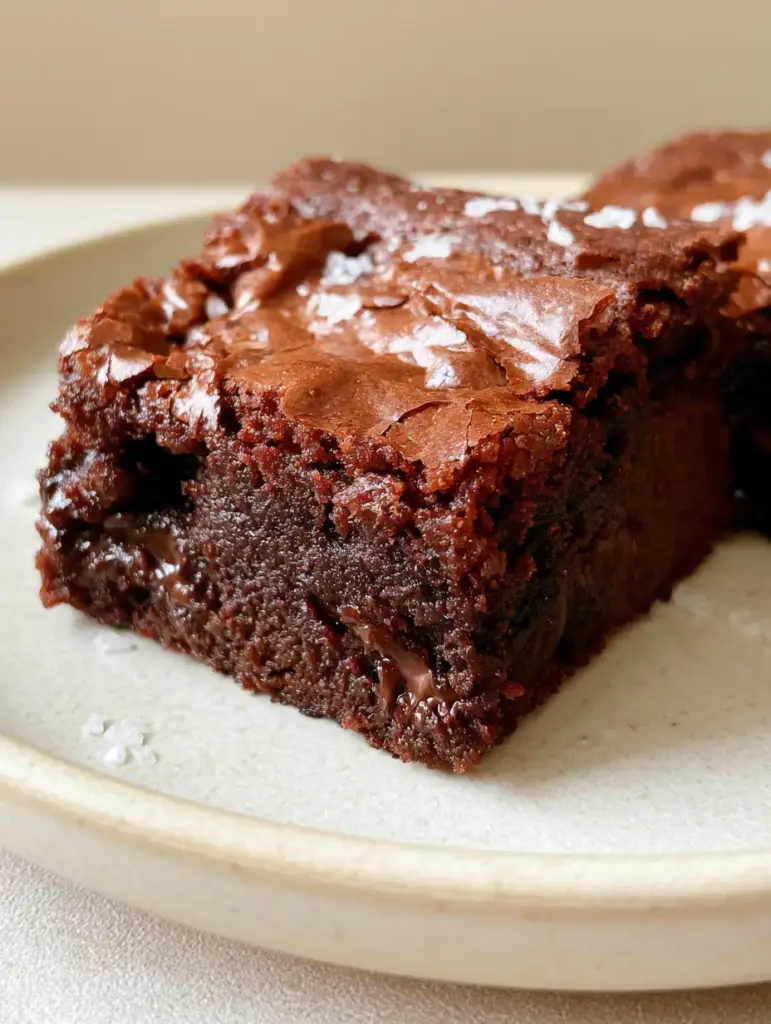
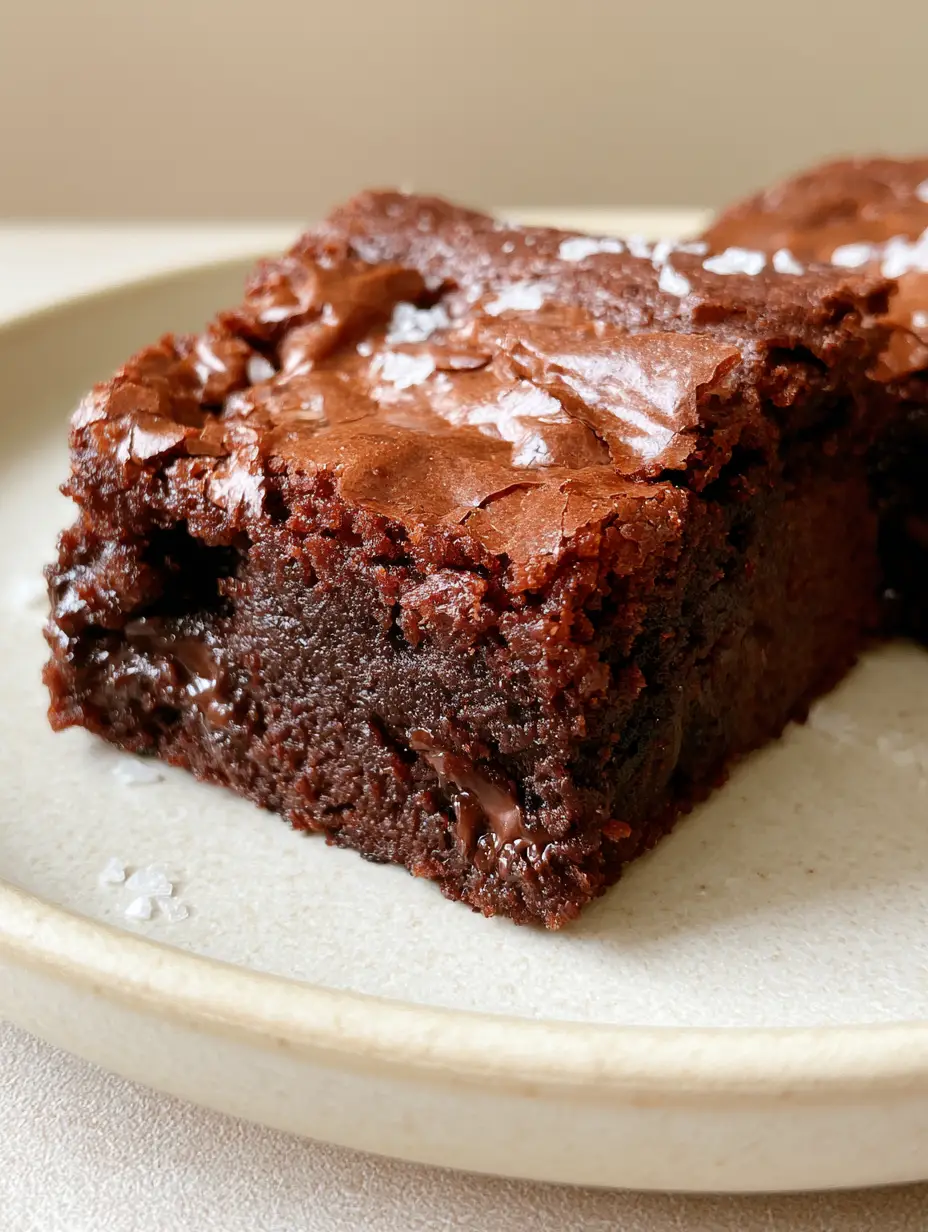
There is a specific, almost architectural beauty to the perfect batch of Brownies. When you pull them from the oven, you aren’t just looking for a baked good; you are looking for that signature, paper-thin crinkled chocolate crust that shatters like delicate glass under the edge of a knife. Underneath that tectonic surface lies a treasure trove of dense, fudgy chocolate goodness, punctuated by molten pockets of dark chocolate and finished with a strategic dusting of flaky sea salt crystals.
Achieving this level of culinary perfection isn’t about luck; it is about the precise science of aeration and sugar dissolution. In this guide, we will break down exactly how to bridge the gap between a standard cocoa square and the ultra-premium, bakery-style Brownies featured in our visual blueprint. Whether you are serving these at a high-end gathering or enjoying a quiet moment with a glass of milk, the sensory experience—from the visual fractures on top to the intense cocoa aroma—is unparalleled.
The Anatomy of a Perfect Fudgy Brownie
To recreate the exact texture seen in our professional photography, we focus on three distinct pillars of brownie excellence. First, the meringue-style crust is achieved by dissolving sugar into eggs until they reach a pale, ribbony consistency. This creates that shiny, crackled finish that differentiates an elite brownie from a cakey one.
Second, the density of the center relies on a low flour-to-fat ratio. We avoid chemical leaveners like baking powder to ensure the crumb remains tight, moist, and intensely fudgy. Finally, the molten inclusions come from hand-chopped dark chocolate bars rather than standard chips, allowing for those beautiful, oozing pockets of cocoa visible in the cross-section.
- Visual Contrast: The matte beige background and cream ceramic plate highlight the deep, dark mahogany tones of the chocolate.
- Textural Harmony: The juxtaposition of the brittle, paper-thin top and the rich, humid center creates a complex mouthfeel.
- Flavor Balancing: Flaky sea salt crystals act as a chemical foil to the intense sugar, brightening the hidden notes of the dark chocolate.
Essential Components for Elite Cocoa Results
Every ingredient in these Brownies serves a dual purpose: structural integrity and flavor depth. To ensure your results match the visual blueprint, do not substitute the high-fat content items, as they are required for the “fudgy” designation.
Unsalted Butter (1 cup / 225g): We use high-quality butter to provide the fat base that carries the chocolate flavor throughout the palate. Melted butter, rather than creamed, contributes to the dense, chewy texture we are aiming for.
Granulated Sugar (1 ½ cups / 300g) & Brown Sugar (½ cup / 100g): Granulated sugar is essential for the shiny, crinkled top, while the molasses in the brown sugar provides the necessary moisture for the fudgy center. If you enjoy experimenting with textures, you might also like our Samoa Brownies for a coconut-infused twist.
Large Eggs (4 total): The eggs provide the structure and the “lift” for the crust. By whisking them vigorously with the sugar, we create a thin layer of meringue that rises to the top during baking.
Dutch-Process Cocoa Powder (¾ cup / 75g): This cocoa is treated with alkali to neutralize acidity, resulting in a darker color and a smoother, more mellow chocolate flavor that matches the “intensely dense” visual requirement.
All-Purpose Flour (1 cup / 125g): We use a relatively small amount of flour to ensure the Brownies don’t become “cakey.” This amount provides just enough gluten to hold the molten chocolate chunks in place.
Dark Chocolate Chunks (6 oz / 170g): Use a high-quality 70% cacao bar and chop it by hand. This ensures irregular sizes and those specific “pockets of melted dark chocolate” mentioned in the visual prompt.
Flaky Sea Salt (1 tsp / 5g): A finishing touch that adds visual sparkle and cuts through the richness of the cocoa. For another salt-meets-sweet experience, check out our peanut butter stuffed brownies.
Tools for Achieving the Visual Blueprint
To get those clean, sharp edges and the perfectly even bake shown in our close-up photos, the right equipment is non-negotiable. Start with an 8×8 inch (20×20 cm) metal baking pan; glass pans retain heat differently and can lead to overbaked edges before the center is set.
A high-quality parchment paper is also required to create a “sling.” This allows you to lift the entire block of Brownies out of the pan without disturbing the delicate, paper-thin crust. Finally, a kitchen scale is highly recommended for the Metric measurements to ensure the flour-to-fat ratio is chemically perfect.
Step-by-Step Guide to the Ultimate Crinkled Top
Emulsifying the Chocolate and Butter
Begin by melting your 1 cup (225g) of unsalted butter with half of your chopped dark chocolate in a microwave-safe bowl or over a double boiler. Stir frequently until the mixture is glossy and smooth. This creates the fat-heavy base that will keep the Brownies moist for days.
Mastering the Meringue Crust
In a separate large bowl, combine the 4 large eggs, 1 ½ cups (300g) granulated sugar, and ½ cup (100g) brown sugar. Use a whisk or electric mixer to beat these together for at least 3-5 minutes. You are looking for a “ribbon stage” where the mixture is pale, thick, and falls off the whisk in slow, visible folds—this is the secret to the paper-thin crinkled top.
Folding for Fudginess
Gently pour the cooled butter-chocolate mixture into the egg mixture. Sift in the ¾ cup (75g) cocoa powder and 1 cup (125g) all-purpose flour. Use a spatula to fold the ingredients together until just combined; over-mixing at this stage will develop too much gluten and make the Brownies tough rather than fudgy.
The Final Inclusion and Bake
Fold in the remaining 3 oz (85g) of dark chocolate chunks. Pour the batter into your prepared pan and smooth the top. Bake at 350°F (175°C) for 25-30 minutes. Look for the visual cue: the edges should be slightly firm, but the center should still have a very slight jiggle when the pan is moved.
Expert Tips for Success
- The Sugar Secret: The crinkled top is actually a thin layer of meringue. To guarantee it, ensure your sugar is fully incorporated into the eggs before adding the fats.
- Temperature Matters: Never add hot melted butter to your eggs, or you will scramble them. Let the butter-chocolate mixture cool to room temperature first.
- The Clean Cut: To get the perfectly sliced look from our Midjourney prompt, let the Brownies cool completely in the fridge for 2 hours before cutting with a hot, slightly damp knife.
- Pockets of Gold: If you want even more texture, consider layering in elements from our cookie dough frosted brownies for a hybrid dessert experience.
Proper Storage and Shelf Life
These Brownies are incredibly stable due to their high fat and sugar content. Store them in an airtight container at room temperature for up to 4 days, or in the refrigerator for up to a week. The cold actually enhances the fudgy texture, making them almost truffle-like in consistency.
If you wish to freeze them, wrap individual squares in plastic wrap and then foil. They will stay fresh for up to 3 months. Simply thaw at room temperature for an hour, or pop one in the microwave for 10 seconds to revive those melted dark chocolate pockets.
Curating the Perfect Dessert Spread
While these Brownies are a powerhouse on their own, they thrive when paired with contrasting flavors. The intense richness of the dark chocolate pairs beautifully with a tart fruit element. Consider serving them alongside a glass of raspberry lemonade to cleanse the palate between bites.
For a formal event or a dessert table, you can create a “cup” theme by pairing these squares with brownie cheesecake cups or our popular cookie butter cheesecake cups. The variety of textures—from the crinkled brownie top to the smooth cheesecake filling—will impress any guest.
Frequently Asked Questions
While you can, chopped dark chocolate bars are better for the visual blueprint. Chips contain stabilizers that help them keep their shape, whereas chopped bars create those beautiful molten pockets.
The secret is to vigorously whisk your eggs and sugar together for 3-5 minutes until they form a pale, thick ribbon. This creates a thin layer of meringue that rises to the top as they bake.
Look for the visual cues: the edges should be set and the top should be shiny and crackled. A toothpick inserted into the center should come out with a few moist crumbs, but not raw batter.
Cakey brownies are usually the result of too much flour or over-beating the batter after adding the dry ingredients. Stick to the measured flour and fold gently to maintain a dense, fudgy texture.
The Definitive Brownie Recipe Card
Brownies with a Crinkled Crust and Molten Chocolate Chunks
Ingredients
Equipment
Method
- Preheat your oven to 350°F (175°C) and line an 8x8 inch baking pan with parchment paper, leaving an overhang on two sides.
- Melt the butter and 3 oz (85g) of the dark chocolate together until smooth. Let cool slightly.
- In a large bowl, whisk eggs and both sugars for 3-5 minutes until the mixture is pale and thick.
- Whisk in the melted chocolate/butter mixture. Gently fold in the cocoa powder, flour, and remaining chocolate chunks.
- Pour into the pan and bake for 25-30 minutes. The top should be crinkled and shiny.
- Sprinkle with flaky sea salt immediately after removing from the oven. Cool completely before slicing.
Notes
Use a metal pan to avoid soggy centers.
Final Thoughts on These Fudgy Brownies
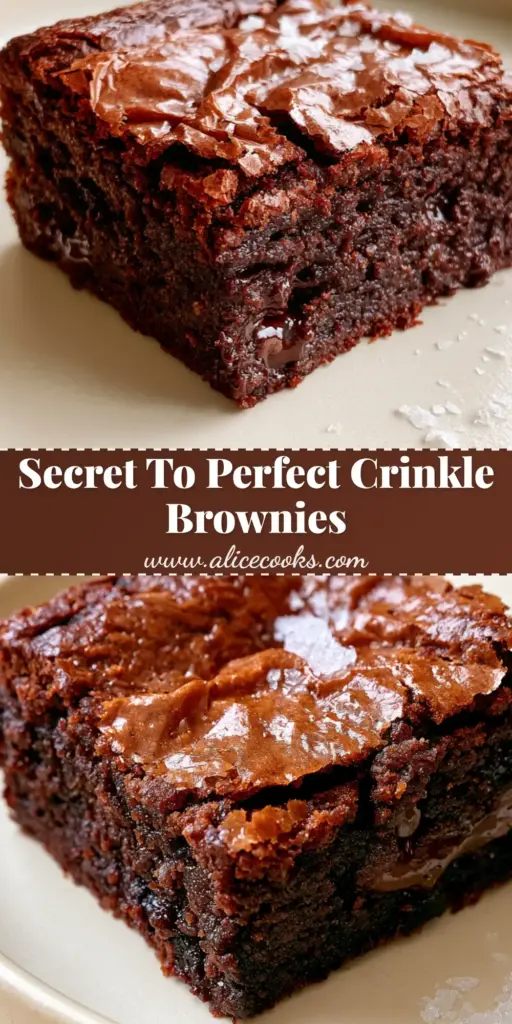
Mastering the Brownies is a rite of passage for any home baker. By focusing on the visual cues—the fractures in the crust, the density of the crumb, and the sparkle of the sea salt—you transform a simple snack into a gourmet experience. The side daylight of a kitchen window and a simple cream plate are all you need to capture the beauty of your creation.
We invite you to share your results and tag us in your photos! If you enjoyed this deep dive into chocolate science, be sure to follow alicecooks_official on Pinterest for more visual recipe inspirations and decadent dessert ideas.