There is something fundamentally irresistible about these white chocolate blondies, a dessert that bridges the gap between sophisticated pastry and soulful home cooking. If you have been searching for that elusive, ultra-fudgy texture paired with a paper-thin shiny crinkle crust, you have arrived at the definitive recipe. These aren’t just bars; they are a masterclass in Maillard-driven flavor and textural contrast.
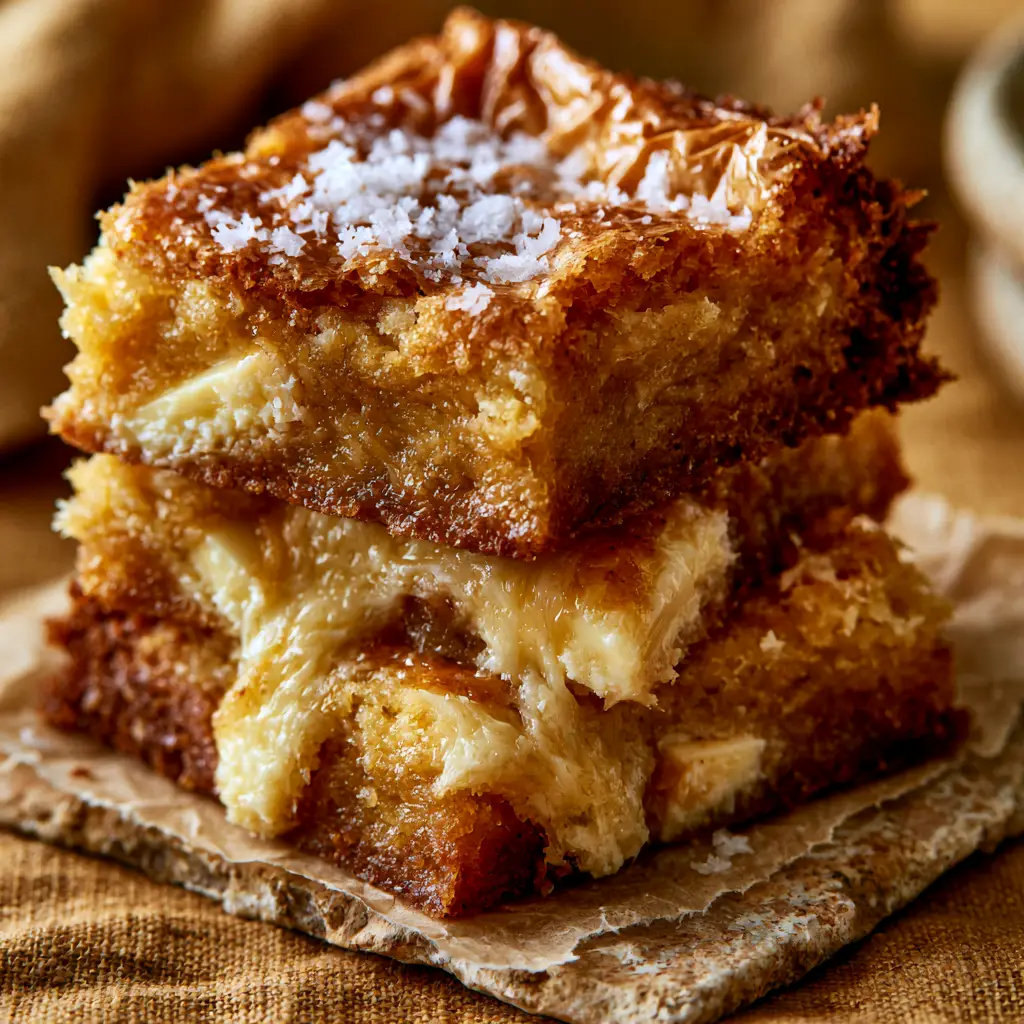
The magic begins with a golden brown butter base, providing a nutty depth that perfectly balances the intense sweetness of melted white chocolate chunks. As you pull these from the oven, you will notice the glossy, crackled top—a visual hallmark of a perfectly emulsified sugar and egg structure. Each bite delivers a dense, chewy interior and a hit of coarse flaky sea salt that cuts through the richness like a dream.
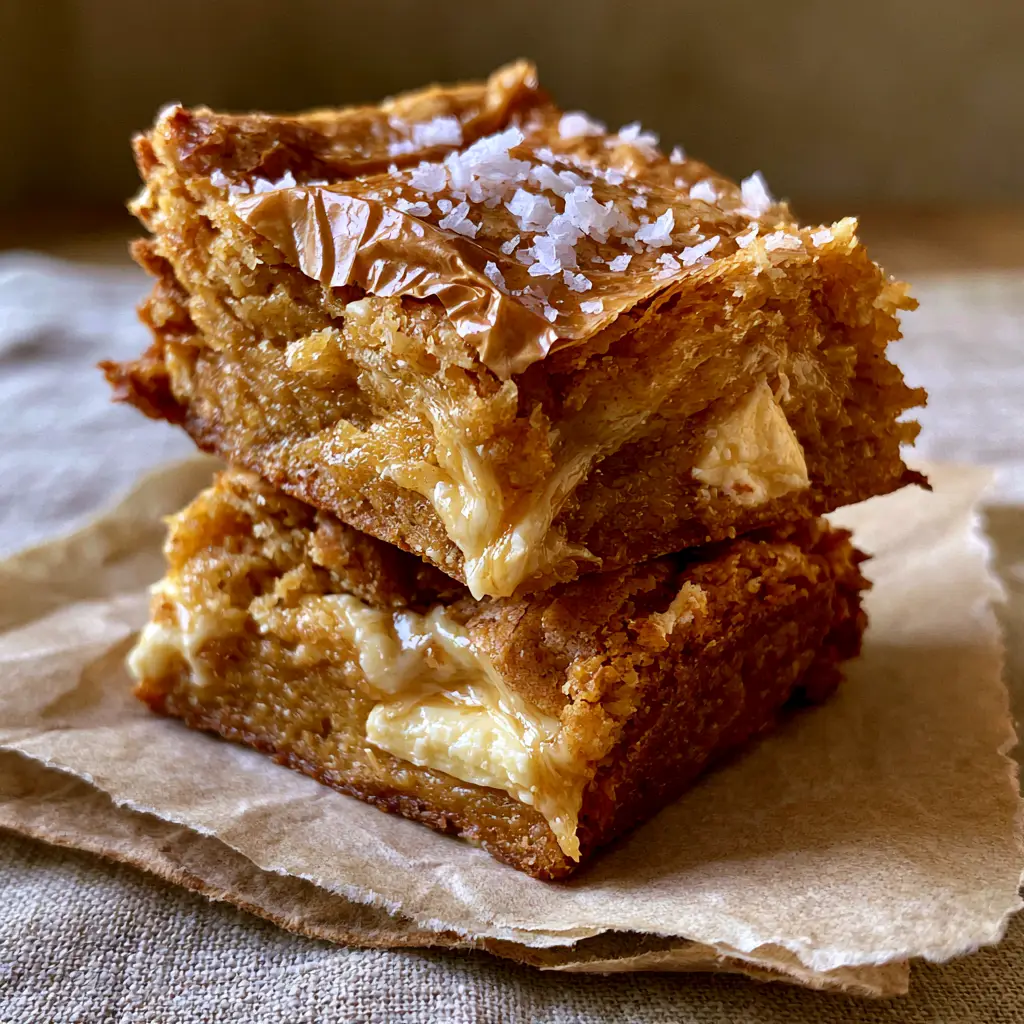
Visually, these blondies are a showstopper, looking exactly like a professional handheld smartphone food photo. Picture them stacked high on rustic parchment paper, with flowing pools of white chocolate peeking out from the sides against a warm neutral linen background. Whether you are a seasoned baker or a weekend enthusiast, this recipe provides the sensory cues and scientific precision needed for success.
Why You Will Obsess Over These Fudgy White Chocolate Bars
- The Brown Butter Foundation: We transform standard butter into liquid gold, adding toasted, nutty notes that elevate the white chocolate blondies from basic to gourmet.
- The Crinkle Crust: Using a specific whisking technique, we achieve a paper-thin, glossy, and crackled top that shatters perfectly when bitten.
- Extreme Fudginess: By carefully controlling the flour-to-fat ratio, the interior remains dense and moist rather than cakey.
- Textural Contrast: Large, hand-chopped white chocolate chunks create melted pools that contrast beautifully with the chewy crumb and coarse sea salt.
The Anatomy of a Perfect White Chocolate Blondie
To achieve the specific visual and structural results described, we must be intentional with our choice of ingredients. Every component in these white chocolate blondies serves a scientific purpose, from the protein in the eggs to the cocoa butter in the chocolate chunks.
Unsalted Butter: 1 cup (225g) of high-quality butter is the starting point. We will brown this to evaporate water content and toast the milk solids, providing the “golden brown” base noted in the visual blueprint.
White Chocolate Chunks: 1.5 cups (250g) of a high-quality white chocolate bar, roughly chopped. Avoid standard chocolate chips if possible, as the higher cocoa butter content in bars creates those iconic “flowing pools” of melted chocolate.
Light Brown Sugar: 1.5 cups (300g) packed. The molasses content in brown sugar is the primary driver for the dense, chewy interior that defines an ultra-fudgy blondie.
Granulated Sugar: 1/2 cup (100g). While brown sugar adds chew, granulated sugar is essential for creating that paper-thin shiny crinkle crust through proper aeration with the eggs.
Large Eggs: 2 whole eggs plus 1 yolk, at room temperature (approx. 150g). The extra yolk adds fat and lecithin, ensuring the blondies remain fudgy rather than turning into a dry, cake-like texture.
Vanilla Bean Paste or Extract: 1 tbsp (15ml). A heavy hand with vanilla is required to complement the milky notes of the white chocolate and the nuttiness of the browned butter.
All-Purpose Flour: 2 cups (250g). This provides just enough structure to hold the fats together without making the bars tough; we recommend weighing your flour for the most accurate results.
Kosher Salt: 1/2 tsp (3g) for the batter. Salt is a foundational invisible ingredient that enhances the sweetness and balances the richness of the butter.
Coarse Flaky Sea Salt: 1 tsp (optional, for topping). As seen in the midjourney prompt, these large crystals provide the final visual and flavor accent that defines the “rustic” aesthetic.
Essential Tools for the Professional Home Baker
To replicate the handheld smartphone food photo style and the specific textures of these white chocolate blondies, you will need a few key tools. A light-colored saucepan is best for browning butter, as it allows you to see the milk solids changing color in real-time.
You will also need an 8×8 inch (20x20cm) square baking pan lined with rustic parchment paper. Leaving an overhang of parchment allows you to lift the entire block of blondies out easily, preserving the delicate crinkle crust. A heavy-duty whisk and a flexible silicone spatula are necessary for achieving the proper emulsion of sugars and fats.
Mastering the Art of Browned Butter
Transforming Fat into Flavor
In a small, light-colored saucepan, melt 1 cup (225g) of unsalted butter over medium heat. As the butter melts, it will begin to bubble and pop—this is the water evaporating, a crucial step for concentrating the flavor in our white chocolate blondies.
Continue cooking, swirling the pan occasionally. You will hear the bubbling subside and see a layer of foam form on top. Watch the milk solids at the bottom of the pan; once they turn a deep amber brown and smell like toasted hazelnuts, immediately remove from heat and pour into a large, heat-proof bowl.
Aerating for the Crinkle Crust
While the butter is still warm, whisk in the brown sugar and granulated sugar. The warmth of the butter helps dissolve the sugar crystals, which is the secret to that shiny, paper-thin top crust. Once combined, add the room-temperature eggs and vanilla.
Vigorously whisk the mixture for 2-3 minutes. You are looking for the batter to lighten in color and become slightly thickened. This process creates a meringue-like layer on the surface of the white chocolate blondies, ensuring they look exactly like the glossy crinkled top described in the blueprint.
The Gentle Fold and Bake
Switch to a silicone spatula and gently fold in the flour and kosher salt until just a few streaks of white remain. Over-mixing at this stage will develop gluten, leading to a tough bar instead of a dense, chewy interior.
Finally, fold in 1 cup of the chopped white chocolate chunks. Pour the batter into your prepared pan, smoothing the top. Press the remaining 1/2 cup of chunks into the surface to ensure those “flowing pools” are visible once baked. Bake at 350°F (175°C) for 22-25 minutes.
Visual and Sensory Cues for Doneness
The white chocolate blondies are finished when the edges are a deep golden brown and have slightly pulled away from the parchment paper. The center should still have a slight “jiggle” when the pan is gently shaken; it will firm up into a fudgy texture as it cools.
Immediately after removing from the oven, sprinkle the surface generously with coarse flaky sea salt. The heat from the blondies will slightly soften the salt crystals, helping them adhere to the glossy crinkle crust. Allow the bars to cool completely in the pan for at least 2 hours before slicing—patience is the key to clean, stackable squares.
Expert Tips for Ultra-Fudgy Results
- Room Temperature Eggs: Cold eggs will cause the browned butter to seize, preventing the smooth emulsion needed for the crinkle top. Soak cold eggs in warm water for 5 minutes if you’re in a rush.
- Measure by Weight: Flour is easily packed into measuring cups, leading to dry blondies. Using a scale ensures your white chocolate blondies remain ultra-fudgy every single time.
- Quality of Chocolate: Since white chocolate is a primary flavor, use a brand that lists “cocoa butter” as a main ingredient rather than palm oil. This ensures a superior melt and mouthfeel.
- The Cooling Process: Cutting into these while warm will result in a messy interior. For the best “stacked” look, chill the blondies in the fridge for an hour after they reach room temperature before slicing with a hot knife.
Storage and Preservation Guidelines
These white chocolate blondies are even better the second day, as the flavors of the browned butter and vanilla have more time to meld. Store them in an airtight container at room temperature for up to 4 days. The sugar content acts as a natural preservative, keeping the interior moist and chewy.
For longer storage, you can freeze the sliced bars. Wrap each square tightly in plastic wrap and place them in a freezer-safe bag for up to 3 months. When the craving hits, thaw a bar at room temperature for 30 minutes. You can also briefly microwave it for 10 seconds if you want to recreate the “flowing pools” of melted chocolate.
What to Serve with Fudgy Blondies
The rich, buttery profile of these blondies pairs beautifully with tart or creamy accompaniments. For a bright contrast, consider serving them alongside a glass of raspberry lemonade or even a refreshing coconut pineapple lemonade. The acidity helps cleanse the palate between decadent bites.
If you are hosting a themed party and want to offer a variety of hand-held treats, these blondies look stunning on a dessert table next to dessert cup recipes or chocolate chip cookie cheesecake cups. For a late-night treat, pairing a room-temperature blondie with a warm banana pudding latte is a cozy experience you won’t forget.
Frequently Asked Questions
You can, but high-quality white chocolate bars contain more cocoa butter, which results in the ‘flowing pools’ of melted chocolate seen in the photos. Chips often contain stabilizers that prevent them from melting as smoothly.
The crinkle crust is achieved by whisking the sugars and eggs vigorously for 2-3 minutes. This creates a thin layer of meringue on the surface as the sugars dissolve and aerate.
Yes! Browning the butter removes water and toasts the milk solids, providing the deep, nutty flavor and golden color that balances the sweetness of the white chocolate.
Cakey blondies are usually the result of over-mixing the flour or using too much flour. Always measure your flour by weight and fold it in gently until just combined.
The Ultimate White Chocolate Blondies Recipe
White Chocolate Blondies with Browned Butter and Sea Salt
Ingredients
Equipment
Method
- Preheat your oven to 350°F (175°C). Line an 8x8 inch baking pan with rustic parchment paper, leaving an overhang on two sides.
- Melt butter in a light-colored saucepan over medium heat. Cook until foaming subsides and brown bits form at the bottom. The butter should smell nutty and be golden brown. Remove immediately.
- Pour warm brown butter into a bowl. Whisk in brown and granulated sugars until smooth. Add eggs, yolk, and vanilla. Whisk vigorously for 2-3 minutes until the batter lightens and looks glossy.
- Using a spatula, gently fold in the flour and kosher salt until just combined. Do not overmix.
- Fold in 1 cup of the white chocolate chunks. Reserve the rest for the top.
- Spread batter into the pan. Press remaining chocolate chunks onto the top. Bake for 22-25 minutes until edges are golden and the top is crinkled.
- Sprinkle with flaky sea salt immediately. Cool completely in the pan for 2 hours before lifting out with parchment and slicing.
Notes
Ensure eggs are room temperature to prevent the butter from seizing.
Share Your Fudgy Creations!
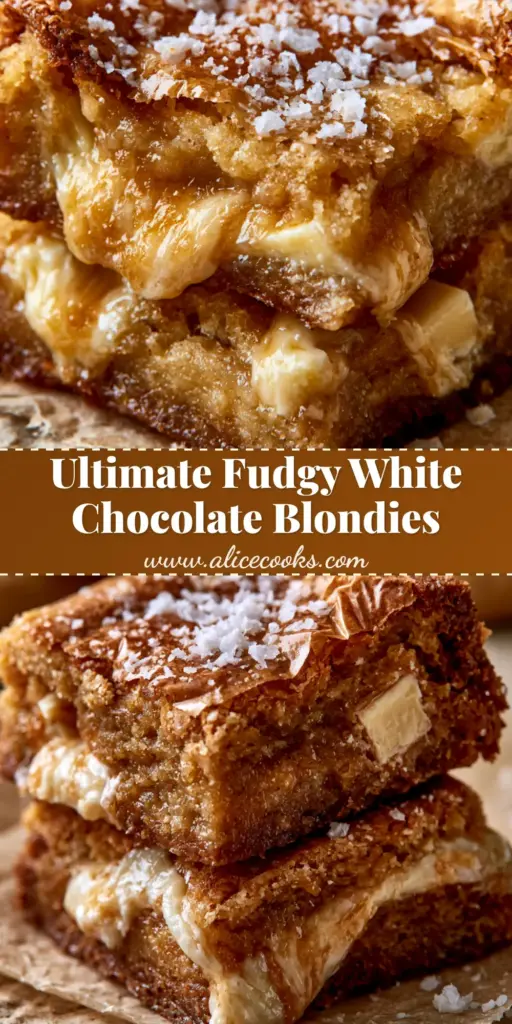
These white chocolate blondies are more than just a recipe; they are a sensory experience designed to impress. From the first whiff of browning butter to the satisfying crunch of the crinkle crust, every step leads to a world-class dessert. We would love to see your results! If you make these, please leave a comment below and share your photos.
Don’t forget to follow us and save this recipe to your boards on Pinterest so you can find it whenever the craving for something sweet and salty strikes. Happy baking!