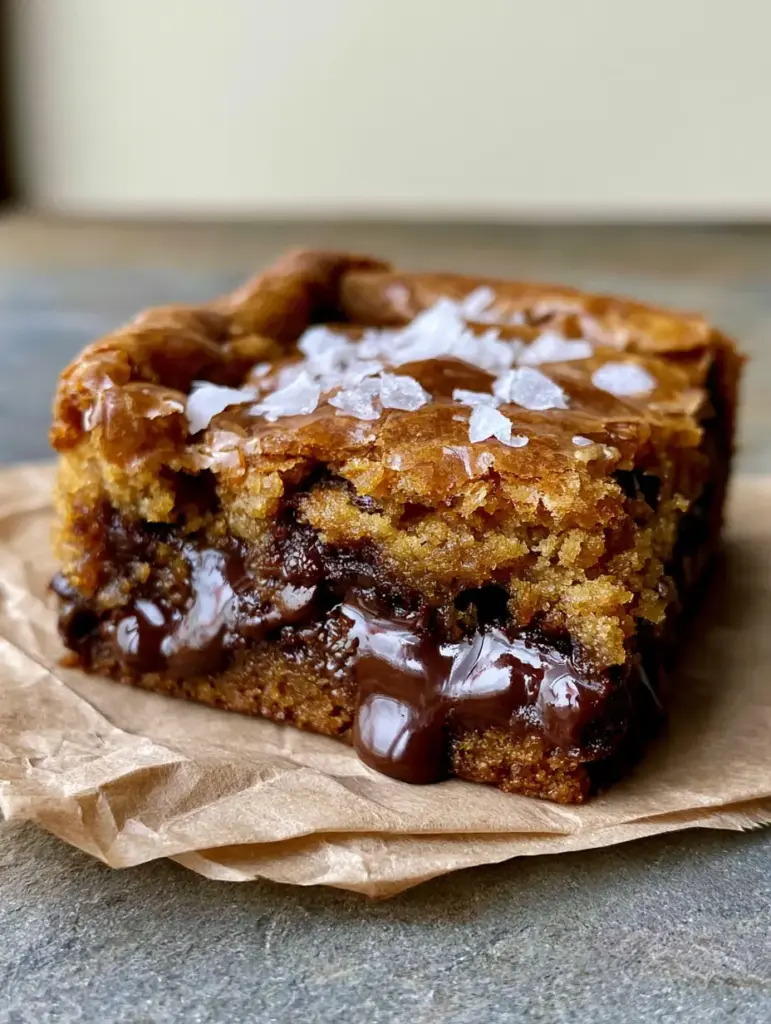
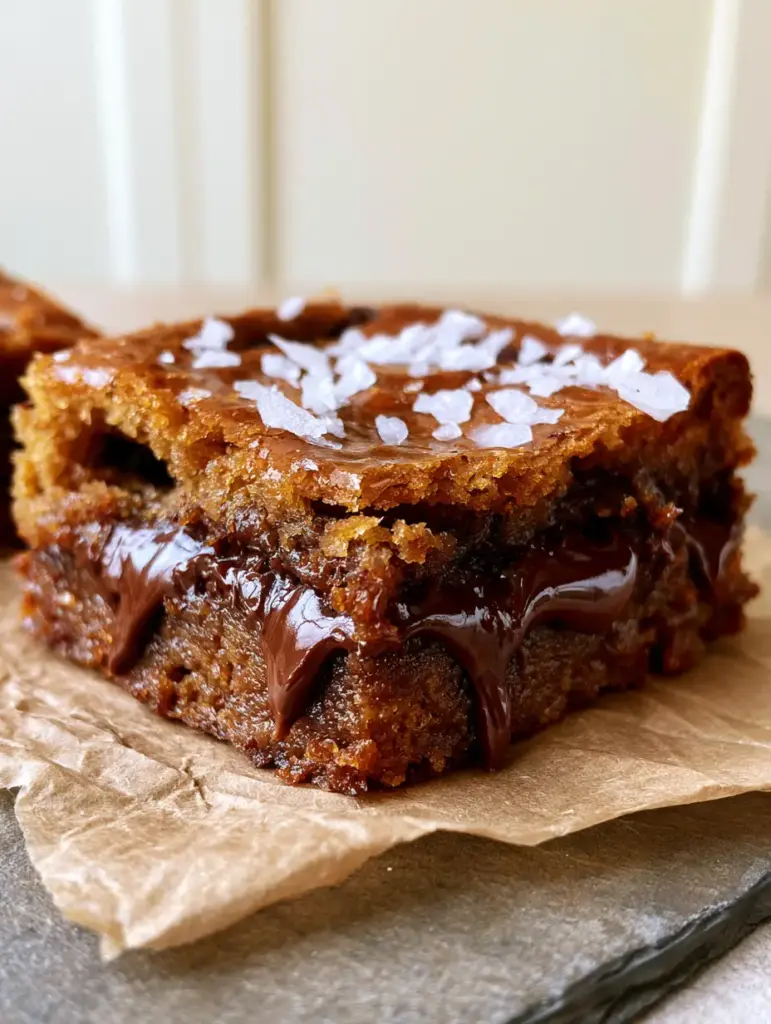
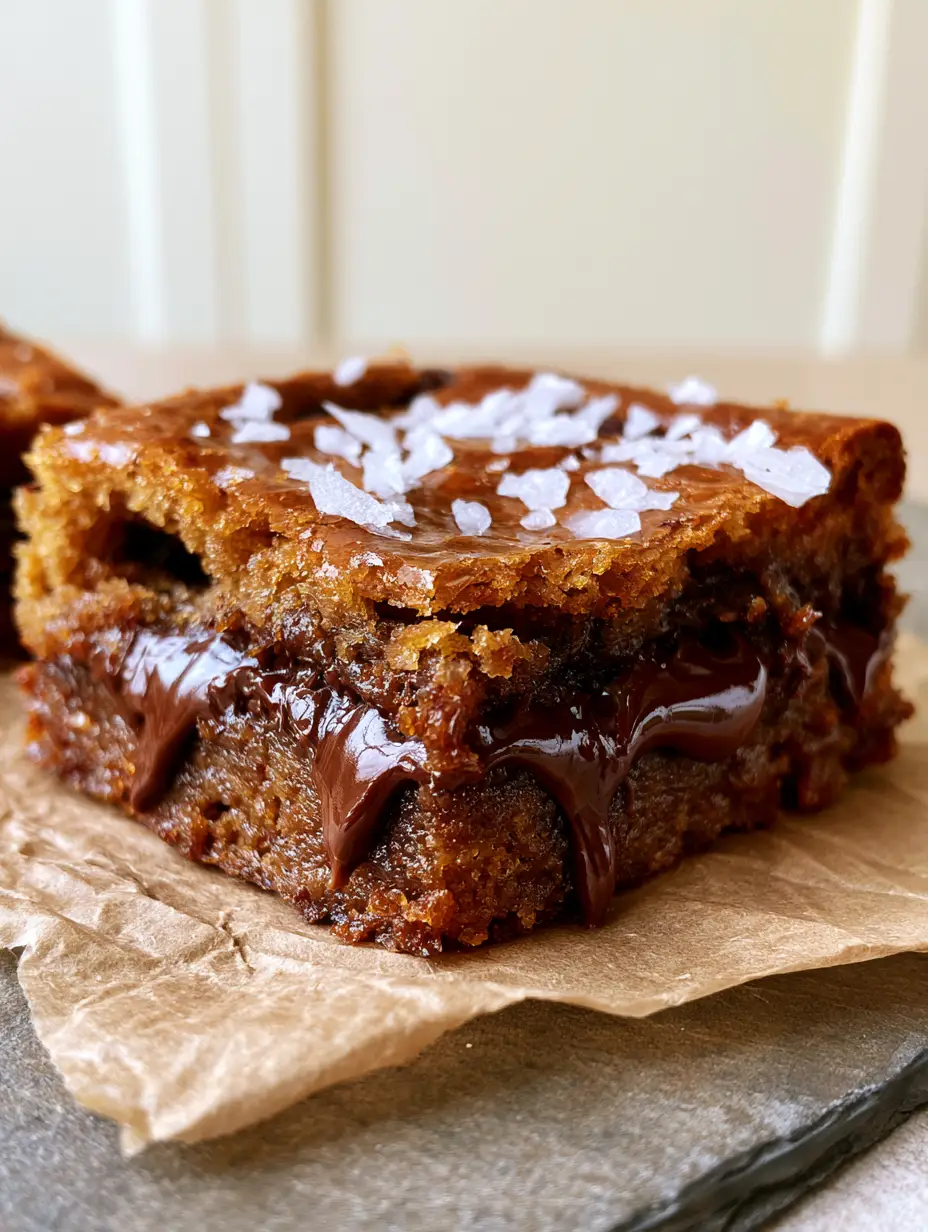
When you crave the depth of a brownie but the buttery, caramel-infused soul of a cookie, this Blondies recipe is the only answer. These aren’t your average cakey dessert bars; these are dense, ultra-fudgy masterpieces defined by a nutty brown butter base and pools of molten dark chocolate. The hallmark of a truly elite blondie is the contrast between a gooey, moisture-rich center and a paper-thin, shiny crinkle crust that shatters at the first bite.
Achieving that specific visual—the one where the golden-brown surface looks like delicate parchment and the interior remains nearly molten—requires a blend of culinary science and high-quality ingredients. In this guide, we are diving deep into the mechanics of the Maillard reaction and the emulsion techniques necessary to produce the best blondies you’ve ever tasted. Whether you are a seasoned baker or a weekend enthusiast, this recipe will transform your dessert game.
Why This Is the Only Fudgy Blondie Recipe You Need
- The Brown Butter Foundation: By toasting the milk solids in the butter, we introduce a complex, toasted hazelnut aroma that complements the dark chocolate.
- The Iconic Crinkle Top: We utilize a specific whisking technique to create a meringue-like surface that stays paper-thin and perfectly reflective.
- Glossy Dark Chocolate Pools: Instead of standard chips, we use hand-chopped chocolate bars to ensure thick, oozing pools of cocoa throughout the bar.
- Maldon Sea Salt Finish: A generous sprinkle of flaky salt cuts through the richness, balancing the intense sweetness of the brown sugar.
Essential Components for The Perfect Brown Butter Blondie
To achieve the specific texture and appearance described in our visual blueprint, every ingredient must serve a structural or flavor-based purpose. Choosing the right fat and sugar ratio is the difference between a dry biscuit and a fudgy bar.
Unsalted European-Style Butter: 1 cup (227g). High-fat butter is essential for browning; the milk solids will caramelize to provide the base flavor of the Blondies recipe.
Dark Brown Sugar: 1 ½ cups (330g). The high molasses content in dark brown sugar provides the necessary acidity and moisture for a dense, chewy texture.
Granulated White Sugar: ½ cup (100g). White sugar is the key to the shiny top; it helps create the thin, crispy crust as it migrates to the surface during baking.
Large Eggs: 2 eggs plus 1 yolk (approx. 125ml). The extra yolk adds fat and lecithin, which emulsifies the batter and contributes to the fudgy, “gooey” interior.
Pure Vanilla Bean Paste: 1 tbsp (15ml). Using paste instead of extract provides those beautiful black flecks and a more intense, floral vanilla aroma.
All-Purpose Flour: 2 cups (250g). This provides just enough structure to hold the chocolate pools without making the bars bread-like or tough.
Kosher Salt: ¾ tsp (4g). This is the foundational salt used within the batter to enhance the brown butter notes.
Dark Chocolate Bars (70% Cacao): 8 oz (225g). Hand-chopped chunks create those signature glossy pools that look so stunning on a crumpled brown parchment paper backdrop.
Maldon Flaky Sea Salt: 1 tsp (for garnish). These large, delicate flakes provide the final visual and textural contrast described in our midjourney prompt.
Professional Tools for Gourmet Results
To ensure your bars look like they were pulled from a professional kitchen, you will need a few specific tools. A 9×9 inch (23x23cm) light-colored metal baking pan is preferred, as dark pans can cause the edges to over-bake before the center is set.
You will also need natural brown parchment paper. This isn’t just for aesthetics; crumpling the parchment before lining the pan helps it fit into the corners better and provides that rustic, artisanal look when serving.
The Science of Browning Butter for Maximum Flavor
Toasting the Milk Solids
In a medium saucepan over medium heat, melt your butter. Once melted, the water content will begin to evaporate, causing the butter to sizzle and foam. This is where the magic happens.
Continue whisking as the milk solids drop to the bottom and turn a deep amber color. You are looking for a nutty aroma and a visual cue of dark brown specks. Remove from heat immediately to prevent burning and transfer to a large heat-proof bowl.
Achieving the Meringue-Like Shiny Crust
Once the butter has cooled slightly but is still warm, add both sugars. Whisk vigorously for at least 2 minutes. This step is critical for the Blondies recipe to achieve its signature shiny top.
Add the eggs and vanilla, and continue to whisk with intensity. You want to see the batter lighten in color and become thick. This process helps dissolve the sugar and aerates the eggs just enough to form that thin, crinkled surface during the bake.
Developing the Dense and Chewy Texture
Folding the Dry Ingredients
Switch to a rubber spatula and gently fold in the flour and kosher salt. Do not overmix here; stop as soon as no streaks of flour remain to ensure the gluten doesn’t over-develop.
Fold in 75% of your chopped dark chocolate. Save the remaining large chunks to press into the top of the batter once it is in the pan. This ensures you have visible, glossy pools of chocolate on the surface.
Baking for Visual Perfection
Pour the batter into your parchment-lined pan, smoothing the top. Press the remaining chocolate chunks into the surface. Bake at 350°F (175°C) for 25-30 minutes.
The visual cue for doneness is a light golden-brown color and a surface that looks like it has been covered in a thin sheet of glass. The center should still have a slight jiggle; it will firm up into a moist, dense center as it cools on the slate surface.
Expert Tips for Success
- Don’t Skip the Cool Down: If you cut these while hot, the chocolate pools will run everywhere and the center won’t have its characteristic fudge-like density.
- Crumple Your Parchment: To get that exact look from the prompt, crumple the parchment into a ball then flatten it out before placing it in the pan.
- Quality of Chocolate: Use a bar of chocolate rather than chips. Chips contain stabilizers that prevent them from melting into the “glossy pools” we are looking for.
- The Salt Timing: Sprinkle the Maldon sea salt immediately after the pan comes out of the oven so the flakes adhere to the slightly tacky crinkle crust.
Elevating the Experience: What to Serve With Blondies
While these bars are a powerhouse on their own, they pair beautifully with other gourmet treats. If you are hosting a party, consider serving these alongside a refreshing raspberry lemonade or perhaps a banana pudding latte for a cozy afternoon snack.
For those who love a variety of textures, these blondies are a great contrast to a strawberry shortcake trifle. If you want to lean into the white chocolate side of things, check out our white chocolate blondies for a different flavor profile.
Frequently Asked Questions
You can, but chips contain stabilizers to help them keep their shape. For the ‘glossy pools’ look, a hand-chopped high-quality chocolate bar is essential as it melts more fluidly.
Look for a shiny, crackled surface and edges that are just beginning to turn golden brown. The center should still have a slight jiggle; it will firm up into a fudgy texture as it cools.
The shiny crust is created by dissolving sugar into the eggs to form a thin meringue-like layer. If you don’t whisk the sugar, butter, and eggs vigorously for several minutes, the crust will be dull.
Browning the butter toasts the milk solids, creating a deep nutty flavor that mimics caramel. This provides a sophisticated flavor profile that pairs perfectly with dark chocolate.
The Ultimate Brown Butter Chocolate Chip Blondie Card
Blondies Recipe: The Ultimate Fudgy Brown Butter Bars with a Shiny Crinkle Top
Ingredients
Equipment
Method
- Melt the butter in a saucepan over medium heat. Whisk constantly until the foam subsides and the milk solids turn a deep amber brown. Remove immediately.
- Combine browned butter and sugars in a bowl. Whisk vigorously for 2 minutes. Add eggs and vanilla, whisking for another 2 minutes until the batter is light and thick.
- Gently fold in flour and salt until just combined. Fold in 75% of the dark chocolate chunks. Spread into a parchment-lined pan and top with remaining chocolate.
- Bake at 350°F (175°C) for 25-30 minutes until the top is shiny and crinkled. Sprinkle with Maldon sea salt while warm. Cool completely before slicing.
Notes
Hand-chopped chocolate bars are essential for those 'pools' of chocolate.
Final Thoughts on the Best Blondies
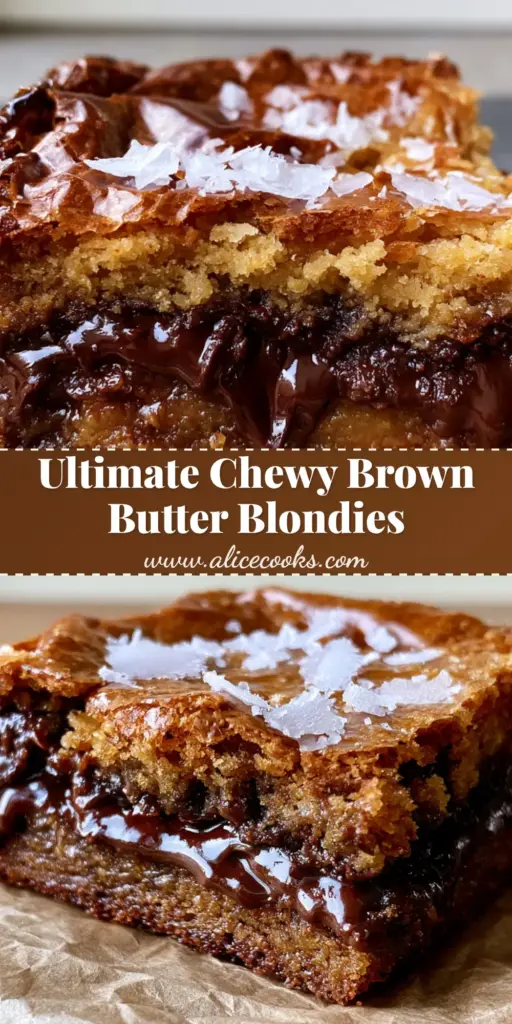
This Blondies recipe is a masterclass in texture and balance. Between the nutty brown butter, the bittersweet chocolate, and the hit of sea salt, it hits every sensory note desired in a premium dessert. Remember to focus on the whisking technique to get that paper-thin crust, as it is the hallmark of a professional-grade bar.
If you enjoyed this recipe, please leave a comment below and share your results! You can also follow me for more culinary inspiration on Pinterest to see more behind-the-scenes tips and tricks for the modern home cook.