There is a specific, undeniable magic in the perfect Cake Pop Recipe. It is the snap of a glossy, vibrant shell giving way to a dense, fudgy, and moist interior that feels more like a truffle than a traditional sponge. If you have ever stood in line at a certain green-aproned coffee giant and found yourself mesmerized by those pink spheres on sticks, you know exactly what I am talking about.
Creating that iconic handheld dessert at home requires more than just crumbling a cake; it requires a forensic attention to texture and temperature. In this guide, we are going to master the art of the Cake Pop Recipe, ensuring every single one you make features that flawless, smooth-as-glass finish and a uniform pink crumb that looks as professional as a high-end bakery display.
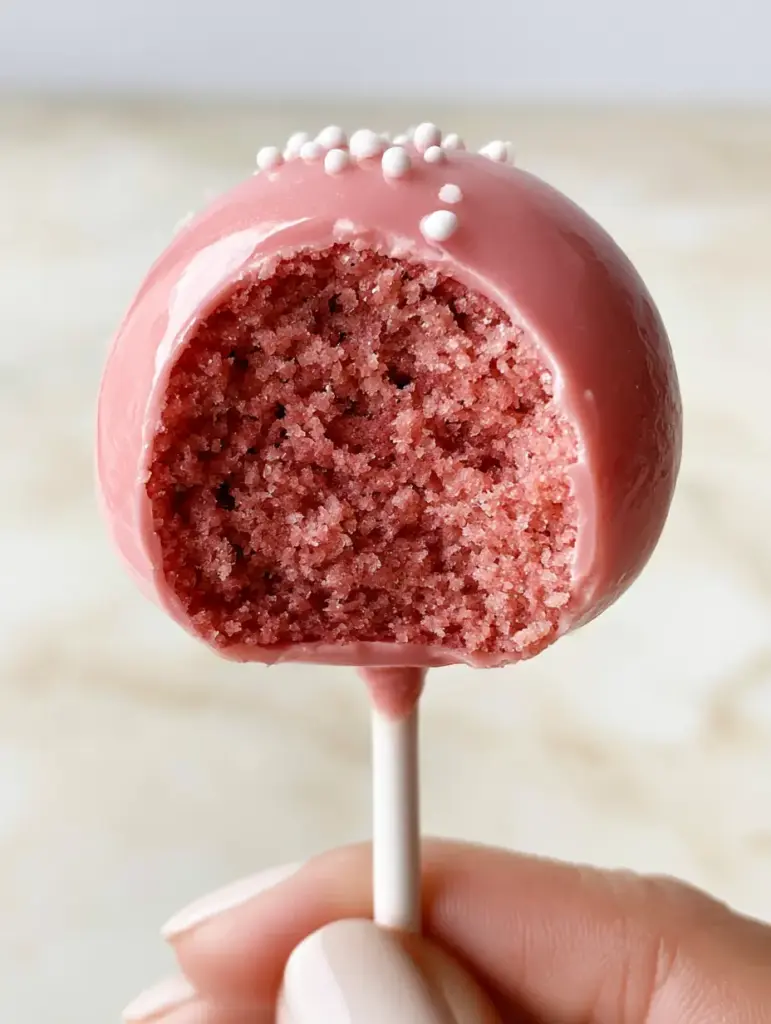
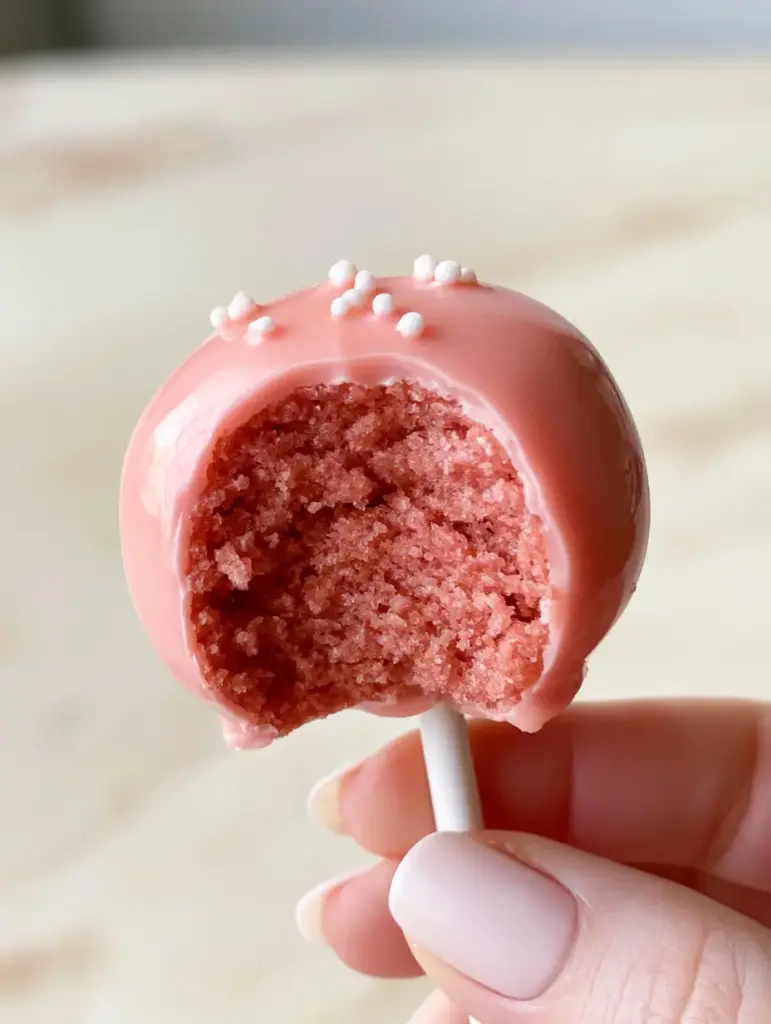
The Anatomy of a Flawless Starbucks-Style Pink Cake Pop
To achieve the result seen in professional pastry kitchens, we have to analyze the structural components of the dish. This isn’t just a sweet snack; it’s a feat of culinary engineering. Here is what we are aiming for in this Cake Pop Recipe:
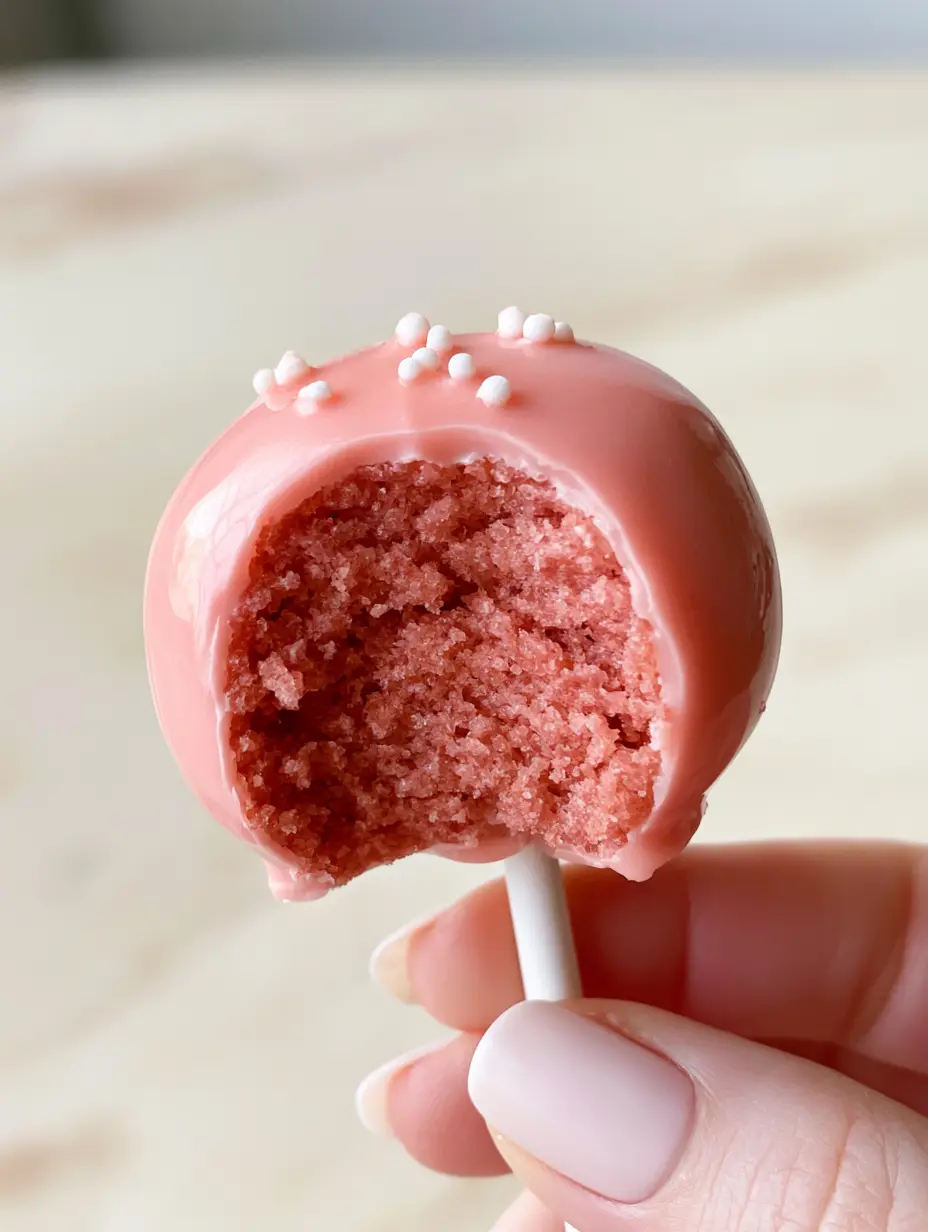
- The Crumb: A perfectly uniform, dense, and moist pink cake interior that holds its shape without being gummy.
- The Shell: A smooth, high-gloss pink candy coating that provides a satisfying auditory “snap” when you take a bite.
- The Aesthetic: A clean, stark white paper lollipop stick and a minimalist dusting of tiny white candy nonpareil sprinkles.
- The Stability: A cake ball that remains securely attached to the stick, even after multiple bites.
Essential Components for Your Signature Cake Pop Recipe
Every ingredient in this list serves a specific chemical purpose. To get that “Starbucks copycat” look, we cannot take shortcuts with the quality of our fats or the concentration of our pigments.
Foundational Ingredients for the Moist Pink Interior
Unsalted Butter (1 cup / 227g): High-quality butter at room temperature provides the fat necessary for a tender, moist crumb that doesn’t dry out during the crumbling process. It acts as the primary flavor carrier for the vanilla and almond extracts.
Granulated Sugar (1 ½ cups / 300g): This provides sweetness and helps aerate the butter during the creaming stage, creating a structure that is sturdy enough to hold the binder. It also aids in moisture retention once the cake is baked.
Large Eggs (3 units): Eggs provide the protein structure required to keep the cake from falling apart. They act as the “glue” that allows the cake to be crumbled and reshaped without losing its integrity.
Pink Gel Food Coloring (2-3 drops): Gel coloring is superior to liquid coloring because it provides intense pigment without altering the moisture content of the batter. This ensures a vibrant, uniform pink hue throughout the interior.
Whole Milk (½ cup / 120ml): The fat in whole milk adds a richness to the batter that water or skim milk cannot provide. It ensures the finished cake ball has a “melt-in-your-mouth” quality.
The Shell and Decoration Architecture
Pink Candy Melts (24 oz / 680g): These are specifically formulated to melt smoothly and harden into a matte or glossy shell. They provide the structural exterior that protects the moist cake inside.
Paramount Crystals or Coconut Oil (2 tbsp / 30ml): This is the “secret” to a professional Cake Pop Recipe. Adding a small amount of fat to the melted candy lowers the viscosity, allowing the excess to drip off easily for a thin, flawless coating.
White Nonpareil Sprinkles (2 tbsp / 30g): These tiny, round sugar pearls provide the classic visual contrast against the pink shell. Their small size ensures they don’t overwhelm the delicate proportions of the pop.
White Paper Lollipop Sticks (6-inch / 15cm): Using clean, stark white paper sticks is essential for that professional, minimalist look seen in the visual blueprint. They provide the necessary grip for the cake ball.
Tools Required for Professional-Grade Results
To achieve the eye-level, high-definition finish we see in professional photography, you need the right tactical gear. This is not the time for guesswork.
A 9×13 inch (23x33cm) baking pan is the standard for the base cake. You will also need a stand mixer or electric hand mixer to properly aerate the butter and sugar—this air incorporation is vital for a light yet dense crumb.
For the dipping process, a tall, narrow microwave-safe glass or silicone cup is better than a wide bowl. The depth allows you to submerge the entire cake pop in one vertical motion, which is the key to preventing “tide marks” on the shell. Finally, a styrofoam block or specialized cake pop stand is mandatory for drying the pops upright so they remain perfectly spherical.
The Technical Process: Step-by-Step Evolution
Mastering the Cake Pop Recipe is about controlling the temperature at every stage. Follow these phases to ensure success.
Phase 1: Engineering the Perfect Pink Sponge
Start by preheating your oven to 350°F (175°C). Cream your softened butter and sugar until the mixture is pale and fluffy—this should take about 3-5 minutes on medium-high speed. Add your eggs one at a time, ensuring each is fully incorporated before adding the next.
Whisk together your dry ingredients: 2 ½ cups (312g) of all-purpose flour, 2 tsp (10g) of baking powder, and ½ tsp (3g) of salt. Alternately add the dry ingredients and the whole milk to the butter mixture, starting and ending with the flour. Fold in the pink gel coloring until the batter is a uniform, vibrant shade.
Bake for 30-35 minutes or until a toothpick inserted into the center comes out clean. Allow the cake to cool completely. Using a warm cake will melt your frosting binder and result in a greasy, unstable interior.
Phase 2: The Art of the Crumble and Bind
Once cooled, trim off any browned edges of the cake to ensure only the vibrant pink interior remains. Crumble the cake into a large bowl until it looks like fine sand. You can do this by hand or pulse the cake in a food processor for a perfectly uniform texture.
Add 1/3 cup (80g) of vanilla or cream cheese frosting. Mix it in slowly. You are looking for a “Play-Doh” consistency. When you squeeze a handful of crumbs, it should hold its shape without sticking to your hands. If it’s too dry, add a teaspoon of frosting at a time. If you add too much, your pops will be too heavy and slide right off the stick.
Phase 3: Rolling and Structural Reinforcement
Scoop about 1 tablespoon (30g) of the mixture and roll it between your palms until it is a smooth, crack-free sphere. Place the balls on a parchment-lined baking sheet and chill them in the refrigerator for at least 30-60 minutes. Do not freeze them; a frozen cake ball will cause the warm candy coating to crack as it expands.
Melt a small handful of pink candy melts. Dip the tip of a lollipop stick (about ½ inch) into the melted candy, then insert it halfway into the chilled cake ball. This acts as a “weld,” securing the stick to the cake. Let these set for 5 minutes before the final dip.
Phase 4: Achieving the Glossy Mirror Finish
Melt the remaining candy melts with your coconut oil or paramount crystals until the mixture is thin and flows like warm honey. Holding the stick, submerge the cake ball completely in the coating. Lift it out vertically—do not stir or swirl.
Gently tap your wrist (not the stick!) to allow excess coating to drip off. While the coating is still wet, lightly scatter the white nonpareil sprinkles over the top. Place the stick into your foam block and let it set completely at room temperature for a glossy finish. If you put them in the fridge to set, the coating may lose its luster.
Expert Strategies for Success
- The Cracking Fix: If your shells are cracking, it is usually because the cake balls were too cold and the candy was too hot. Ensure the temperature gap is minimal.
- The Dip Technique: Always use a vertical “in-and-out” motion. Turning the pop while it is submerged can create air bubbles that will mar the smooth surface.
- Consistency Control: If your candy coating is too thick, it will pull the cake ball off the stick. Always thin it out until it drips freely from a spoon.
- Uniformity: Use a small cookie scoop to ensure every pop in your Cake Pop Recipe is the exact same size for a professional look.
The Ideal Pairings for Your Pink Treats
While these cake pops are a star on their own, they fit perfectly into a dessert spread or a brunch menu. If you love the combination of fruit and cake, consider serving these alongside a strawberry poke cake for a monochromatic dessert table.
For an adult-themed gathering, the sweet, creamy profile of the cake pop is a delightful contrast to a refreshing strawberry rum cocktail or a tart strawberry kiwi lemonade. If you are looking for more decadent pairings, a creamy peanut butter milkshake offers a salty-sweet balance that is hard to beat.
Frequently Asked Questions
Avoid whisking or stirring the melted candy melts, as this incorporates air. Dip the pop straight down and pull it straight up, then gently tap your wrist to remove excess coating.
Stored in an airtight container in the refrigerator, they will stay fresh for up to 5-7 days. At room temperature, they are best consumed within 2 days.
No. Freezing makes the cake balls too cold. When they meet the warm candy coating, they will expand and cause the shell to crack. Refrigeration for 60 minutes is ideal.
This usually happens if the cake balls are too heavy (too much frosting), too warm, or if the candy coating is too thick. Ensure you use the 1:3 ratio of frosting to cake and thin your coating with coconut oil.
This happens due to the Maillard reaction (browning) during baking. To prevent this, trim the outer edges of the cake before crumbling, or bake at a slightly lower temperature for a longer time.
The Definitive Pink Cake Pop Recipe Card
Cake Pop Recipe: The Ultimate Guide to Perfect Starbucks-Style Pink Treats
Ingredients
Equipment
Method
- Beat softened butter and sugar in a stand mixer for 3-5 minutes until pale and fluffy.
- Add eggs one at a time, followed by pink gel food coloring, mixing until the batter is a uniform pink.
- Alternately add flour mixture and milk. Pour into a 9x13 pan and bake at 350°F (175°C) for 30-35 minutes until a toothpick comes out clean.
- Crumble the completely cooled cake into fine crumbs. Mix in frosting 1 tablespoon at a time until it reaches a Play-Doh consistency.
- Roll into 1-inch spheres. Chill on a tray for 60 minutes. Insert a stick dipped in candy melts halfway into each ball to secure.
- Melt candy melts with coconut oil until it flows smoothly. Use a tall glass for easy dipping.
- Submerge the cake pop vertically, pull straight out, and tap off excess. Sprinkle with white nonpareils immediately and place in a stand to dry.
Notes
Avoid freezing the cake balls, as the extreme temperature difference will cause the pink shell to crack.
A Final Word on the Perfect Pop
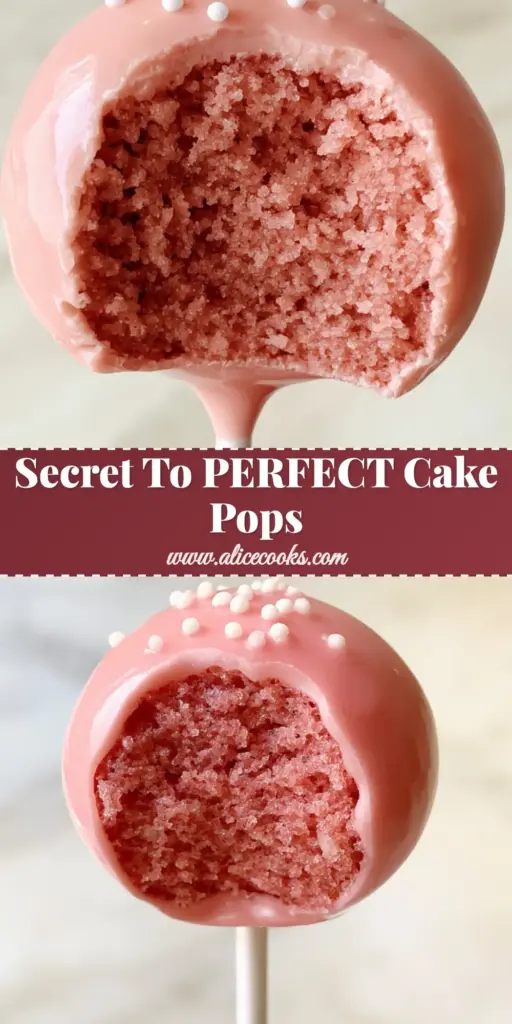
Creating the ultimate Cake Pop Recipe is a rewarding journey into the world of pastry arts. By focusing on the moist, pink interior and the high-gloss snap of the shell, you have created a dessert that is as beautiful as it is delicious. These are perfect for birthday parties, bridal showers, or simply as a “treat yourself” afternoon snack.
I would love to see your creations! Be sure to leave a comment below and tell me how your glossy shells turned out. Don’t forget to share your photos and tag alicecooks_official on Pinterest so I can see your beautiful work!