When you cannot decide between a decadent, dense brownie and a soft, chewy chocolate chip cookie, the Brookies Cookies are the definitive answer. These bars represent the pinnacle of dessert engineering, featuring a bottom layer of ultra-fudgy dark chocolate and a top layer of golden-brown cookie dough. It is a dual-textured experience that provides the best of both worlds in every single bite.
In this guide, we are diving deep into the culinary science of the “brookie.” We will explore how to achieve that elusive glossy, crinkly surface on the brownie base and how to ensure the cookie top stays soft and studded with glistening chocolate chunks. This is not just a recipe; it is a masterclass in texture management for the enthusiastic home baker.
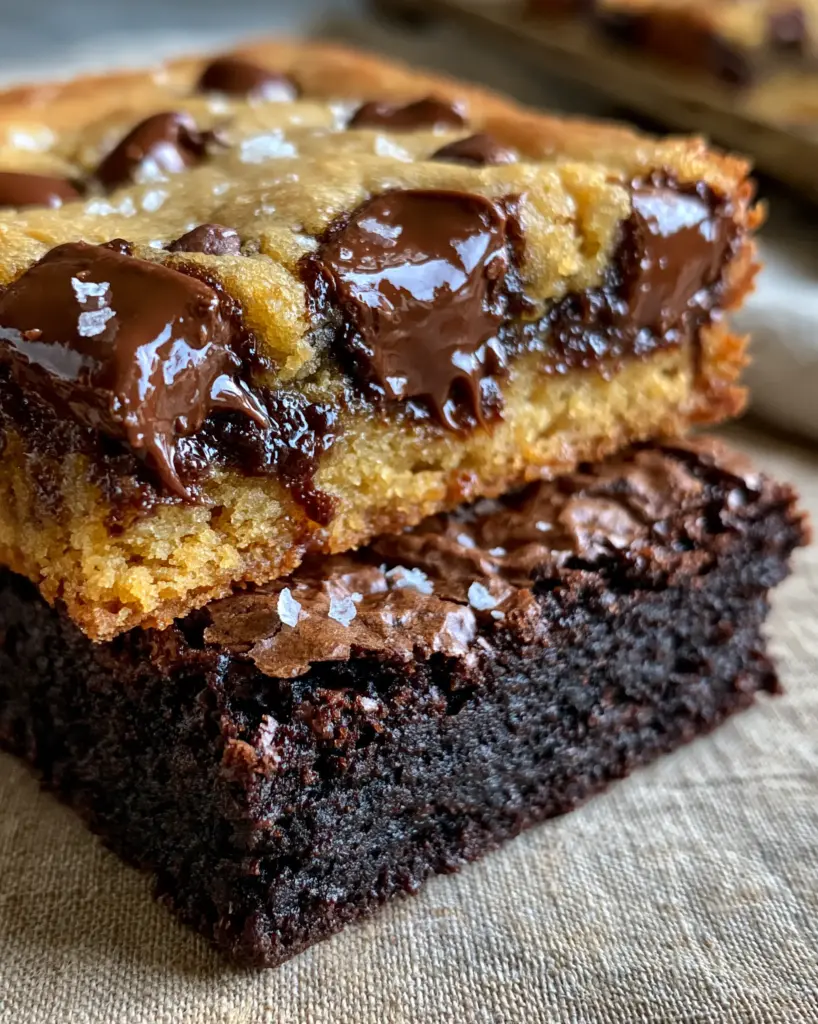
The Anatomy of a Perfect Brookie: Why This Recipe Works
- The Texture Contrast: By using a high-fat dark chocolate base, we create a brownie that stays “fudgy” rather than “cakey,” providing a structural foundation for the lighter cookie top.
- Glossy Crinkle Top: We utilize a specific whisking technique for the eggs and sugar in the brownie layer to create that signature paper-thin, crackly crust.
- Glistening Chocolate Chunks: Unlike standard chips, using hand-chopped semi-sweet chocolate chunks ensures those beautiful, half-melted pools of cocoa visible in the visual blueprint.
- The Flavor Bridge: A generous sprinkle of flaky sea salt crystals cuts through the richness of the dark chocolate, elevating the entire flavor profile.
Essential Components for Brookies Cookies
To achieve the specific visual results of a dense, dark base and a golden top, the quality of your ingredients is paramount. Each element serves a specific structural and aesthetic purpose in the final bake.
The Dark Chocolate Brownie Base
Unsalted Butter (1/2 cup / 115g): We melt the butter to ensure a dense, fudgy texture. Creaming butter would incorporate too much air, leading to a cake-like brownie which we want to avoid.
Granulated Sugar (1 cup / 200g): Sugar is not just for sweetness; it is the key to the crinkle top. When dissolved thoroughly into the eggs, it creates the meringue-like surface visible in the Midjourney prompt.
Dutch-Processed Cocoa Powder (1/2 cup / 45g): Using Dutch-processed cocoa provides that deep, dark chocolate color and a smoother, more mellow flavor compared to natural cocoa powder.
All-Purpose Flour (1/2 cup / 65g): A lower flour ratio is the secret to a fudgy brownie. This provides just enough structure to hold the cookie layer without making the base dry.
The Golden Chocolate Chip Cookie Top
Brown Sugar (1/2 cup / 100g): The molasses in brown sugar provides the “golden-brown” color and the “soft” texture that contrasts against the dense brownie.
Semi-Sweet Chocolate Chunks (1 cup / 170g): We use large chunks to create the “glistening, half-melted” effect. These retain their shape better than chips while still providing a molten center.
Flaky Sea Salt (1 tsp): These delicate crystals are added at the very end to provide a visual sparkle and a sharp contrast to the sweet dough.
If you love the texture of these cookies, you might also enjoy our ooey-gooey chocolate stuffed cookies or our ultra-rich brown butter brookies.
Tools for Professional Results
To replicate the handheld, pull-apart texture seen in our visual guide, you will need a few specific tools. An 8×8 inch (20x20cm) square baking pan is non-negotiable for achieving the correct height and thickness for the layers.
Using parchment paper with an “overhang” or “sling” is another critical tip. This allows you to lift the entire block of Brookies Cookies out of the pan once cooled, ensuring clean cuts and preserving that glossy, crinkly surface.
A Masterclass in Layering: Step-by-Step Instructions
Step 1: Preparing the Dark Brownie Foundation
Begin by preheating your oven to 350°F (175°C). In a large microwave-safe bowl, melt your butter and whisk in the granulated sugar while it is still hot. This “blooms” the sugar, helping it dissolve for that perfect crust.
Add your eggs one at a time, whisking vigorously for at least 2 minutes. You are looking for a “ribbon stage” where the batter is pale and thick. Sift in the cocoa powder and flour, folding gently with a spatula until no streaks remain. Pour this into your lined pan and smooth the surface.
Step 2: Crafting the Soft Cookie Layer
In a separate bowl, cream together the softened butter and sugars until light and fluffy. This process incorporates air, which helps the cookie layer stay “soft” while the brownie below remains “dense.”
Fold in your flour, baking soda, and the majority of your semi-sweet chocolate chunks. The dough should be thick and pliable. If it feels too soft, chill it for 10 minutes before proceeding to the layering step.
Step 3: The Assembly and Visual Cues
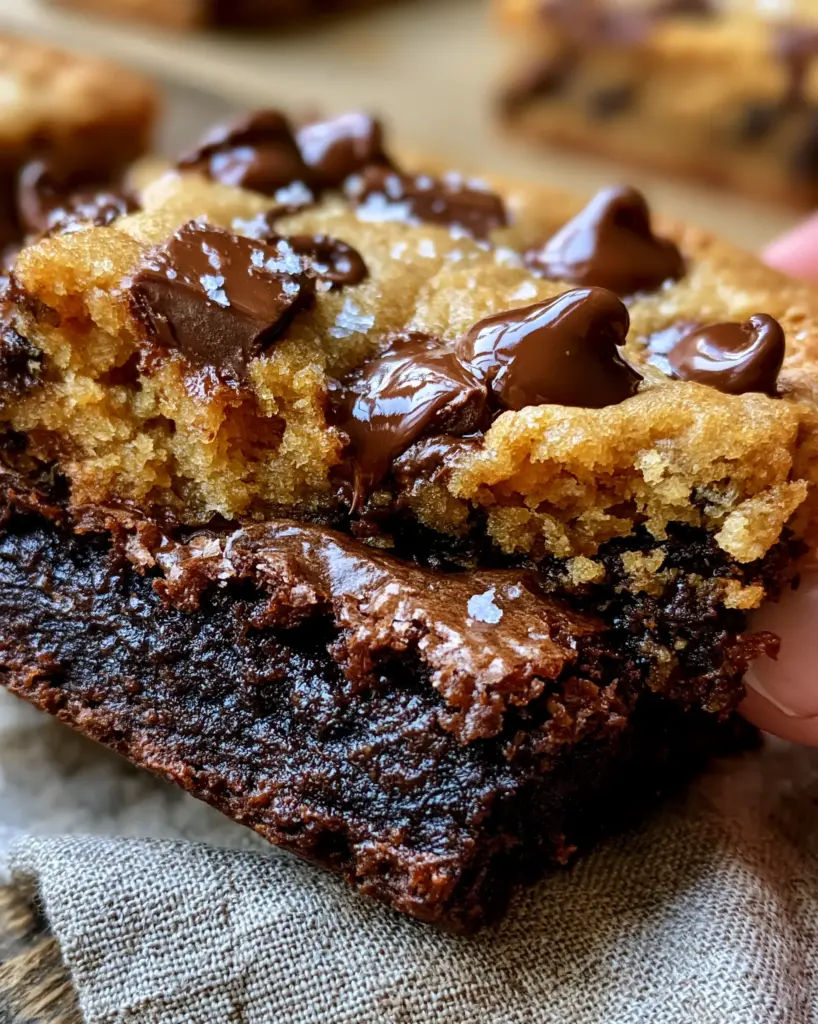
Instead of spreading the cookie dough in one flat sheet—which would crush the brownie layer—you must “dollop” it. Take small handfuls of cookie dough, flatten them slightly in your palm, and place them gently across the brownie batter.
Leave small gaps where the dark brownie can peek through. This creates the “glossy, crinkly surface” mentioned in our visual prompt. Press the remaining chocolate chunks into the top of the cookie dough so they remain visible after baking.
Step 4: The Bake and Sensory Cues
Bake for 25-30 minutes. Look for the “Visual Cues”: the cookie portions should be a light golden brown, and the brownie sections should look set but slightly wobbly in the center. Avoid overbaking, as the residual heat will continue to cook the fudgy base as it cools.
Immediately upon removing from the oven, sprinkle with the flaky sea salt. The heat from the chocolate chunks will help the salt crystals adhere to the surface.
Expert Tips for Success
- Temperature Control: Ensure your eggs are at room temperature. Cold eggs can seize the melted butter in the brownie batter, leading to a gritty texture.
- The Sift Factor: Always sift your cocoa powder. It is naturally prone to clumping, and biting into a dry pocket of cocoa will ruin the “ultra-fudgy” experience.
- Wait for the Cool: It is tempting to pull these apart while piping hot, but for the best “dense” brownie texture, let them cool for at least 45 minutes. This allows the fats to re-solidify into a fudgy consistency.
- Chunk Placement: For the most photogenic Brookies Cookies, manually place a few chocolate chunks on the very top of the dough before it goes into the oven.
Storage, Reheating & Freezing
Brookies Cookies are remarkably shelf-stable. They can be stored in an airtight container at room temperature for up to 4 days. The high sugar and fat content helps keep them moist.
If you prefer that “warm, freshly baked” feel described in our Midjourney prompt, microwave a square for 10-15 seconds. This will re-melt the chocolate chunks and soften the brownie base perfectly.
To freeze, wrap individual squares tightly in plastic wrap and place them in a freezer bag. They will stay fresh for up to 3 months. Thaw at room temperature for an hour before enjoying.
What to Serve With Your Brookies
These bars are incredibly rich, making them the perfect candidate for pairings. A cold glass of milk is the classic choice, but you can also serve them alongside a scoop of vanilla bean ice cream for a “brookie sundae.”
If you are hosting a dessert party, consider serving these alongside our lemon blueberry cookies for a bright citrus contrast, or perhaps some brown butter rice krispie treats for a lighter, crunchy option. For a full spread of treats, our banana pudding cookies offer a creamy, nostalgic flavor that complements the dark chocolate beautifully.
Frequently Asked Questions
Yes, but they will be thinner and will bake faster. Reduce the baking time by about 5 minutes and keep a close eye on the visual cues.
You can, but the brownie will be lighter in color and slightly more acidic. For the deep, dark fudgy look seen in the photos, Dutch-processed is highly recommended.
The secret is to ‘dollop’ the cookie dough gently on top. If you try to spread a large sheet of dough, the weight will cause it to sink. Small, flattened pieces work best.
Cakey textures usually result from over-measuring flour or over-beating the batter once the flour is added. Use a kitchen scale for accuracy and fold in dry ingredients gently.
The crinkle top comes from dissolving the sugar into the eggs completely. Ensure you whisk your eggs and sugar for at least 2 minutes until the mixture is pale and thick before adding the butter.
The Ultimate Brookies Cookies Recipe
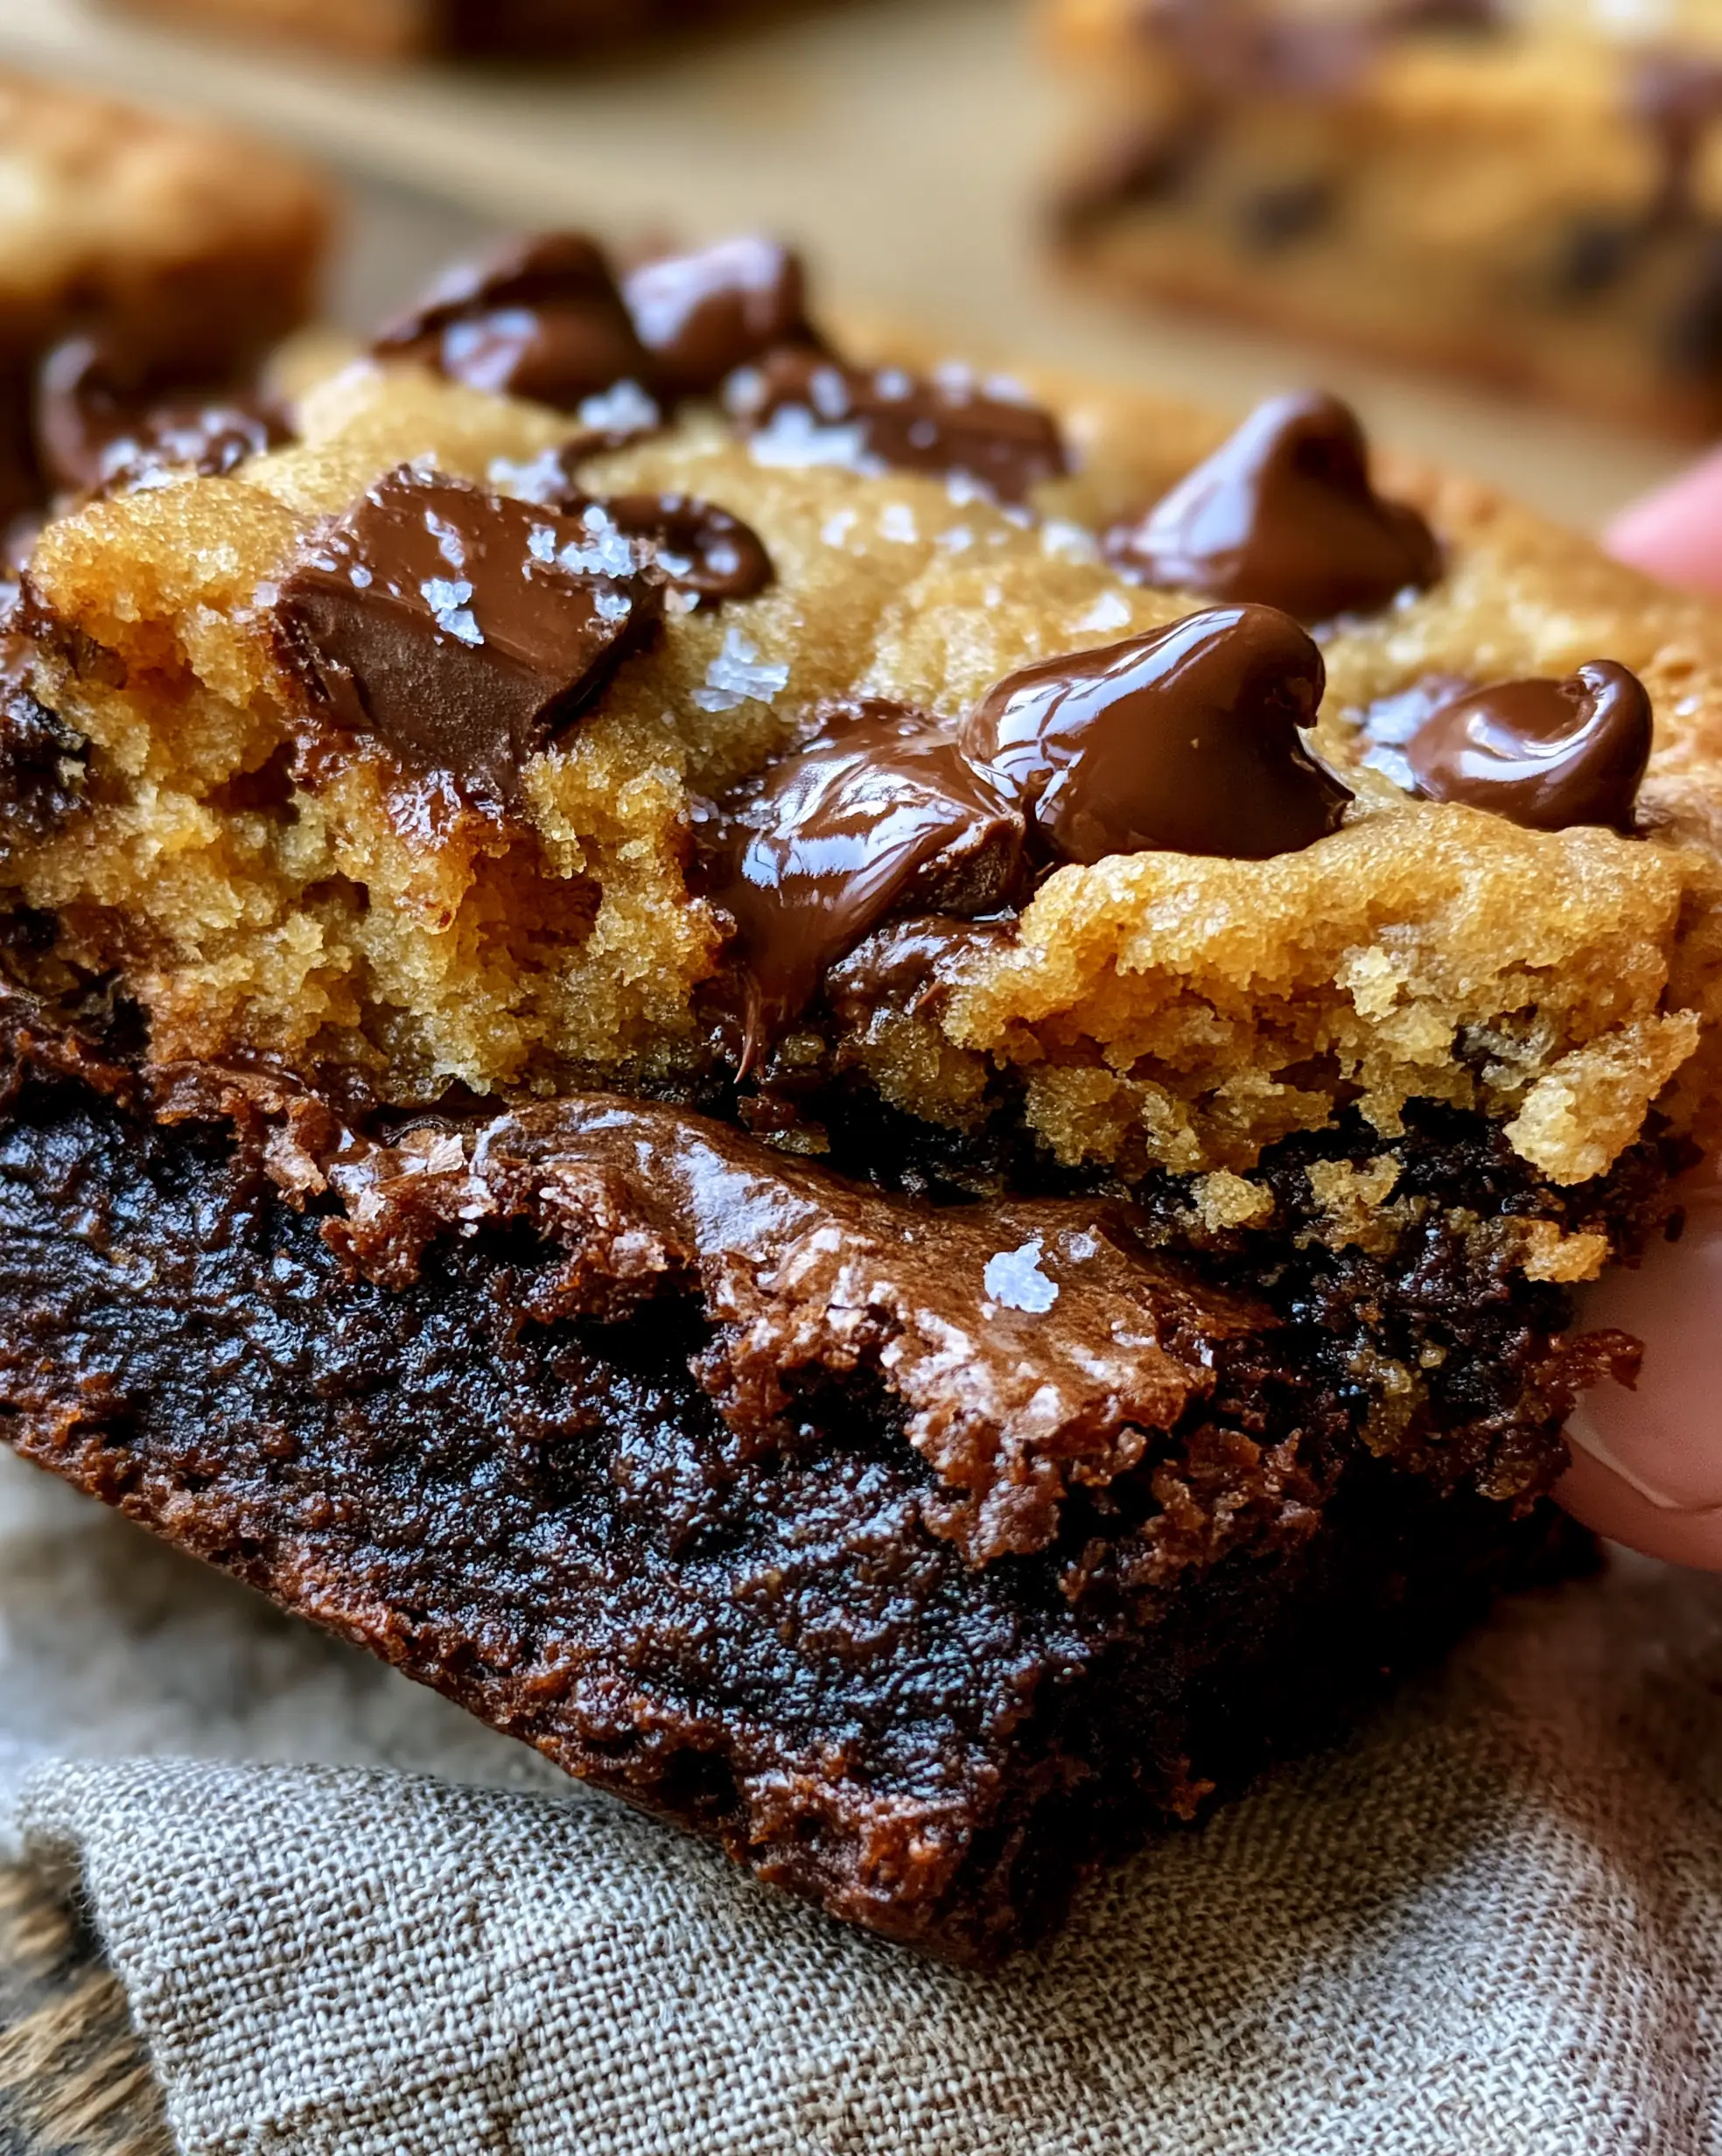
Brookies Cookies: The Ultimate Fudgy Dark Chocolate Brownie Cookie Bars
Ingredients
Equipment
Method
- Whisk melted butter and sugar. Add eggs and beat for 2 minutes until thick. Fold in sifted cocoa and flour. Pour into lined pan.
- Cream softened butter and sugars. Beat in egg. Fold in flour and chocolate chunks until a soft dough forms.
- Dollop cookie dough over brownie batter. Bake at 350°F (175°C) for 25-30 minutes until edges pull away and cookie is golden. Sprinkle with sea salt.
Notes
Do not overmix the brownie batter once flour is added to keep it fudgy.
Join the Alice Cooks Community!
We hope you enjoy baking these Brookies Cookies as much as we enjoyed developing the recipe! There is nothing quite like the smell of dark chocolate and golden cookie dough filling the kitchen. If you make this recipe, please leave a comment below and tell us how yours turned out!
Don’t forget to share your creations on Instagram and tag us. For more decadent dessert inspiration and step-by-step videos, be sure to follow us on Pinterest and sign up for our weekly newsletter. Happy baking!


